
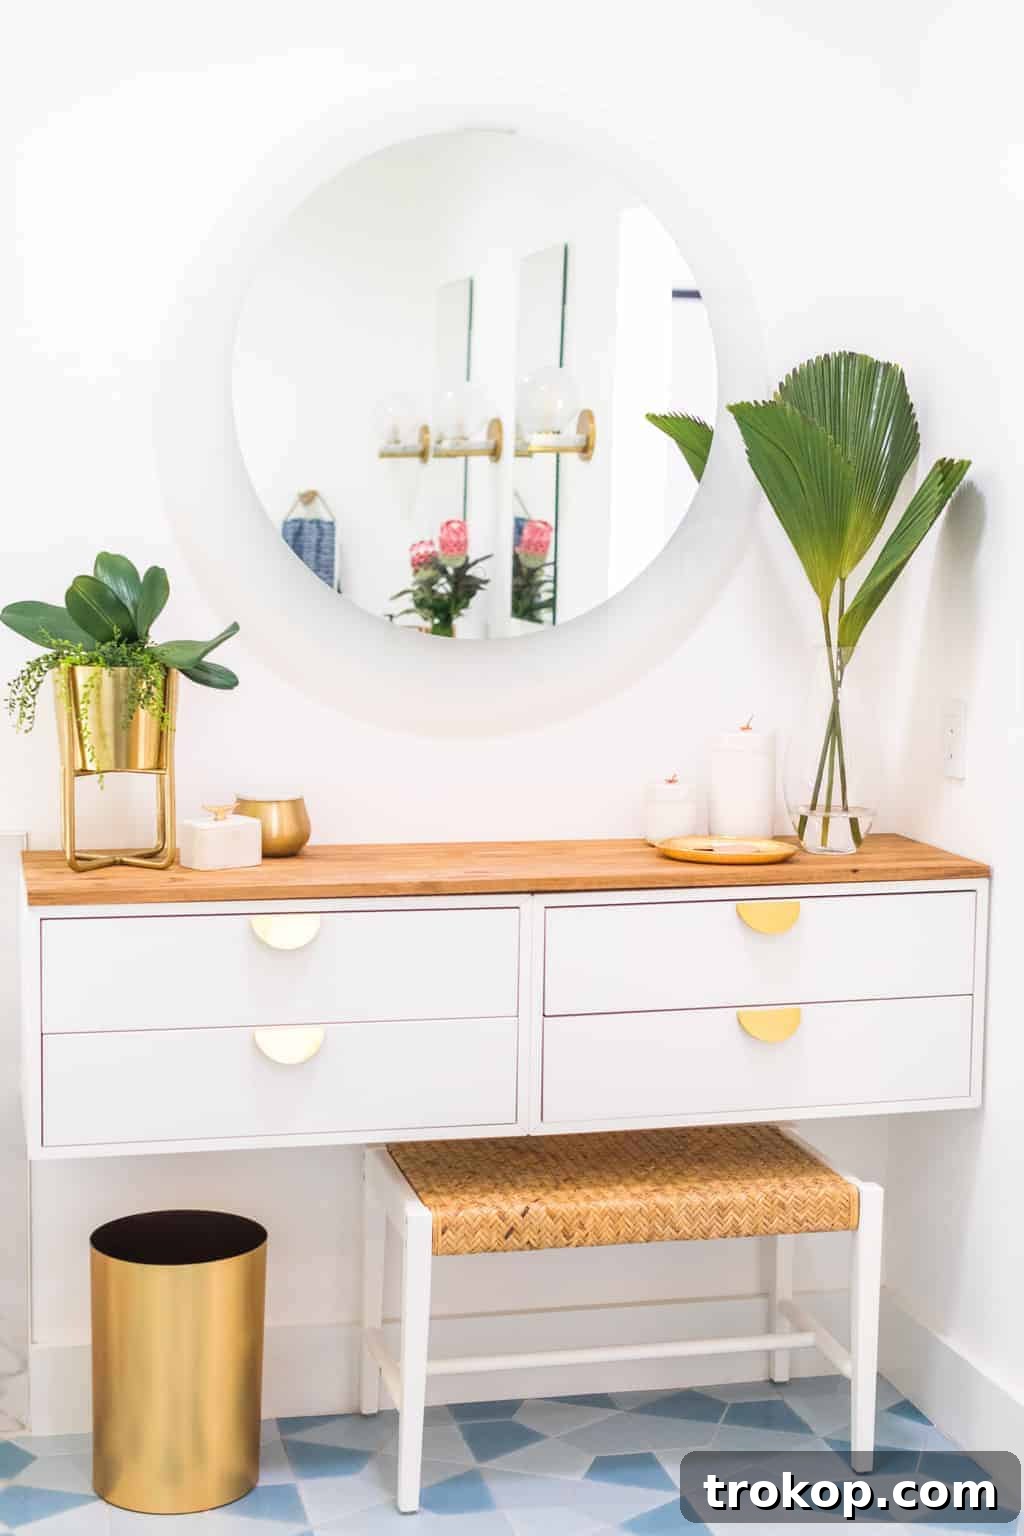
Transforming your bathroom or bedroom into a personalized sanctuary has never been easier or more budget-friendly than with a clever IKEA DIY vanity hack. This project allows for endless customization, ensuring your new dressing table perfectly suits your style and storage needs without breaking the bank. It’s an exceptionally easy DIY that promises significant impact.
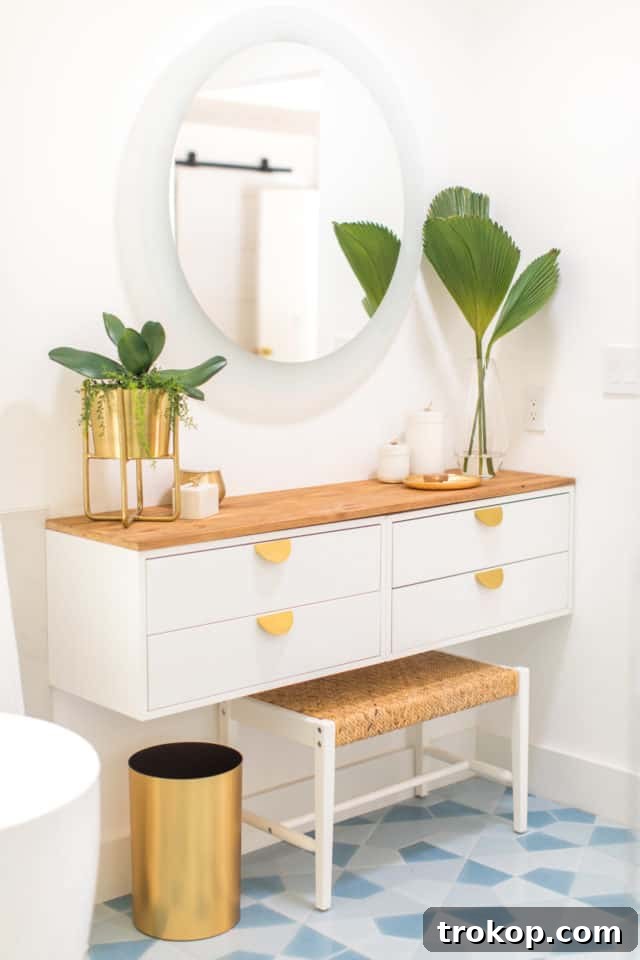
Having a dedicated vanity table is a game-changer for daily routines, offering unparalleled convenience for makeup application, hair styling, or simply organizing your personal essentials. For a long time, we didn’t have this luxury, but upon embarking on the renovation of our master bathroom in our new home, we knew a custom vanity was a must-have. Our goal was to maintain the existing master bathroom layout while injecting modern functionality and style.
The original bathroom featured a large, dated corner tub and a bulky, built-in cabinet vanity. Given our choice of a stunning statement blue tile floor, we envisioned a floating IKEA vanity. This design decision was crucial for several reasons: it allows the beautiful floor pattern to remain largely visible, contributing to a more open and spacious feel in the bathroom, and it aligns perfectly with a sleek, contemporary aesthetic. A floating vanity also simplifies cleaning underneath, making it a practical and stylish solution.
Here’s a detailed guide on how we brought our master bathroom DIY dressing table vision to life, demonstrating how easily you can create your own custom space.
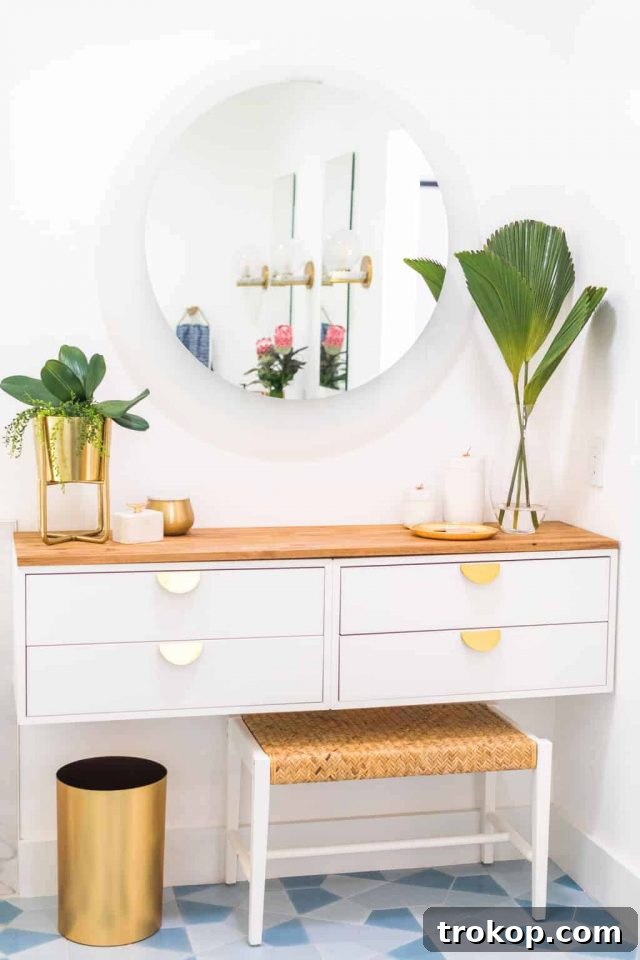
Table of Contents
Materials and Tools Needed to Make a DIY Dressing Table
Gathering all your materials and tools before you begin will make the DIY process much smoother and more enjoyable. For this IKEA vanity hack, we’ve focused on components that offer both style and durability. Here’s what you’ll need:
- Ikea Eket cabinet with 2 drawers — We opted for two Ikea Eket cabinets with drawers due to their sleek design and easy wall-mounting capability. However, the beauty of this hack is its adaptability; you can easily substitute these with other IKEA cabinet styles or even repurpose existing drawers or modular storage units. The core idea remains the same: mount your chosen storage units to the wall, add a cohesive tabletop, and personalize with attractive hardware.
- Ikea Eket wall mounts (suspension rails) — These are essential for securely attaching the Eket cabinets to the wall, creating the desired floating effect. Make sure to follow IKEA’s specific instructions for installation.
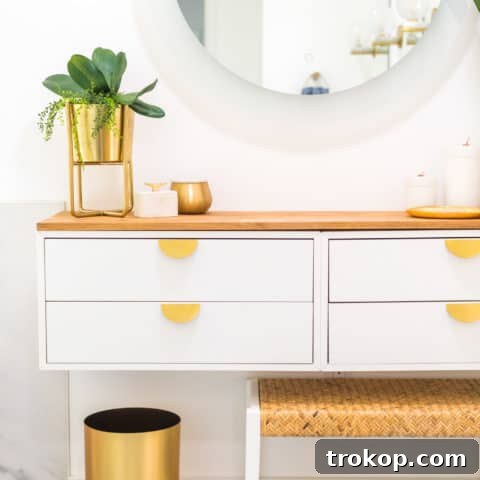
- Half-moon cabinet pulls — Or any cabinet pulls of your choice. Custom hardware is where you truly make this IKEA hack your own. We selected elegant half-moon pulls to complement our master bathroom’s modern aesthetic, but feel free to choose pulls that match your personal style and existing decor.
- Liquid Nails adhesive and clamps — These are crucial for securely bonding the wooden tabletop to the mounted cabinets. Liquid Nails provides a strong, lasting hold, while clamps ensure even pressure during the curing process, preventing gaps and ensuring a seamless finish.
- Wood stain in the color of your choice — We chose Golden Oak for its warm and inviting tone, which beautifully contrasts with the white cabinets. Selecting a stain that harmonizes with your room’s color palette will elevate the overall look of your DIY dressing table.
- Piece of solid wood — This will form the top surface of your vanity. It needs to be cut to the precise dimensions that will span across your mounted cabinets. Many home improvement stores offer convenient cutting services, so you can have it cut to size there. Ensure it’s a sturdy piece of wood capable of holding up to daily use.
- Fine-grit sandpaper — Essential for preparing the wooden tabletop. Sanding creates a smooth surface, allowing the stain and protective finish to adhere evenly and beautifully.
- Matte polyurethane finish — This protective topcoat is vital for sealing the wood, safeguarding it from moisture, spills, and daily wear and tear. A matte finish will preserve the natural look of the wood while providing a durable, wipeable surface.
- Drill and screwdriver — For assembling the cabinets and installing the drawer pulls.
- Measuring tape — Accuracy is key for a professional-looking finish, especially when marking cabinet placement and cutting the tabletop.
- Pencil — For precise marking.
How to Make an Ikea Vanity Dressing Table
Creating your own custom IKEA vanity table is a rewarding project, and you’ll be surprised by how straightforward the steps are. The most challenging aspects involve the careful assembly of the IKEA cabinets and their secure mounting to the wall. Taking your time with these initial steps will ensure a stable and beautiful finished product.
First and foremost, assemble your chosen cabinets according to the manufacturer’s specific instructions. IKEA provides clear guides, and following them precisely is crucial for the structural integrity of your vanity.
Mounting Your Dressing Table
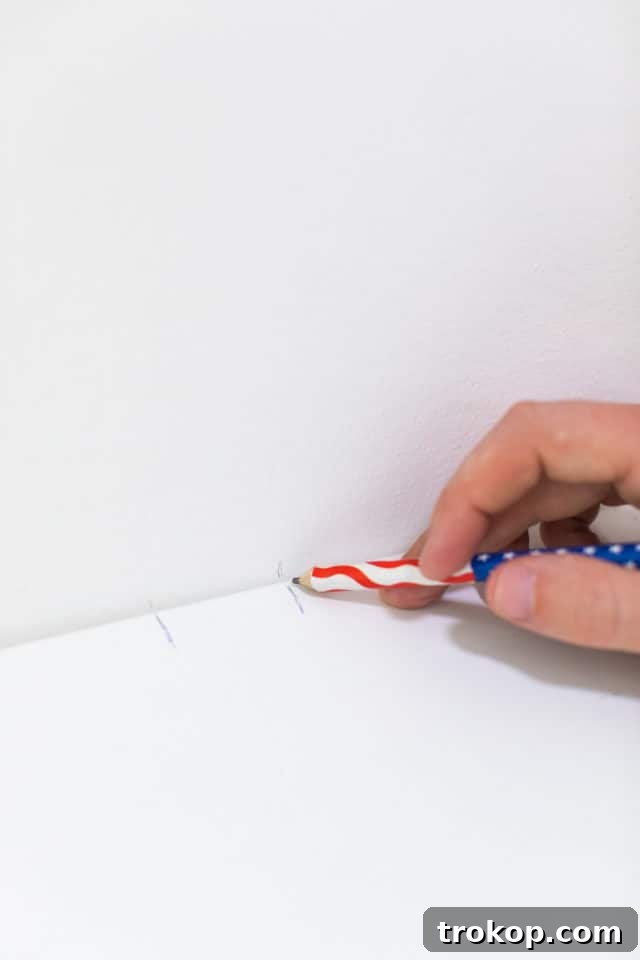
Once your cabinets are fully assembled, the next critical step is to measure and mark their precise placement on the wall. This is where careful planning pays off. Consider the height of your chosen bench or chair to ensure comfortable seating. A standard desk and sitting chair height is typically around 29 inches (approximately 74 cm) from the floor to the top of the surface.
In our case, we didn’t intend to sit directly at the dressing table for makeup application, as we usually stand. Furthermore, we used a taller drawer unit, making traditional seating impractical. Thus, we mounted the top of our vanity at 36 inches (approximately 91 cm). This height allows a small bench to fit underneath for general use or as a decorative element, while still functioning perfectly as a standing vanity. Always use a stud finder to locate wall studs for secure mounting, especially for floating furniture, and use appropriate wall anchors if studs aren’t available where needed.
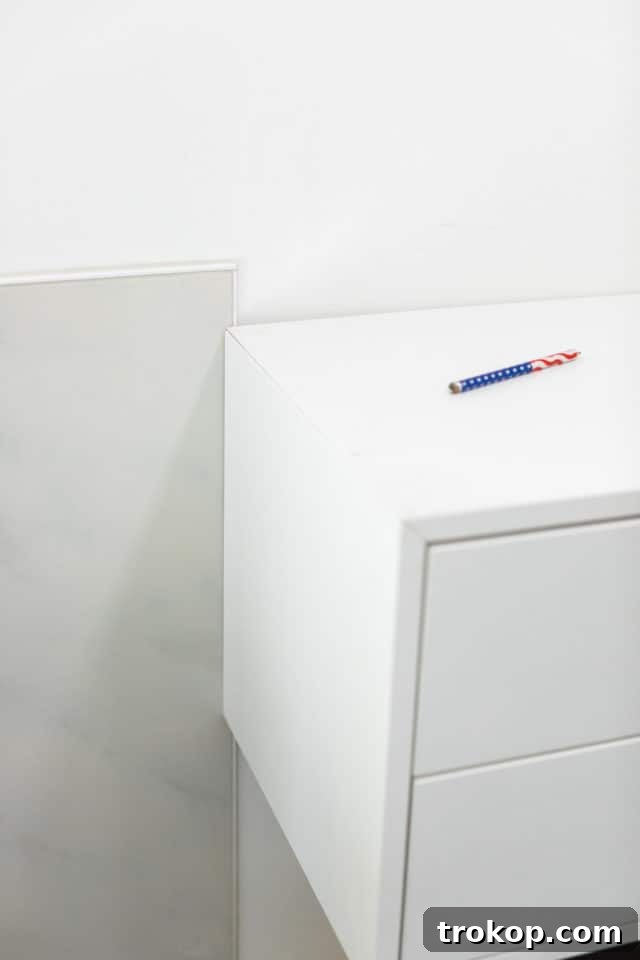
For the IKEA Eket cabinets, you’ll follow the specific instructions provided with their suspension rail mounting hardware. These rails are designed to distribute weight evenly and hold the cabinets firmly against the wall. Double-check that all connections are tight and secure before proceeding.
Steps to Place the Tabletop
The tabletop is a key feature that elevates this IKEA hack from simple cabinets to a sophisticated vanity. Proper preparation and installation are essential for a professional finish:
1 — Begin by thoroughly sanding the top and all visible edges of your cut solid wood piece using fine-grit sandpaper. This step is crucial for achieving a smooth, splinter-free surface that will take the stain beautifully. Ensure the surface is perfectly smooth to the touch.
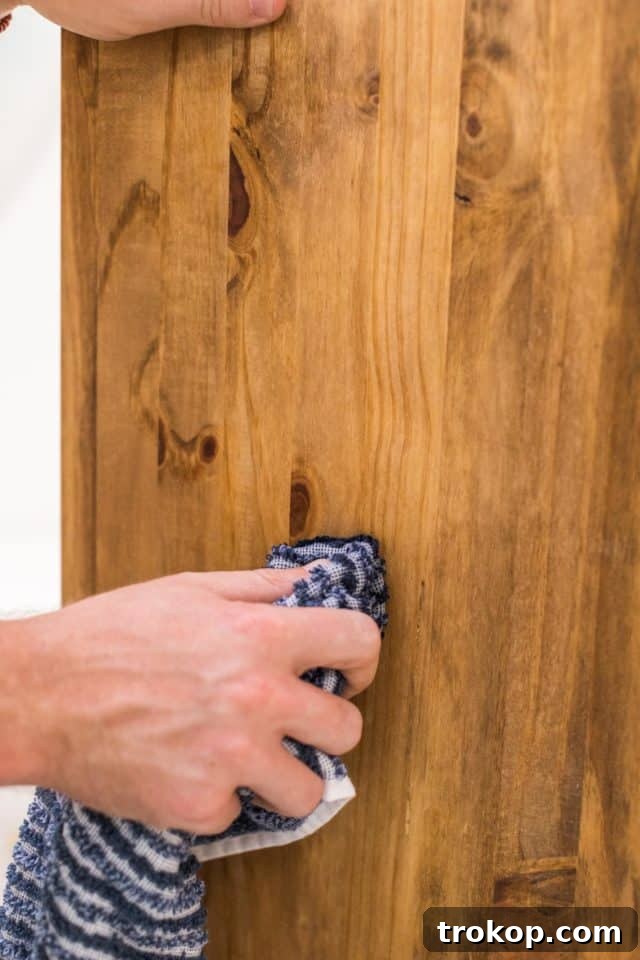
2 — With a soft cloth, apply your chosen wood stain generously and evenly to the tabletop. Wipe it onto the surface following the wood grain. Don’t forget to stain the side edges that will be visible once the vanity is complete. For those using two IKEA Eket cabinets side-by-side, your tabletop dimensions will need to be approximately 55 inches (140 cm) in length and 27.5 inches (70 cm) in depth to cover them perfectly and allow for a slight overhang.
3 — Allow the stain to dry completely according to the manufacturer’s instructions. Once dry, apply a matte polyurethane finish to the tabletop. This protective coating is vital as it creates a durable, wipeable surface that can withstand spills and daily use. Apply multiple thin coats for optimal protection, allowing each coat to dry fully before applying the next.
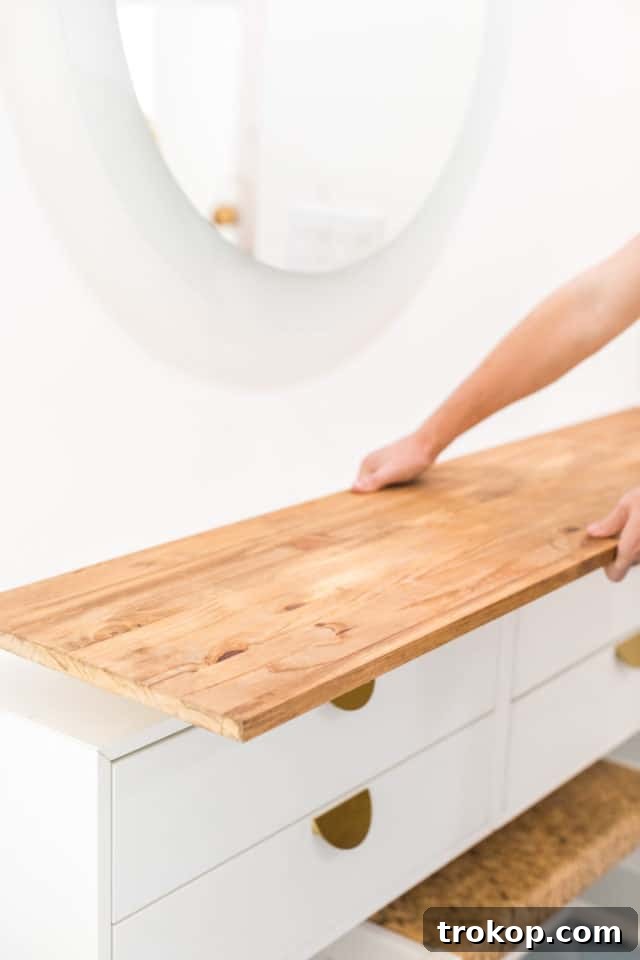
4 — After the staining and sealing process is complete and fully cured, carefully place the finished wood top onto your mounted vanity cabinets. Take a moment to ensure it fits perfectly and is aligned precisely as you envision it.
5 — Once you’re satisfied with the placement, apply a generous amount of Liquid Nails adhesive to the top surfaces of the cabinets where the wood top will rest. Liquid Nails expands as it cures, creating a very strong bond. Immediately after applying the adhesive, reposition the wood top and press it down firmly. Use clamps along the edges of the tabletop, or place several heavy objects across the surface, to apply consistent pressure while the adhesive sets. Allow the Liquid Nails to cure for the recommended time, typically 24-72 hours, for a secure and lasting bond.
Adding Custom Drawer Pulls for an Easy Ikea Hack
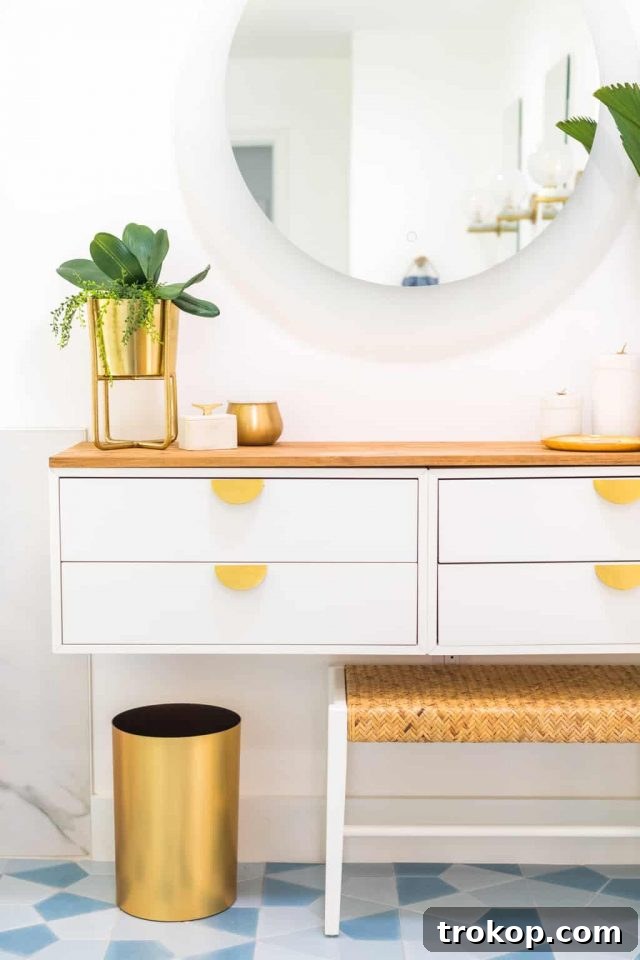
The final touch that truly personalizes your IKEA vanity hack is the installation of custom drawer pulls. This small detail can dramatically transform the look of standard IKEA units, making them appear bespoke and high-end.
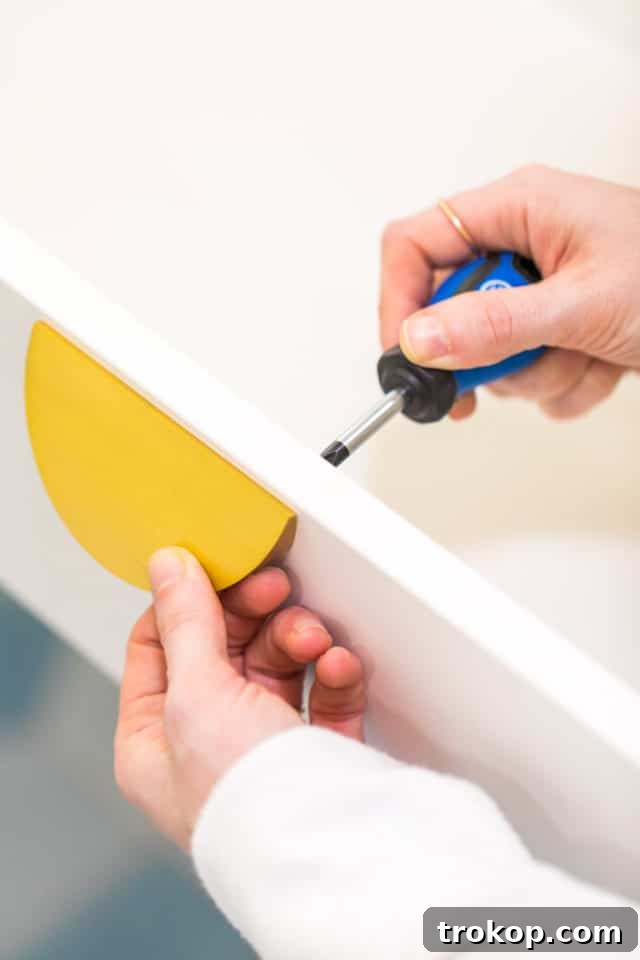
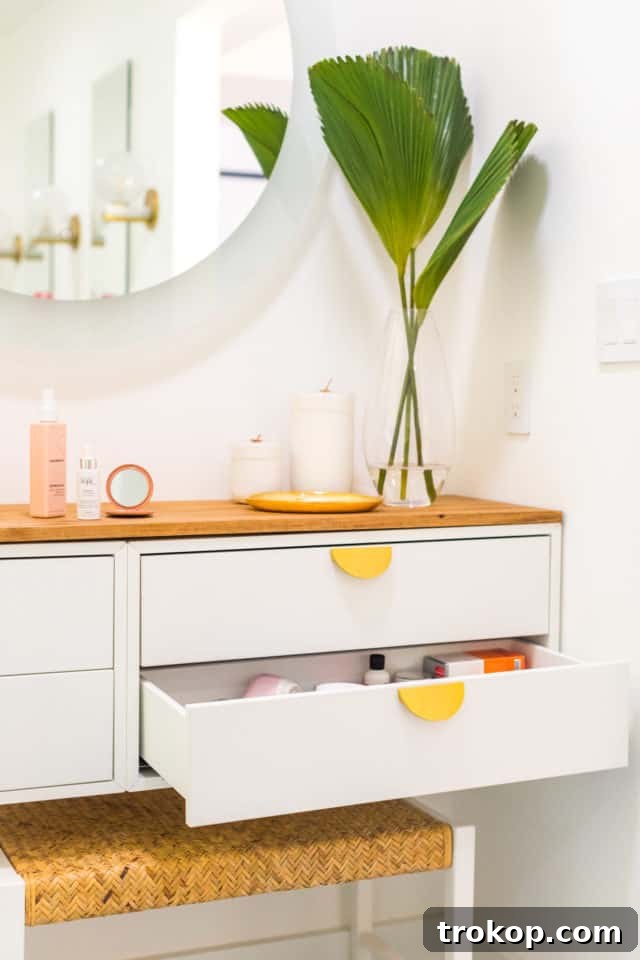
Using your drill and screwdriver, carefully install your chosen cabinet pulls onto the IKEA Eket drawers. Measure precisely to ensure the pulls are centered and aligned for a polished appearance. This step not only adds functionality but also infuses your unique style into the piece, completing the custom vanity look.
Styling Your Dressing Table
With the construction complete, it’s time for the most enjoyable part: styling your new DIY dressing table! Thoughtful organization and decorative touches will make this space not only beautiful but also highly functional. Start by organizing the interior of your drawers.
We integrated simple IKEA bathroom organizers and drawer dividers inside the Eket drawers, mirroring the efficient system we implemented in our guest bathroom. These organizers are perfect for keeping makeup, toiletries, and small accessories neatly compartmentalized and easily accessible. Consider using clear acrylic trays or small baskets to maximize space and visibility within the drawers.
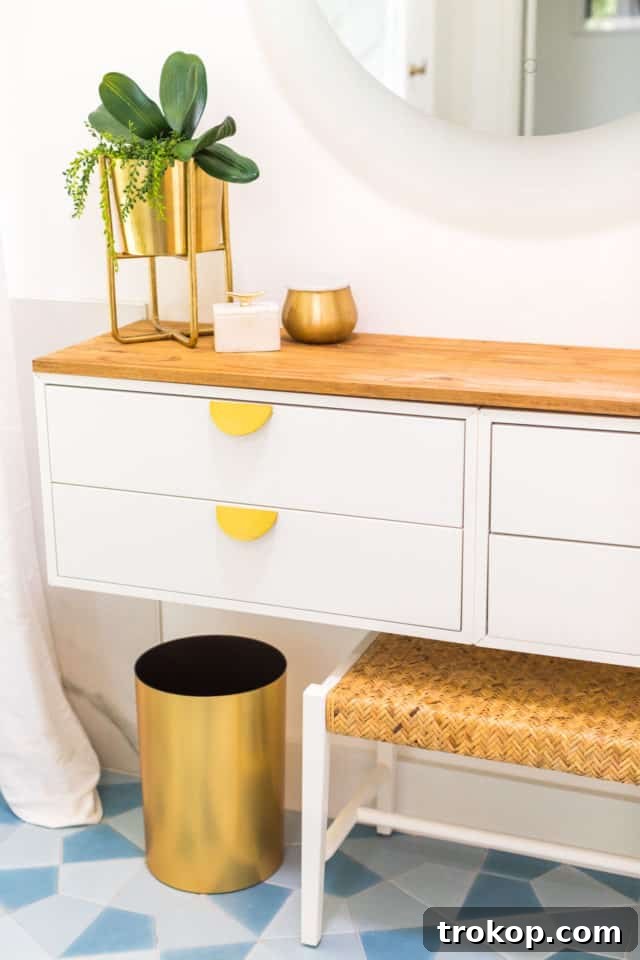
For the tabletop, a minimalist approach often yields the most elegant results. We adorned our vanity with a few select items: a calming candle to set the mood, decorative jars for storing jewelry, cotton balls, or makeup brushes, and perhaps a small, stylish plant for a touch of greenery. A beautiful mirror, whether wall-mounted or freestanding, is a must-have, and consider adding a task lamp for optimal lighting during your routine. The key is to keep the surface relatively clear to maintain an uncluttered feel, allowing the beauty of your DIY creation to shine through.
More Ikea Hack Projects To Try
We couldn’t be happier with how our DIY IKEA vanity hack turned out! This project is a testament to how creative repurposing of affordable IKEA pieces can lead to stunning, custom furniture that looks far more expensive than its actual cost. All in all, this customized floating vanity cost us approximately $175, which is incredibly inexpensive for such a stylish and functional piece.
If you’re inspired by this transformation and eager to tackle more home improvement projects, we have a wealth of other IKEA hack ideas to explore. These projects showcase how versatile IKEA furniture can be, offering endless possibilities for personalization and budget-friendly upgrades throughout your home. Dive into our collection of clever IKEA hacks right here:
- Ikea hack bar cart
- DIY Ikea hack ice cream cart
- How to make a DIY Ikea hack floating credenza
- Prepping for guests with an Ikea hack dresser
- Ikea bed hack: DIY wooden headboard
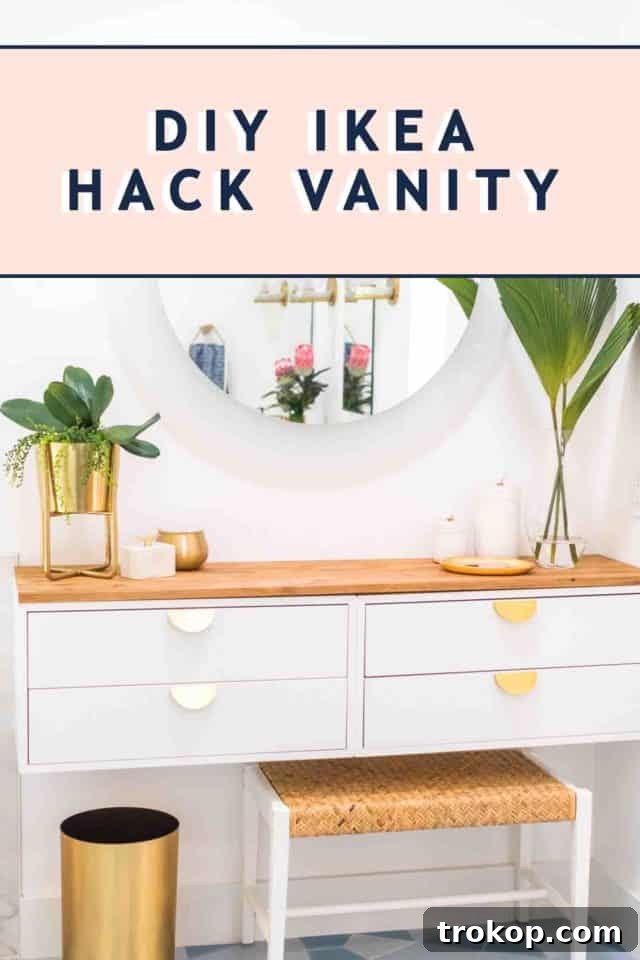
DIY Dressing Table Ikea Vanity
This dressing table is a super easy hack to make an Ikea vanity, and it’s budget-friendly, too…
Equipment
- Drill
- Screwdriver
- Measuring tape
- Pencil
Materials
- 2 Ikea Eket cabinet drawers
- 2 Ikea Eket wall mounts
- 4 cabinet pulls
- Liquid nails and clamps for securing the glue while it dries
- Wood stain
- Matte polyurethane finish for the table top
- Fine sandpaper for the wood top
- 1 piece solid wood cut down to the size of the vanity top
Instructions
-
Assemble the drawers according to the manufacturer’s instructions.
-
Measure and mark on the wall the placement of the drawers so you know where to mount them to the wall. You’ll want to make sure that you mount them at the correct height for whatever bench or chair you’ll be using for the completed vanity.
-
For the Ikea Eket cabinets, follow the instruction for the suspension rail mounting hardware to attach it to the wall.
-
Using the fine sandpaper, make sure the top and edges of the cut wood are smooth to the touch.
-
For the table top, stain it with the wood stain color of your choice by wiping it onto the surface with a soft cloth. Be sure to stain the edges that will be shown on the sides as well.
-
Once the stain is dry, apply the matte polyurethane to the top for a wipeable protective coating.
-
Once the staining is complete, place the wood top on the vanity to ensure it fits to size.Then, use liquid nails on the underneath of the wood top to glue it to the cabinets. Liquid nails adhesive expands when it’s curing. So be sure to use clamps or something heavy sitting on top of the surface until it’s fully set.
-
Install your cabinet pulls for the Ikea vanity using a drill and screwdriver.

Don’t forget to share your DIY Dressing table with us on Instagram using the hashtag #sugarandclothloves. We always love seeing all of your creative projects and how you bring your unique style to life!
DIY Ikea Play Kitchen Hacks to Make it One-of-a-Kind
Take your child’s pretend play to the next level with…
Continue ReadingDIY Ikea Play Kitchen Hacks to Make it One-of-a-Kind
16 Genius Ikea Desk Hacks You Need In Your Life
Discover the ultimate IKEA desk hack guide for a stylish…
Continue Reading16 Genius Ikea Desk Hacks You Need In Your Life
22 Home Office Ideas that Promote Productivity & Creativity
Tired of the same ol’ 9-5 grind? These home office…
Continue Reading22 Home Office Ideas that Promote Productivity & Creativity
15 Entryway Storage Ideas to Tame Your Cluttered Chaos
Say goodbye to chaos at the front door with these…
Continue Reading15 Entryway Storage Ideas to Tame Your Cluttered Chaos