
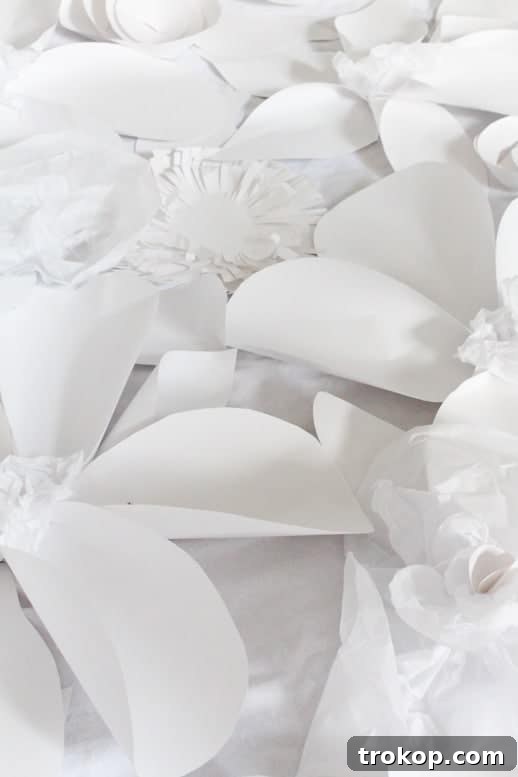
Transform your next celebration or event into an unforgettable visual experience with a stunning DIY Paper Flower Backdrop. This comprehensive guide will walk you through creating a beautiful, budget-friendly, and highly customizable floral wall that’s perfect for parties, weddings, photo booths, or simply adding a touch of elegance to your home decor. While crafting this backdrop is a labor of love, the incredible impact and lasting memories it creates are truly priceless.
There’s something inherently magical about a beautifully adorned backdrop. Whether it’s the focal point of a grand wedding reception or the charming setting for a casual birthday gathering, a well-designed backdrop elevates the atmosphere and provides a picturesque scene for cherished photographs. Having been involved with countless events at platforms like Smilebooth, we’ve witnessed firsthand the power of an enchanting background to captivate guests and enhance the overall experience. And the best part? You don’t need a professional decorator to achieve such splendor.
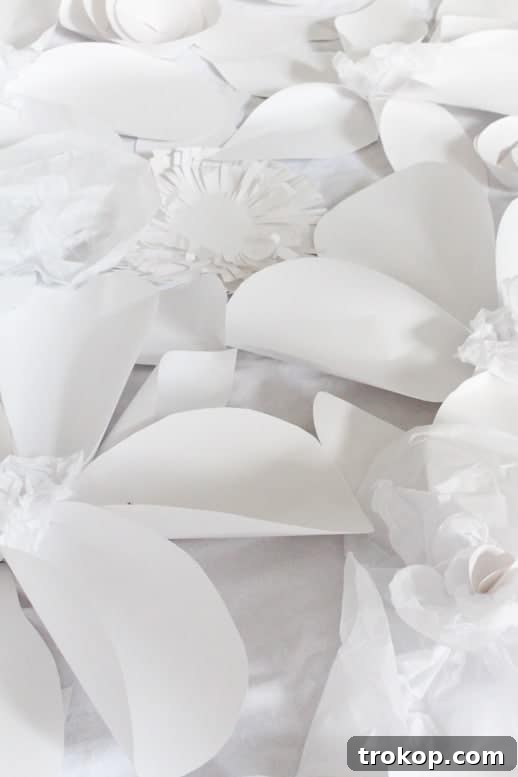
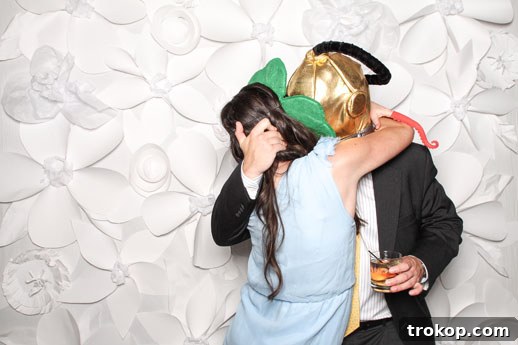
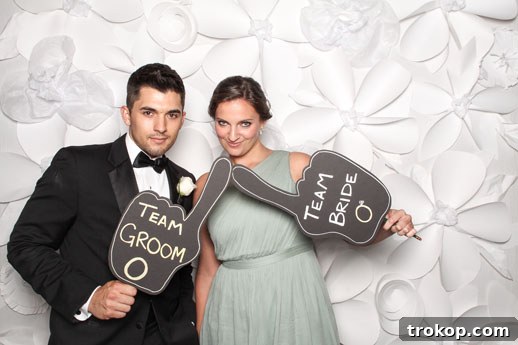
We recently had the pleasure of crafting a bespoke DIY paper flower backdrop for a Houston bride, tailored to complement her elegant wedding theme. The versatility of this project is truly remarkable; it can be effortlessly customized to match any color palette, theme, or aesthetic preference. The entire structure is built upon a sturdy canvas backing, making it incredibly easy to set up and display at any venue. Imagine pinning it up for a simple yet sophisticated party decoration, or creating a vibrant focal point for an outdoor tropical garden party or a whimsical birthday celebration.
Why Choose a DIY Paper Flower Backdrop?
Opting for a handmade paper flower backdrop offers numerous advantages beyond just aesthetics. It’s a fantastic way to:
- Save Money: Pre-made backdrops or floral installations can be incredibly expensive. Crafting your own significantly reduces costs, allowing you to allocate your budget to other party essentials.
- Unleash Creativity: This project is a wonderful opportunity to express your personal style. From choosing unique paper types and textures to experimenting with flower designs and color gradients, the creative possibilities are endless.
- Personalize Your Event: A DIY backdrop ensures your event is truly one-of-a-kind. You can design it to perfectly reflect the honoree’s personality, the wedding couple’s theme, or your brand’s aesthetic.
- Enjoy the Process: While it requires dedication, the process of folding and assembling paper flowers can be incredibly meditative and rewarding. It’s a craft that allows for quiet concentration and satisfying results.
- Create Lasting Memories: Not only will the backdrop serve as a beautiful setting for photos, but the process of making it can also be a memorable experience, especially if you involve friends or family.
Designing Your Dream Paper Flower Backdrop
Before diving into the crafting, take some time to visualize your ideal backdrop. Consider the following aspects to ensure your project comes to life exactly as you imagine:
- Color Scheme: Will it be monochromatic for a sophisticated look, or a vibrant burst of colors for a playful atmosphere? For weddings, whites, creams, and pastels are popular, but don’t shy away from metallics or deep jewel tones for a dramatic effect.
- Flower Variety: Decide on the types of paper flowers you want to create. Mixing different styles – from delicate roses to voluminous peonies, intricate chrysanthemums, or simple folded fans – adds depth and visual interest.
- Size and Scale: Plan the sizes of your flowers. A combination of large statement flowers, medium fillers, and small accents will create a dynamic and rich composition.
- Layout and Density: Will your flowers cover the entire backdrop, or will they create a gradient effect, perhaps denser at the top and scattering towards the bottom? Consider leaving some negative space for balance, or going for a lush, wall-to-wall floral explosion.
- Texture Play: Incorporating different paper types like construction paper, tissue paper, cardstock, or even metallic paper can introduce varying textures and sheens, making your backdrop more captivating.
Materials and Tools Needed to Make a DIY Paper Flower Backdrop
Gathering all your supplies beforehand will make the crafting process smoother and more enjoyable. Here’s what you’ll need:
- Hot Glue Gun and Hot Glue Sticks: An absolute essential for securely attaching your paper flowers to the backdrop. A good quality glue gun will ensure your creations stay put.
- Large Construction Paper: Available in a wide array of colors, construction paper is sturdy yet pliable, making it ideal for creating a variety of flower shapes. We chose classic white for a wedding backdrop, but feel free to experiment with vibrant hues. Stock up on plenty, as you’ll be making many flowers!
- Tissue Paper: (Optional) For adding a delicate, airy texture to your backdrop. Tissue paper flowers offer a softer, more ethereal look. However, due to its delicate nature, it’s recommended that the majority of your flowers be made from sturdier construction paper to ensure durability.
- Sharp Scissors: A good pair of sharp scissors is crucial for clean cuts and precise petal shaping.
- Clear Tape: Handy for temporarily holding paper elements or for reinforcing certain parts of your flowers as you fold them.
- Backdrop Fabric: This is the foundation of your floral wall. Choose a fabric that is durable and provides a good base for gluing. Our backdrop measured 8′ x 8′ and was made from a canvas sheet, which is a heavier and more robust fabric. However, you can use any large piece of fabric, such as a sturdy bed sheet, a plain tablecloth, or even a large felt panel. The key is to select a material that can support the weight of the paper flowers and can be easily pinned or hung.
Step-by-Step Guide: Crafting Your Paper Flower Masterpiece
Creating your paper flower backdrop is a straightforward process, though it requires patience and a creative touch. Follow these steps to assemble your stunning floral display:
Step 1: Prepare Your Fabric Backdrop
Before you start gluing, it’s often easiest to hang your chosen backdrop fabric in the location where it will eventually be displayed, or at least against a wall where you have ample space to work. This allows you to visualize the scale and placement of your flowers as you go, ensuring a balanced and aesthetically pleasing arrangement. If hanging isn’t possible, lay it flat on a large surface, ensuring it’s smooth and taut.
Step 2: Master Paper Flower Folds
This is where your creativity truly shines! Using your construction paper and optional tissue paper, begin folding and shaping various styles of paper flowers. There are countless tutorials available online for different flower types, from simple accordion folds to intricate layered designs. A few common and beautiful styles include:
- Rosettes: Simple spiral cuts that are then rolled up and glued at the base.
- Layered Petals: Cutting multiple petal shapes in varying sizes and layering them, securing at the center.
- Pompom Flowers: Using multiple sheets of tissue paper folded and cut to create fluffy, delicate blooms.
- Fan Flowers: Accordion-folding paper and joining the ends to create a circular fan.
For inspiration and detailed instructions on various paper flower styles, consider these helpful tutorials:
- Basic Paper Flower Tutorial
- Oversized Tissue Paper Flowers
- Monster Printables Paper Wallflowers
- How to Make a Paper Flower
Create a diverse collection of flowers in different sizes and styles to add visual depth to your backdrop.
Step 3: Assemble Your Floral Wall
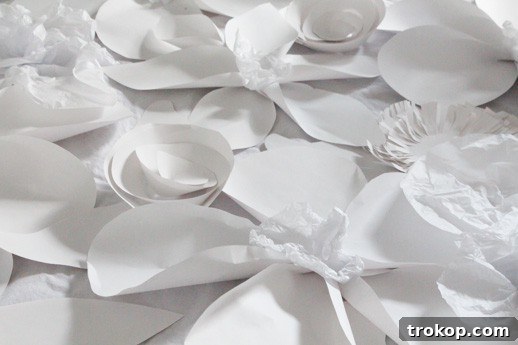
Once you have a good number of finished paper flowers, begin hot-gluing them onto your fabric backdrop. Start with your largest flowers, placing them strategically to create a foundation for your design. Then, fill in the spaces with medium and smaller flowers. Work from the top down or center out, depending on your desired layout. The advantage of having the fabric hung first is that you can step back and assess the arrangement as you go, making adjustments to flower placement for the most impactful display.
Step 4: Add Depth and Detail
To give your backdrop an even richer and more textured appearance, consider incorporating additional elements. We often add in tissue paper flowers for a softer touch, and you can also fill in smaller empty spaces with delicate folded paper crepes, similar to those we originally crafted as cake toppers. These small details can make a big difference in the overall look and feel of your floral wall.
Beyond the Party: Creative Ways to Display Your Paper Flower Backdrop
The beauty of a DIY paper flower backdrop extends far beyond a single event. Its versatility allows for a myriad of creative uses, both temporary and permanent:
- Weddings and Engagement Parties: Create a romantic ceremony arch, a stunning reception photo booth, or a memorable dessert table background. The white and pastel options are timeless for bridal themes.
- Birthday Parties and Baby Showers: Customize colors to match any party theme, from vibrant and playful for a child’s birthday to soft and serene for a baby shower. It makes for adorable photos with the guest of honor.
- Photo Booths and Corporate Events: Elevate any event with a unique and engaging photo opportunity. Guests will love snapping pictures against a beautiful, handmade backdrop.
- Home Decor: Don’t pack it away! This backdrop can become a charming piece of home decor. Hang it on a statement wall in a living room, bedroom, or nursery for a touch of whimsy and elegance. You can even size it down and frame sections of it as unique wall art.
- Seasonal and Holiday Decor: Adjust colors to fit the season. Think autumnal tones for Thanksgiving, reds and greens for Christmas, or spring pastels for Easter.
- Shop Window Display: If you own a small business, a paper flower backdrop can create an eye-catching and inviting window display that draws customers in.
- Bedroom Headboard: For a truly unique touch, attach the paper flowers directly to a plain headboard or a panel behind your bed to create a soft, romantic focal point.
- Door or Archway Accent: Drape it over a doorway or archway to create an enchanting entrance to any room or outdoor space.
Tips for Success and Longevity
- Work in Sections: Don’t try to complete the entire backdrop in one go. Break it down into manageable tasks, like making a batch of flowers one day and gluing them the next.
- Test Glue: Before committing, test your hot glue on a scrap piece of your chosen fabric and paper to ensure it adheres well and doesn’t damage the materials.
- Overlap Flowers: Overlapping flowers slightly creates a fuller, more natural look and helps conceal any gaps in the fabric.
- Storage: If you plan to reuse your backdrop, store it carefully. Rolling it gently (flowers facing outward) and securing it with tissue paper or a light fabric cover can help protect the delicate paper flowers from getting crushed or dusty.
- Keep it Dry: Paper and moisture don’t mix! Ensure your backdrop is used and stored in a dry environment to prevent damage.
Unleash Your Inner Crafter: More Easy Paper Craft Projects
If you enjoyed crafting this beautiful paper flower backdrop, you’ll love exploring more possibilities with paper! Here are some of our favorite easy paper craft projects to inspire your next creative endeavor:
- DIY Waterproof Paper Coasters
- Quirky Wallpaper Designs
- DIY Paper Wall Art
- How to Make a DIY Pattern Paper Leather Tote
DIY Paper Flower Backdrop
1 hr
1 hr
DIY
Entertaining Decor
Equipment
- Hot glue gun and glue sticks
- Scissors
- Clear tape
Materials
- Large construction paper any color of your choice
- Tissue paper optional for additional texture in any color of your choice
- Backdrop large sheet or fabric in your desired size
Instructions
- Fold various styles of paper flowers using the construction paper and tissue paper.
- Hang your backdrop in your desired location.
- Hot glue the finished flowers onto your backdrop, arranging them as desired.
Notes
$10
diy paper flower backdrop

We absolutely adore seeing your creative endeavors! Don’t forget to share your dazzling DIY Paper Flower Backdrops with us on Instagram using the hashtag #sugarandclothloves. Your beautiful creations are a constant source of inspiration for our community. Looking for even more fantastic interior design ideas and home decor tutorials? You can discover a treasure trove of inspiration right here on our blog!