
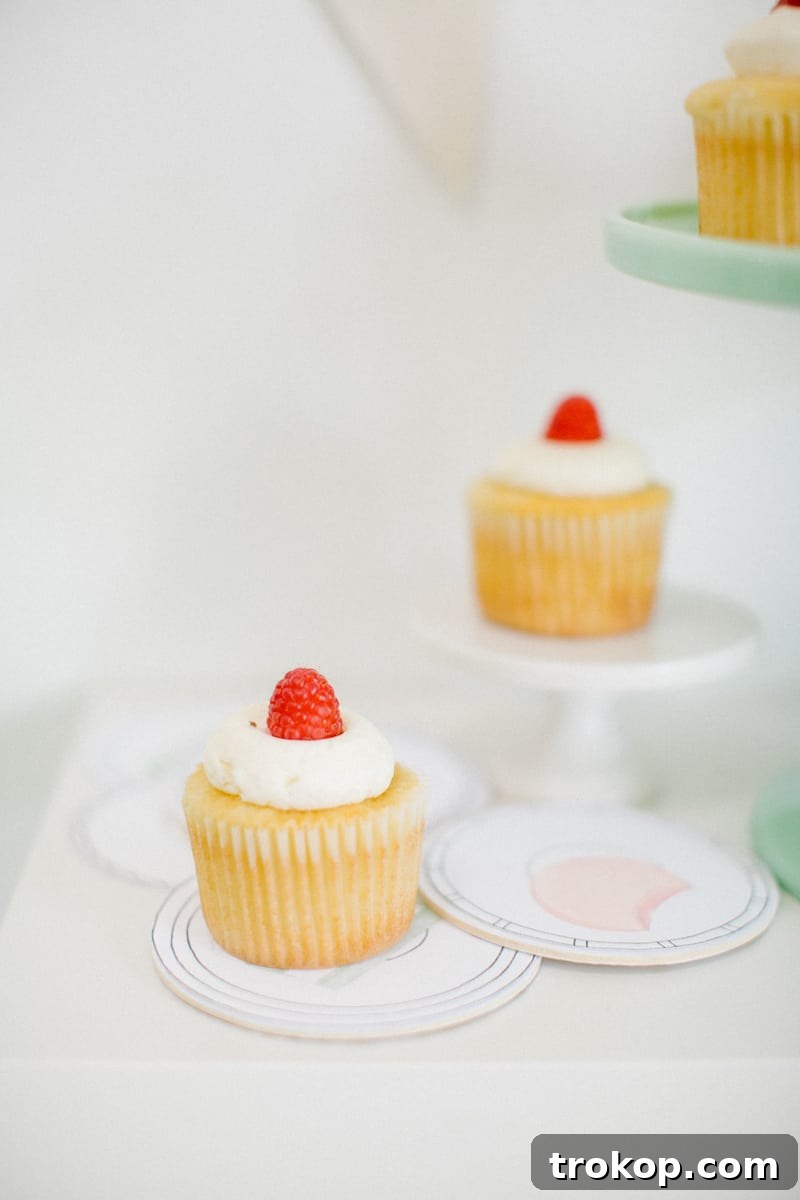
Elevate Your Events with Charming DIY Printable Dessert Coasters: A Simple Guide
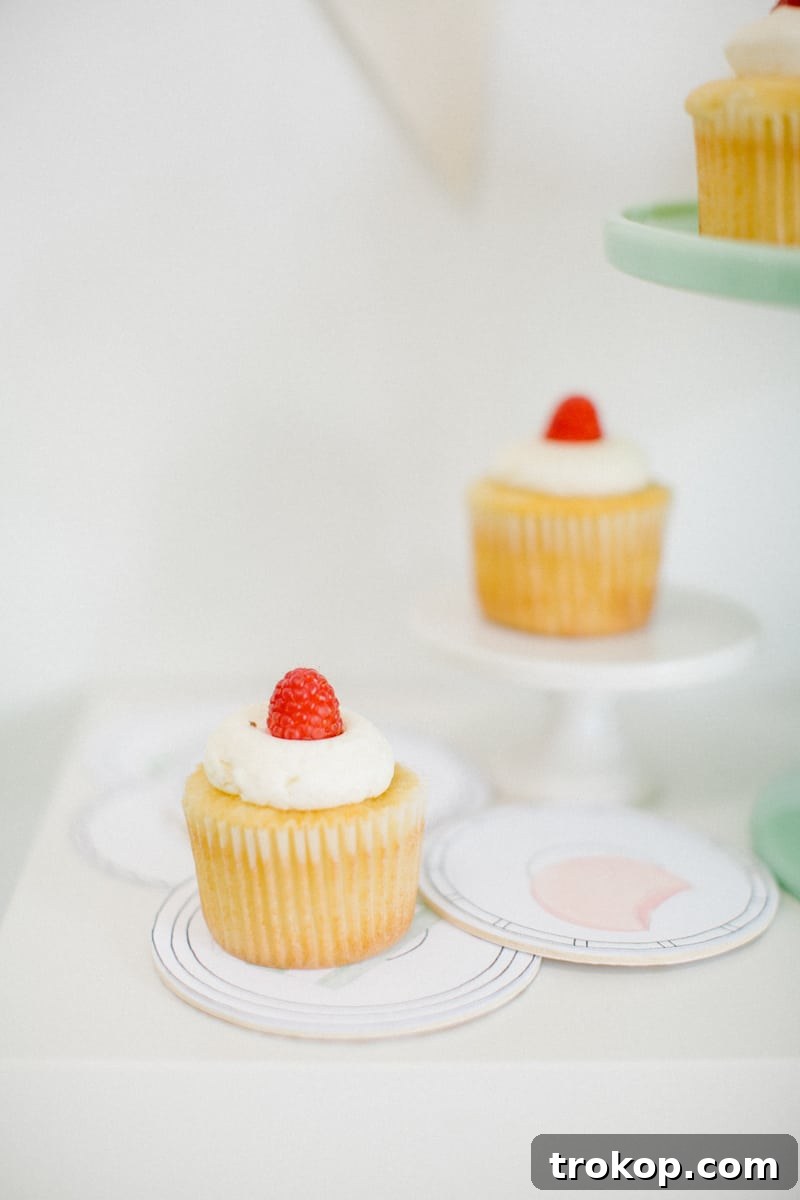
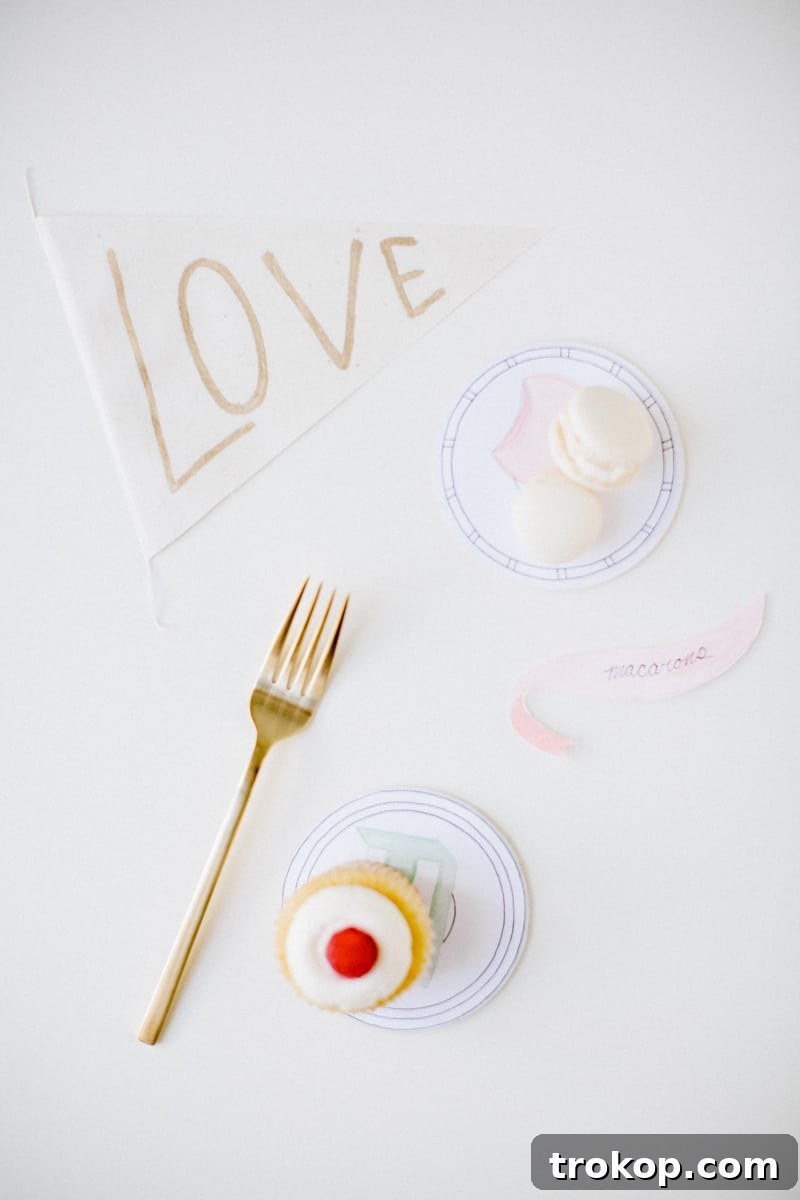
Hosting a memorable gathering often comes down to the thoughtful, personalized details that make guests feel truly special. While grand decorations are certainly impactful, sometimes it’s the subtle, creative touches that leave the longest-lasting impression. Today, we’re thrilled to share a delightful DIY project that epitomizes effortless charm and practicality: printable dessert coasters. These aren’t just any coasters; they’re an ingenious way to present individual sweet treats, adding a touch of whimsy and elegance to any celebration.
We’re excited to finally unveil a truly special printable design that we crafted in collaboration with the incredibly talented Lisa Chow. These dessert coasters were initially envisioned for a spring-themed dessert table, but their versatility quickly became apparent. What started as a fun accent for a particular holiday has blossomed into a universally appealing idea for any event. Whether you’re planning a lively birthday party, an elegant wedding reception, a cozy baby shower, or simply an afternoon tea with friends, these printable coasters are a game-changer for presenting your delectable desserts.
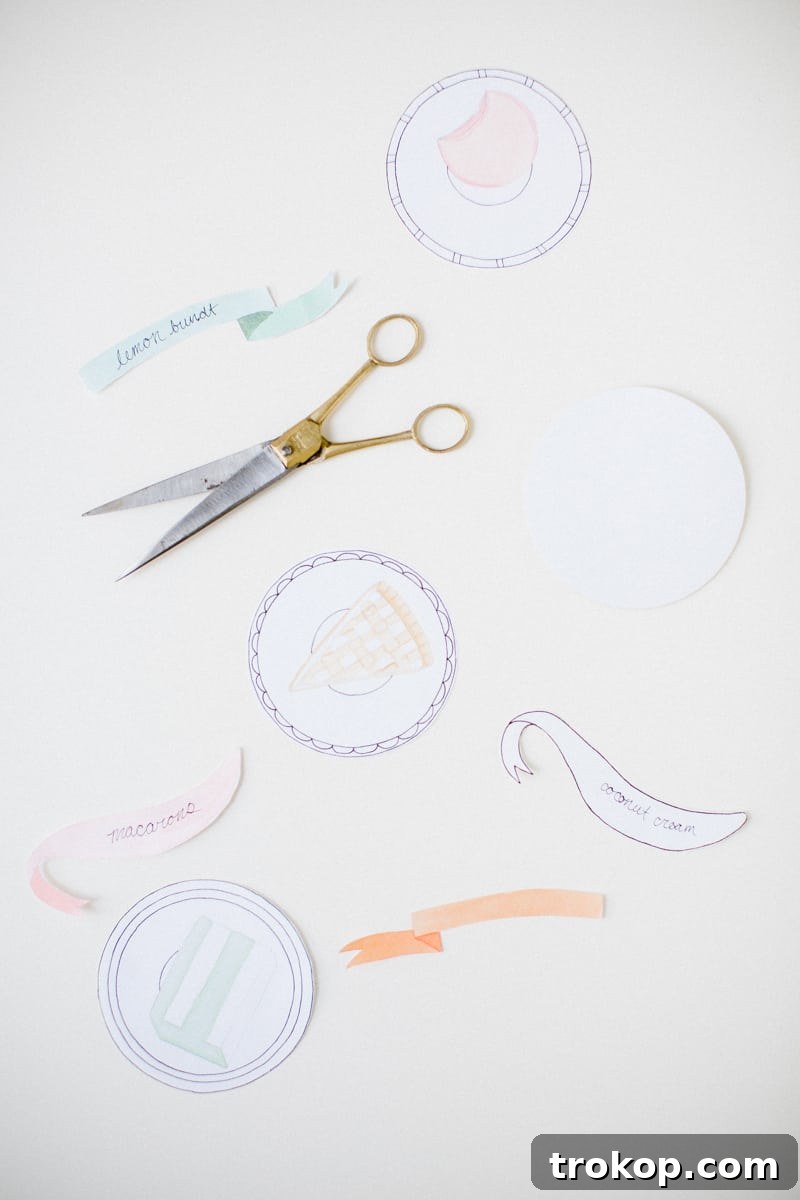
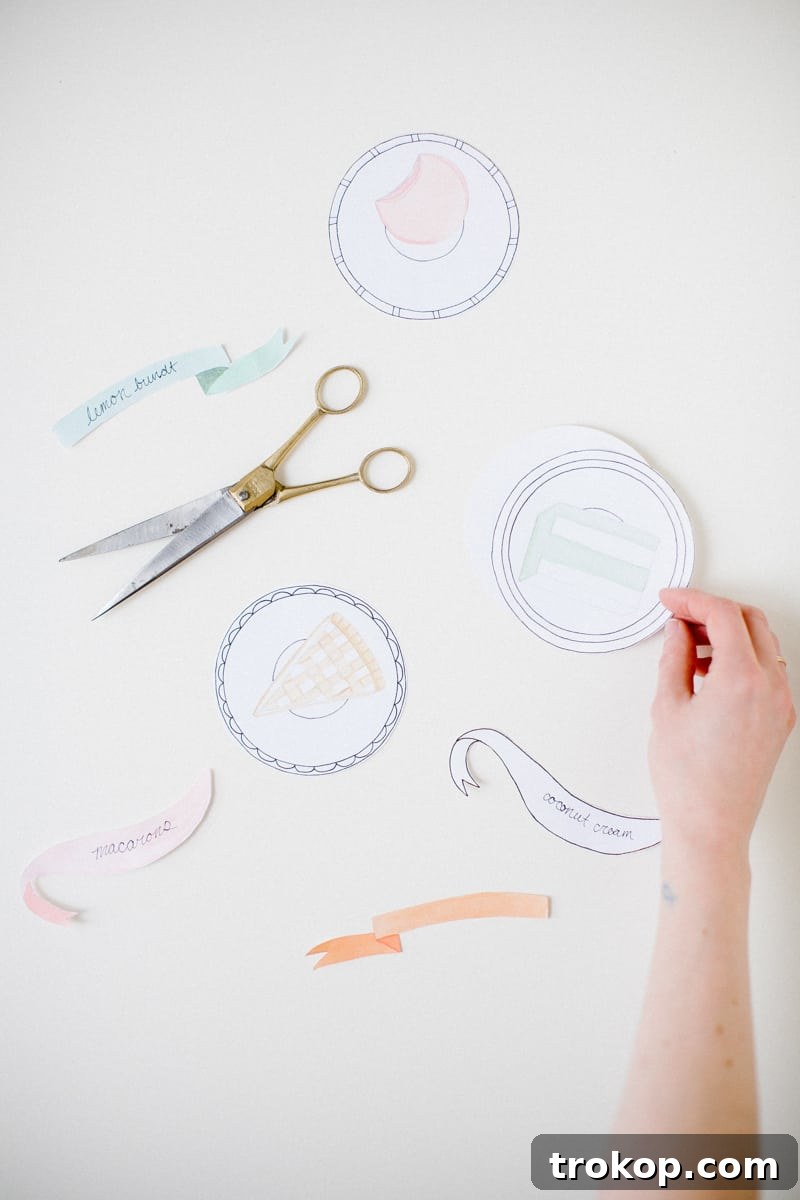
The beauty of this project lies in its simplicity and profound impact. Imagine offering your guests a perfectly portioned cupcake, a delicate macaron, or a slice of pie, each resting on its own beautifully designed, disposable coaster. Not only does this elevate the presentation, making every dessert feel like a little gift, but it also offers incredible convenience for both hosts and guests. These aren’t just decorative elements; they function as charming, single-serve dessert plates, eliminating the need for excessive dishwashing and making cleanup a breeze. Lisa’s designs feature three delightful variations: a classic cake slice, an array of colorful macarons, and a rustic pie wedge. Each design boasts a subtle, sophisticated color scheme that seamlessly blends with nearly any party theme or existing decor, ensuring they enhance rather than clash with your aesthetic.
Customizable Charm for Any Celebration
One of the most compelling aspects of these DIY printable dessert coasters is their adaptability. Forget about generic party supplies; with these, you can inject a unique personality into every event. Let’s explore just how versatile they can be:
- Birthday Parties: From a child’s whimsical birthday to an adult’s elegant soirée, these coasters can carry cupcakes, mini tarts, or personalized cookies. You can even tie them into specific themes, using the dessert design that best complements your party’s style.
- Weddings & Bridal Showers: Looking for a chic yet budget-friendly way to serve desserts? These printable coasters offer an exquisite touch for wedding favors or a dessert bar. Imagine a tiered display of mini cheesecakes or individual pastries, each resting on a beautifully illustrated coaster. For bridal showers, they add a sweet, celebratory detail to the dessert spread.
- Baby Showers: Pink, blue, or gender-neutral, these subtle designs fit perfectly with the soft palettes often seen at baby showers. Serve individual fruit tarts or themed cookies, making each treat feel precious and thoughtful.
- Holidays & Seasonal Gatherings: Beyond Easter, these coasters are ideal for any holiday. Think mini pumpkin pies for Thanksgiving, festive cookies for Christmas, heart-shaped brownies for Valentine’s Day, or even patriotic treats for summer celebrations. Their elegant simplicity ensures they can be dressed up or down to suit the occasion.
- Casual Gatherings & Everyday Entertaining: Who says special touches are only for grand events? Elevate a casual brunch, an afternoon coffee break, or a spontaneous get-together with friends. A simple scone or a piece of homemade cake feels infinitely more special when served on one of these delightful coasters.
The ability to customize and integrate them into such a wide array of events makes these printable coasters an indispensable tool for anyone who loves to entertain. They offer a simple yet powerful way to elevate the guest experience without requiring extensive effort or expense.
Essential Materials for Your DIY Coasters
Creating these charming dessert coasters is straightforward and requires only a handful of readily available materials. We’ve chosen items that are easy to work with and deliver a beautiful, professional-looking result. Here’s what you’ll need to get started:
- Download and print the printable dessert coaster designs here: This is your starting point! Our carefully crafted designs feature the cake, macaron, and pie illustrations, ready for you to bring to life.
- Scissors: A good pair of sharp scissors will ensure clean, precise cuts around the circular designs. If you have a craft punch that matches the size, even better for speed and uniformity!
- Printer and regular 8.5×11 inch paper: While standard printer paper works perfectly for disposable coasters, you can also experiment with slightly thicker cardstock for a more premium feel, especially if you intend them to be a bit more durable. Ensure your printer settings are on “best quality” for vibrant colors.
- 3.5 inch heavy white coasters: These form the base of your dessert plates. The 3.5-inch size is ideal for individual treats like cupcakes, cookies, or small pastries. Opt for heavy cardstock coasters for sturdiness, ensuring they can comfortably hold your desserts without bending or warping. You can often find these in craft stores or online.
- Glue stick or rubber cement: Both are excellent adhesives for this project. A glue stick offers clean, easy application, while rubber cement provides a strong bond and allows for repositioning before it sets, which can be helpful for perfect alignment. Choose whichever you feel most comfortable working with.
Your Easy Step-by-Step Guide to Crafting Dessert Coasters
Now that you have all your materials gathered, let’s dive into the simple process of creating your beautiful dessert coasters. This project is beginner-friendly and yields impressive results with minimal effort.
- Print Your Designs: First, ensure you’ve downloaded the printable coaster designs. Open the PDF file and print them on your regular 8.5×11 inch paper. For the best visual outcome, set your printer to its highest quality setting. If you’re planning a large event, consider printing a few extra sheets in case of any mishaps during cutting or gluing.
- Precise Cutting: Once your designs are printed, carefully cut out each circular coaster design. Take your time with this step to ensure clean edges. A sharp pair of scissors is crucial here. If you have a 3.5-inch circular craft punch, this tool will make the cutting process incredibly fast and give you perfectly uniform circles, saving you valuable time, especially if you’re making a large batch.
- Apply Adhesive: Turn your cut-out coaster design face down. Apply a generous, even layer of your chosen adhesive – either a glue stick or rubber cement – to the back of the printed paper. Make sure to cover the entire surface, especially the edges, to prevent lifting later. If using a glue stick, work quickly before it dries. If using rubber cement, you’ll have a bit more wiggle room for repositioning.
- Adhere to Coasters: Carefully center your adhesive-backed printed design onto one of the heavy white coasters. Press down firmly, working from the center outwards to smooth out any air bubbles and ensure full contact. If you used rubber cement, you might have a moment or two to adjust its position for perfect alignment.
- Allow to Dry: Once all your designs are adhered, set the coasters aside to dry completely. This typically takes about 10-15 minutes for a glue stick and slightly longer for rubber cement, depending on the thickness of the application. Ensuring they are fully dry will prevent any shifting or wrinkling when they are put into use.
That’s it! In just a few simple steps, you’ve transformed plain coasters into custom, delightful dessert platforms. The process is so enjoyable, you might find yourself looking for more excuses to craft these for future events.
Tips for Durability, Customization, and Creative Styling
While these dessert coasters are primarily designed to be disposable, there are several ways to enhance their longevity, add a personal touch, and integrate them seamlessly into your overall event design.
Making Them Last Longer
If you’d like your coasters to withstand more than a single-use event, perhaps as actual drink coasters or for multiple servings, consider these enhancements:
- Thicker Paper or Card Stock: Instead of regular printer paper, print your designs directly onto a heavier card stock. This immediately adds durability and a more premium feel. Look for card stock in the 80lb to 110lb range.
- Glossy Spray Finish: For an extra layer of protection against spills and moisture, apply a clear, glossy sealant spray. After gluing the printables to the heavy white coasters and ensuring they are completely dry, spray a light, even coat of an acrylic sealer. This will give them a professional, water-resistant finish, making them more resilient and reusable.
Personalization and Customization
While our provided designs are beautiful, don’t hesitate to get creative and make them uniquely yours:
- Add Names or Dates: Before printing, use a simple photo editor or PDF editor to add event dates, monograms, or guest names to the center or edge of the designs. This transforms them into bespoke keepsakes.
- Experiment with Coaster Colors: While white coasters offer a crisp background, consider heavy cardstock coasters in a pastel shade or a color that complements your event’s theme for a different look.
- Ribbon or Twine Accents: For a rustic or whimsical touch, you could punch a small hole at the top of the coaster (before serving the dessert) and thread a coordinating ribbon or a piece of twine through it, tying it into a bow.
Creative Styling and Pairing
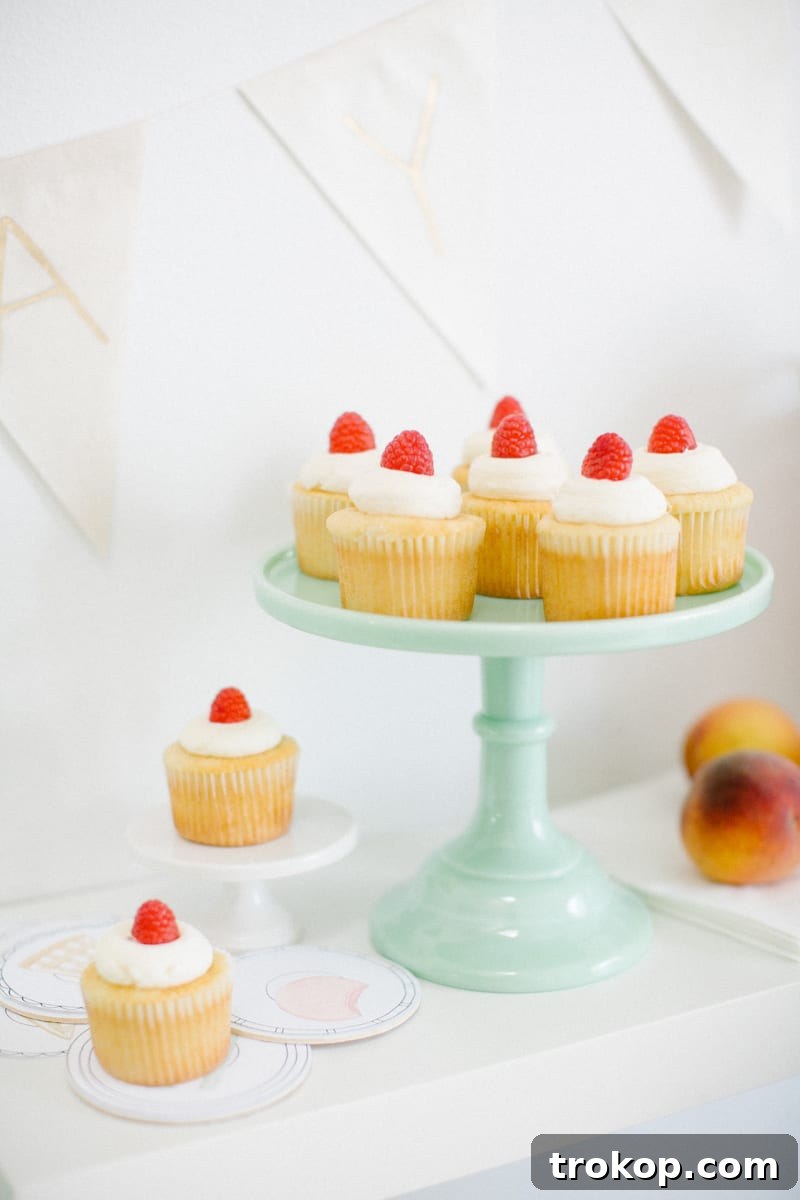
These dessert coasters are fantastic on their own, but they truly shine when paired with other thoughtful decor elements. As you can see from our styled shoot, we loved combining these with other charming DIYs. If you liked the adorable little flags used in our original shoot, you can absolutely download those here to complement your coasters. Using a combination of themed elements like these printable flags and coasters creates a cohesive and visually appealing dessert display that tells a story.
Why Disposable Dessert Coasters Are a Party Game Changer
Beyond their aesthetic appeal and ease of creation, these DIY printable dessert coasters offer tangible benefits that can significantly enhance your hosting experience and your guests’ enjoyment:
- Effortless Cleanup: This is arguably one of the biggest advantages. After the festivities, simply gather and dispose of the coasters. No stacks of sticky plates, no endless scrubbing, and no risk of breaking cherished dishware. This convenience allows you to fully enjoy your own party.
- Hygiene and Portion Control: Serving individual desserts on separate coasters is inherently more hygienic, as it minimizes communal touching of serving utensils or plates. It also naturally encourages portion control, which can be a subtle benefit for guests and helps manage dessert inventory.
- Cost-Effective Elegance: Compared to renting or purchasing multiple sets of small dessert plates, especially for larger gatherings, these DIY printables are incredibly budget-friendly. You get a customized, elegant look without the hefty price tag.
- Enhanced Presentation: Each dessert becomes a mini work of art. The carefully chosen designs provide a beautiful backdrop, making even simple cookies or store-bought treats look more gourmet and thoughtful. This visual appeal contributes significantly to the overall ambiance of your event.
- Interactive and Engaging: Guests often appreciate the unique touches at events. These coasters can be a talking point, prompting compliments and conversations about the creative details of your party.
In essence, these printable dessert coasters offer a perfect blend of creativity, practicality, and affordability. They allow you to add a personal, polished touch to any event, making both the preparation and the celebration more enjoyable and less stressful. So go ahead, download the designs, gather your materials, and prepare to delight your guests with these charming little masterpieces!
We truly hope you’ve found inspiration in this simple yet impactful DIY project. It’s a wonderful way to infuse personality and thoughtfulness into your gatherings, big or small. We encourage you to try it out for your next celebration and share your beautiful creations with us!
Special thanks to our incredible collaborators who brought this vision to life:
Styling and DIYs by Sugar & Cloth // Photography by Kimberly Chau // Desserts by Buttercup // Illustrations by Lisa Chow // Mint green and white cake stands and bunting c/o Minted // Gold flatware and serving utensils by West Elm