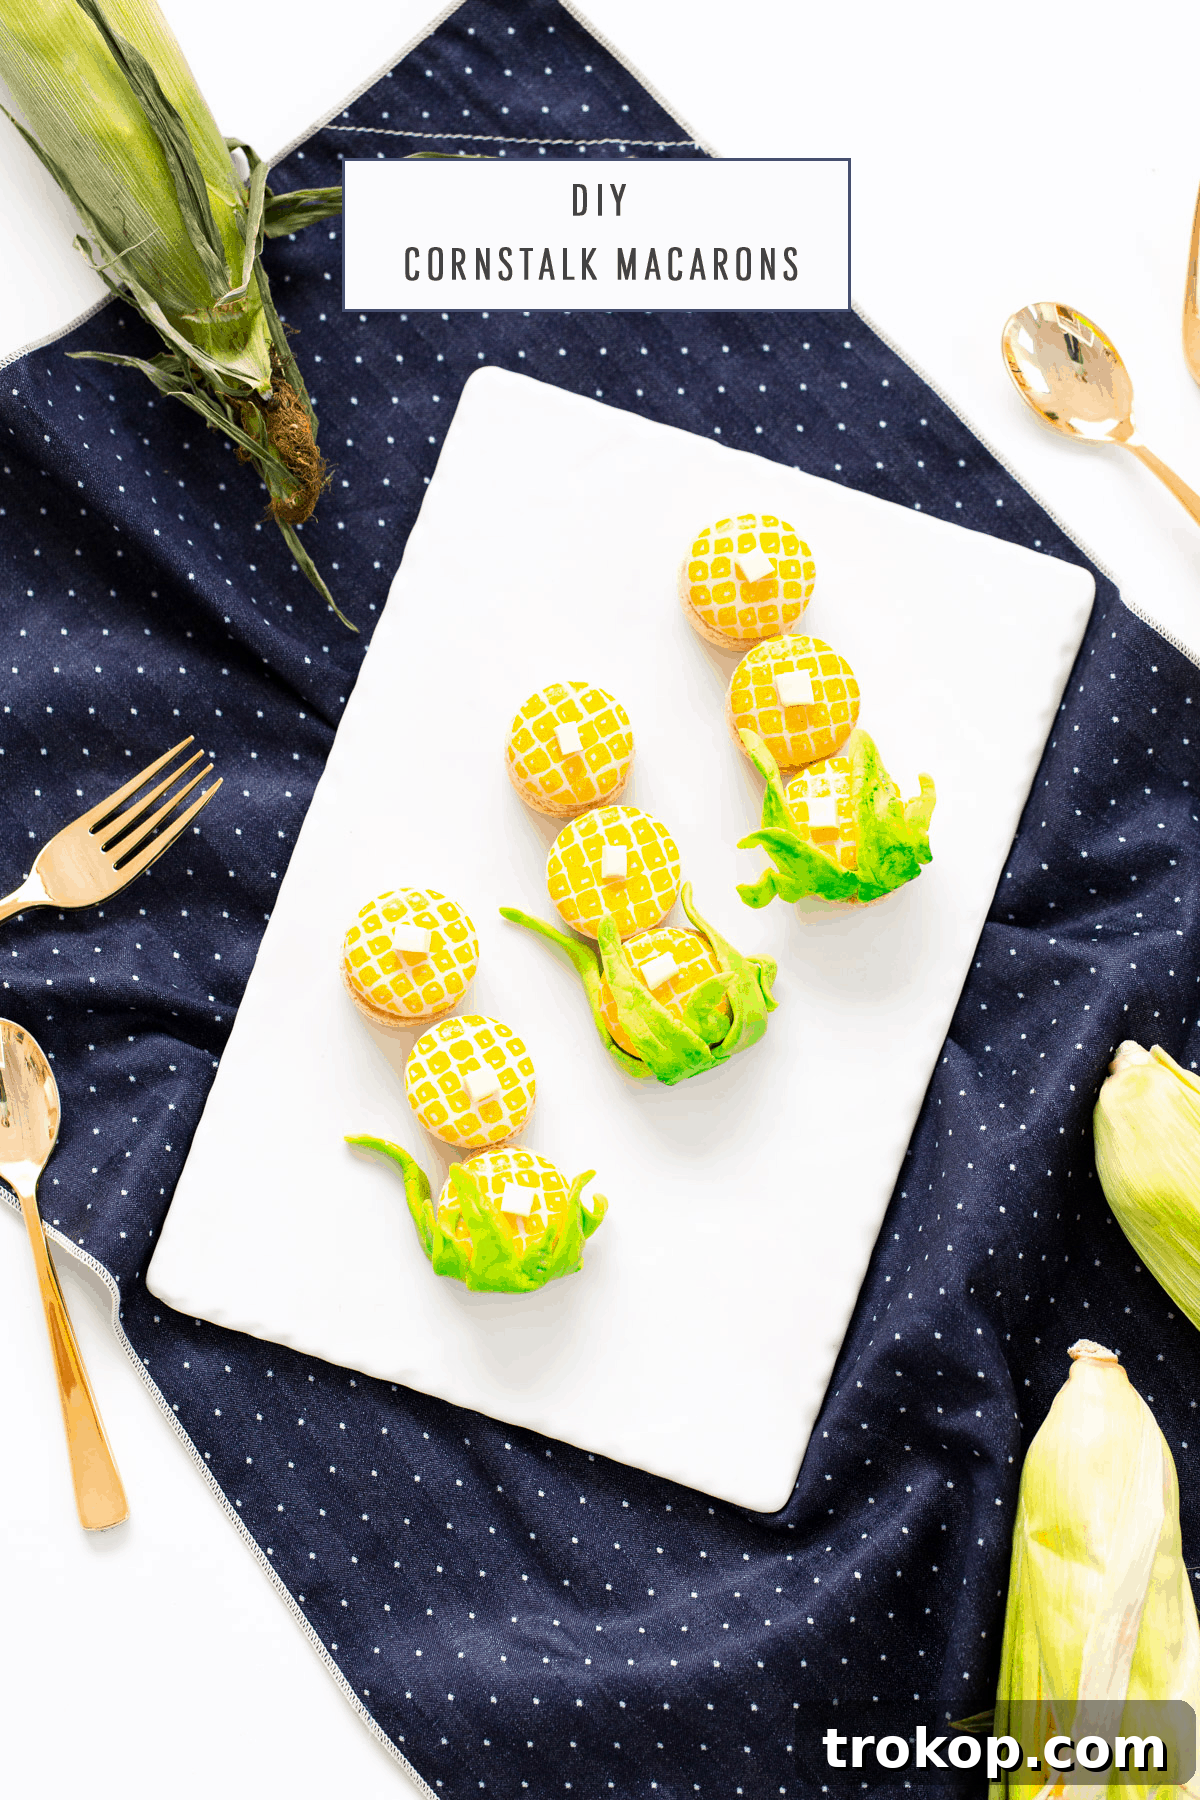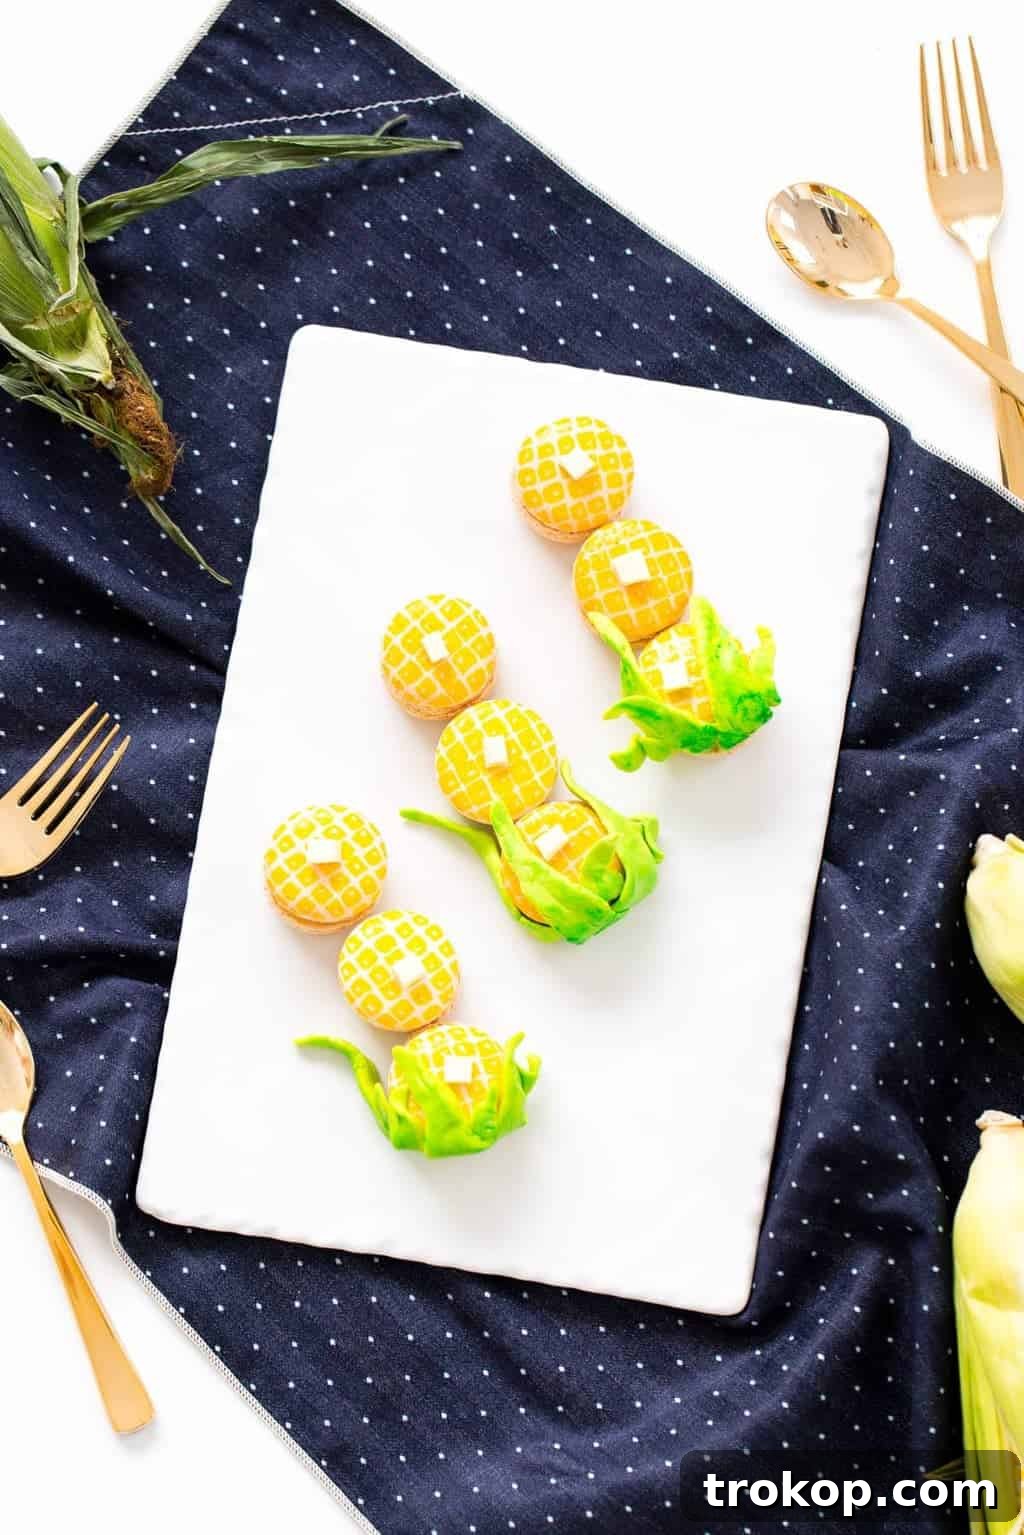
DIY Corn Macarons: A Festive Fall Treat for Your Holiday Table
As the leaves begin to turn and the crisp autumn air fills our homes with the scent of pumpkin spice and cozy gatherings, our thoughts naturally drift to heartwarming traditions and delicious seasonal treats. At our core, we believe that every celebration, big or small, deserves a touch of homemade charm and a dash of unique creativity. This philosophy led us to unveil a truly special addition to our ever-growing collection of macaron marvels: our delightful DIY Corn Macarons, specifically designed to bring a whimsical and festive flair to your Thanksgiving table or any fall-themed event.
Macarons have long been celebrated for their delicate texture, vibrant colors, and endless possibilities for customization. While classic flavors certainly have their place, there’s an undeniable joy in transforming these elegant confections into edible art that tells a story or celebrates a season. Our corn-themed macarons are more than just a dessert; they’re a conversation starter, a charming decorative element, and a testament to the fun you can have in the kitchen. Imagine the smiles when your guests discover these adorable, harvest-inspired treats nestled amongst your traditional holiday spread. They’re a playful nod to autumn’s bounty, crafted with love and a sprinkle of creative magic.
We pride ourselves on providing clear, comprehensive guides for all our DIY projects. However, even in the most organized of creative spaces, life sometimes throws a curveball. And in the instance of these charming DIY Corn Macarons, we experienced one such curveball. While the final results were undeniably adorable and picture-perfect, a small hiccup occurred during the creation process. Unfortunately, due to an accidental deletion, the step-by-step “how-to” photographs for these particular macarons were lost. We understand that visual aids are incredibly helpful, and we sincerely apologize for this unforeseen oversight.
Yet, true to the spirit of DIY, we believe in finding solutions and focusing on the positive. The good news is that the methodology for decorating these corn macarons builds upon fundamental techniques we’ve explored extensively in many of our other macaron tutorials. We have a treasure trove of resources, including detailed guides on making perfect macaron shells from scratch and various decorating styles. So, while the specific process shots for this corn design might be missing, you’ll find ample guidance within our blog’s archives to confidently tackle this project. Think of this as an opportunity to apply your existing macaron skills or to delve into our comprehensive French macaron recipe for the first time, knowing that the beautiful outcome is well within your reach.
Ultimately, our goal is to inspire and empower you to create beautiful things. We know that the joy of crafting often lies in the journey and the satisfaction of a stunning finished product. And when it comes to these DIY Corn Macarons, we can confidently say that they are a resounding success in the cuteness department. Their charming design makes them an unforgettable addition to any fall festivity, proving that sometimes, even with a minor detour, the destination can be utterly delightful. So, let’s embrace the creative spirit and dive into making these festive treats, confident that the end result will be worth every moment!
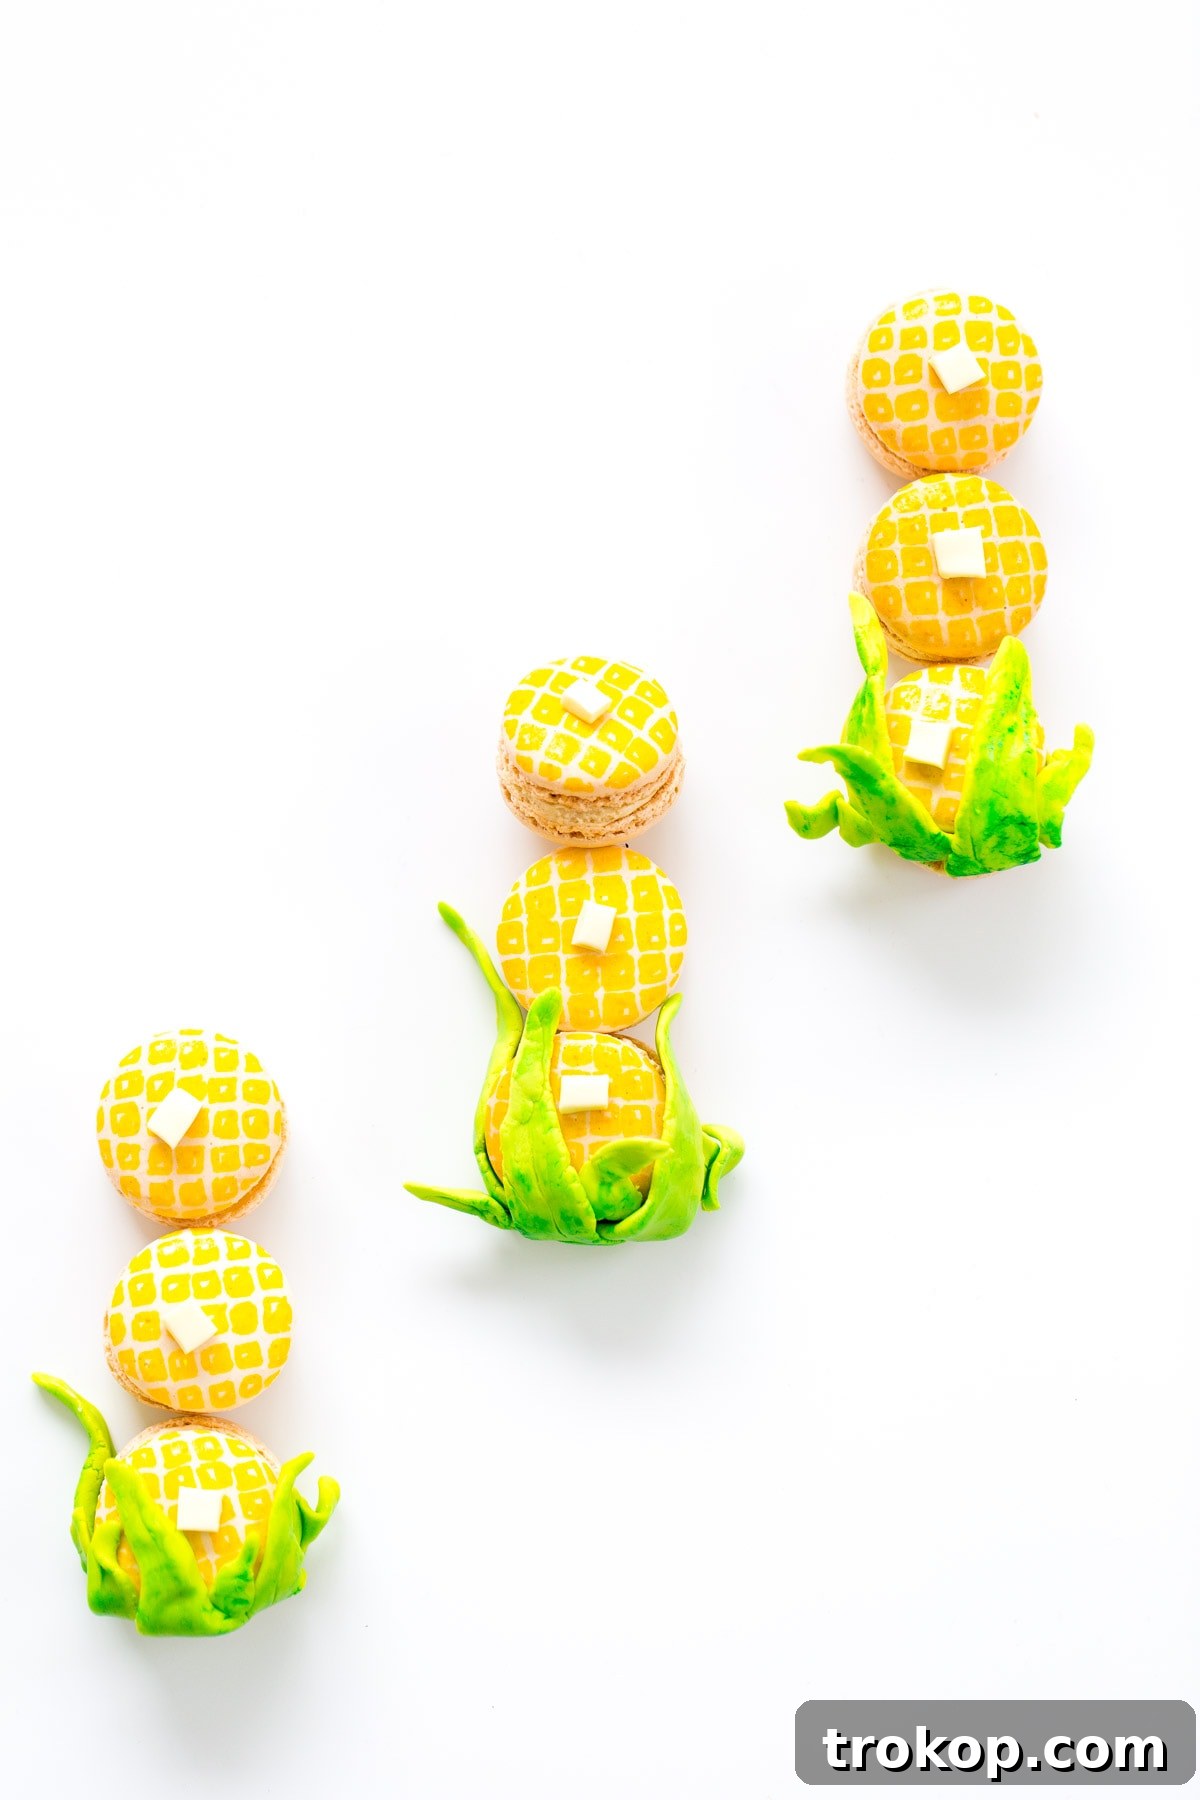
Table of Contents
Materials And Tools Needed To Make DIY Corn Macarons
Crafting these adorable corn macarons requires a few key items, most of which are easily accessible at your local craft store or online. The beauty of this project lies in its simplicity, focusing on decorative elements that transform a basic macaron into a themed masterpiece. Here’s what you’ll need to gather:
- Edible Food Markers: Specifically, you’ll need yellow and green edible markers. These precision tools are fantastic for adding fine details and lines to your confections. The yellow marker will be crucial for creating the individual corn kernels, while the green can be used to add definition to your fondant stalks. Look for markers with fine tips for optimal control and intricate designs.
- Green and White Fondant: Fondant is a pliable, sugar-based dough perfect for sculpting and molding. You’ll need green fondant to create the corn husks or stalks and white fondant for the small, buttery squares. Pre-made fondant is widely available and convenient, saving you time. Ensure your fondant is fresh and soft enough to work with easily; if it’s too stiff, you can knead in a tiny bit of vegetable shortening to soften it.
- Vanilla Macarons: The base for our corn creations! You have two excellent options here. For convenience and to focus solely on the decorating aspect, feel free to use high-quality store-bought vanilla macarons. Opt for a brand that produces consistently smooth and evenly colored shells. Alternatively, if you’re a baking enthusiast and prefer the satisfaction of homemade, we highly recommend our easy French macaron recipe. Making your own macarons allows you to control the size, color (you could even tint them a light corn yellow!), and flavor, ensuring a truly bespoke treat. Just remember to let your homemade macarons cool completely before attempting any decoration.
- Basic Kitchen Tools: While not listed above, having a small rolling pin for the fondant, a sharp paring knife or small cookie cutters for shaping, and a clean workspace will greatly assist in the decorating process.
With these materials at hand, you’re well on your way to crafting an incredibly charming and edible autumn display. The combination of delicate macarons and playful fondant elements makes for a truly unique dessert experience.
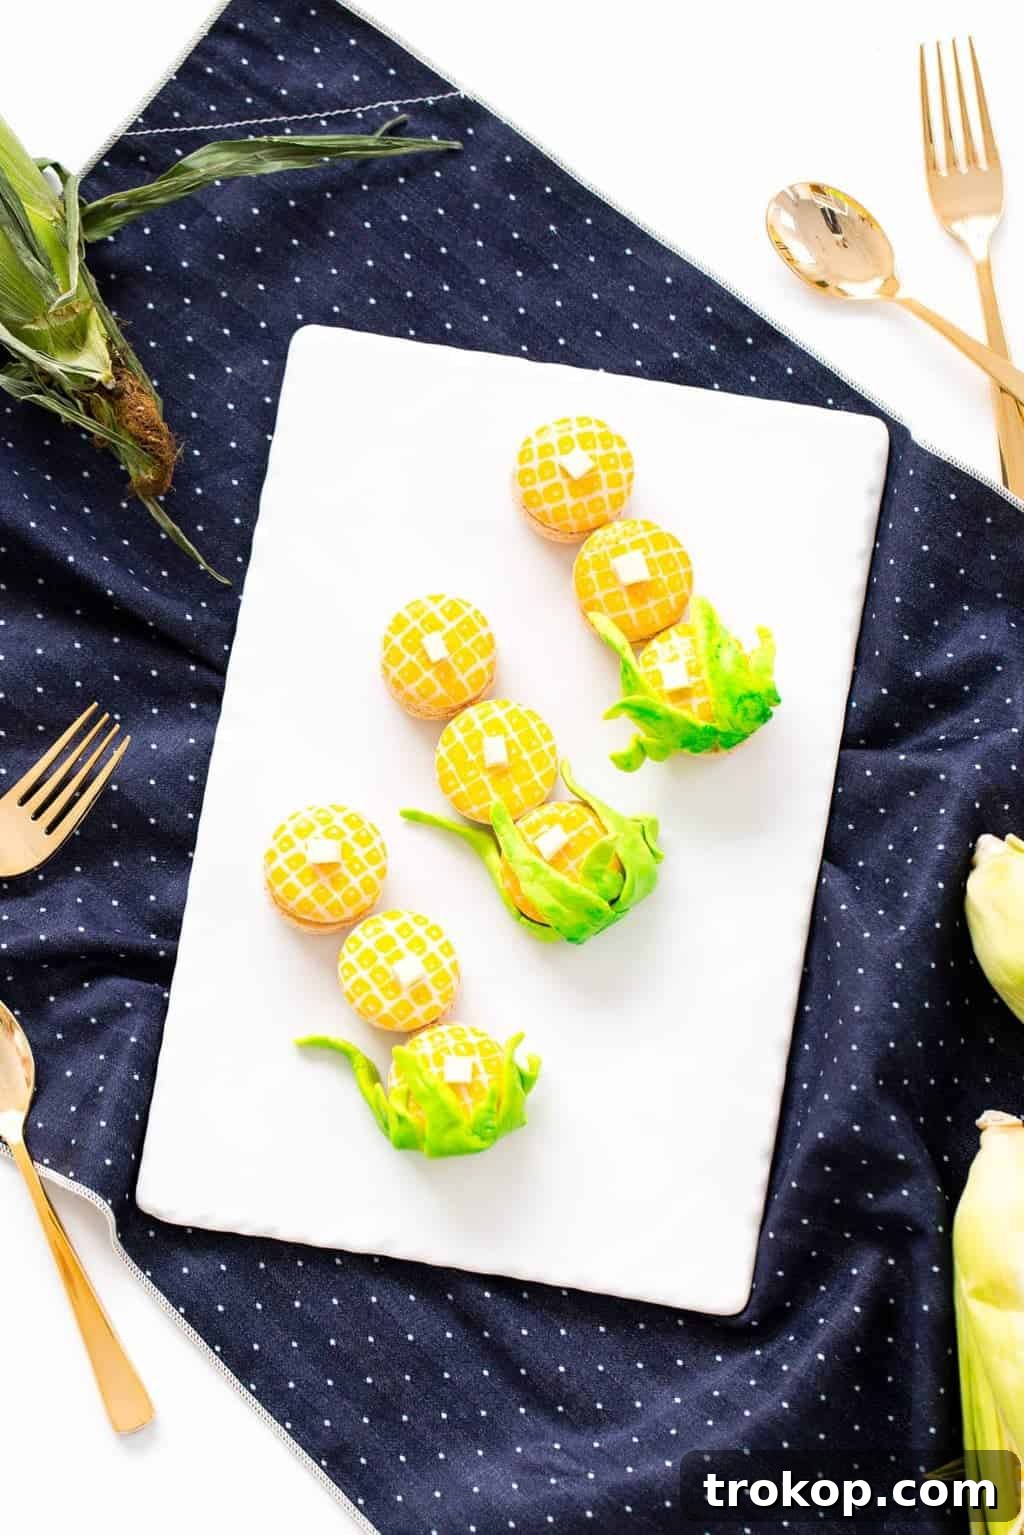
How To Make DIY Corn Macarons
Even without the step-by-step photos, the process of transforming plain vanilla macarons into festive corn-on-the-cob treats is wonderfully straightforward and incredibly rewarding. Think of it as a creative decorating session, much like the charming designs we explored with our brunch macarons. Here’s a detailed guide to bringing your DIY Corn Macarons to life:
Step 1: Preparing Your Macaron Base
Ensure your vanilla macarons, whether homemade or store-bought, are completely cooled and firm to the touch. A smooth, even surface is ideal for the decorating steps that follow. If using homemade macarons, make sure they have rested and baked properly to achieve that characteristic crisp shell and chewy interior. You might even consider baking your macaron shells with a subtle yellow food coloring mixed into the batter to enhance the “corn” effect, creating a cohesive look even before decorating begins.
Step 2: Creating the Corn Kernels with Edible Markers
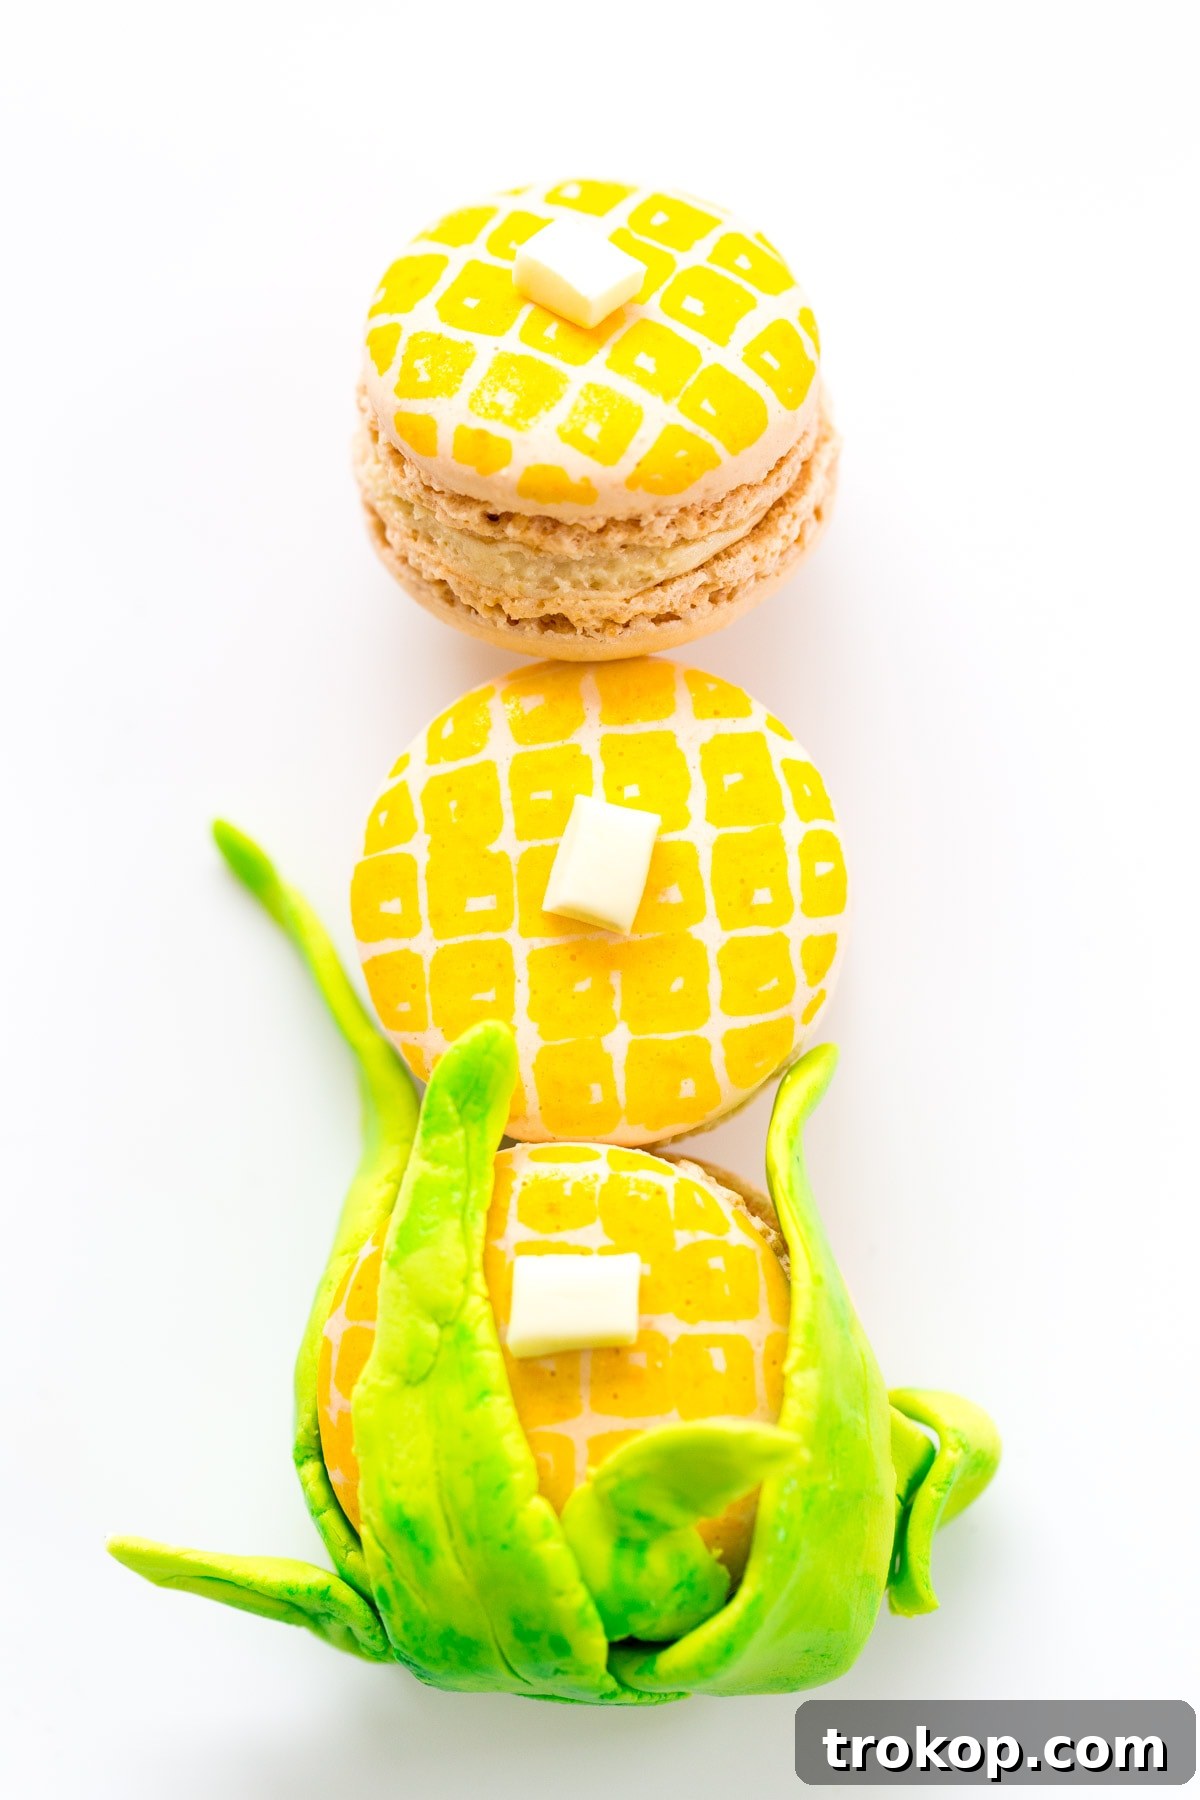
This is where the magic truly begins! Take your yellow edible food marker. With a steady hand, gently draw tiny, evenly spaced squares or crosshatch patterns across the top shell of each vanilla macaron. The goal is to create the visual illusion of individual corn kernels. Don’t worry about perfect uniformity; slight variations will only add to the realistic, hand-crafted charm. You can choose to cover the entire macaron top or leave a small margin around the edge. Apply just enough pressure to transfer the color without indenting the delicate shell. Allow the ink to dry for a minute or two before moving on.
Step 3: Crafting and Placing the Butter Squares
Now, let’s add a delicious-looking pat of butter! Take a small piece of white fondant and roll it out thinly on a clean, lightly dusted surface (you can use a tiny bit of cornstarch or powdered sugar to prevent sticking, but be minimal). Using a very small, sharp knife or a miniature square cutter, carefully cut out tiny squares of fondant. These will represent the melting butter on your corn. Gently place one white fondant square on top of each macaron, positioning it slightly off-center for a more dynamic and natural appearance. The natural stickiness of the fondant, or a tiny dab of macaron filling, can help secure it in place.
Step 4: Designing the Green Corn Stalks (Husks)
Next up are the vibrant green stalks. Take your green fondant and knead it until it’s pliable. Roll out small, thin strands or flatten small pieces and cut them into leaf-like shapes that resemble corn husks. The key is to create pieces that can elegantly drape over the edge of the macaron. You can make them slightly irregular in shape and size for a more organic look. To attach these, gently lift one macaron shell (if it’s a two-piece macaron) and press the base of your green fondant stalk into the creamy filling. Then, carefully press the top shell back down, allowing the fondant stalk to peek out and fold over the top edge, as if the corn cob is still partially encased in its husk. Alternatively, you can use a tiny dot of piping gel or royal icing to adhere the stalks to the side of the assembled macaron if you prefer not to separate the shells. For an extra touch of realism and visual depth, use your green edible food marker to draw thin lines or veins onto the green fondant stalks, giving them more definition and a textured appearance, mimicking natural corn husks.
Step 5: Final Touches and Setting
Once all your macarons are decorated, allow them to set for a little while. This ensures the edible marker ink is fully dry and the fondant pieces are securely in place. You can gently place them in an airtight container once dry, but avoid stacking them to preserve their delicate decorations.
And there you have it! A batch of uniquely charming DIY Corn Macarons, ready to impress and delight. Despite the missing process photos, these clear steps should guide you to a visually stunning and delicious outcome.
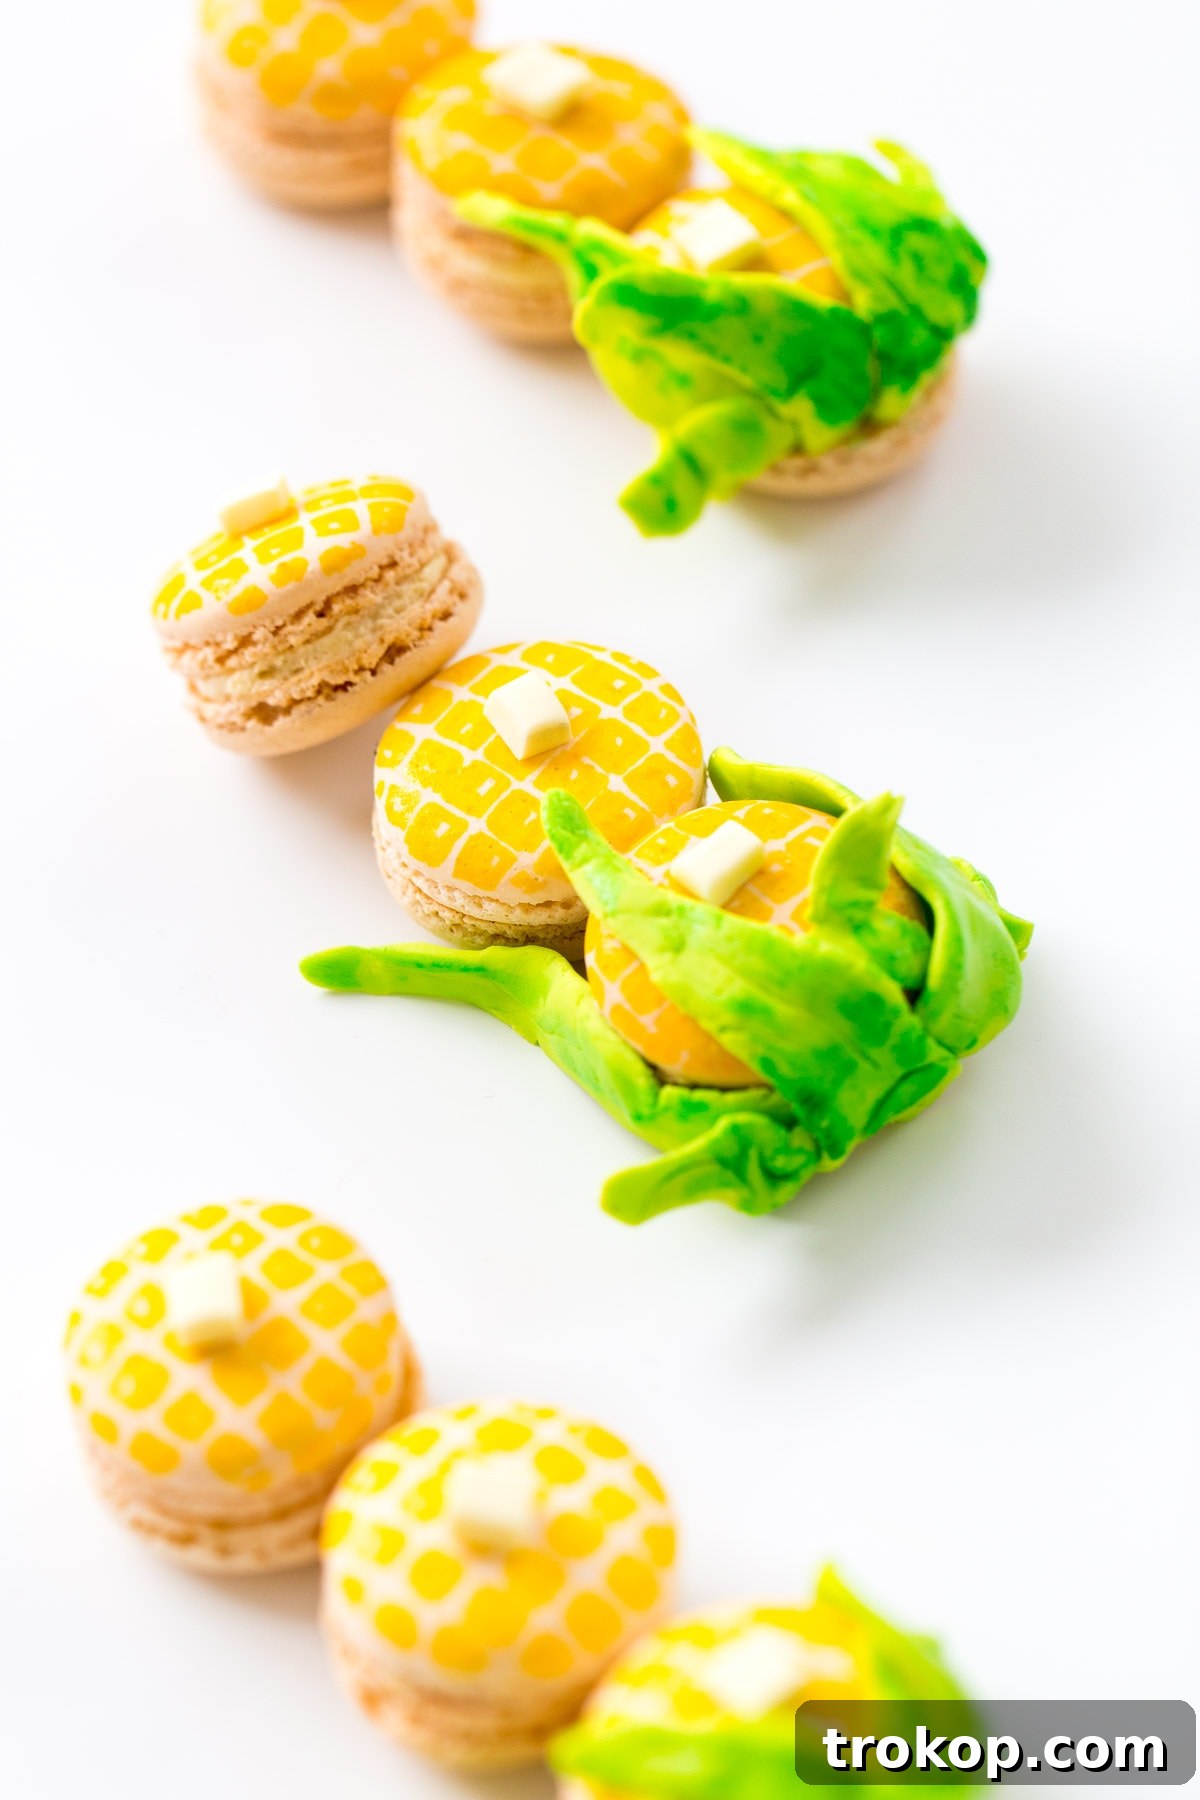
Pro Tips for Macaron Decorating
Even seasoned bakers appreciate a few extra pointers. Here are some pro tips to help you achieve the best possible results with your DIY Corn Macarons and macaron decorating in general:
- Practice Makes Perfect: If you’re new to edible markers or fondant work, consider practicing on a spare macaron shell or even a piece of parchment paper first. This helps you get a feel for the pressure and technique before decorating your final treats.
- Work Clean: Keep your hands and workspace clean. Fondant can pick up crumbs or stray colors easily. Have a damp cloth nearby for quick clean-ups.
- Fondant Handling: If your fondant becomes too sticky, dust your hands lightly with powdered sugar. If it’s too dry, knead in a tiny bit of vegetable shortening until it’s pliable again. When rolling out fondant, use a non-stick mat or a surface lightly dusted with powdered sugar.
- Precision with Markers: For the corn kernels, work in good lighting to ensure you’re making clear, distinct marks. You can use a ruler or guide to help with initial spacing if you want extreme uniformity, but a freehand approach often looks more natural for something like corn.
- Securing Fondant: While the macaron filling can help adhere the fondant stalks, for extra security, especially if your kitchen is warm, you can use a tiny dot of edible glue (readily available at craft stores) or a very small amount of royal icing. Apply with a toothpick.
- Storage: Decorated macarons should be stored in an airtight container in the refrigerator. However, be mindful that fondant can sometimes “sweat” in humid conditions or change texture when refrigerated, so it’s best to decorate them closer to the time of serving for optimal freshness and appearance. Allow them to come to room temperature for about 15-20 minutes before serving for the best flavor and texture.
- Embrace Imperfection: Remember, these are DIY! Small quirks and variations make them unique and add to their homemade charm. Don’t strive for machine-like perfection; aim for delightful individuality.
Creative Variations and Serving Suggestions
These DIY Corn Macarons are already a standout, but there are always ways to personalize them further or integrate them into a larger theme. Here are some ideas:
- Color Variations: While traditional corn is yellow, you could experiment with other autumnal colors. Imagine deep orange “pumpkin” macarons with green stalks, or even a mix of yellow and white corn kernels for a more variegated look.
- Flavored Fillings: Beyond vanilla, consider seasonal macaron filling flavors. A salted caramel buttercream, a maple cream cheese frosting, or even a very subtle pumpkin spice ganache would complement the fall theme beautifully.
- Glitter and Shine: For a touch of sparkle, lightly dust the finished macarons with edible gold or pearl luster dust. This can make them feel even more festive and luxurious, perfect for a holiday setting.
- Different “Butter” Shapes: Instead of squares, you could freehand tiny drops or irregular blobs of white fondant to mimic partially melted butter for a more rustic look.
- Serving Presentation: Arrange your corn macarons on a rustic wooden platter alongside other fall desserts like mini pumpkin pies, apple tarts, or cinnamon rolls. They would also look charming as part of a Thanksgiving dessert charcuterie board.
- Gifting: Pack a few corn macarons in a clear cellophane bag tied with a fall-themed ribbon for a thoughtful homemade gift or party favor for guests to take home.
- Pairing Suggestions: Serve these macarons with a warm mug of spiced apple cider, a rich pumpkin spice latte, or a gourmet coffee blend. The delicate sweetness of the macaron pairs wonderfully with warm, comforting beverages.
These corn macarons are not just a treat for Thanksgiving; they can brighten up any fall gathering, from a casual autumn brunch to a sophisticated harvest dinner party. Their unique design is sure to spark conversation and bring a smile to everyone’s face.
We truly hope you enjoy creating these charming DIY Corn Macarons. Despite the minor setback with our tutorial photos, we believe the detailed instructions and abundance of inspiration will guide you to a successful and delightful baking and decorating experience. The joy of DIY lies in the creation, and the delicious reward is simply the icing on the cake – or, in this case, the fondant on the macaron! We always love seeing your creations, so please feel free to share your finished corn macarons with us on social media.