
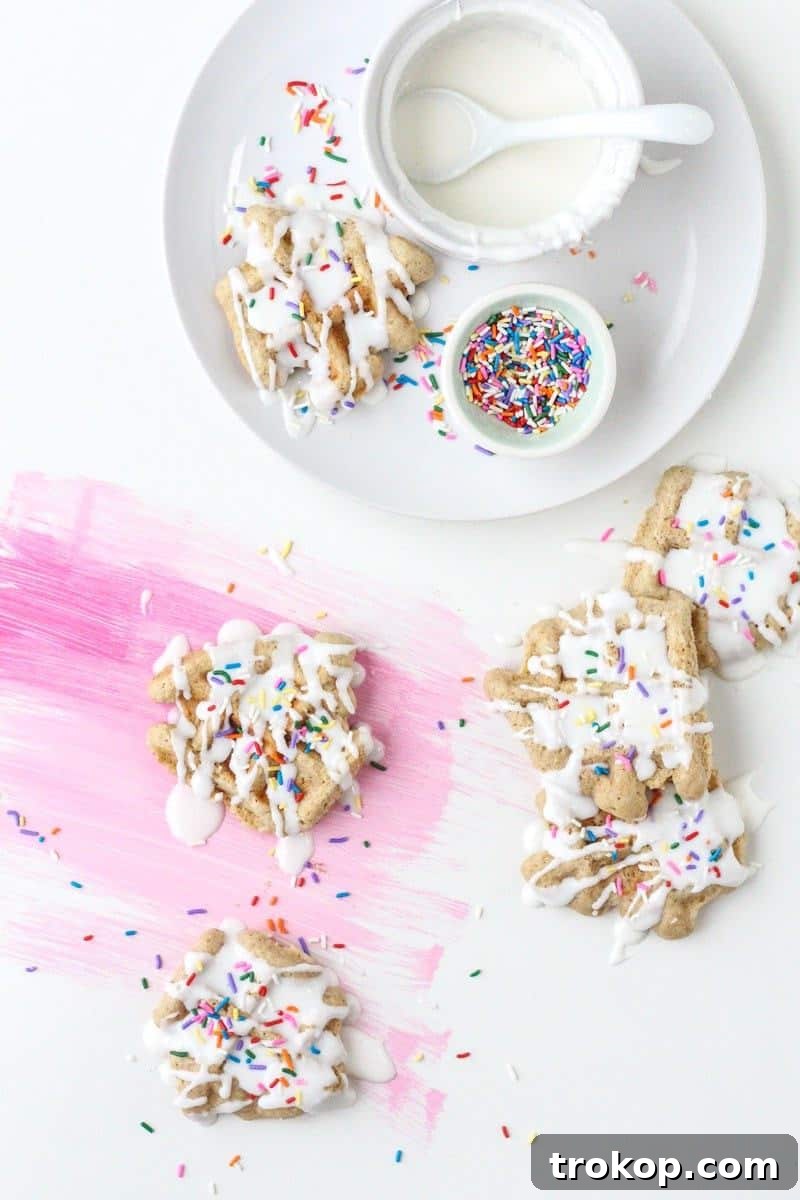
Craving cake but short on time? Imagine a warm, fluffy cake that’s ready in mere minutes. This revolutionary Mini Waffle Cake recipe transforms your favorite cake mix into delightful, individual treats in just 10 minutes, making it the ultimate baking hack for busy lifestyles!
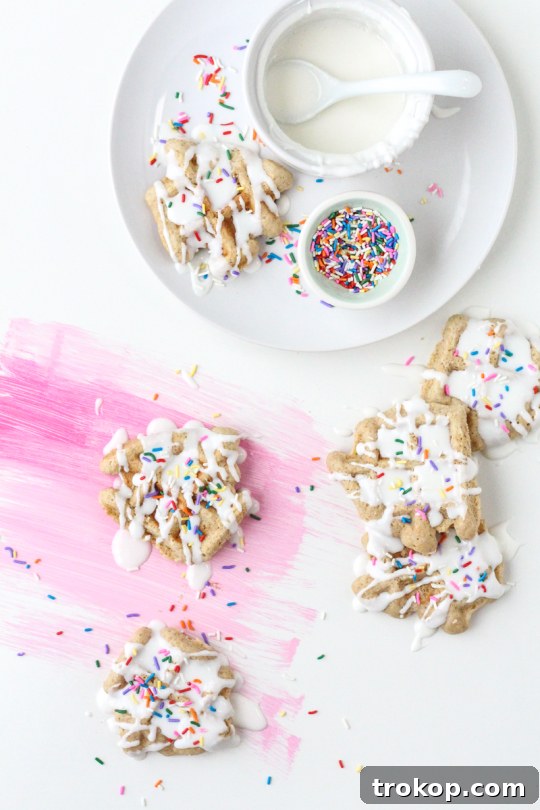
Do you often dream of indulging in a decadent cake but find yourself short on time or energy for elaborate baking? Well, say goodbye to lengthy oven waits and complicated steps, and say hello to your new favorite dessert: the Mini Waffle Cake! This ingenious recipe marries the sheer convenience of a boxed cake mix with the playful texture and quick cooking power of a waffle iron. In less than a quarter of an hour, you can effortlessly transform simple cake batter into a stack of golden-brown, bite-sized pockets of pure deliciousness.
It’s truly as simple as stirring together the ingredients for your chosen boxed cake mix and pouring the prepared batter directly onto your preheated waffle maker. The magic happens right before your eyes, offering a fun and incredibly fast path to homemade goodness without the fuss.
This recipe is an absolute lifesaver for those busy weeknights when a sweet treat is non-negotiable after dinner, yet time for traditional baking is a luxury you don’t possess. It’s also a fantastic solution for last-minute brunch plans, transforming a simple meal into something special. Furthermore, it’s an incredibly engaging and rewarding activity to do with kids. Picture the excitement on their faces as they watch their beloved cake mix batter bubble and transform into perfectly formed mini cakes, hot and ready to be decorated!

Table of Contents
Ingredients & Essential Tools for Waffle Cakes
To embark on your mini waffle cake adventure, gather these simple ingredients and tools. The beauty of this recipe lies in its minimal requirements, proving that delicious desserts don’t need a pantry full of exotic items.
- Boxed Cake Mix: Choose any flavor you adore! A standard 15.25-ounce box is perfect. Whether you prefer classic vanilla, rich chocolate, vibrant red velvet, or a zesty lemon, the possibilities are endless. For a wholesome touch, you can even use your favorite homemade cake mix base.
- Cake Box Essentials: You’ll need the liquid ingredients typically listed on your cake box mix. This usually includes water (or milk for a richer, more tender crumb), vegetable oil, and one or more eggs. Always refer to your specific cake mix for exact measurements.
- Your Choice of Icing: A ready-made frosting or glaze will make this process even faster. Pick a flavor that complements your cake mix – vanilla, chocolate, cream cheese, or a simple powdered sugar glaze all work wonderfully.
- Colorful Sprinkles: A dash of sprinkles not only adds a festive visual appeal but also a delightful pop of texture, making your mini waffle cakes even more irresistible.
- Mixing Bowls: You’ll need at least one large mixing bowl for preparing your batter and a smaller one if you plan to warm your icing.
- Waffle Maker: The star of the show! Any standard waffle maker, whether a classic Belgian style or a traditional American waffle iron, will do the trick. A good quality waffle maker with non-stick plates is highly recommended for easy removal.
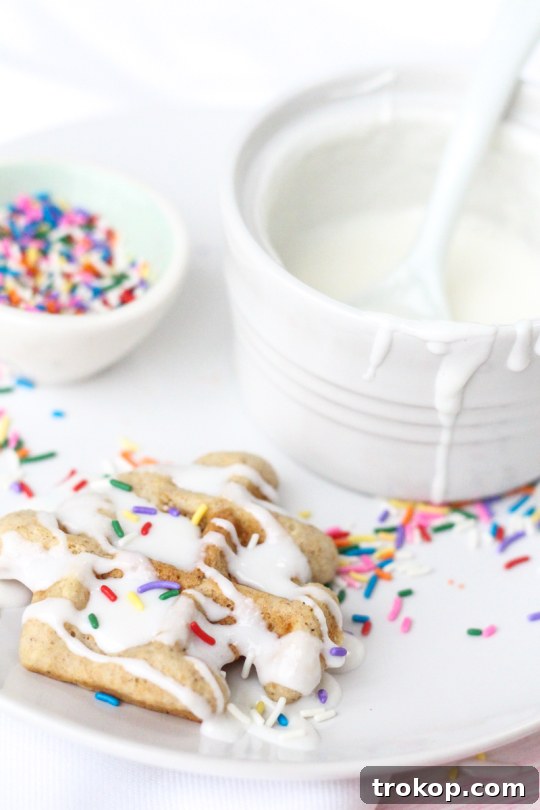
Step-by-Step Guide to Making Mini Waffle Cakes
Follow these incredibly easy steps to whip up a batch of delicious mini waffle cakes that will impress everyone with minimal effort:
- Preheat Your Waffle Iron: Start by plugging in your waffle maker and allowing it to fully preheat. Most models have an indicator light that signals when it’s ready. Lightly grease the waffle plates with a non-stick cooking spray, even if your waffle iron claims to be non-stick. This extra step ensures easy removal and prevents sticking, especially with sugary batter.
- Prepare the Cake Batter: In a spacious mixing bowl, combine your chosen boxed cake mix with all the additional ingredients specified on the back of the cake box. This typically includes water (or milk), vegetable oil, and eggs. Whisk everything together until the batter is smooth and lump-free. Be careful not to overmix, as this can lead to a tougher cake texture.
- Cook Your Waffle Cakes: Once your waffle iron is hot and ready, carefully pour a measured amount of batter onto the center of the waffle plate. The exact amount will depend on your waffle maker’s size and style; usually, it’s about ¼ to ½ cup per waffle, but avoid overfilling to prevent overflow. Close the lid and cook according to your waffle iron’s instructions, typically for 3-5 minutes, or until the waffle cake is beautifully golden brown, cooked through, and firm enough to hold its shape when gently lifted. The steam will usually stop escaping once it’s done.
- Remove and Repeat: Gently remove the cooked waffle cake from the iron using a fork or a non-metallic spatula. Place it on a wire rack to cool slightly while you cook the remaining batter. Repeat the process until all your batter is used, ensuring to re-grease the waffle iron between batches if necessary.
- Warm the Icing: For that perfect drizzly finish, transfer your chosen icing into a small, microwave-safe bowl. Heat it in the microwave for approximately 10 seconds. This brief warming makes the icing wonderfully smooth and pourable, ideal for drizzling.
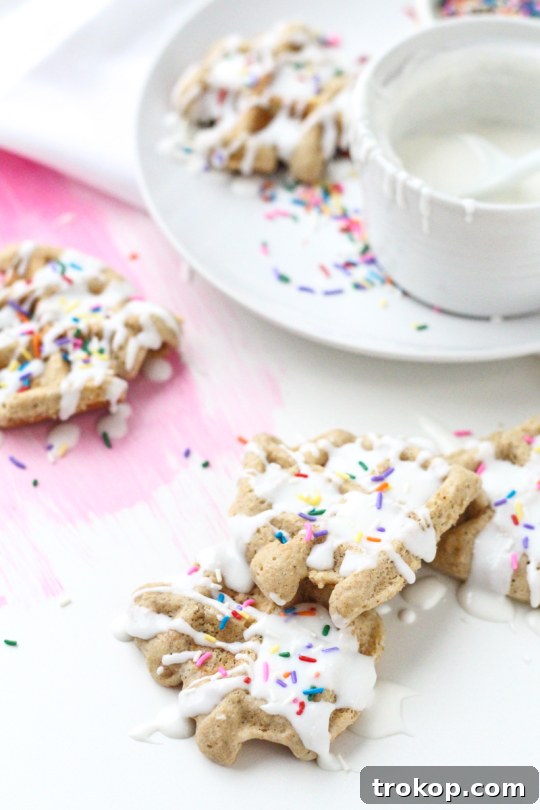
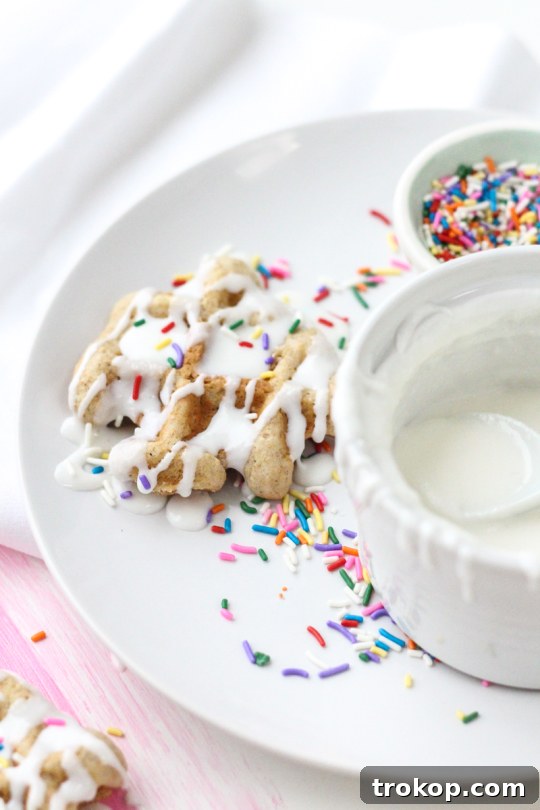
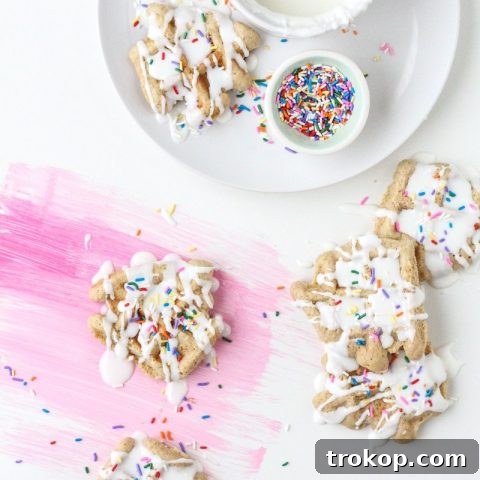
- Drizzle and Decorate: Generously drizzle the melted icing over your warm mini waffle cakes. The warmth of the cakes will help the icing melt and spread beautifully. For an extra touch of fun and festivity, immediately add a delightful dash of colorful sprinkles before the icing sets. And just like that, you’re all set to enjoy your homemade treats!
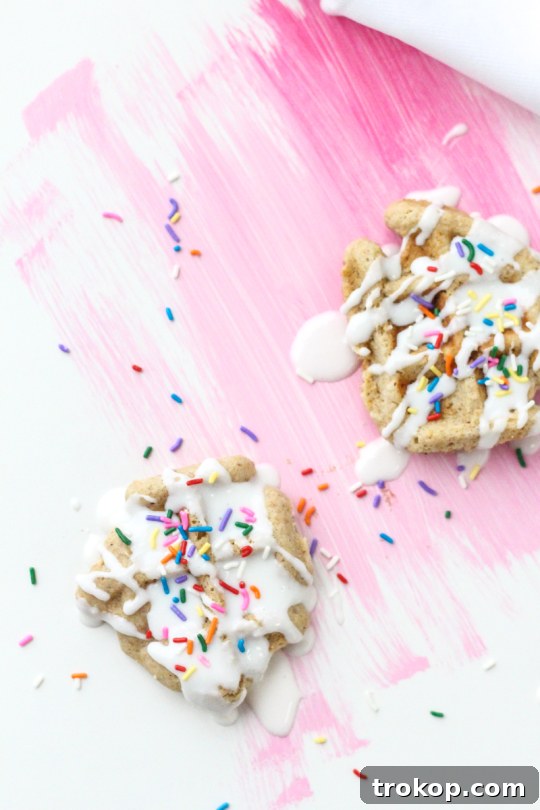
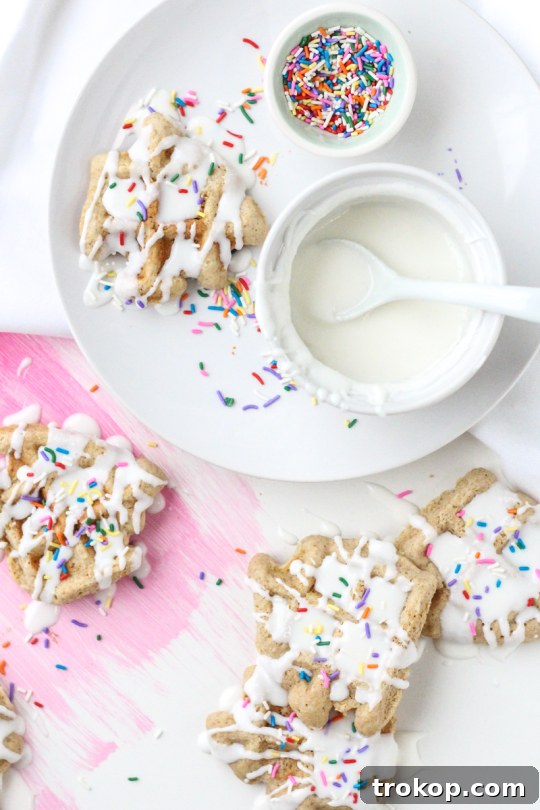
Expert Tips and Troubleshooting for Perfect Waffle Cakes
Even though this recipe is incredibly simple, a few expert tips can elevate your mini waffle cakes from good to absolutely perfect:
- Avoid Overfilling Your Waffle Iron: This is crucial! Using too much batter will lead to messy overflow, uneven cooking, and a sticky clean-up job. Start with a smaller amount (e.g., ¼ cup) and adjust as needed for your specific waffle maker. The goal is to fill the grid without spilling over the edges.
- Adjusting Batter Consistency: If your cake batter appears too thick after mixing, don’t hesitate to thin it out slightly. Add a small amount of water or milk, one tablespoon at a time, mixing well after each addition, until it reaches a smooth, pourable consistency similar to traditional pancake or waffle batter. This ensures even spreading and cooking.
- Don’t Overmix the Batter: While you want a smooth batter, overmixing develops the gluten in the flour, which can result in tough, dense waffle cakes. Mix until just combined and no dry streaks of flour remain. A few small lumps are perfectly fine.
- Allow for Proper Preheating: Ensure your waffle iron is fully preheated before adding the batter. A cold iron will result in pale, soggy waffle cakes that stick. The “ready” indicator light is your best friend here.
- The Art of Removal: Use a wooden or silicone spatula to gently lift the waffle cakes from the iron. Metal utensils can scratch the non-stick coating.
- Cooling Rack is Your Friend: Place cooked waffle cakes on a wire cooling rack immediately after removal. This prevents them from becoming soggy on the bottom due to trapped steam.
- Troubleshooting Sticking: If your waffle cakes are sticking, ensure your waffle iron is sufficiently greased with non-stick spray before each batch. Also, ensure the iron is hot enough and that the cakes are fully cooked before attempting to remove them. An undercooked waffle cake will be more prone to tearing and sticking.
Creative Flavor Variations and Toppings
The beauty of using a boxed cake mix is the endless variety of flavors available. Don’t stop at just one! Experiment with different options to suit any craving or occasion:
- Cake Mix Flavors:
- Chocolate Lovers: Use a rich chocolate cake mix, top with chocolate ganache, whipped cream, and chocolate shavings.
- Spice Delight: Opt for a spice cake mix, drizzle with cream cheese frosting, and sprinkle with a dash of cinnamon or nutmeg.
- Zesty Lemon: A lemon cake mix paired with a tart lemon glaze and fresh berries offers a refreshing treat.
- Birthday Funfetti: A classic yellow or white cake mix with extra sprinkles mixed into the batter and on top for a festive celebration.
- Red Velvet Romance: Red velvet cake mix with a classic cream cheese frosting is always a winner.
- Get Creative with Toppings: While icing and sprinkles are fantastic, the topping possibilities are truly limitless:
- Breakfast Bliss: Drizzle with maple syrup or honey, add a pat of butter, and a side of fresh fruit (berries, sliced bananas).
- Decadent Dessert: Top with scoops of vanilla ice cream, melted chocolate sauce, caramel sauce, whipped cream, and chopped nuts.
- Fruity Freshness: Layer with fresh fruit slices like strawberries, blueberries, raspberries, or sliced peaches. A dollop of Greek yogurt or a fruit compote can also add a nice touch.
- Nutty Crunch: Add chopped pecans, walnuts, almonds, or even toasted coconut flakes for added texture and flavor.
- Candy Craze: For a truly indulgent treat, crush your favorite candy bars or mini chocolate chips over the top.
Serving and Storage Suggestions
These versatile mini waffle cakes are perfect for any time of day:
- For Breakfast or Brunch: Serve them warm with a side of fruit, a dollop of yogurt, or classic maple syrup for a delightful start to your day. They’re a fantastic alternative to traditional pancakes or waffles.
- As a Quick Dessert: Offer them as a simple yet satisfying dessert, perhaps with a scoop of ice cream or a variety of toppings for a dessert bar.
- For Parties and Gatherings: Their individual size makes them ideal for potlucks, birthday parties, or even baby showers. Set up a topping bar and let guests customize their own!
- Storage: Any leftover mini waffle cakes can be stored in an airtight container at room temperature for up to 2 days. For longer storage, they can be refrigerated for up to 5 days.
- Reheating: To restore their delightful crispness and warmth, reheat them in a toaster oven for a few seconds until just heated through. A microwave can also be used, but they might be softer.
Frequently Asked Questions About Waffle Cakes
Here are some common questions about making these delightful mini waffle cakes:
- Can I use homemade cake batter instead of a boxed mix? Absolutely! If you have a favorite homemade cake batter recipe, feel free to use it. Just ensure its consistency is similar to pancake or waffle batter – thick enough to hold its shape but pourable.
- Do I need a special waffle maker? No, any standard waffle maker will work! Whether it’s a Belgian waffle maker that produces deep pockets or a classic American one with shallower grids, you’ll get fantastic results. Just adjust cooking time based on your specific appliance.
- Can I make these gluten-free or vegan? Yes! Many brands offer gluten-free or vegan boxed cake mixes. Simply prepare the mix according to its package directions, ensuring any additional ingredients (like eggs or milk) are also gluten-free or plant-based as needed.
- How do I prevent my waffle cakes from being too soft or too crispy? The cooking time is key. For softer waffle cakes, cook for the minimum recommended time until just golden. For crispier edges, cook for an extra 30-60 seconds. Also, ensure your waffle iron is fully preheated.
- Can I freeze mini waffle cakes? Yes! Allow them to cool completely, then place them in a single layer on a baking sheet and freeze until solid. Once frozen, transfer them to an airtight freezer bag or container. They can be stored for up to 1-2 months. Reheat directly from frozen in a toaster or toaster oven until warmed through.
More Quick and Easy Cake Hacks
These bite-sized treats are perfect for breakfast, dessert, or anytime you need a quick and fun sweet fix. This isn’t the first time we’ve leveraged the versatility of a box cake mix for a brilliant recipe hack, and it certainly won’t be the last! We’ve previously transformed humble cake mixes into other incredible creations like our comforting pumpkin crumb cake, delightful funfetti granola bars, and even adorable donut ice cream cakes.
For more inspiring and fun cake recipes, whether from scratch or with a clever shortcut, be sure to explore a few of our favorites below:
- Chai Crepe Cake
- Boozy Mudslide Icebox Cake
- Raspberry Layer Cake
- How to Make a Water Bath for Cheesecake
Print Recipe
Mini Waffle Cake Recipe
Equipment
-
Waffle maker
-
Mixing bowl
Ingredients
- 1 box cake mix about 15.25-ounce of any flavor
- ½ cup sprinkles
- ½ cup icing of your choice
- Additional ingredients listed on cake box typical water (or milk for a richer flavor), vegetable oil, and egg(s)
Instructions
-
Preheat your waffle iron. Lightly grease the waffle plates with non-stick cooking spray.
-
In a large bowl, prepare the cake batter with the additional needed ingredients according to the box’s instructions.
-
Pour the batter into the warmed waffle maker. Cook according to your waffle iron’s instructions, typically 3-5 minutes, or until golden brown and cooked through to hold its shape.
-
Remove the cooked waffle. Cook the remaining batter.
-
In a small bowl, microwave your icing for 10 seconds. Then, drizzle the melted icing over the waffle cake.
-
Top with sprinkles.
Nutrition

There you have it – a simple, swift, and utterly delicious way to satisfy your cake cravings. These mini waffle cakes are a testament to the fact that you don’t need to spend hours in the kitchen to create something special. They are the perfect blend of convenience, creativity, and comfort.
Don’t forget to share your mini waffle cake creations with us on Instagram using the hashtag #sugarandclothloves. We absolutely love seeing all your inventive desserts and how you put your unique spin on our recipes! If you’re on the hunt for even more quick and delicious recipes that make life a little sweeter and a lot easier, you can find them all right here!