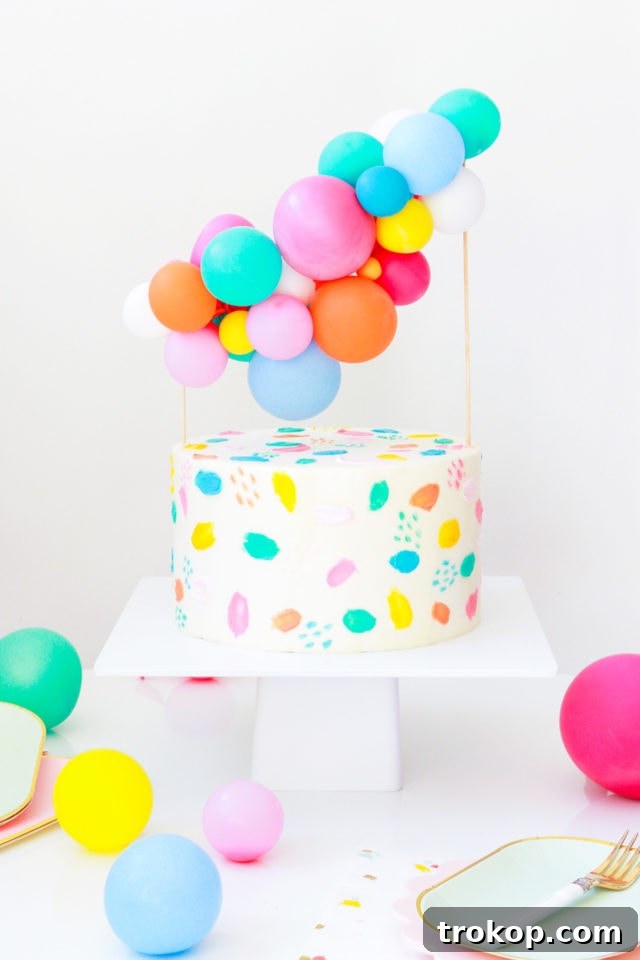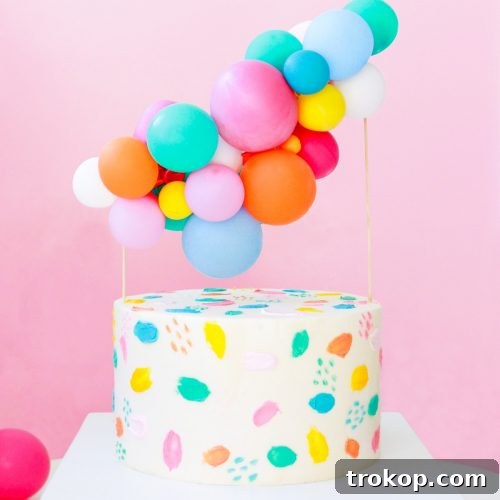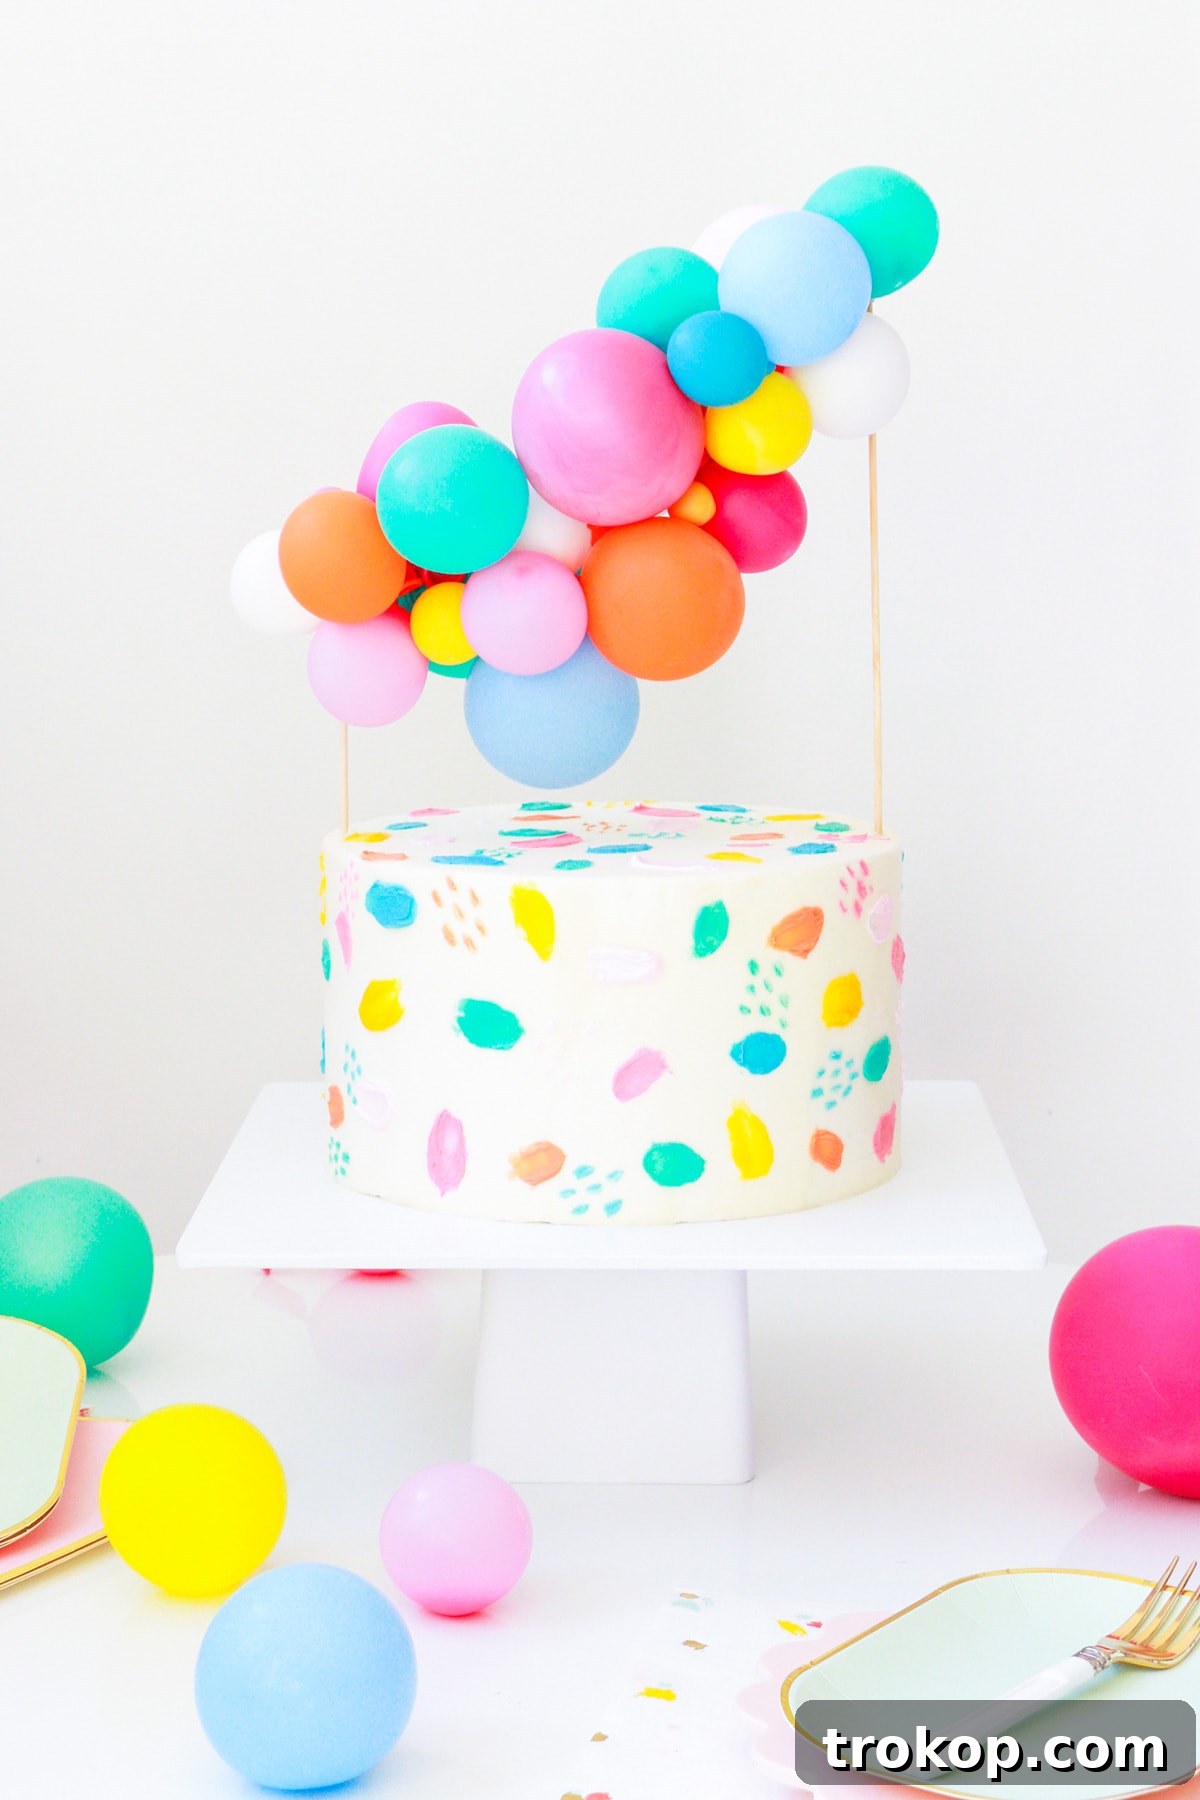
Add a touch of whimsy and celebratory flair to your cake with a customizable and easy-to-create DIY Balloon Cake Topper! This tutorial provides step-by-step instructions, along with professional tips for painting directly onto your cake, allowing you to craft a truly unique and memorable centerpiece for any occasion.
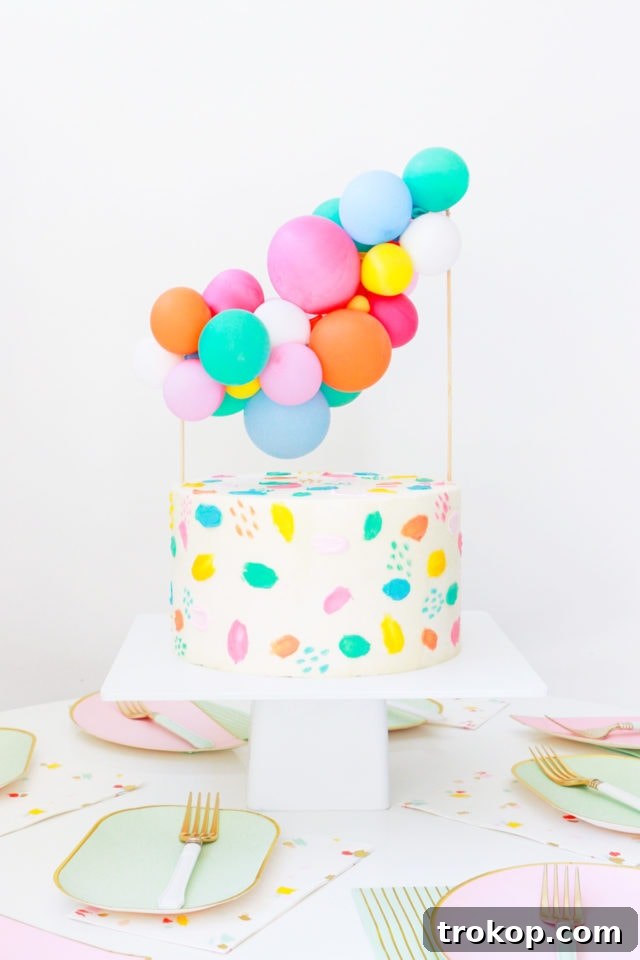
Unleash your inner artist and discover the sheer joy of transforming a simple, even store-bought, cake into a delectable masterpiece! Our guide will teach you how to create a stunning mini balloon cake topper, perfectly complemented by our invaluable cake painting tips. Imagine the delight of your guests when they see your personalized, eye-catching creation!
Perhaps you’ve decided to save time and stress by opting for a beautifully prepared cake from your local bakery. Or maybe you’ve already baked and frosted your own cake with love, but find yourself short on time for elaborate decorations. No matter your situation, we’re here to help!
I’m Alana, and I’m excited to share my secrets for giving any plain cake a quick and easy transformation into a bright and beautiful work of art. This DIY balloon cake topper is one of our all-time favorite DIY cake topper ideas! It’s a fun, affordable, and impactful way to personalize your cake and make it the star of the show.
These simple yet stunning techniques are guaranteed to elevate any dessert from ordinary to extraordinary. Whether you’re celebrating a birthday, anniversary, or just a special day, a balloon cake topper and painted details will add a personal touch that everyone will appreciate. So, let’s dive into the exciting world of DIY cake decorating and unleash your creativity!
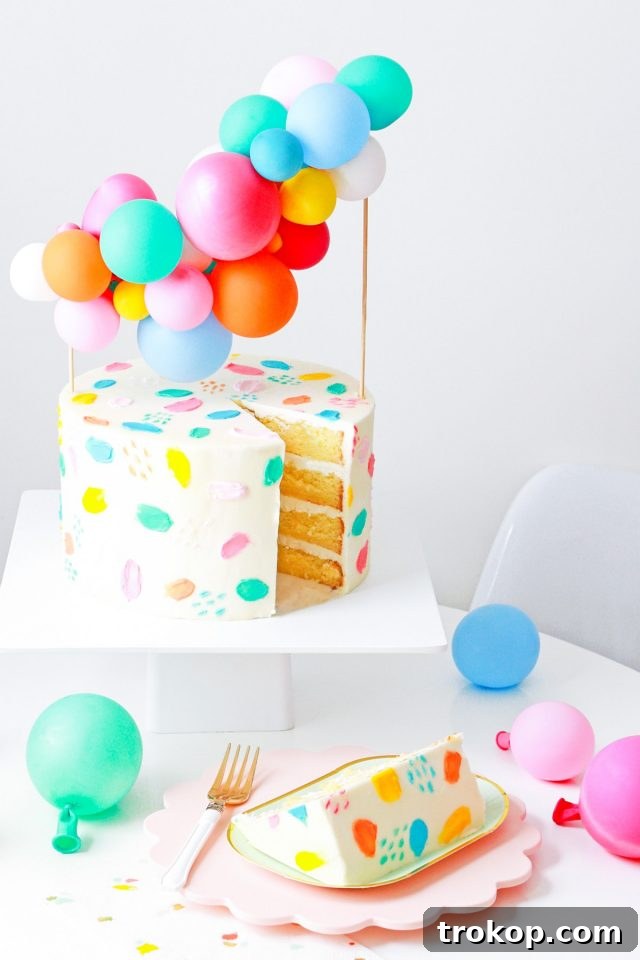
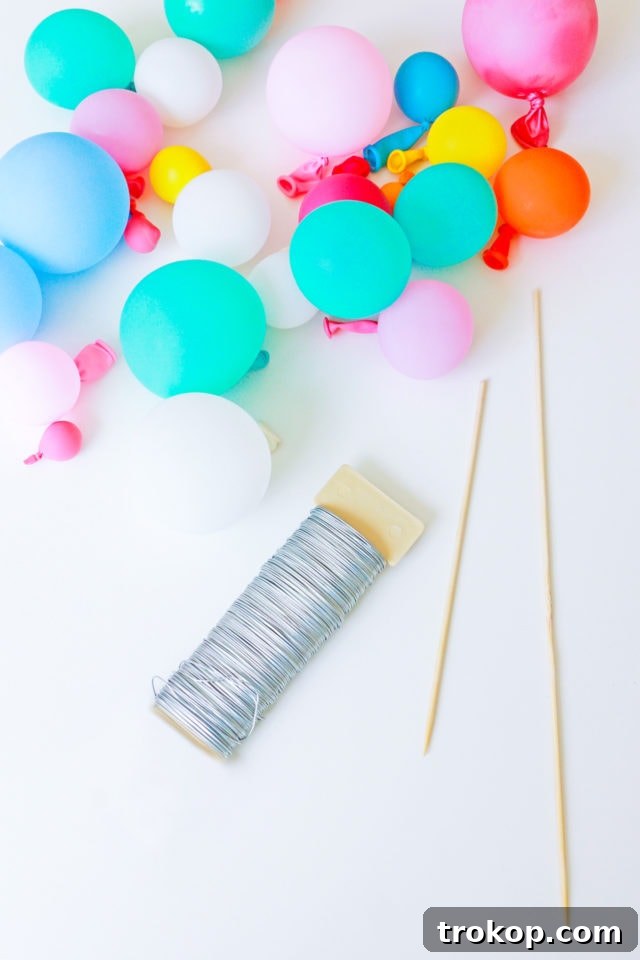
Table of Contents
Materials and Tools Needed
Before you begin crafting your balloon cake topper and preparing your cake for edible artistry, gather the necessary supplies. Having everything on hand will streamline the process and ensure a smooth and enjoyable decorating experience.
For the balloon arch cake topper:
When creating a full-sized balloon arch or garland, decorators often rely on balloon tape or fishing line to secure the balloons. However, since we’re making a miniature version for our cake topper, we’ll be using a slightly different, tape-free and glue-free method for a cleaner and easier result!
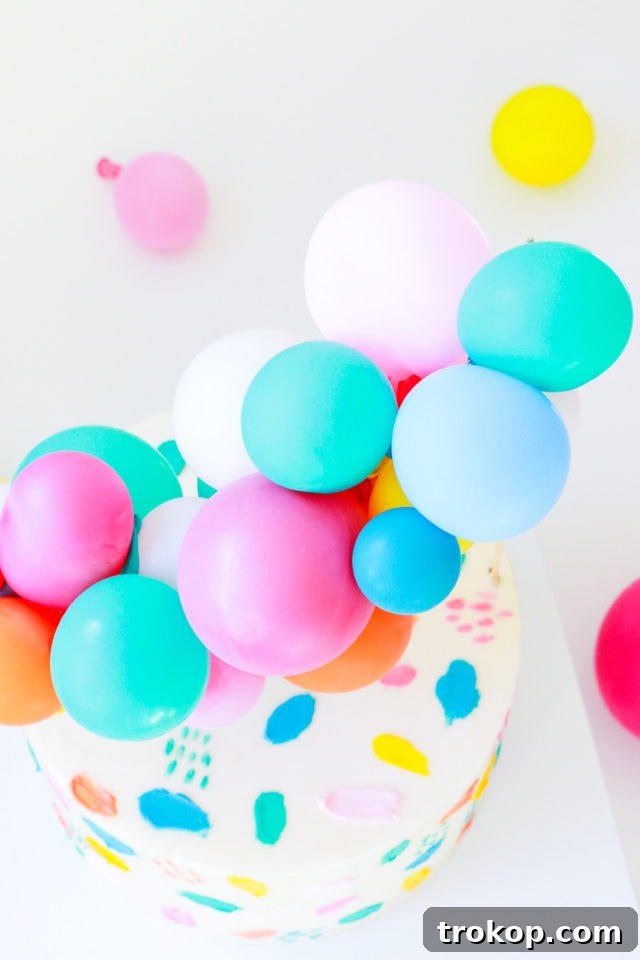
- Balloons: Choose an assortment of 5-inch balloons in colors that perfectly complement your cake’s frosting or your overall party theme. For an 8-inch round cake, you’ll need approximately 25 balloons to create a visually appealing arch. We opted for a vibrant rainbow balloon topper for a kid’s birthday party, and the result was truly magical!
- Floral wire: A sturdy steel 22-gauge wire is ideal for providing the necessary structure and support for your balloon arch. This gauge is flexible enough to bend and shape, yet strong enough to hold the balloons securely in place.
- Skewers: We recommend using 12-inch bamboo skewers. These skewers will act as anchors, securely holding the balloon arch in place on top of your cake. Bamboo is a food-safe and eco-friendly option.
- Heavy-duty scissors: A good pair of heavy-duty scissors is essential for cutting the floral wire and trimming the skewers to the desired lengths. Wire cutters can also be used for the floral wire.
For the cake and edible paint:
Now, let’s gather the supplies for the delicious canvas and edible paint that will transform your cake into a personalized work of art.
- Fondant-covered or buttercream-frosted cake: You can use a store-bought cake or a homemade masterpiece. We used a vanilla buttercream cake for our example. We’ve painted cakes many times before, most recently for the girls’ Frozen birthday party, and from our experience, painting on buttercream is the easiest. The smooth, creamy surface provides an ideal canvas for your edible artwork.
- Gel food coloring in assorted colors: When it comes to coloring your edible paint, always opt for gel food coloring over liquid alternatives. Gel colors are highly concentrated, allowing you to achieve vibrant, true colors without significantly altering the consistency of your paint. Liquid food coloring can sometimes make your frosting too runny.
- Small spatula: A small spatula is perfect for gently smoothing and blending your edible paint on the cake’s surface, creating a seamless and professional-looking finish.
- Food safe decorating brush: Invest in a high-quality, food-safe decorating brush with soft bristles. This brush will be your primary tool for applying the edible paint to your cake, allowing you to create intricate details and delicate designs with precision.
- Palette or small containers: You’ll need a palette or a set of small containers for mixing your gel food coloring with white frosting to create your custom paint colors. Small bowls or even a clean ceramic plate will work well.
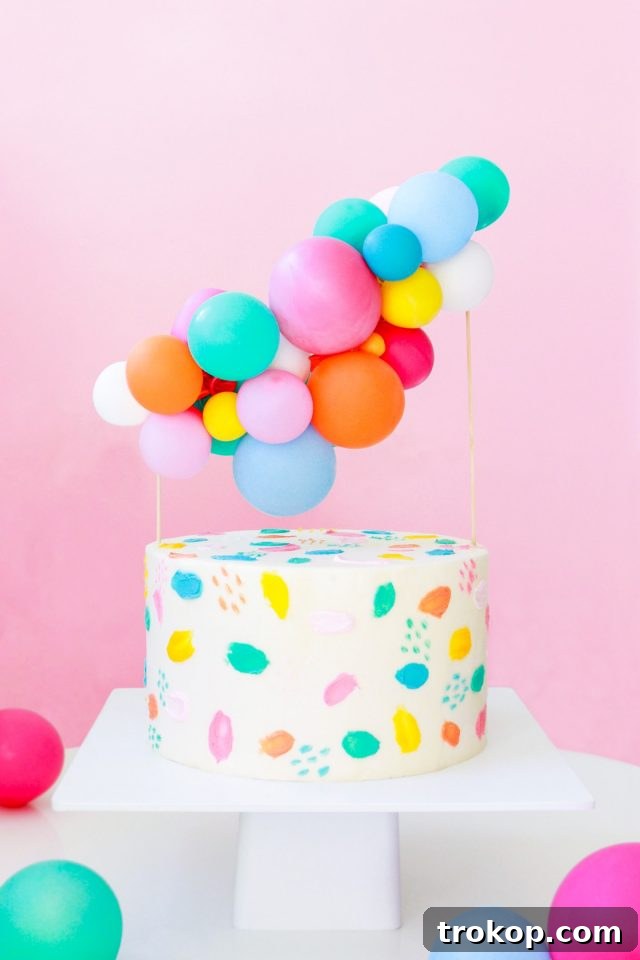
How to Make a Simple DIY Balloon Cake Topper
Now that you’ve gathered all the necessary materials, it’s time to embark on the fun and creative journey of crafting your very own balloon cake topper. Follow these simple steps to transform your cake into a show-stopping centerpiece!
Step 1: Inflate the Balloons
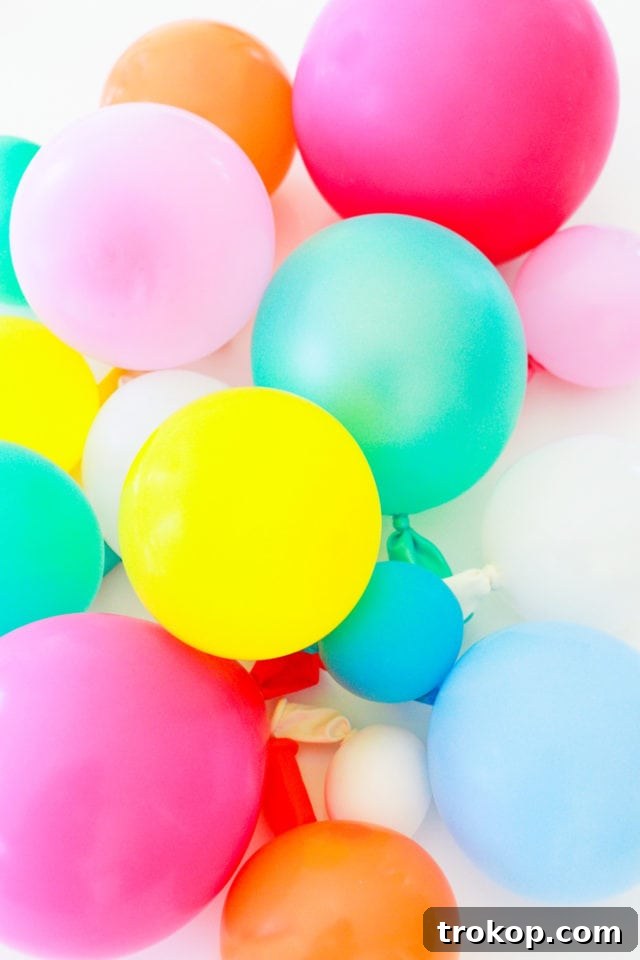
Inflate, knot, and tie an assortment of 5-inch balloons in varying colors and sizes. To keep the balloon size proportionate to the cake, make sure not to fill them more than halfway full. Overinflated balloons can look bulky and detract from the overall aesthetic.
Step 2: Measure and Cut the Floral Wire
Measure and cut a 24-inch section of the floral wire using your heavy-duty scissors or wire cutters. Remember, you can always trim it later if needed, so it’s better to start with a longer piece.
Step 3: Trim the Skewers
Using your heavy-duty scissors, carefully trim your bamboo skewers so that you have one 8-inch skewer and one 12-inch skewer. These skewers will serve as the anchor points for your balloon arch, providing stability and support on the cake.
Step 4: Create the Base Support
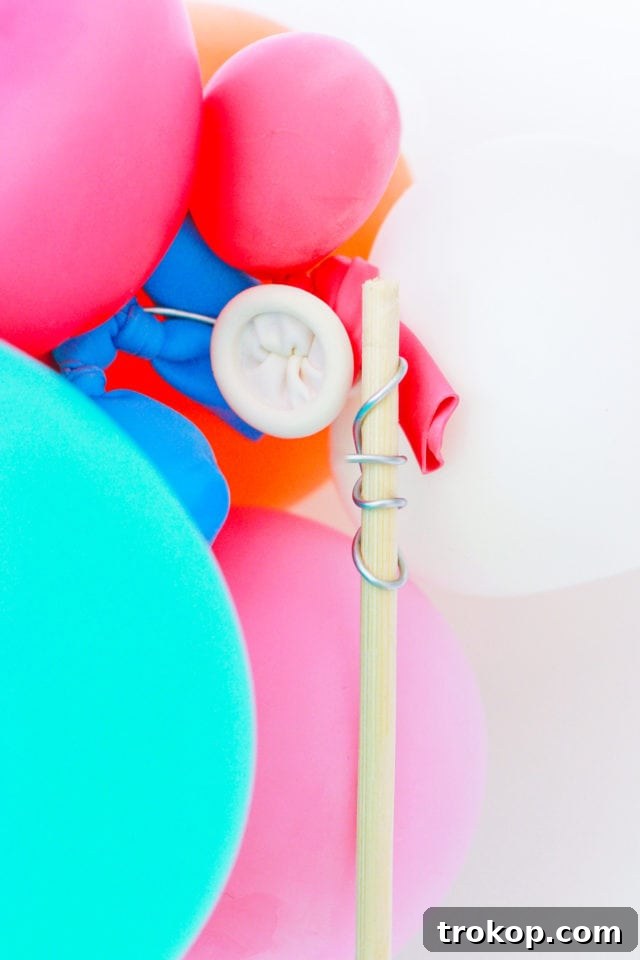
To create the base support for your cake topper, take one end of your floral wire and wrap it securely around the 8-inch skewer. Wrap the wire around the skewer a few times until it’s firmly attached and doesn’t slip.
Step 5: Thread the Balloons onto the Wire
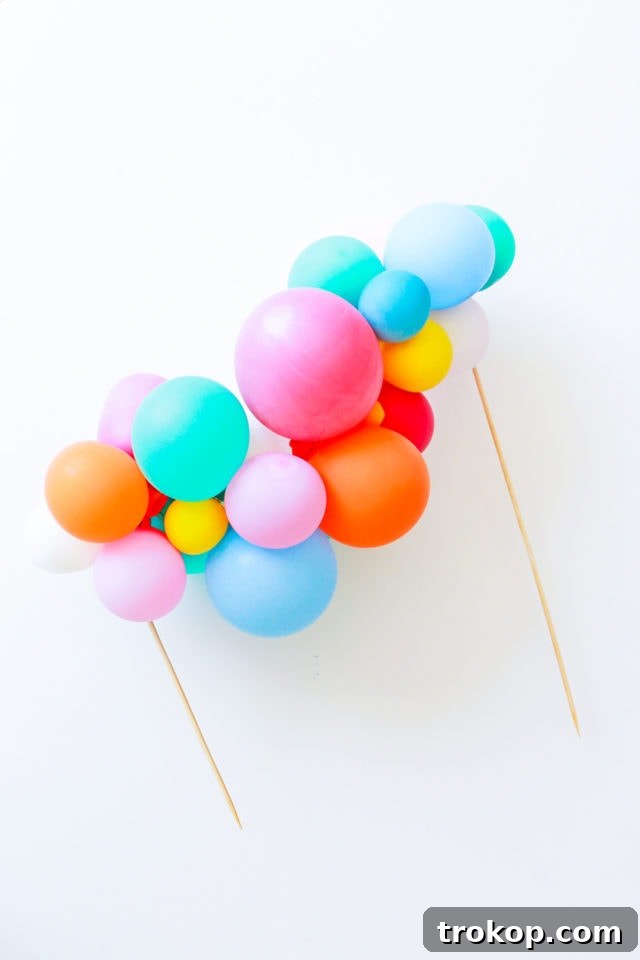
Take one end of the floral wire and carefully thread it through the tied end of an inflated balloon. Gently pull the wire through until the balloon is snug against the wire. Repeat this step for each balloon, creating a colorful balloon garland. As you add the balloons, be sure to alternate colors and sizes to create a visually appealing and balanced arch.
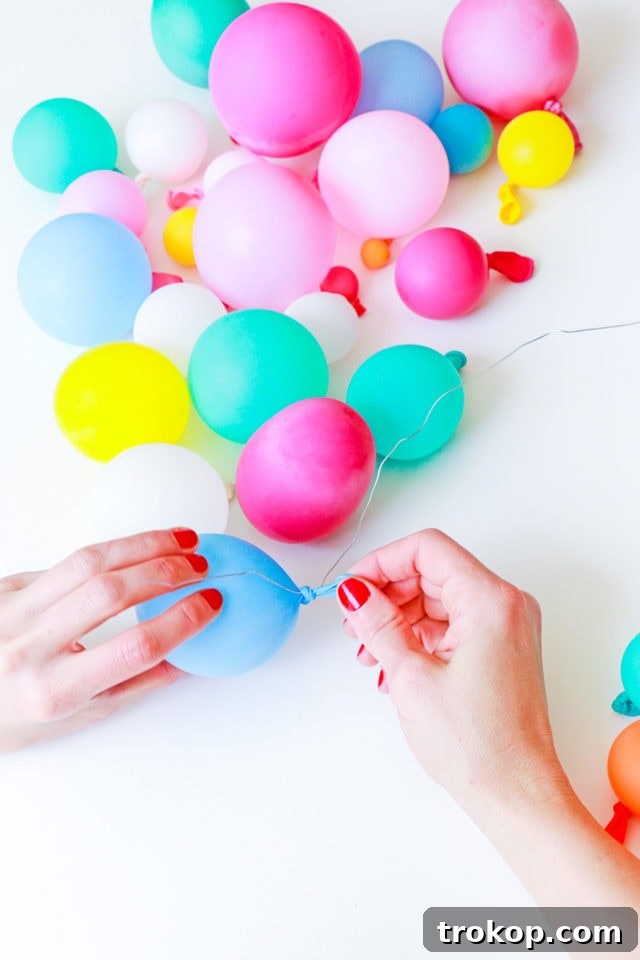
To achieve a more dynamic and interesting look, make sure to scatter the larger balloons throughout the garland so they’re not all clustered in one section. Also, play around with the positioning of the balloons, ensuring they don’t all face the same direction. A variety of angles and orientations will add depth and visual interest to your cake topper.
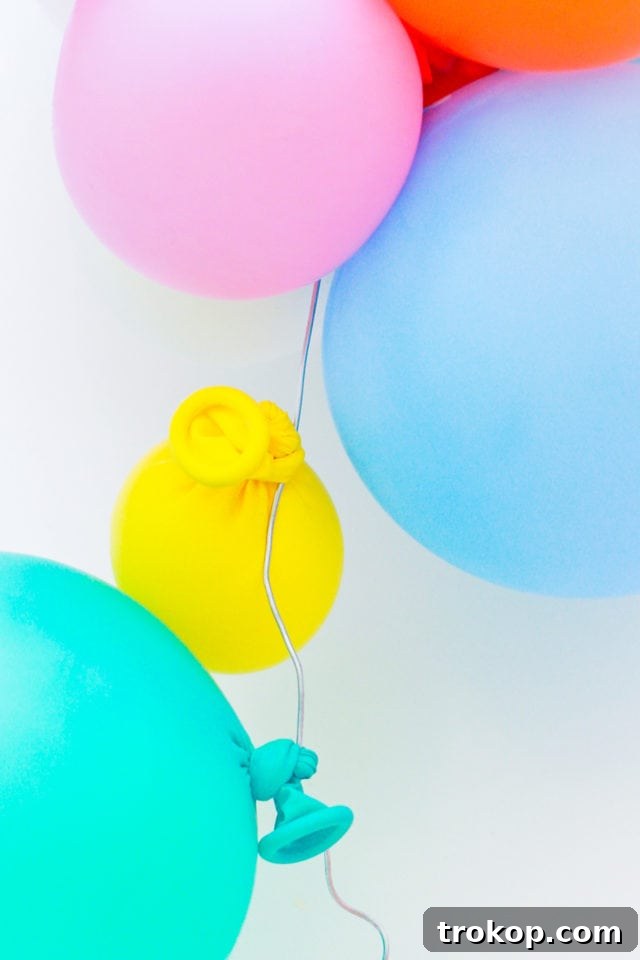
Step 6: Secure the Other End of the Wire
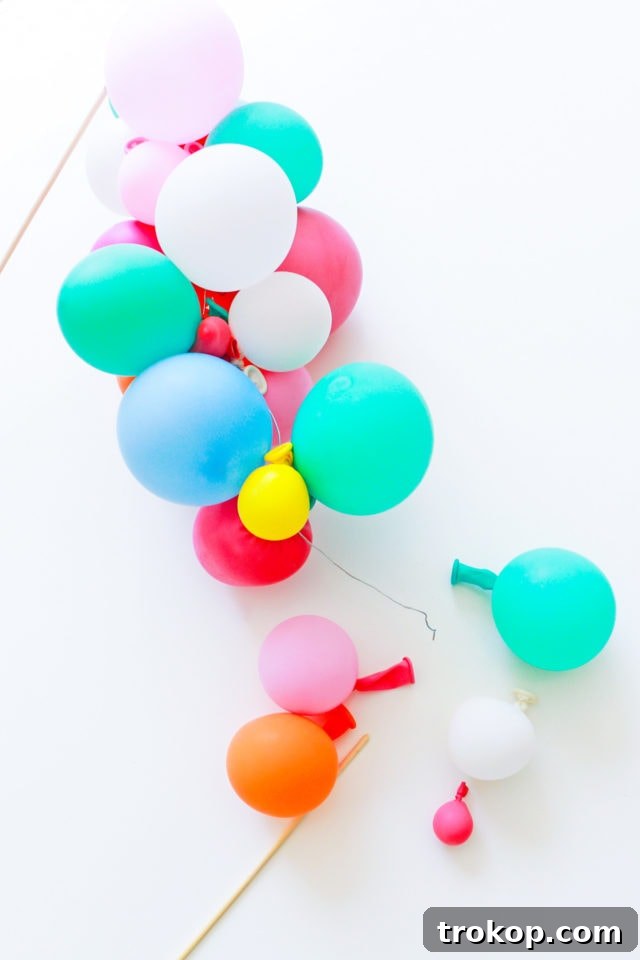
Once you’ve added all of your balloons to the wire, take the open end of the wire and wrap it securely around your 12-inch skewer. Wrap the wire around the skewer several times until it’s firmly attached. Then, use your heavy-duty scissors or wire cutters to trim any excess wire, ensuring there are no sharp edges.
Step 7: Adjust and Shape the Arch
Now comes the fun part: adjusting the angle and position of your balloon arch to achieve your desired shape! The thick gauge floral wire allows you to easily bend and twist the wire, giving you full control over the final form. Play around with it until you’re completely satisfied with the overall shape and balance of your cake topper.
Prepping Your Cake Before Painting On It
Before diving into the creative process of cake painting, it’s essential to properly prep your cake to ensure a smooth canvas and optimal results. Think of it as preparing a painter’s canvas – the better the preparation, the more stunning the final artwork will be.
Chill Your Cake
Make sure to chill your cake thoroughly beforehand to allow the frosting to set and firm up. The frosting needs to be firm to the touch before you begin working on it. This will prevent smudging and ensure that your painted designs are crisp and clean.
To achieve the most ideal cake canvas, keep the cake in the refrigerator until the moment you are ready to start working on it. This will help maintain the frosting’s firmness and prevent it from becoming too soft or sticky.
Tight on time and your cake is still not completely chilled? No problem! Simply place it in the freezer for 10-15 minutes to speed up the chilling process. This quick freeze will firm up the frosting just enough to allow you to begin painting.
How to Paint a Cake
Now for the most exciting part: transforming your cake into a personalized masterpiece with edible paint! Follow these simple steps to create stunning designs directly on your cake’s frosting.
Step 1: Mix Your Paint Colors
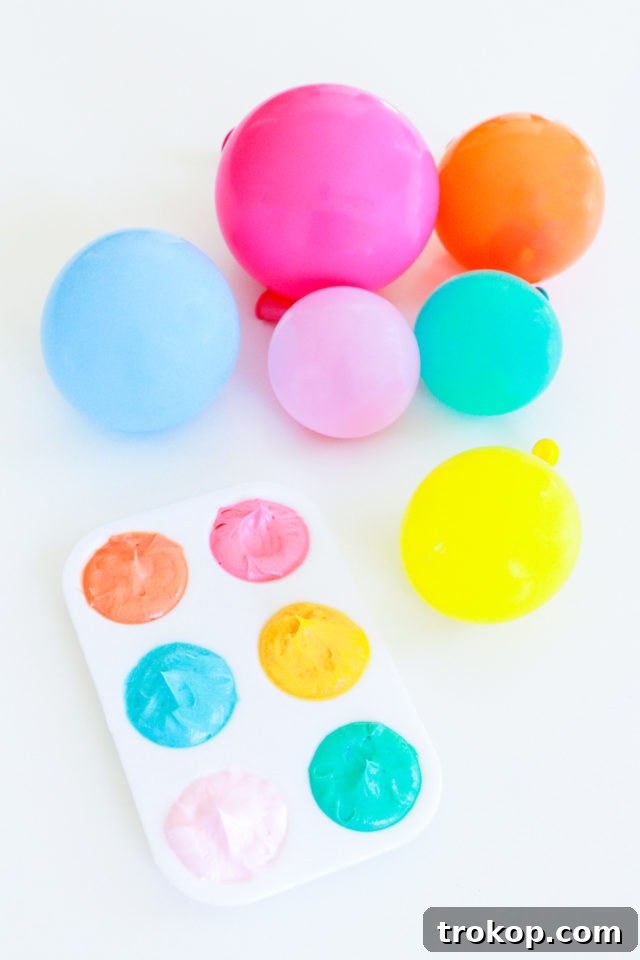
For each desired color, add one drop of gel food coloring to a large spoonful of white frosting. Mix well until you achieve your desired color and consistency. Remember, gel colors are highly pigmented, so a little goes a long way. You can use a buttercream frosting or our paintable royal icing recipe.
Step 2: Apply the Base Colors
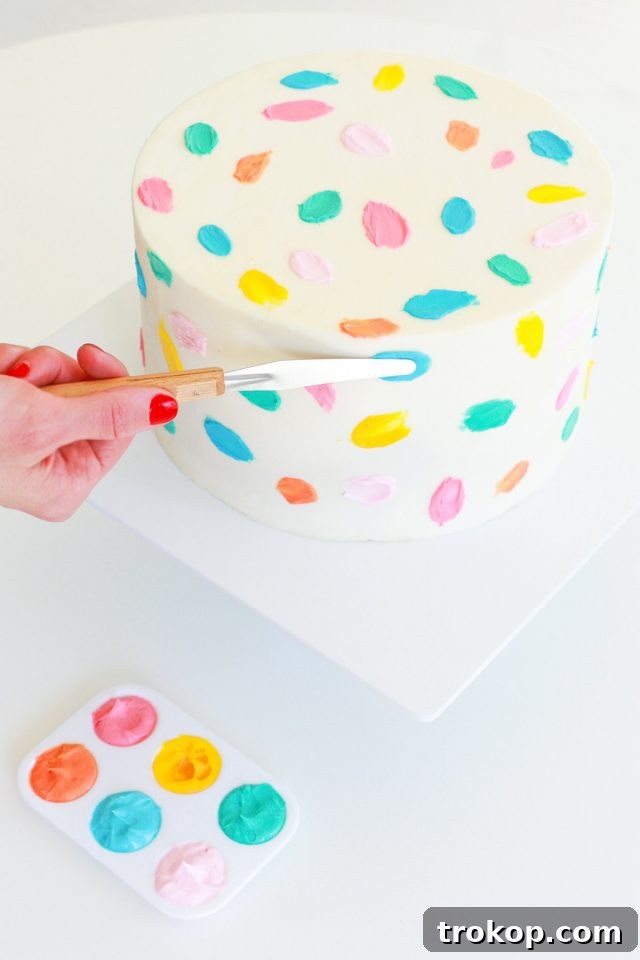
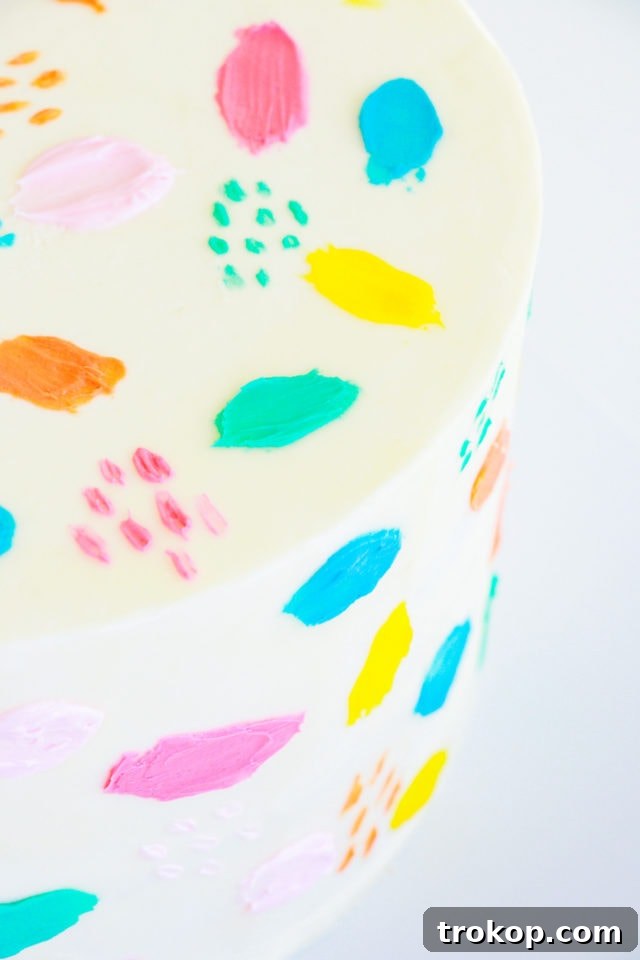
To achieve the popular brushed buttercream look, paint small dollops of colored frosting onto your chilled cake. Gently smear each dollop using a small spatula, blending the colors together to create a soft, watercolor-like effect.
Step 3: Add Intricate Details
Use finer brushes to add intricate details to your design, such as small dots, lines, or patterns. Gel colors are perfect for creating fine lines and delicate features due to their concentrated pigment and smooth consistency.
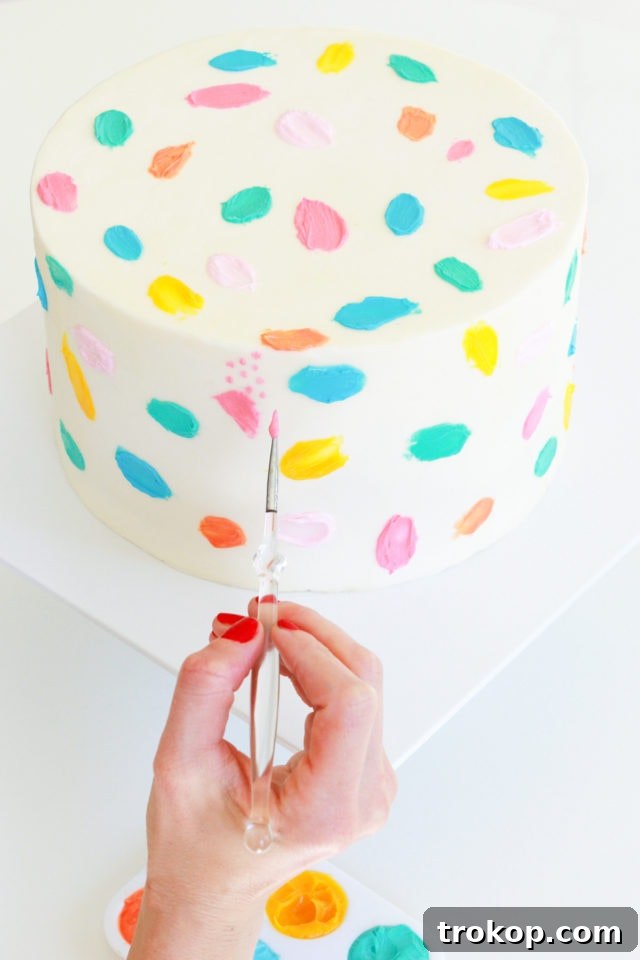
Step 4: Allow the Cake to Dry
Once you’ve completed your painted design, allow your cake to dry completely before handling or serving. This will ensure that the colors set properly and won’t smudge or bleed. The drying time will vary depending on the humidity and temperature of your environment, but typically it takes about 30 minutes to an hour.
Painted Cake Tips
To help you achieve the best possible results with your cake painting endeavors, here are some valuable tips and tricks from our experience:
- Practice Makes Perfect: Before painting directly on the cake, practice your brushstrokes and design on parchment paper. This will allow you to refine your technique, experiment with different colors, and get comfortable with the brushes you’re using.
- Mistake? No Problem!: If you make a mistake while painting, don’t worry! Simply dab a clean brush in water and gently lift off the unwanted color. Pat the area dry with a paper towel and continue painting. The beauty of edible paint is that it’s forgiving and easy to correct.
- Keep it Chilled: If you notice that your painted buttercream cake is softening while you’re painting, put the cake in the freezer for a few minutes to re-chill it. This will help maintain the frosting’s firmness and prevent your designs from becoming smudged.
- Watercolor Effect: For a delicate watercolor effect or to lighten colors, you can dilute gel food coloring with a few drops of water. Check out our watercolor cake painting tutorial here for more detailed instructions.
- Edible Markers for Details: For intricate details, consider using edible markers in addition to or instead of paint. Edible markers offer precision and are convenient for adding fine lines and accents to your design.
- Preserve Your Art: If you want to preserve your cake painting and add a subtle sheen, consider sealing it with confectioner’s glaze. This step is optional but can enhance the overall appearance and protect your edible artwork.
More Cake Balloon Decorations
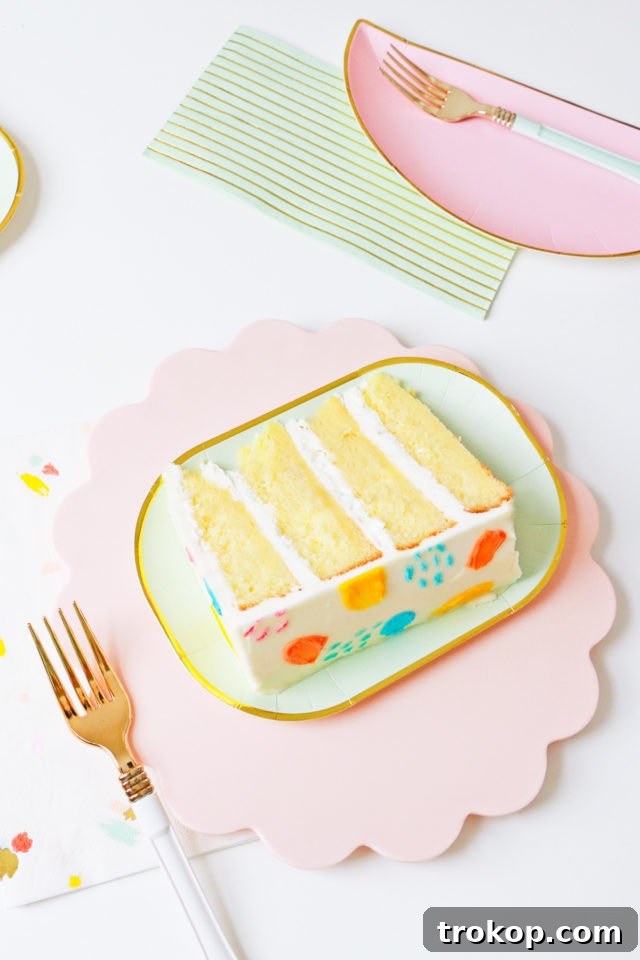
These cake decorating ideas would be perfect for a baby shower or a happy birthday cake! If you’re looking for even more ways to spruce up your cake and party decorations, check out a few of our other helpful tips and tutorials below.
- Faux Balloon DIY Letter Banner
- 21 DIY Cake Stand Ideas
- Mini Brushstrokes Confetti Cake: This tutorial follows a very similar painting cake design. However, the brushstrokes are 3-D and composed of homemade icing candies.