
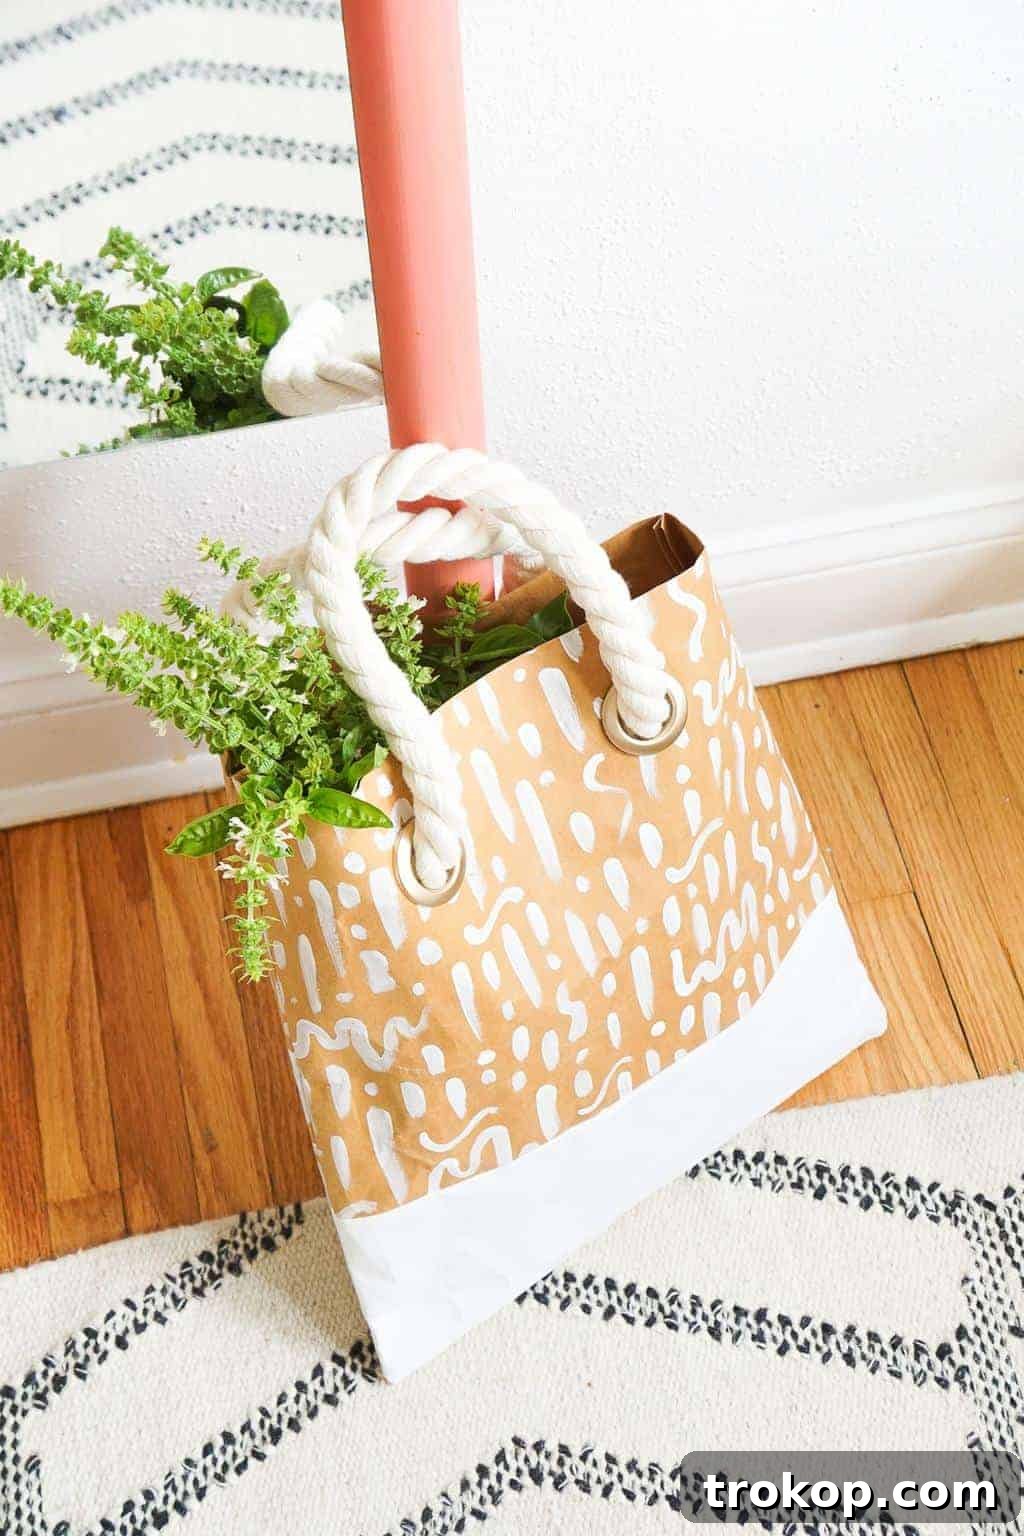
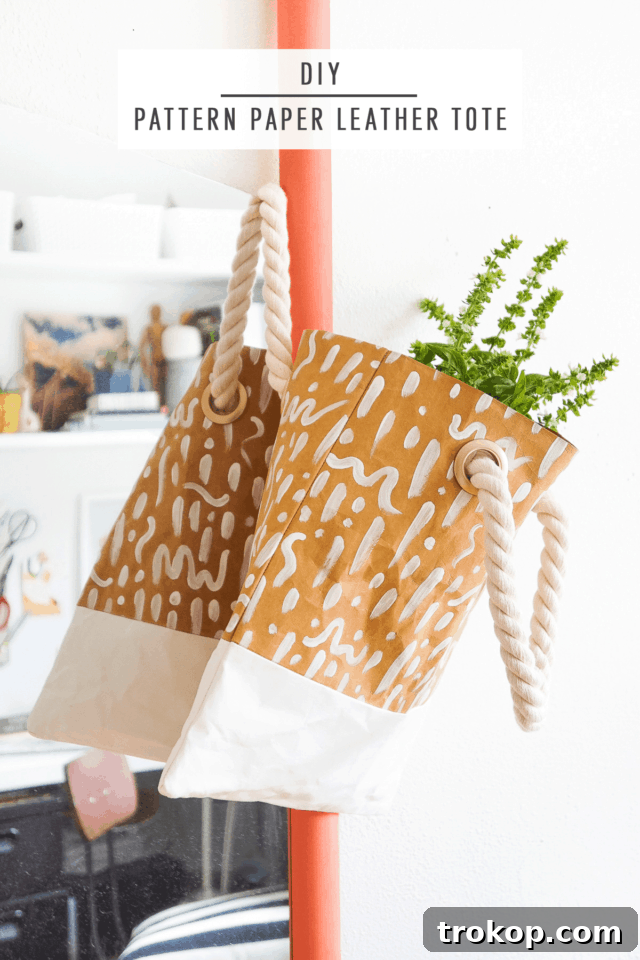
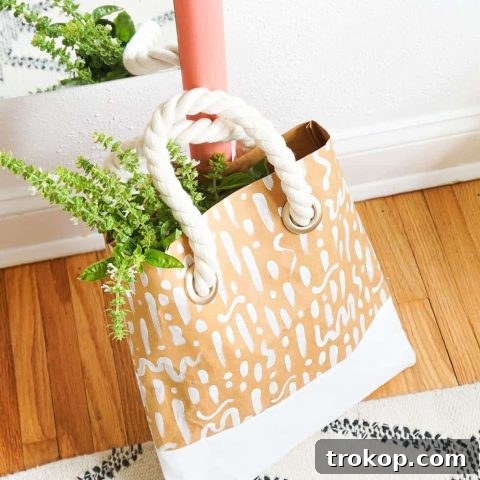
Unlock your creativity and craft a stunning accessory with our comprehensive guide to making your very own **DIY Pattern Paper Leather Tote**. This engaging tutorial empowers you to personalize a chic and durable bag, perfect for effortlessly complementing your everyday style. Imagine a versatile tote that transitions seamlessly from a casual coffee run to a weekend getaway, all while reflecting your unique taste and handcrafted charm.
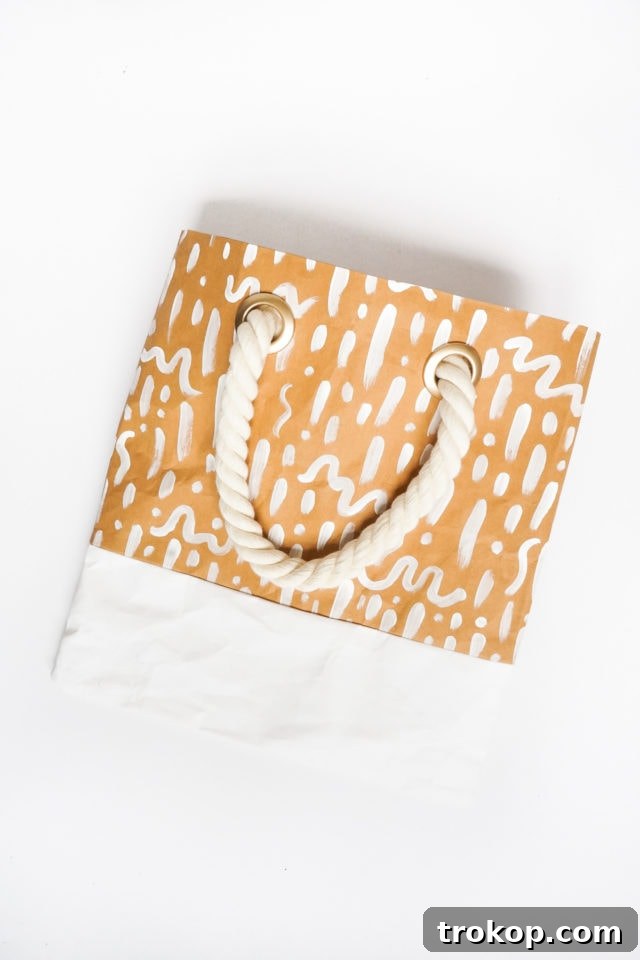
Why Choose a DIY Paper Leather Tote? The Smart, Stylish Alternative
Dreaming of a luxurious leather tote but daunted by the cost or the complexity of working with genuine leather? This DIY Pattern Paper Leather Tote offers the perfect solution, delivering that coveted high-end look without the common frustrations. As an avid crafter, I understand the appeal of a beautifully structured leather handbag. However, anyone who has attempted to sew with authentic leather knows the challenges firsthand. I’ve personally experienced one too many broken needles and the sheer test of patience required for intricate hand-stitching.
That’s why discovering Kraft-Tex paper leather was an absolute game-changer for me. This innovative material boasts the incredible strength and sophisticated appearance of real leather, combined with the practical washability of fabric. But here’s the most surprising part: it’s actually PAPER! Yes, you read that correctly. Paper! This revolutionary material allows you to achieve stunning, durable results with much less effort.
Whether you’re gearing up for back-to-school season and need a stylish new bag, or you’re simply looking for a sturdy, reusable tote for your weekly grocery runs or Target hauls, this custom DIY Pattern Paper Leather Tote is an exceptional choice. It’s not just a practical accessory; it’s a statement piece that you can proudly carry on your daily errands, a leisurely stroll, or even a relaxing weekend trip. If you prefer to infuse more vibrant hues into your accessories, you might also adore a project like our DIY Pom Pom Tassel Circle Pool Bag for a splash of color and fun.
Unveiling Kraft-Tex: The Magic Behind Your Paper Leather Tote
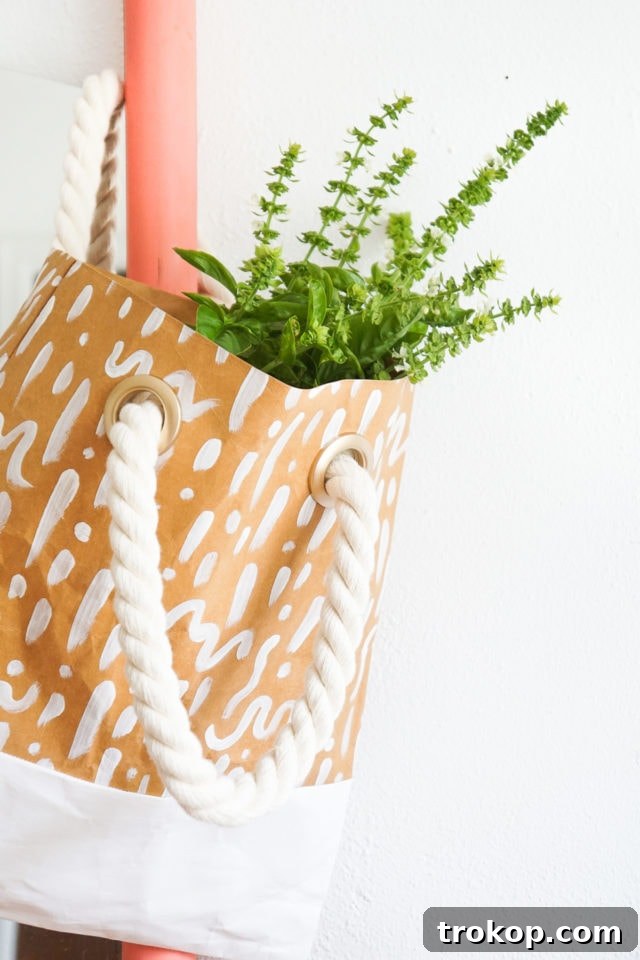
Kraft-Tex isn’t just any paper; it’s a unique, robust, and versatile material that’s specially designed for crafting. It’s often referred to as “paper leather” because of its remarkable ability to mimic the look and feel of genuine leather. What makes it so special for projects like this handmade tote bag? Firstly, its durability is unmatched for a paper-based product. It resists tears and holds its shape beautifully, making it ideal for items that endure daily wear and tear. Secondly, it’s incredibly easy to work with on a standard sewing machine, unlike traditional leather which often requires specialized needles and heavy-duty equipment. This means less frustration and more enjoyable crafting for you.
Beyond its practicality, Kraft-Tex also boasts an incredible aesthetic appeal. Over time, as you use your DIY paper leather tote, the material will naturally crease, soften, and develop a beautiful, weathered patina. This organic aging process gives the bag an even more authentic, worn-leather look, making each tote truly one-of-a-kind. Plus, the fact that it’s washable means you can keep your tote looking fresh and stylish, an undeniable advantage over many traditional leather bags. Embracing Kraft-Tex opens up a world of creative possibilities, allowing you to achieve sophisticated results with a surprisingly accessible material.
Table of Contents
Essential Materials and Tools for Your DIY Pattern Paper Leather Tote
Gathering your supplies is the first exciting step in bringing your custom tote to life. Fortunately, this project uses readily available materials and basic sewing tools. Here’s everything you’ll need to create your stylish Kraft-Tex tote:
- **Kraft-Tex Paper Leather:** Opt for two contrasting or complementary colors to create a visually dynamic design. For this tutorial, we used natural and white, which provide a clean and modern aesthetic. You’ll need enough for two 5.5” x 14” pieces and two 10” x 14” pieces.
- **Scissors:** Sharp fabric scissors are essential for clean, precise cuts through the Kraft-Tex.
- **White Fabric Paint:** Choose a good quality fabric paint that will adhere well and remain flexible after drying. This is for adding your unique pattern.
- **Paintbrush:** A small to medium-sized paintbrush will work best for creating dashes and squiggles.
- **Clothespins and/or Mini Binder Clips:** These are crucial for holding your paper leather pieces together during sewing without leaving permanent holes, which traditional sewing pins would.
- **Thread:** Select a sturdy thread that matches or contrasts nicely with your Kraft-Tex colors. A general-purpose polyester thread is usually suitable.
- **Sewing Machine:** Any standard sewing machine capable of sewing through multiple layers of fabric will work.
- **Ruler:** A reliable ruler or measuring tape is vital for accurate cutting and marking.
- **Jumbo Cotton Rope:** You’ll need approximately 5-6 feet for the bag handles. This is commonly sold at most fabric and craft stores. Choose a thickness that feels comfortable for handles and complements your bag’s size.
- **1” Curtain Grommets:** We recommend matte gold grommets for a touch of elegance, but feel free to choose any color that matches your aesthetic. You will need two grommets per handle, totaling four for the bag. These usually come with a template for easy installation.
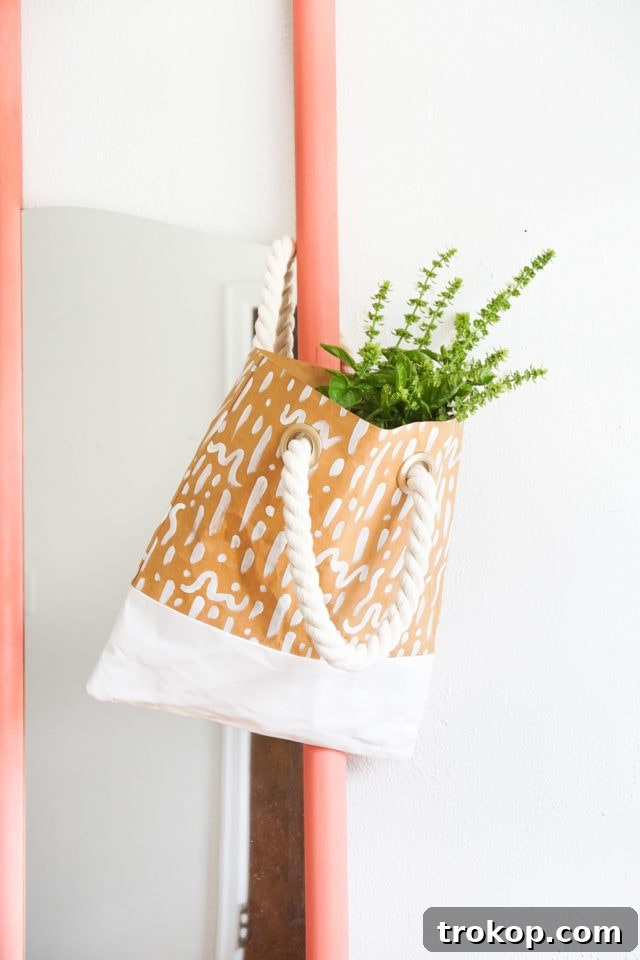
Step-by-Step Guide: How to Make Your DIY Pattern Paper Leather Tote
Creating your custom paper leather tote is an incredibly rewarding experience, and with these clear instructions, you’ll be able to craft a beautiful bag with ease. Follow each step carefully for the best results!
Step 1: Prepare Your Kraft-Tex Pieces
Begin by accurately cutting your Kraft-Tex paper leather into the following dimensions. Precision here ensures your tote comes together neatly:
- Two pieces of 5.5” x 14” white paper leather. These will form the top sections of your tote.
- Two pieces of 10” x 14” natural paper leather. These will create the main body of your tote.
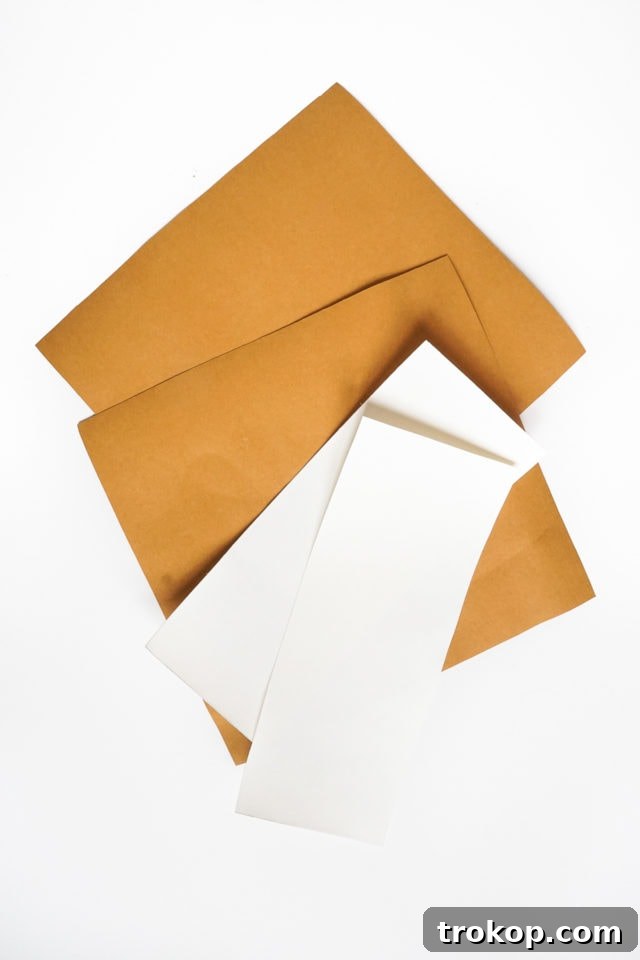
Step 2: Add Your Unique Pattern
Unleash your artistic side! Using your white fabric paint and a paintbrush, create an eye-catching pattern of dashes and squiggles on the two larger natural paper leather pieces. This is where your tote truly becomes unique. Feel free to experiment with different patterns or even other colors of fabric paint. Once your design is complete, allow the paint to dry completely according to the manufacturer’s instructions. This usually takes a few hours.
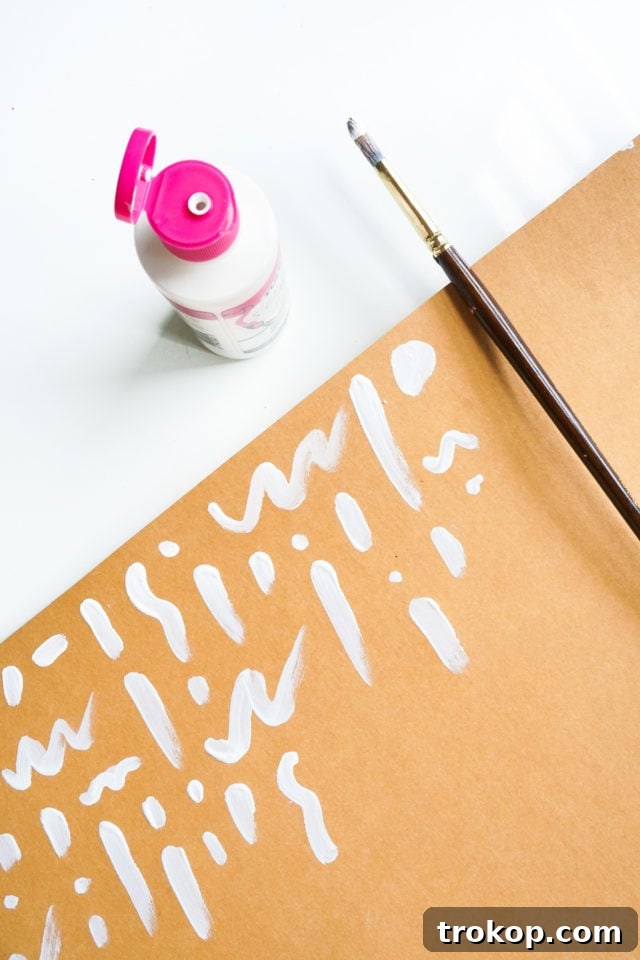
Step 3: Assemble the Front and Back Panels
Take one patterned natural paper leather piece and one white paper leather piece. Place them right sides together, aligning the 14” edges. Instead of traditional sewing pins, which can leave permanent holes in Kraft-Tex, use clothespins or mini binder clips to secure the pieces along the top seam. This creates one large rectangle for the front of your bag. Repeat this process with the remaining natural and white pieces to form the back panel of your tote.
Step 4: Sew the Panels Together
Using your sewing machine, sew the natural and white paper leather pieces together along the clipped 14” edge with a 3/8” seam allowance. This seam joins the two color blocks. After sewing, carefully press open the seam using a ruler or any flat, hard object. This helps the seam lie flat and creates a cleaner finish, similar to pressing fabric seams.
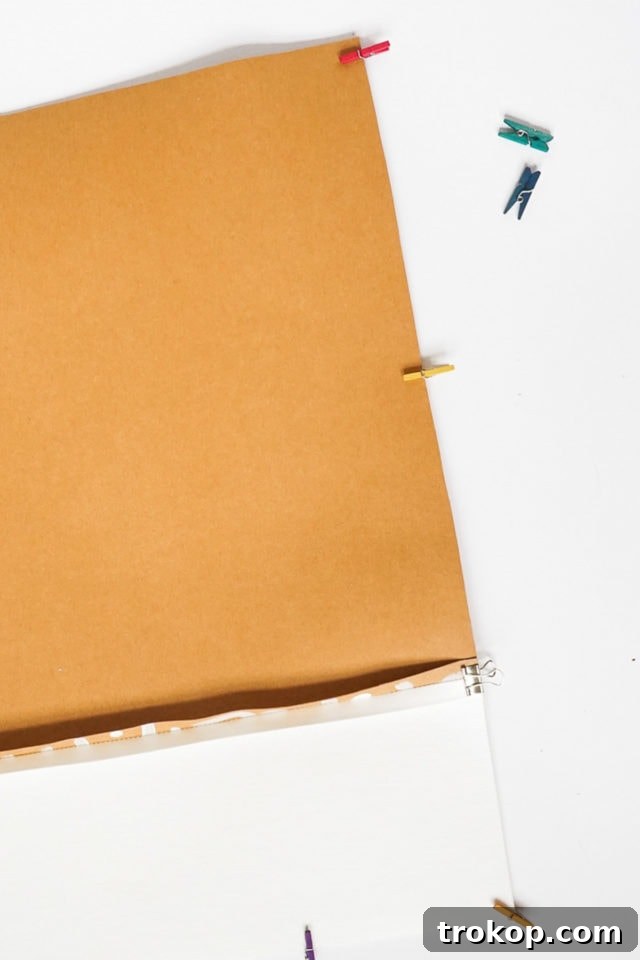
Step 5: Prepare for Side and Bottom Seams
Now, place the two large rectangular panels (the front and back of your bag) right sides together. Align all raw edges carefully. Secure these two panels together along the sides and bottom using your trusty clothespins or mini binder clips. Ensure they are held firmly in place to prevent shifting during sewing.
Step 6: Sew the Bag Body
Sew along the clipped sides and the bottom edge of the bag with a 3/8” seam allowance. Remember to backstitch at the beginning and end of each seam for added durability. Once sewn, again use a ruler or flat object to press open these newly created side and bottom seams. This technique will make the interior of your bag much neater and help it hold its shape.
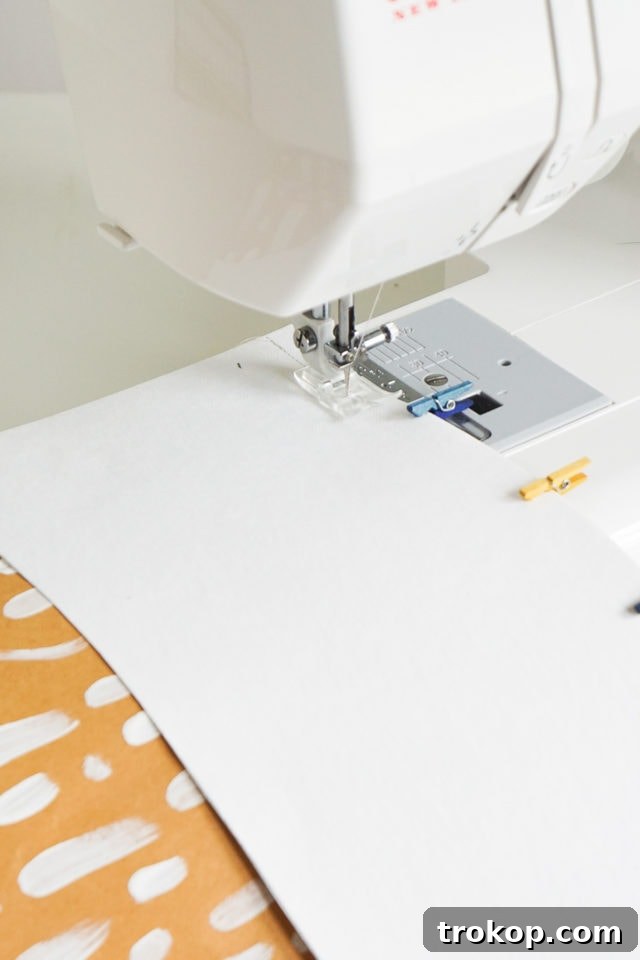
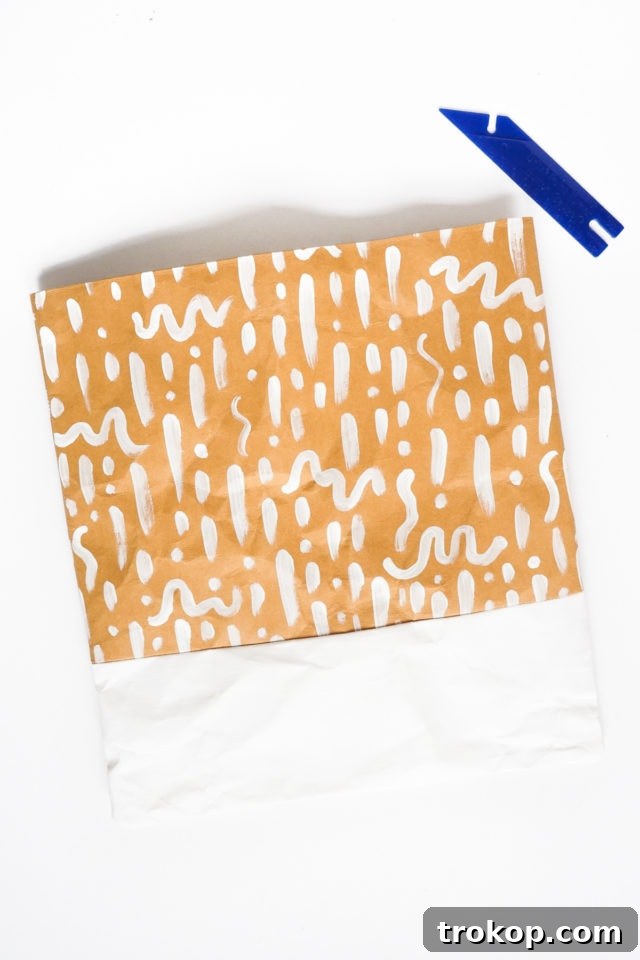
Step 7: Mark Grommet Placement
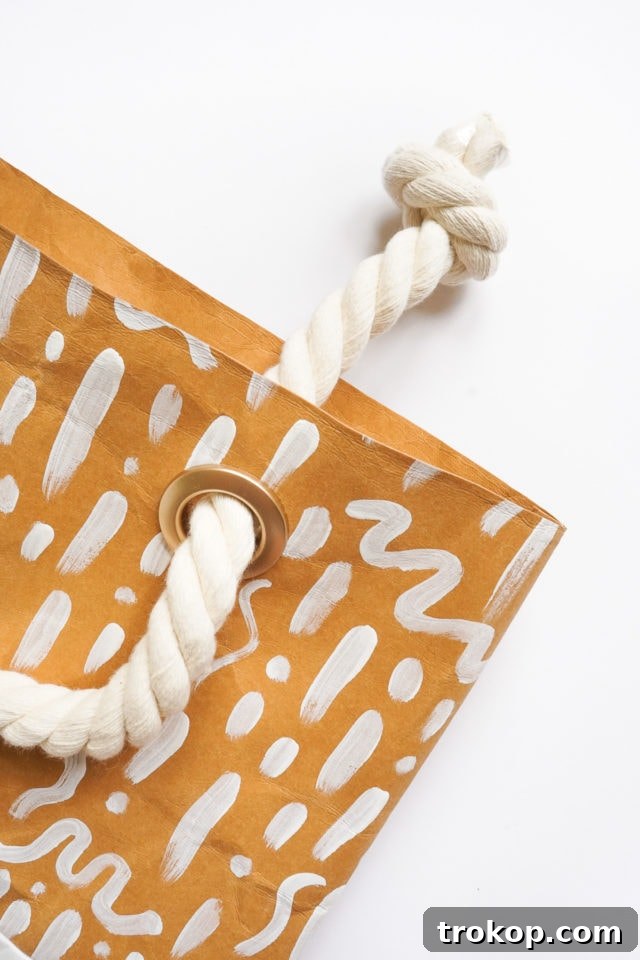
Turn your bag right side out. This is where you’ll see your tote starting to take shape! Next, mark the precise locations for your grommets. Use the template that came with your grommets for accuracy. For this specific design, the grommets are positioned 2” down from the top edge of the bag and 4” in from each outside vertical edge. Mark these spots clearly on both the front and back of the bag.
Step 8: Install the Grommets
Carefully cut out the marked holes using sharp scissors. Take your time to ensure clean, round openings. Once the holes are cut, follow the package instructions to snap the grommets together, securing them firmly in place. Grommets provide a professional finish and create durable openings for your rope handles.
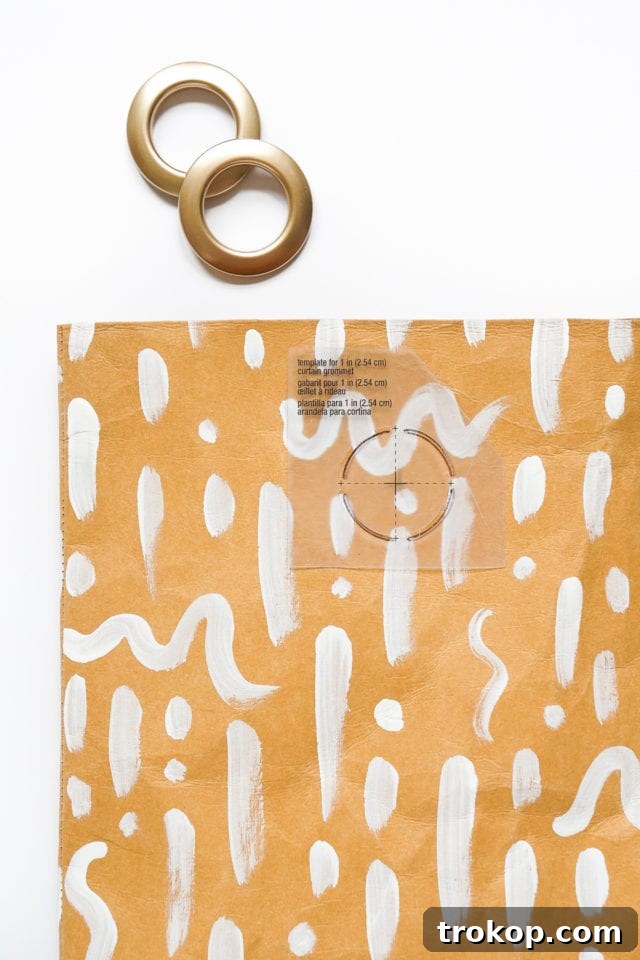
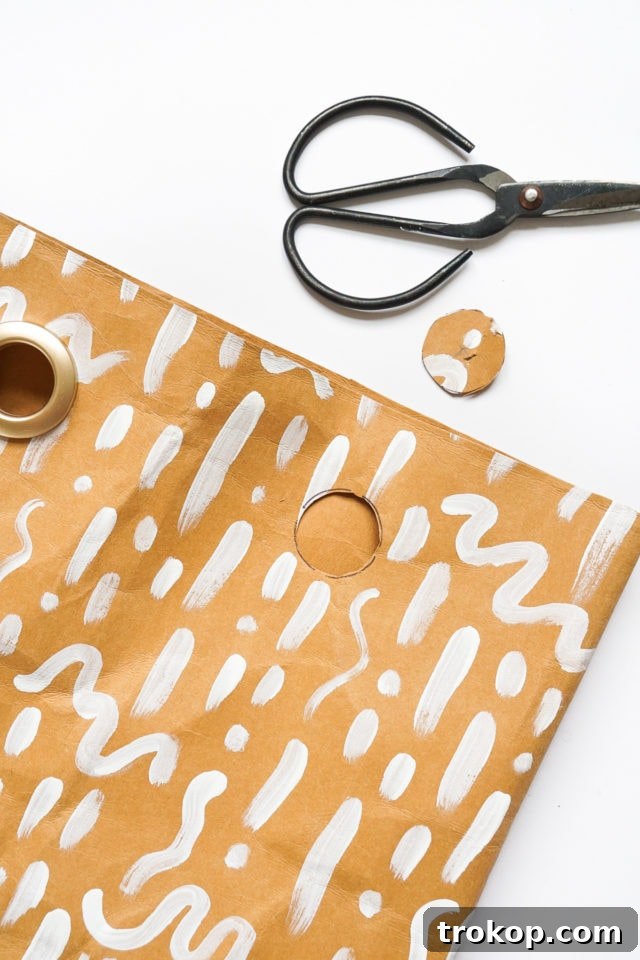
Step 9: Thread the Rope Handles
Take your jumbo cotton rope. Depending on your desired handle length, you may need to cut it into two equal pieces. Thread one end of a rope piece through one grommet from the outside in, and then back out through the adjacent grommet. Repeat this with the second rope piece for the other set of grommets. Arrange the rope so the loops form your comfortable handles.
Step 10: Secure the Handles and Finish
Inside the bag, tie the ends of each rope piece securely into sturdy knots. You can trim any excess rope if desired. Give your knots a good tug to ensure they are firm and won’t unravel with use. And just like that, you’re all done! Your beautiful, custom DIY Pattern Paper Leather Tote is ready to be shown off. Remember, the paper leather will naturally crease and develop a wonderful patina over time, enhancing its authentic weathered leather appearance and making it even more unique to you.
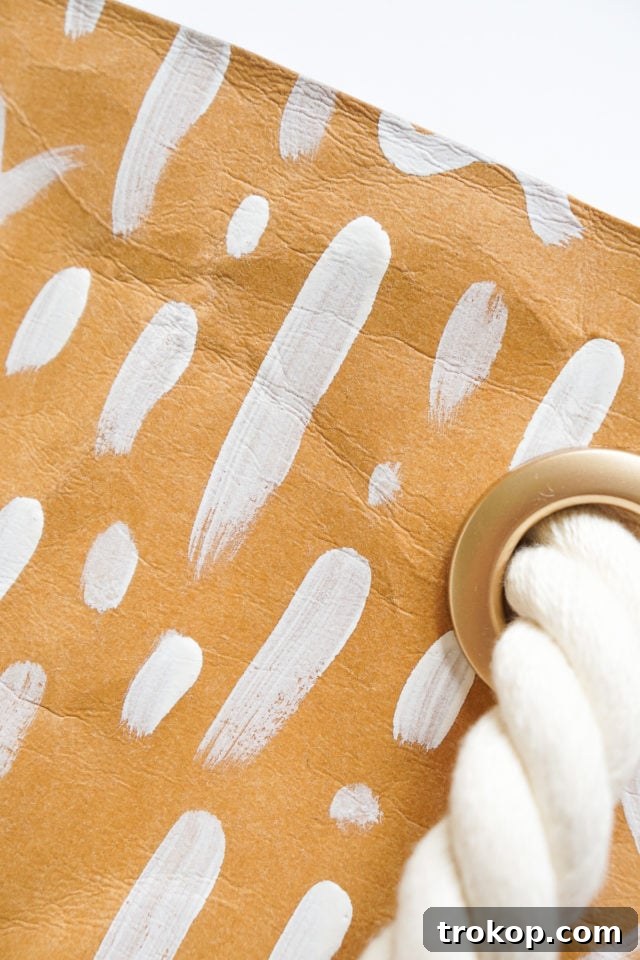
More Easy DIY Projects to Fuel Your Creativity
I was so thrilled to discover Kraft-Tex paper leather; it truly makes creating stylish, leather-look pieces incredibly accessible and fun. It’s an inspiring material that can transform your crafting projects. Have you recently stumbled upon any life-changing new crafting or DIY materials that have made your creative endeavors easier or more exciting? If so, don’t hesitate to share your discoveries!
For more simple and enjoyable DIY projects to enhance your wardrobe or home, explore some of our favorite archives below:
- Poolside DIY Pattern Kimonos
- Abstract DIY Umbrella
- DIY Pom Pom Tassel Circle Bag
- How to Revamp Any Bag with Leather Straps
DIY Pattern Paper Leather Tote
Equipment
- Scissors
- Paint brush
- Clothespins and/or mini binder clips
- Sewing machine
- Ruler
Materials
- 2 Kraft-Tex paper leather (any color, for two 5.5” x 14” pieces and two 10” x 14” pieces)
- 1 Fabric paint
- Thread
- 5-6 ft Jumbo cotton rope (for the handles)
- 2 1” curtain grommets (any color, you will need 4 grommets in total)
Instructions
- Cut out the following piece sizes: 2 pieces of 5.5” x 14” white paper leather and 2 pieces of 10” x 14” natural paper leather.
- Paint white dashes and squiggles on the natural paper with fabric paint. Allow drying completely.
- Use clothespins or mini binder clips to pin the right sides of the natural and white pieces together to form one large rectangle. (Sewing pins leave unwanted permanent holes.) Repeat with the back side of the bag.
- Then, sew the white and natural pieces to one another at 3/8” seam allowance. Use a ruler or any flat object to press open the seam.
- Place the right sides of the bag so they’re facing each other and hold them in place with clothespins or mini binder clips.
- Sew the sides and bottom of the bag together and use a ruler to press open the seam.
- Turn the bag right side out and mark the grommet locations using the template that’s included with the grommets. The grommets on our bag are 2” from the top and 4” from the outside edges.
- Cut out the holes with scissors and snap the grommets together according to the package instructions.
- Thread the rope handles through the grommets.
- Tie the rope ends in knots inside the bag, and you’re all done!

We absolutely love seeing your creativity in action! Don’t forget to share your finished DIY Pattern Paper Leather Tote with us on Instagram using the hashtag #sugarandclothloves. Your unique creations inspire our entire community. Are you looking for even more interior design inspiration or clever home decor tutorials? You can find all of our home decor DIY ideas right here!