
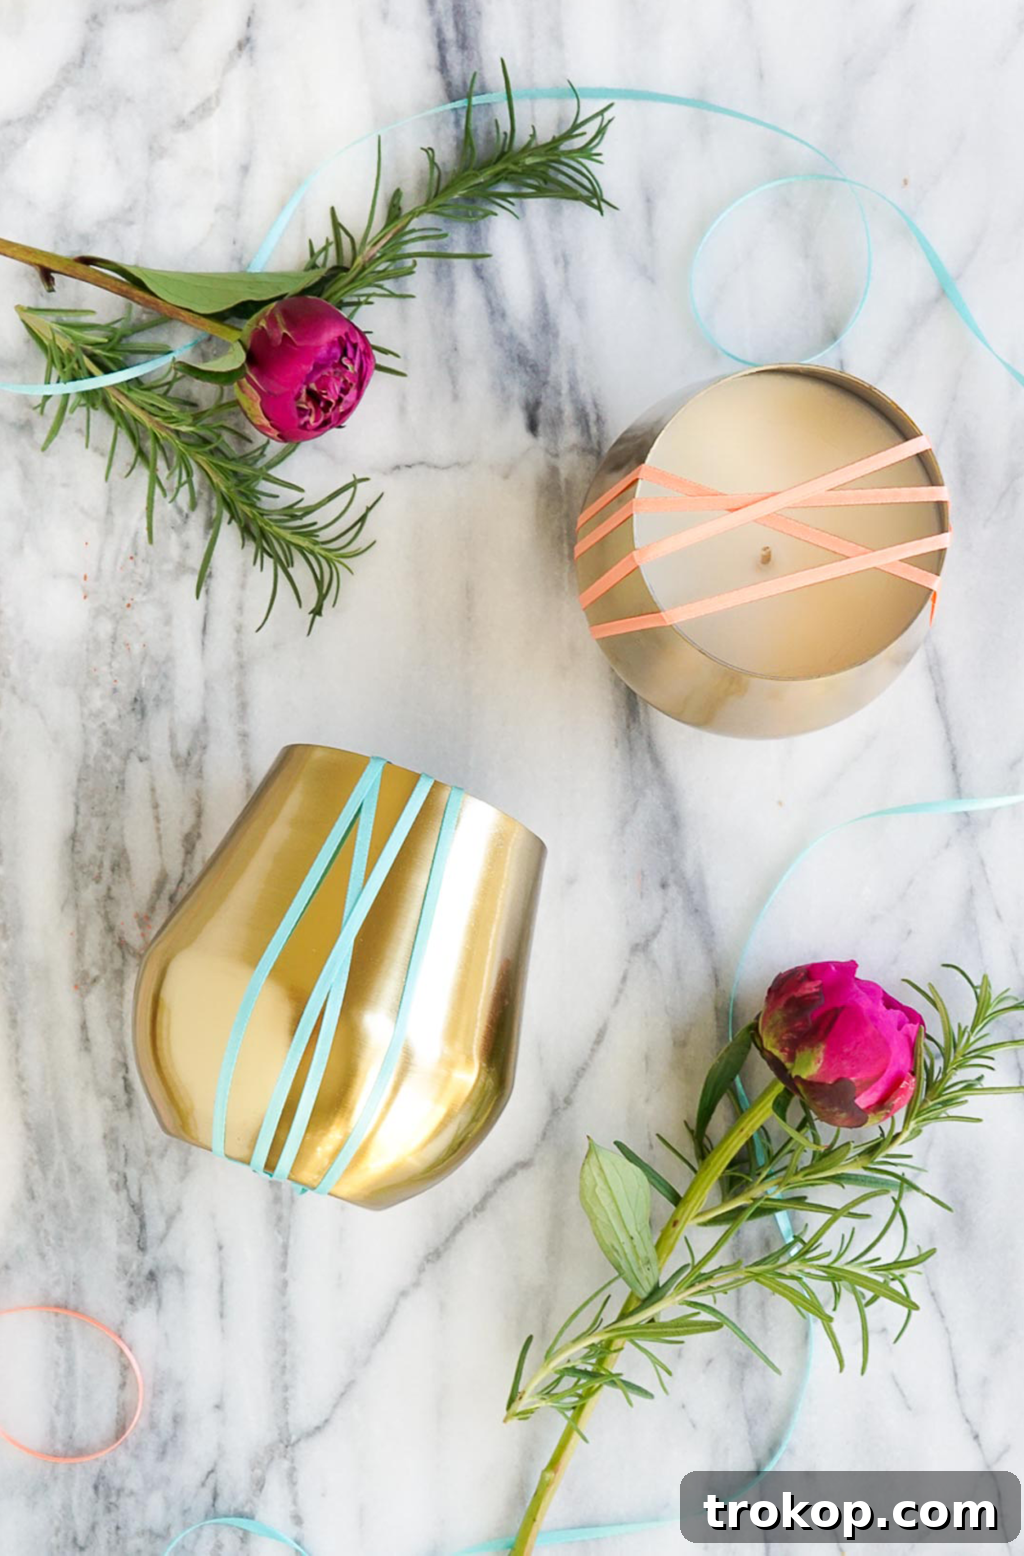
Creating homemade candles infused with essential oils offers a uniquely rewarding experience. It’s a delightful way to personalize your living space with custom aromas, enhance your home decor, and craft truly thoughtful, handcrafted gifts. Beyond their aesthetic appeal, these natural candles provide an array of therapeutic benefits, transforming any room into a sanctuary of peace and well-being. This comprehensive guide will walk you through the simple, yet satisfying, process of making your own essential oil candles, ensuring you achieve perfect results every time.
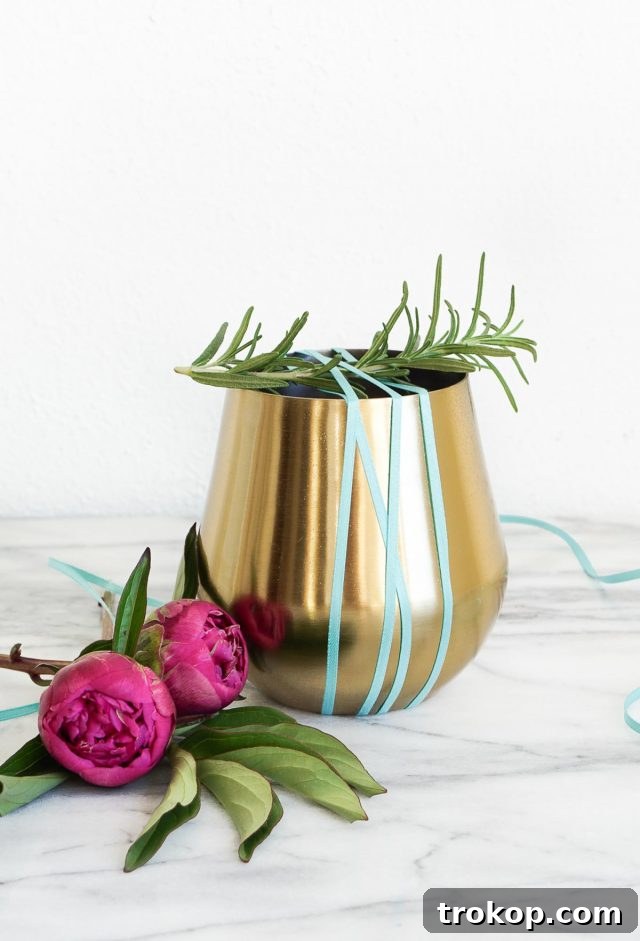
Candles have long been a beloved gift choice, universally appreciated for their beauty and utility. They are a practical indulgence that many people hesitate to purchase for themselves, making them ideal presents for hosts, Secret Santas, colleagues, or any special occasion. A handmade candle, especially one crafted with the unique blend of essential oils like invigorating grapefruit and aromatic rosemary, speaks volumes. It’s a gift that embodies personal effort, care, and a touch of luxury.
Crafting your own candles is surprisingly straightforward, and the sense of accomplishment is immense. Each essential oil candle you create is a testament to your creativity and a bespoke addition to any home. Let’s embark on this journey to discover the art of DIY candle making and unlock the secrets to beautiful, naturally scented creations.
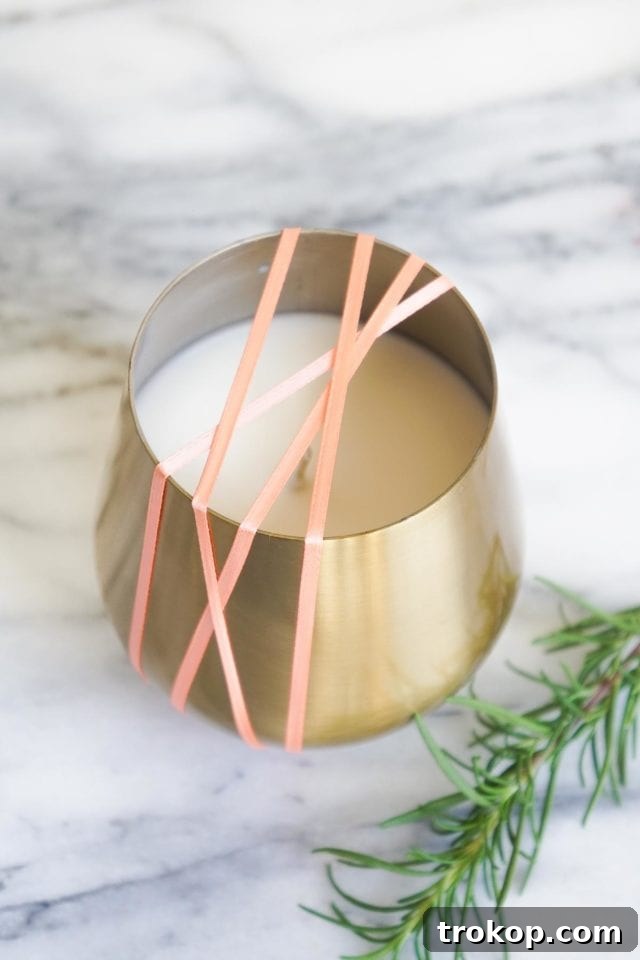
Table of Contents
Essential Candle Making Materials
To begin your candle-making journey, gathering the right materials is paramount. Quality ingredients ensure a superior candle with a clean burn and a delightful aroma. Here’s what you’ll need for this essential oil candle project:
- Soy wax flakes: Our preferred choice for its natural, clean-burning properties and easy cleanup. You’ll need approximately twice the volume of your chosen candle containers in wax flakes.
- Candle wicks: We recommend lead-free cotton wicks for a safer, more consistent burn. Ensure they are appropriate for the diameter of your containers to prevent tunneling or excessive flickering.
- Metal wick tabs: These small metal bases secure the wick to the bottom of your container. Alternatively, simplify the process by purchasing pre-cut wicks that already include tabs.
- High-quality essential oils of your choice: For this particular DIY, we’ll be using invigorating grapefruit and herbaceous rosemary essential oils to create a refreshing and uplifting scent profile.
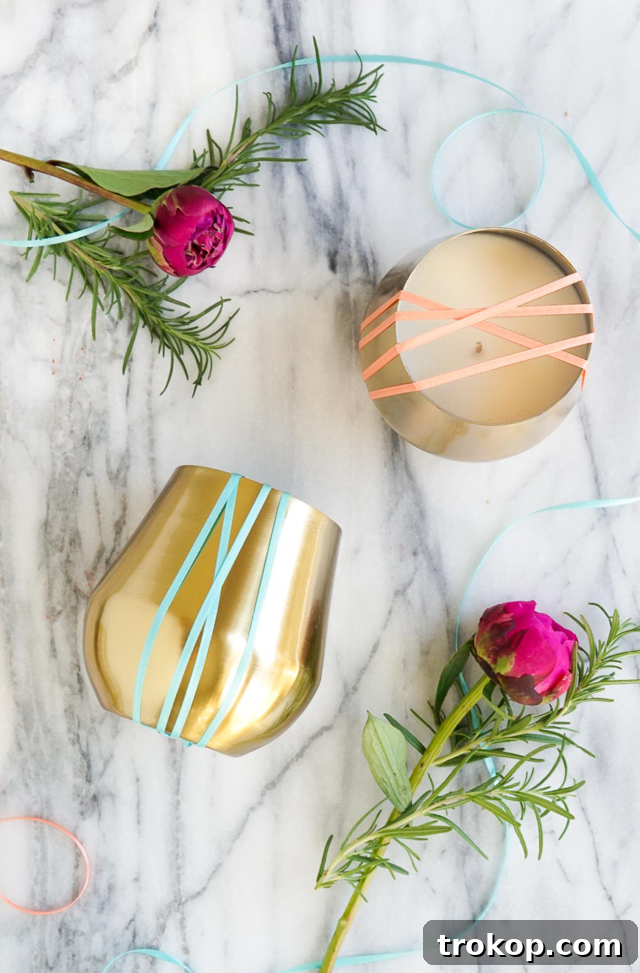
- Containers or molds: The vessel for your candle plays a crucial role in its final appearance. We used stylish 16-ounce stainless steel gold-brushed stemless wine glasses, which can be found at local stores or similar options here and here. Classic Mason jars are another excellent and readily available choice, offering a rustic charm.
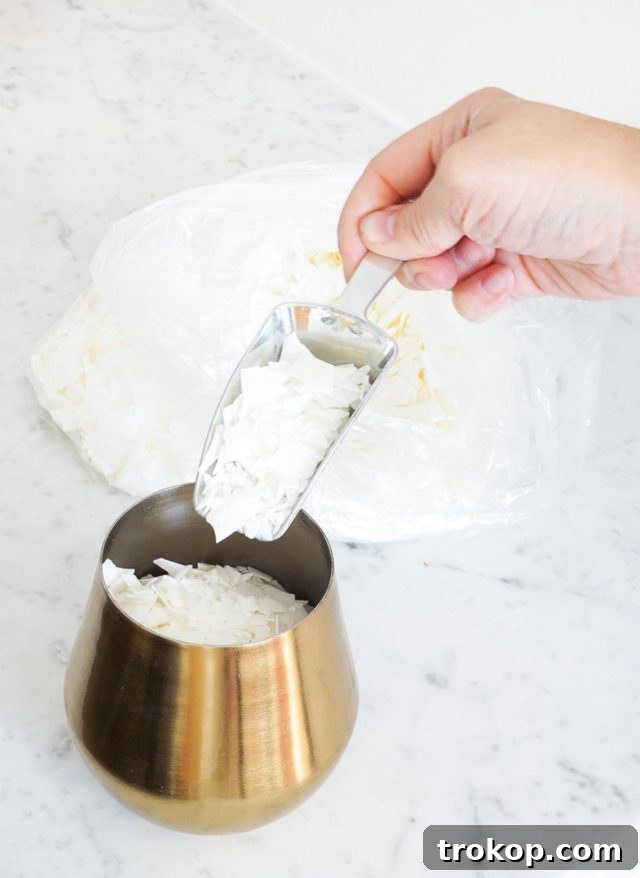
Selecting the Perfect Wax for Your Homemade Candles
The type of wax you choose significantly impacts your candle’s performance, burn time, and overall safety. After extensive experimentation, soy wax has emerged as our top recommendation for homemade candles, especially when working with essential oils. Its numerous benefits make it an excellent choice for both beginners and experienced crafters.
Soy wax melts are derived from soybeans, making them a natural, renewable, and biodegradable resource. Unlike some other waxes, soy wax is non-toxic, producing a cleaner burn that releases fewer harmful chemicals into your home environment. This is particularly important when infusing candles with essential oils, as you want to ensure the air quality remains high.
One of the most practical advantages of soy wax is its water-soluble nature. This means that any spills or drips during the candle-making process are incredibly easy to clean up with just soap and warm water, eliminating the need for harsh chemicals or extensive scrubbing. This feature alone makes soy wax a joy to work with.
When determining the amount of wax needed, a general guideline is to double the volume of each candle vessel. For example, if you’re filling a 16-ounce container, you’ll likely need about 32 ounces of wax flakes by weight. It’s always a good idea to have a little extra on hand, just in case.
While soy wax is our preferred choice, here’s a brief overview of other common candle waxes:
- Pure Beeswax: Another excellent non-toxic and natural option, beeswax candles burn slowly and produce a subtle, natural honey scent. They are also known for their air-purifying properties. However, working with beeswax can be quite challenging due to its sticky nature, making cleanup from surfaces a potential “nightmare” if not handled carefully.
- Paraffin Wax: Historically, paraffin wax has been the most common type of candle wax due to its affordability and ability to hold vibrant colors and strong scents. It is a byproduct of petroleum refining. While cheaper, paraffin wax tends to burn faster and can produce more soot. For those seeking natural ingredients and longer burn times, soy wax is generally preferred over paraffin.
Some candle recipes suggest a blend of half beeswax and half coconut oil. While this can yield interesting results, we’ve found that sticking to a single, high-quality wax like soy wax simplifies the process considerably without compromising on the end product’s quality.
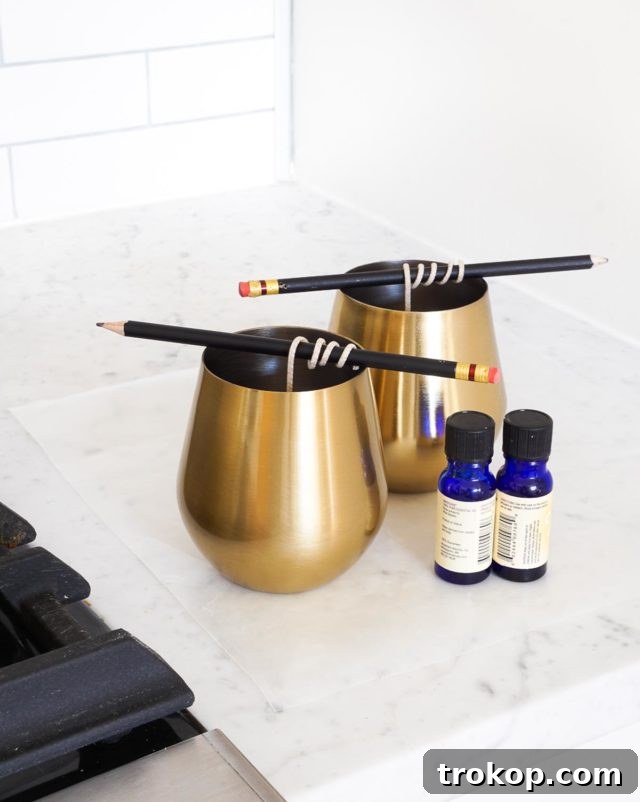
Choosing Essential Oils for Natural Scented Candles
One of the most exciting aspects of making your own candles is customizing the scent using essential oils. Unlike synthetic fragrance oils, essential oils are natural extracts from plants, offering not only beautiful aromas but also a wide range of therapeutic benefits. Selecting the right essential oils is crucial for achieving your desired fragrance and ambiance.
To ensure the strongest and most authentic scent, always opt for high-quality, undiluted pure essential oils. The recommended essential oil to soy wax ratio is typically 1 ounce (approximately 600 drops) per pound of wax. However, this can be adjusted based on the potency of the essential oil and your personal preference for scent strength. Stronger oils like peppermint or eucalyptus may require less, while lighter floral or citrus oils might need a bit more.
Consider the mood or purpose you want to achieve with your scented candle. Different essential oils have distinct properties that can uplift, relax, focus, or even purify the air. Here’s a look at some popular essential oils and their benefits:
- Grapefruit: A bright and uplifting citrus oil that invigorates the senses, boosts mood, and enhances alertness. Ideal for morning routines or creative spaces.
- Rosemary: Known for its herbaceous and stimulating aroma, rosemary essential oil enhances memory, improves concentration, and promotes mental clarity. Perfect for study areas or home offices.
- Eucalyptus: With its crisp, clean, and camphorous scent, eucalyptus is excellent for clearing the mind, promoting mental clarity, and supporting respiratory health. Great for bathrooms or when feeling congested.
- Lavender: Perhaps the most well-known for its calming properties, lavender promotes deep relaxation, eases stress, and aids in restful sleep. A classic choice for bedrooms and evening wind-downs.
- Neroli: A luxurious floral oil that elevates mood, reduces feelings of anxiety, and instills a sense of positivity and tranquility. Wonderful for creating a spa-like atmosphere.
- Sweet Orange: This cheerful citrus oil sets a bright and happy mood. Additionally, it possesses natural insect-repelling properties, making it useful against mosquitoes, ants, and flies.
- Vanilla: Creates a warm, comforting, and inviting atmosphere. Often associated with coziness and a sense of security.
Don’t be afraid to experiment with essential oil blends to create unique aromas. For instance, combining lavender with cedarwood can create a deeply relaxing scent, while lemon and peppermint offer an energizing boost. Always perform a small test batch if you’re unsure about a new blend.
If you find yourself with leftover essential oils, repurpose them! You can easily make your own homemade reed diffuser or use them in a humidifier for instant aromatherapy.
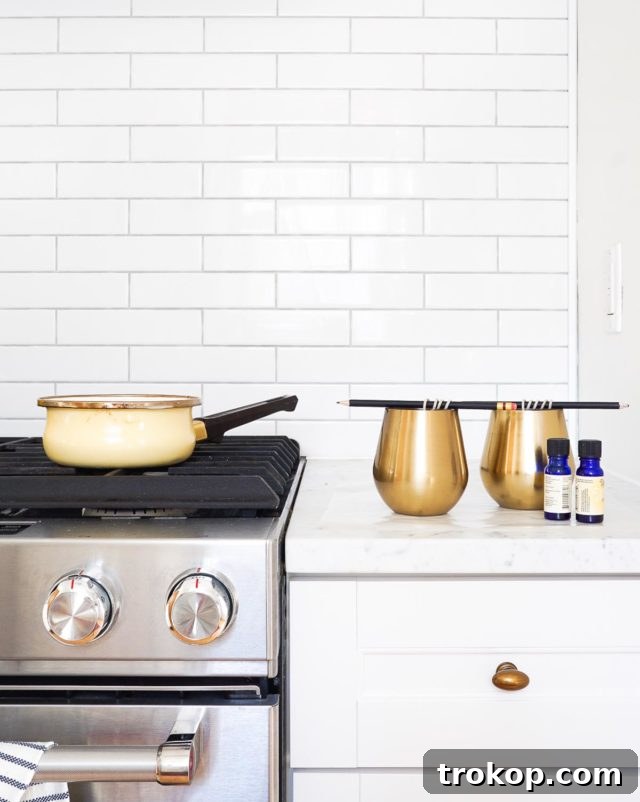
Indispensable Tools for DIY Candle Crafting
While many candle-making guides emphasize the need for specialized equipment like a double boiler, we’re here to tell you that you can achieve fantastic results with more common kitchen items and a clever workaround! This approach saves both time and money, eliminating the need to invest in an overpriced candle-making pour pot or a dedicated double boiler set.
Here’s the essential equipment you’ll need for a streamlined candle-making process:
- Pencils, wood dowels, or chopsticks: These are invaluable for holding your wicks perfectly centered and upright while the wax cools and solidifies. Simply wrap the top of the wick around one of these tools and rest it across the rim of your container.
- Parchment paper or wax paper: Before you even begin, dedicate a few moments to prep your workspace. Laying down parchment or wax paper next to your stove and on any surfaces where you’ll be pouring wax is a game-changer. While soy wax is commendably easy to clean, a protective layer of paper entirely eliminates the need for any scrubbing, making cleanup a breeze.
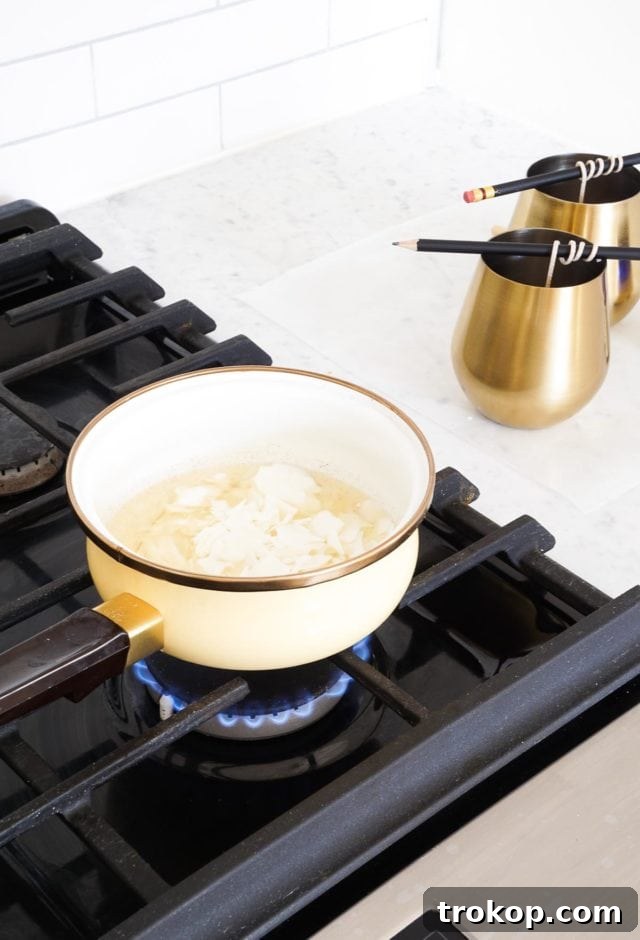
- Dedicated saucepan: This is the key to simplifying your wax melting process. Instead of a double boiler, use a saucepan that you designate solely for candle making. You can find inexpensive saucepans at thrift stores or discount retailers. With this method, you’ll melt the wax directly in the pan over low heat.
When melting wax directly in a saucepan, it’s important to stir the wax flakes pretty frequently to ensure even melting and prevent scorching. Remove the pan from the heat as soon as the wax chips have completely melted. This direct-heat method, while requiring more active stirring, significantly cuts down on setup and cleanup time and is far more budget-friendly than investing in a double boiler. You’ll be amazed at how easily you can craft beautiful candles without the extra fuss!
Step-by-Step Guide to Making Essential Oil Candles
Now that you have all your materials and tools ready, it’s time to bring your homemade essential oil candles to life! Follow these simple steps for a smooth and enjoyable crafting experience.
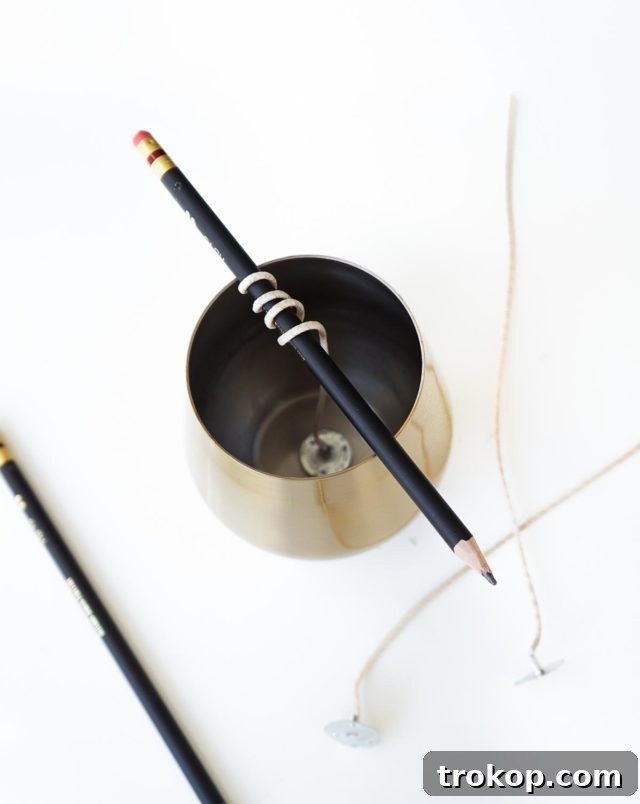
- Prepare Your Wick and Container: Begin by securing your wick inside your chosen container. If your wicks did not come with pre-attached metal tabs or plates, ensure you connect them beforehand. Center the wick precisely at the bottom of the container, making sure the metal wick plate sits flush. To keep the wick perfectly upright and centered while the wax sets, wrap any excess wick around a pencil, wood dowel, or chopstick and rest it horizontally across the rim of your container. This prevents the wick from sinking or shifting.
- Melt the Wax: Pour your soy wax flakes into your dedicated saucepan. Place the saucepan on your stove over very low heat. Stir the wax flakes frequently with a heat-resistant spatula or spoon to ensure even melting and prevent any hot spots or scorching. Once the wax has completely melted into a clear liquid, immediately remove the pan from the heat. Allow the melted wax to cool slightly for a few minutes before proceeding to the next step.
- Add Essential Oils: This is where the magic happens! Once the wax has cooled slightly (refer to the “Important Notes and Tips” section below for optimal temperature guidance for essential oils), add your chosen essential oils. A good starting point is about 20-30 drops per candle, but this can be adjusted based on the size of your container and your desired scent strength. Stir the essential oils gently but thoroughly into the melted wax for about 1-2 minutes to ensure they are well dispersed throughout.
- Pour and Set: Carefully pour the scented wax into your prepared containers. Be mindful not to pour too quickly or overfill, leaving a small amount of space at the top (about half an inch) to prevent spillage. Once poured, do not move the containers. Allow the candles to cool undisturbed at room temperature until they have fully solidified. This curing process can take several hours, often overnight, depending on the size of your candle. Patience is key for a smooth, even wax surface.
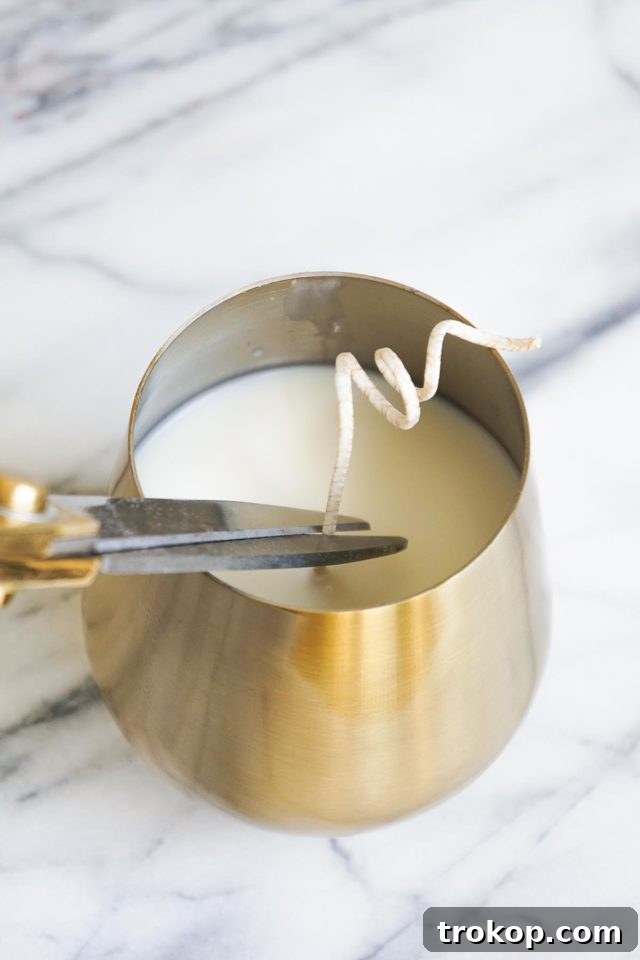
- Trim the Wick: Once your candles have fully cooled and hardened, it’s time for the final touch. Using sharp scissors or a wick trimmer, trim the wick to approximately 1/4 to 1/2 inch above the wax surface. A properly trimmed wick ensures a clean, even burn and helps prevent excessive smoke or a mushroomed wick.
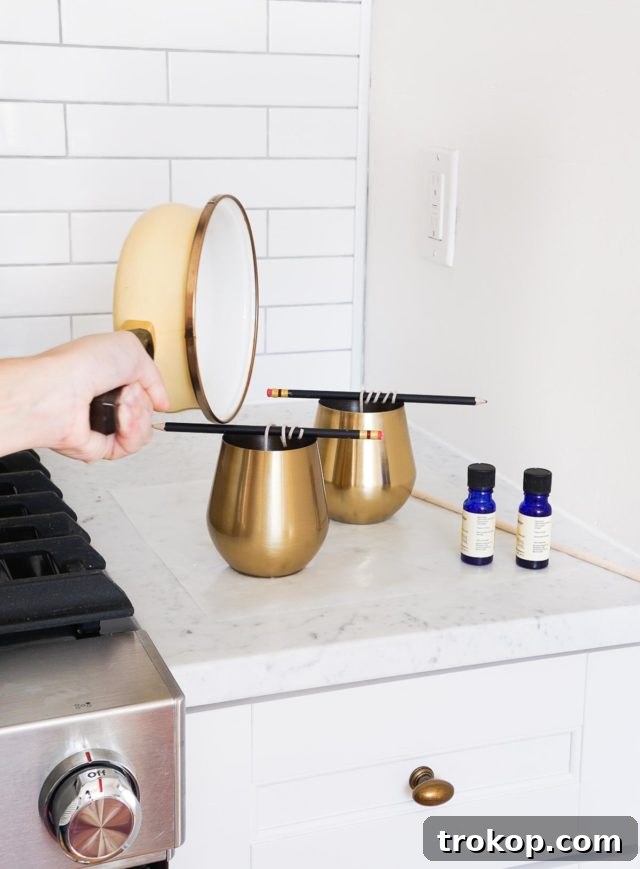
And there you have it! Your beautiful, custom-scented essential oil candles are complete. Allow them to cure for at least 24-48 hours (or up to a week for stronger scent throw) before their first burn. This allows the essential oils to bind more effectively with the wax, resulting in a richer aroma.
Creative Candle Gift Wrapping Ideas
A homemade essential oil candle makes an exquisite gift on its own, but presenting it beautifully elevates the gesture. Thoughtful wrapping adds a personal touch that truly makes your handmade gift one-of-a-kind. Here are some creative ways to gift-wrap your freshly crafted candles:
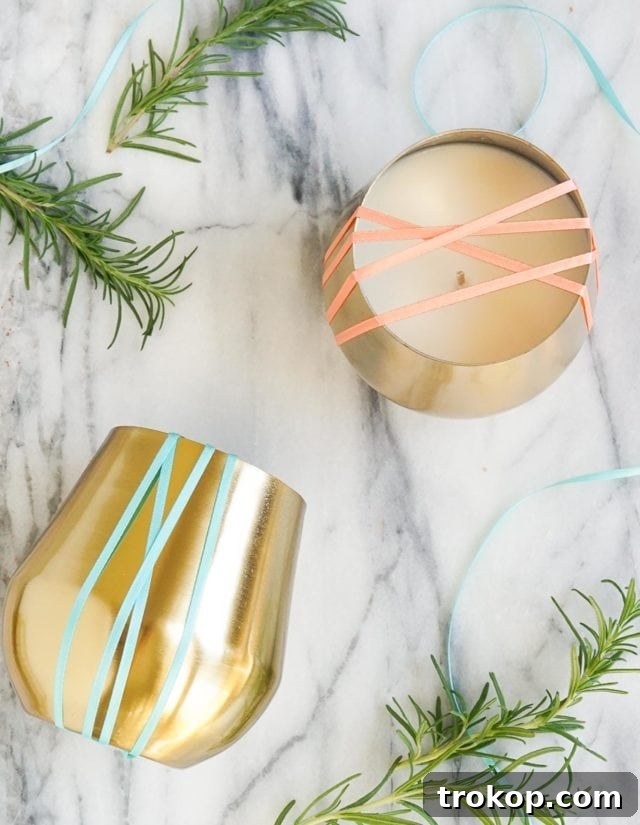
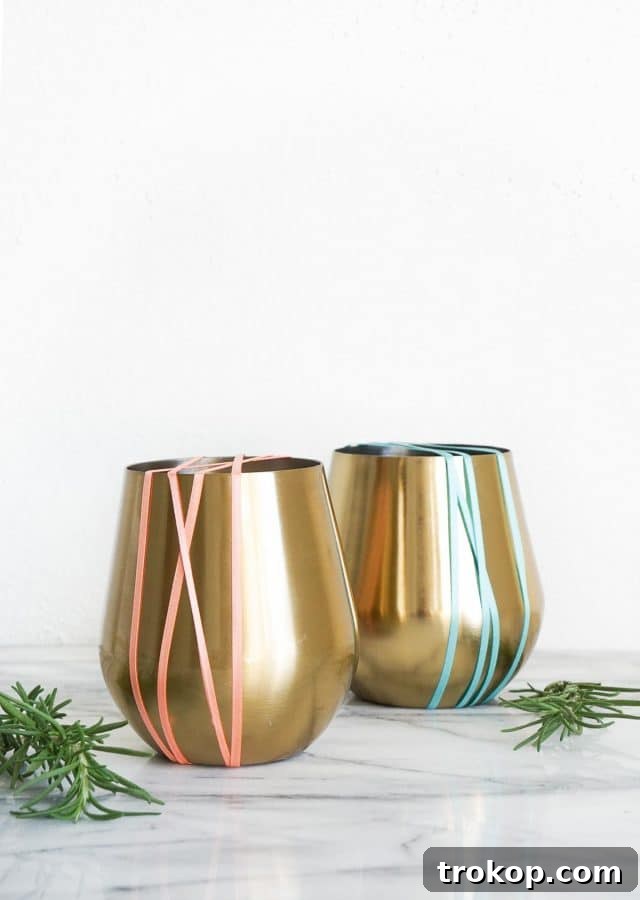
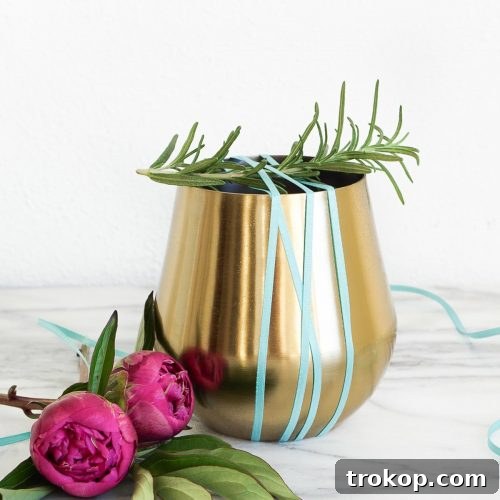
- Elegant Ribbon & Botanical Garnish: Start by wrapping the candle container from top to bottom with a beautiful ribbon. You can use a classic satin ribbon, a rustic jute twine, or a vibrant grosgrain, securing the end with a small piece of tape discreetly placed on the bottom of the container. Then, tuck a fresh sprig of rosemary (matching your candle’s scent!) or a few dried flowers under the ribbon for an organic, fragrant flourish. This adds a sophisticated and natural aesthetic.
- Personalized Labels: Design and print custom labels for your candles. Include the scent name (e.g., “Rosemary & Grapefruit Serenity”), the date it was made, and a sweet message. This personalizes the gift even further and gives it a professional touch.
- Reusable Fabric Wraps (Furoshiki-inspired): For an eco-friendly and elegant option, wrap your candle in a beautiful piece of fabric, Japanese furoshiki-style. Scarves, bandanas, or even decorative tea towels work wonderfully and become part of the gift.
- Mini Gift Boxes: Place your candle in a small, decorative gift box. You can embellish the box with stamps, glitter, or small ornaments. Fill any empty space with crinkle paper or wood shavings for protection and presentation.
- Themed Gift Baskets: If your candle is part of a larger gift, incorporate it into a themed basket. For a “spa day” basket, add bath salts, a loofah, and a face mask. For a “cozy night in” theme, include a warm blanket, a good book, and a mug for tea.
No matter how you choose to wrap it, the intention and effort behind a handmade essential oil candle will surely be cherished by the recipient.
Expand Your Craft: More DIY Candle and Aromatherapy Projects
Once you’ve mastered the art of making essential oil candles, a world of creative possibilities opens up. These handcrafted creations can effortlessly transform your home, whether you’re seeking to unwind after a long day or set a cozy ambiance for a special gathering. The joy of DIY lies in experimentation, so don’t hesitate to venture beyond this basic recipe!
Consider incorporating dried flowers, herbs, or even coffee beans into your candles for added visual appeal and subtle aromatic layers (ensure they are placed safely away from the wick). You could also experiment with natural dyes to create candles that match your home decor perfectly. The journey of scent creation is endless, allowing you to tailor every candle to your mood, season, or occasion.
If you’re eager to explore more DIY candle and aromatherapy projects, here are some of our favorite ideas from the archives, perfect for inspiring your next craft session:
- Retro DIY Faux Wood Candle Holder: Elevate your candles with a unique, handmade holder.
- Dual DIY Copper Candle Holder: A sleek and modern design to display two candles.
- Rainbow DIY Taper Candle Holder: Add a pop of vibrant color to your home with this fun project.
- Wooden Taper Candle Holder: Craft a natural and elegant holder for your taper candles.
- Balloon Dipped DIY Citronella Candles: Perfect for outdoor entertaining and keeping pesky insects away.
- DIY Giant Birthday Candles: A festive and memorable project for celebrations.
Each project offers a chance to refine your crafting skills and bring more personalized beauty into your life and the lives of those you gift them to. Happy crafting!
DIY Essential Oil Candle Recipe Card
Creating homemade candles with essential oils is a wonderful way to infuse your space with soothing scents and personalize your decor.
Equipment Needed
- Parchment paper or wax paper to cover your workspace
- Pencils, wood dowel, or chopsticks
- Dedicated saucepan for candle making
Materials List
- 2 lbs soy wax flakes (or measure the amount needed by filling them in your containers)
- 2 candle wicks with metal tabs
- 20-30 drops essential oils (of your choice; we used grapefruit and rosemary)
- 2 containers for candleholders
Detailed Instructions
-
Set your wick in place by centering it inside your container. (If you did not purchase wicks with tabs or plates, make sure to connect them beforehand.) Make sure that the wick plate touches the bottom. Then, wrap any extra wick around a pencil. Use the pencil to keep the wick centered and upright.
-
In the saucepan on low heat, pour in the wax and stir frequently. Once the wax is melted, remove it from heat and let it cool slightly.
-
Add and stir in the essential oils of your choice, about 20-30 drops per candle. Adjust according to your preference for scent strength.
-
Carefully pour the scented wax into your prepared containers. Leave a bit of space at the top to prevent spillage. Allow the candles to cool to a solid state. Avoid moving them while they’re setting.
-
Once the candles have fully cooled, trim the wick to about 1/2-inch above the wax surface.
Important Notes and Tips
Before you begin, we highly recommend covering your workspace by laying parchment or wax paper down next to your stove. You’re bound to get some spillage, and soy wax is easy to clean. However, wax paper eliminates the need for any scrubbing.
Essential Oil Flash Points:
- Essential oils have different flash points, which refer to their ideal temperatures for optimal scent release. If you want the scent of your candle to last as long as possible, use a candle thermometer to measure the temperature of your wax before adding your essential oil.
- Grapefruit essential oil has a flashpoint of 109° F (43° C) and rosemary at 104° F (40° C). Therefore, when your melted wax is cooling, wait until it reaches approximately 104°-109° F before adding your grapefruit and rosemary essential oils. This temperature will allow the oils to release their fragrance at their highest potential and minimize evaporation during the pouring process.

Related Home Decor Ideas
43 Top Amazon Wall Decor Ideas for Every Room in Your Home
Continue Reading43 Top Amazon Wall Decor Ideas for Every Room in Your Home
28 Decorative Wall Mirrors You’ll Wish You Bought Sooner
Continue Reading28 Decorative Wall Mirrors You’ll Wish You Bought Sooner
25 Large Wall Clocks for Your Living Room
Continue Reading25 Large Wall Clocks for Your Living Room
19 Unique & Easy Houseplants that We’re Loving
Continue Reading19 Unique & Easy Houseplants that We’re Loving