
Behind the Scenes of a DIY Blog: A Comprehensive Guide to Crafting Engaging Content
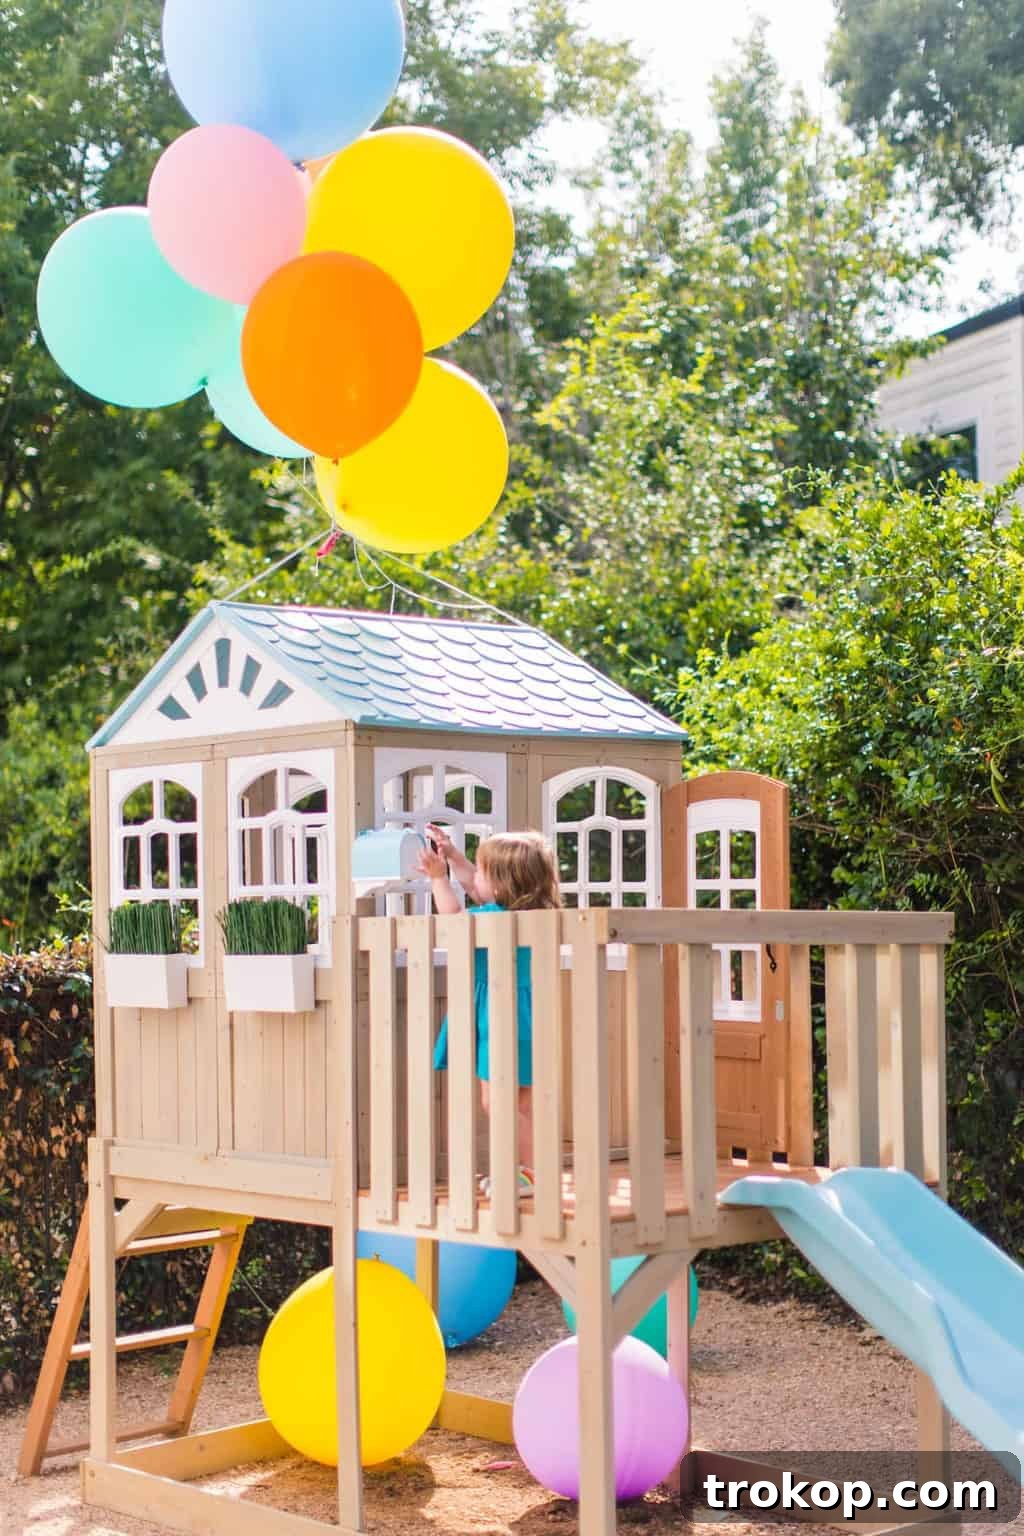
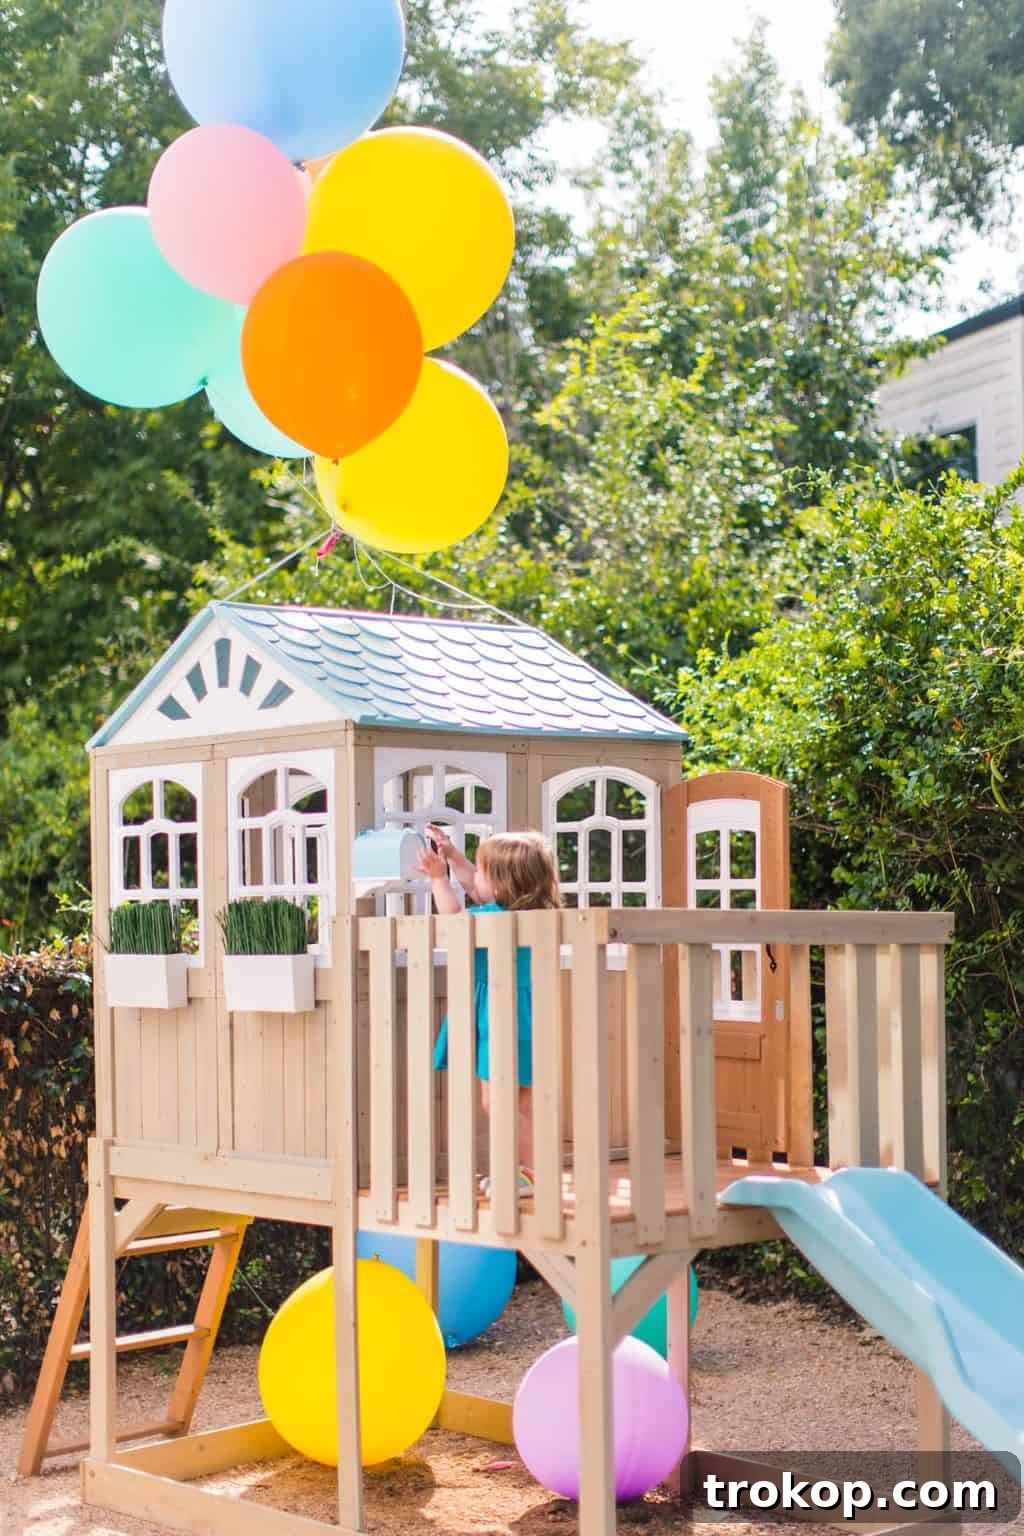
Ever wondered what it takes to run a successful DIY blog? It’s more than just crafting beautiful projects; it’s about understanding your audience, mastering SEO, and creating captivating content that keeps them coming back for more. This guide offers an in-depth look at the process, from initial concept to final social media promotion, providing actionable tips and insights to help you elevate your own DIY blogging journey. Plus, discover where to find Gwen’s adorable playset!
Forget the glamorous image often associated with blogging. Running a DIY blog is a labor of love, a significant time investment, and a constant learning experience. Creating a single, comprehensive DIY blog post can easily consume 20-30 hours, sometimes even more, depending on the complexity of the project.
The process involves a multitude of tasks, including brainstorming ideas, researching keywords, creating mood boards, compiling supply lists, executing the project, photographing the process, editing photos, designing graphics, writing engaging content, and promoting the post across various social media platforms.
This comprehensive guide will walk you through each step of the process, sharing best practices and practical tips to streamline your workflow and maximize your impact. We’ll also explore how to leverage tools like Picmonkey to create custom-looking graphics with ease.
Here’s a breakdown of what we’ll cover:
- How to write a blog post that resonates with your audience.
- Creating effective checklists to stay organized.
- Designing inspiring mood boards to visualize your projects.
- Utilizing tutorial videos to enhance your graphics.
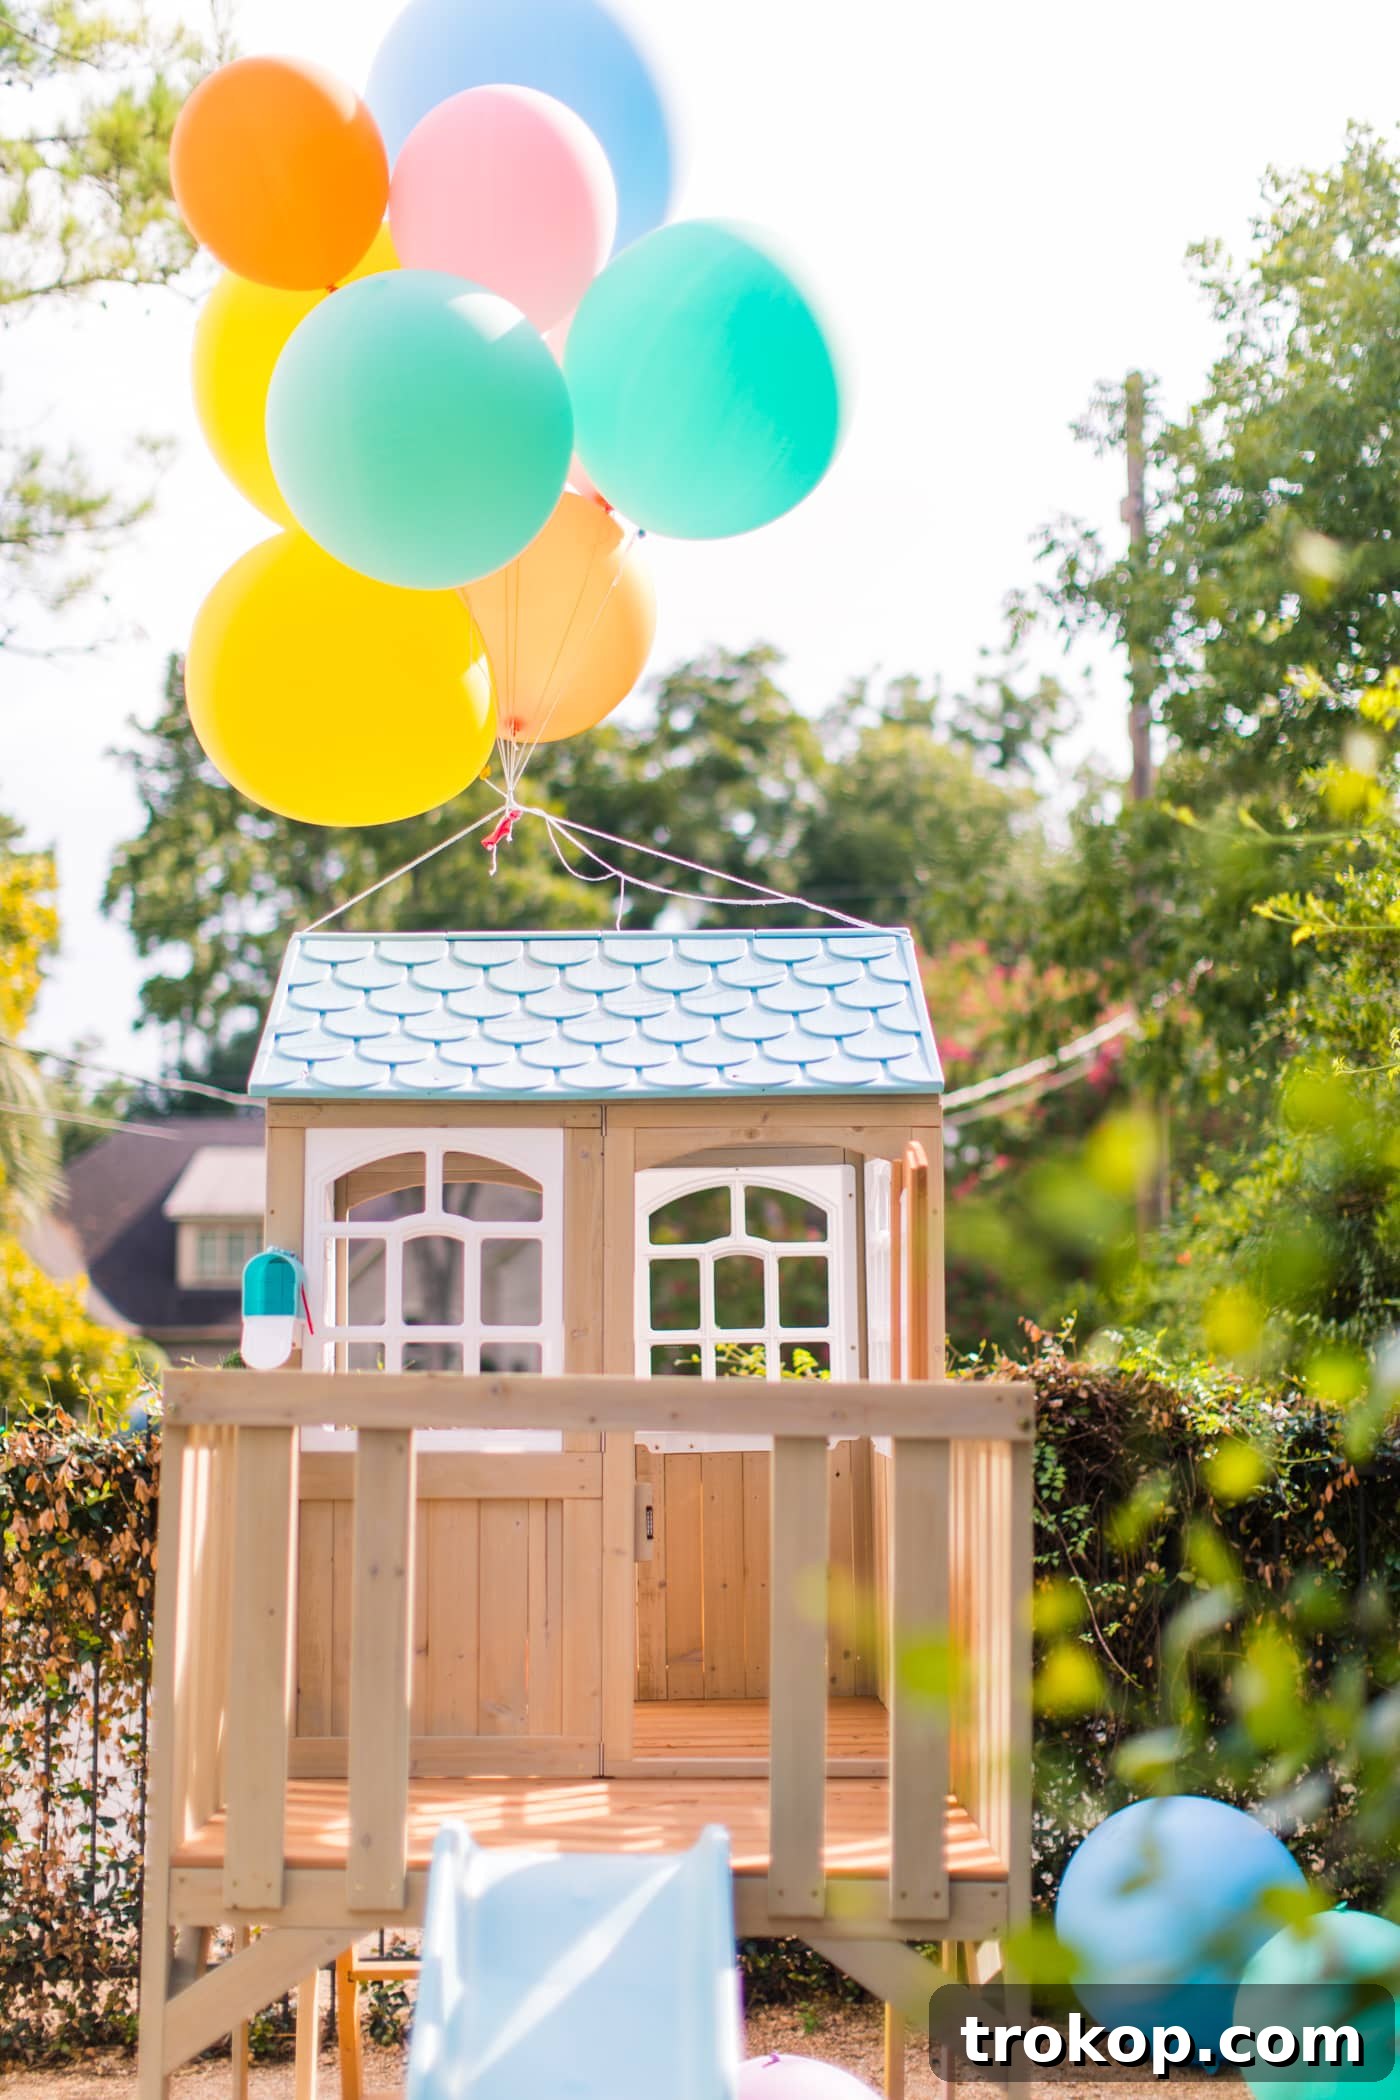
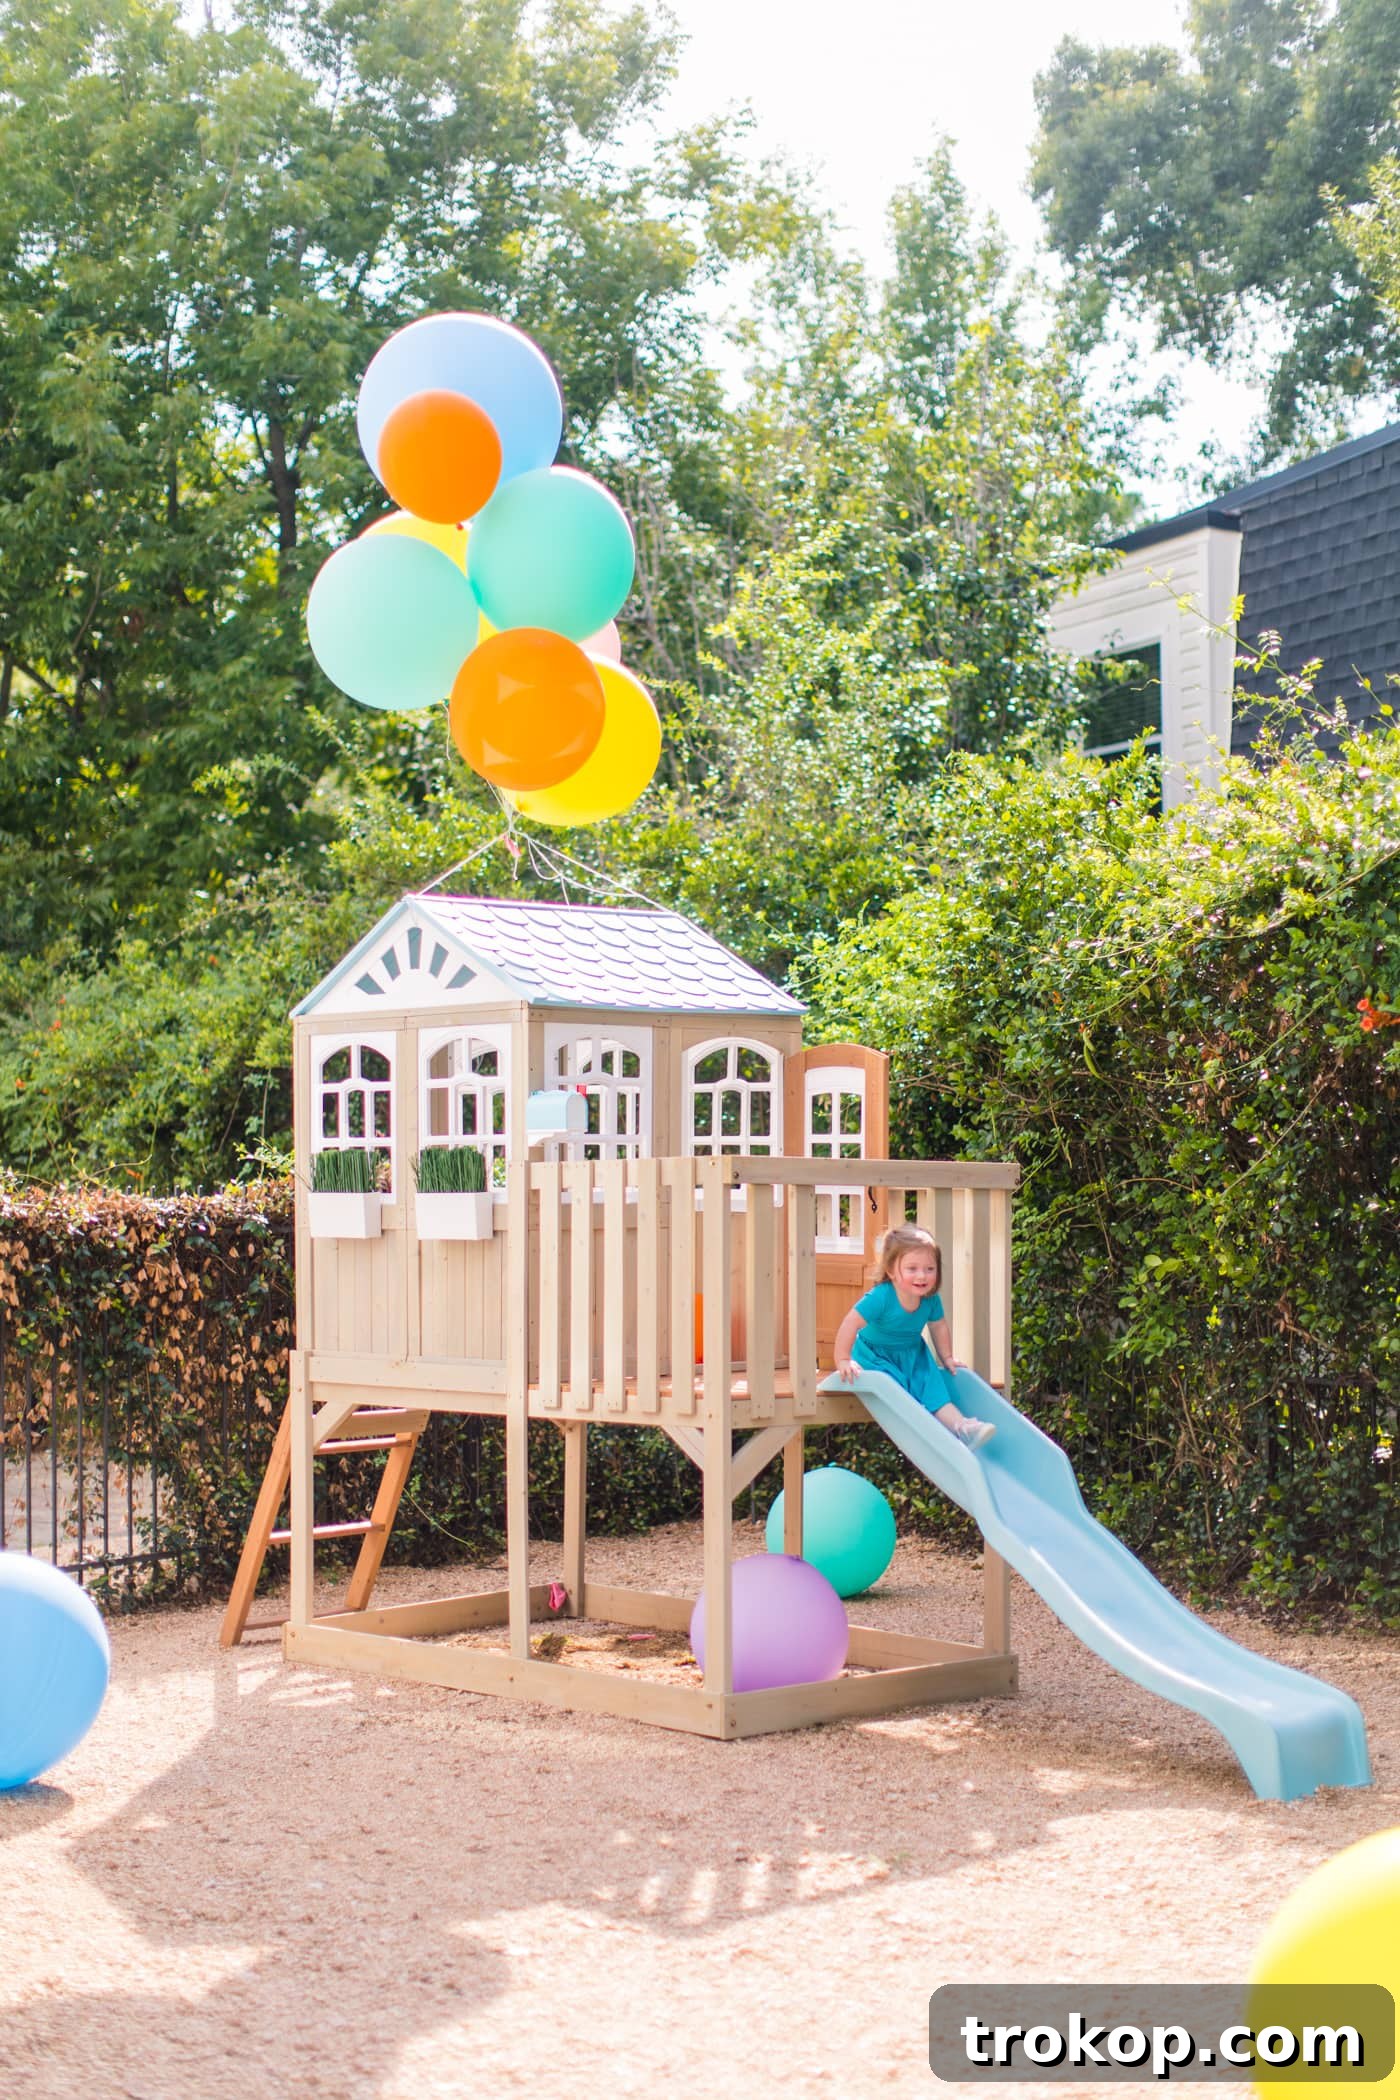
The images throughout this post offer a glimpse behind the scenes, showcasing the evolution of a mood board into a finished, photographed project.
The Art of DIY Blogging: A Step-by-Step Guide
Step 1: Conceptualizing the Idea & Optimizing for SEO
The foundation of any successful blog post is a solid idea. Ask yourself: What am I going to create? Is it unique? Does it fulfill a need? It’s crucial to ensure your idea aligns with what people are actively searching for. A brilliant project that no one is looking for online will likely result in minimal traffic.
Many bloggers start with just-for-fun ideas, neglecting the power of SEO and targeted keywords. My advice? Strike a balance between projects you’re passionate about and topics that resonate with your target audience. Prioritize understanding keyword research and tailoring your ideas accordingly. This will drastically improve your SEO and drive more traffic from search engines and platforms like Pinterest.
Step 2: Crafting a Vision with Mood Boards
A mood board serves as a visual representation of your project, helping to communicate your vision to your team and keep everyone on the same page. It allows you to explore different aesthetics, colors, and textures before committing to the final design.
Tools like Picmonkey can significantly simplify the mood board creation process. They offer pre-designed templates that you can easily customize with your own images and inspirations, saving you valuable time and effort.
Step 3: The Essential Checklist & Shopping List
Underestimating the time required to create a comprehensive checklist and gather supplies is a common pitfall for DIY bloggers. Creating a detailed shopping list ensures you have everything you need before starting your project, preventing frustrating delays and last-minute trips to the store.
Consider utilizing online retailers like Amazon Prime for convenient and efficient supply procurement. A well-organized checklist will save you time, reduce stress, and ultimately contribute to a smoother project execution.
Step 4: Capturing the Process with Photography
Visual storytelling is paramount in the DIY world. Create a comprehensive list of images you’ll need, including step-by-step tutorial shots and captivating “hero” photos for social media promotion. Overlooking crucial steps or failing to capture high-quality images can significantly impact the success of your post.
Planning your photography in advance ensures you capture all the necessary visuals, providing your readers with a clear and engaging tutorial experience. A well-executed photo list will elevate your content and increase its shareability.
Step 5: Styling, Photographing & Editing: Showcasing Your Creation
Once your project is complete, it’s time to style and photograph the final result. Even the most ingenious project can fall flat if not presented effectively. Invest time in creating visually appealing imagery that captures the essence of your creation.
Pay attention to lighting, composition, and overall aesthetic. Ensure your photos accurately reflect the quality and craftsmanship of your project. Enlist the help of a skilled photographer or invest in learning basic photography techniques to elevate your content.
Post-photography, editing is crucial. Adjust brightness, contrast, and color balance to enhance the visual appeal of your images. Consistent editing helps maintain a cohesive brand aesthetic and ensures your photos are optimized for online viewing.
Sharing tips, tricks, and hacks for Instagram stories can also boost engagement. Compile lesser-known tricks of the trade and offer simple design inspirations to help others enhance their stories.
Step 6: Writing Engaging Content & Compelling Tutorials
Writing a well-structured blog post is the most time-consuming aspect of DIY blogging. The goal is to provide clear, concise, and easy-to-follow instructions that empower your readers to recreate your project successfully. Break down complex steps into manageable chunks, using descriptive language and high-quality images to guide your audience through the process.
Pay particular attention to SEO optimization, incorporating relevant keywords throughout your content to improve search engine visibility. Ensure your introduction is captivating and includes all necessary keywords. Upload images with descriptive filenames that accurately reflect their content. Proofread your post carefully to eliminate errors and ensure readability. Finally, include links to all supplies and decor sources, making it easy for your readers to purchase the materials they need.
Crafting a thorough blog post from start to finish can easily take 4-6 hours, so plan your time accordingly.
Step 7: Social Media Preparation & Content Scheduling
Creating exceptional content is only half the battle. You must also actively promote your post across various social media platforms to reach your target audience. Prepare engaging captions and optimize your images for each platform, including Pinterest long pins and Instagram Stories swipe-ups.
Scheduling your content in advance allows you to maintain a consistent posting schedule and maximize your reach. Utilize social media management tools to streamline the scheduling process and free up your time to focus on other aspects of your blog.
Step 8: Publishing & Promoting Your Blog Post
Once your blog post is live, it’s time to amplify its reach. Share your content across Facebook, Twitter, Pinterest, Instagram, and Instagram Stories.
Tailor your messaging to each platform, utilizing best practices to maximize engagement. For example, Pinterest favors visually appealing images with clear text overlays, while Instagram thrives on authentic, behind-the-scenes content. Understanding the nuances of each platform will significantly improve your social media performance.
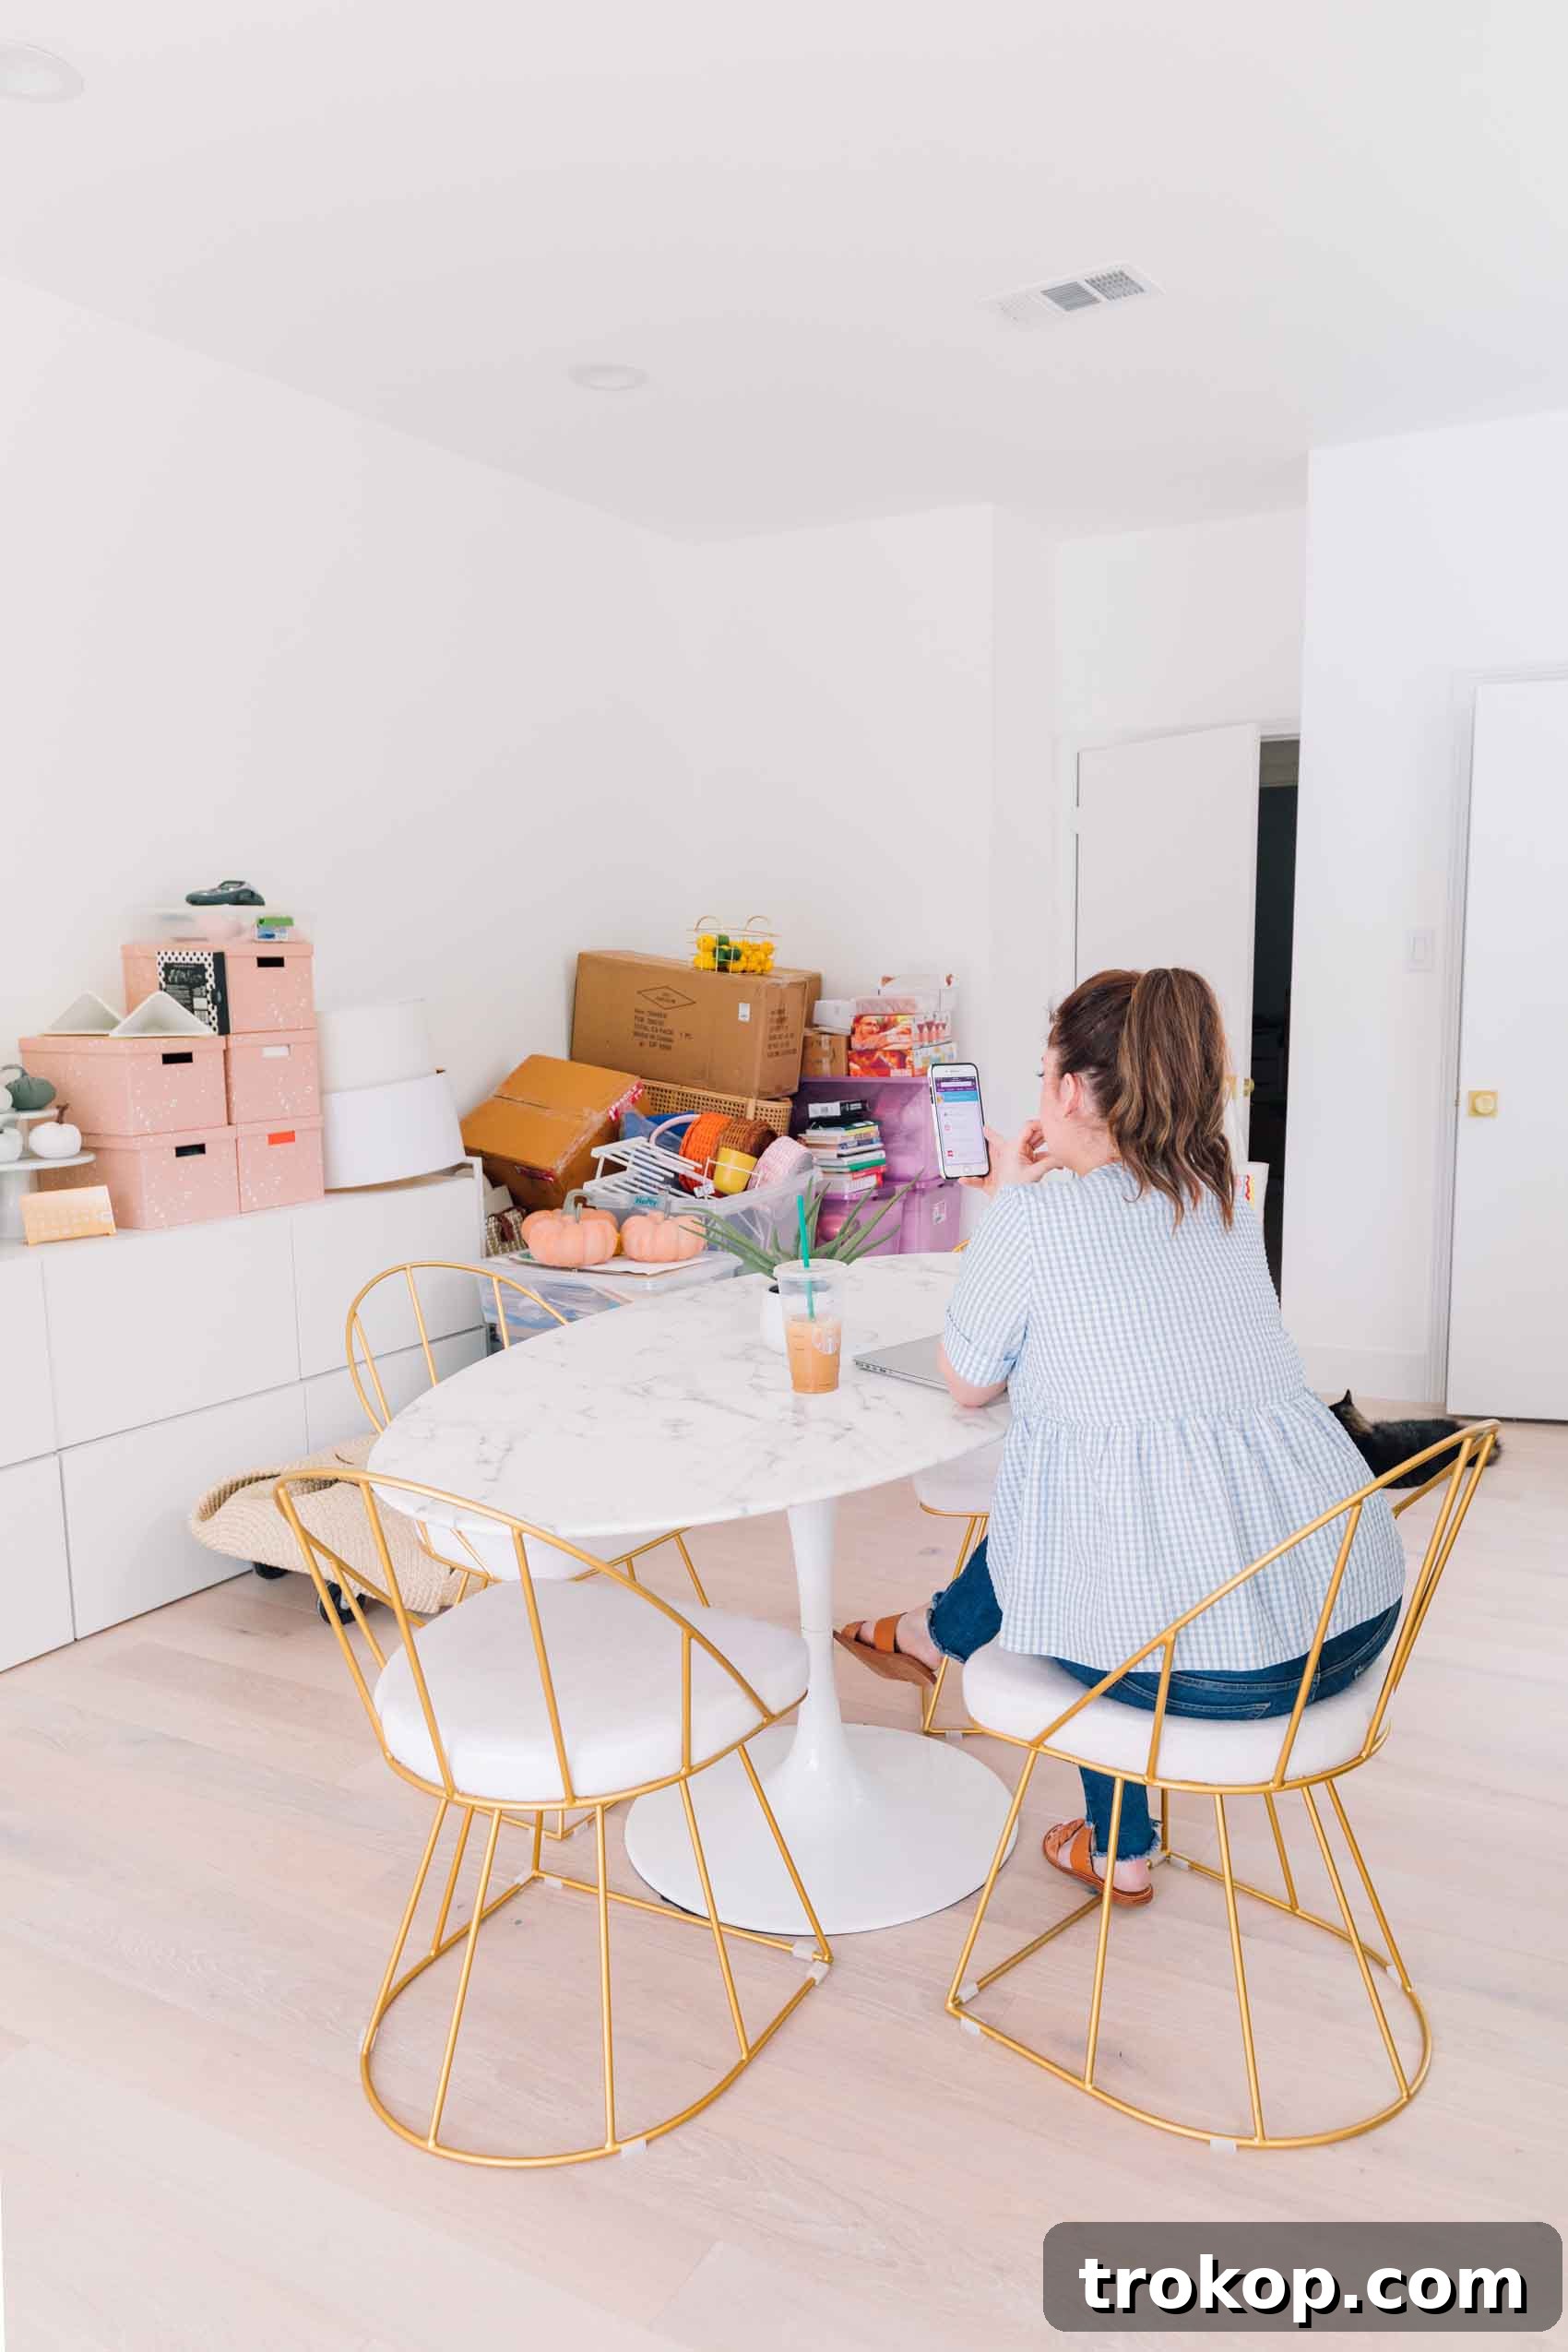
Now that you have a comprehensive understanding of the DIY blogging process, let’s delve into creating some of those key elements using Picmonkey.
Even if you’re not a DIY blogger, these techniques can be repurposed for various projects, including photo collages, party invitations, and entertaining DIYs. Picmonkey is also a valuable tool for students working on classroom projects.
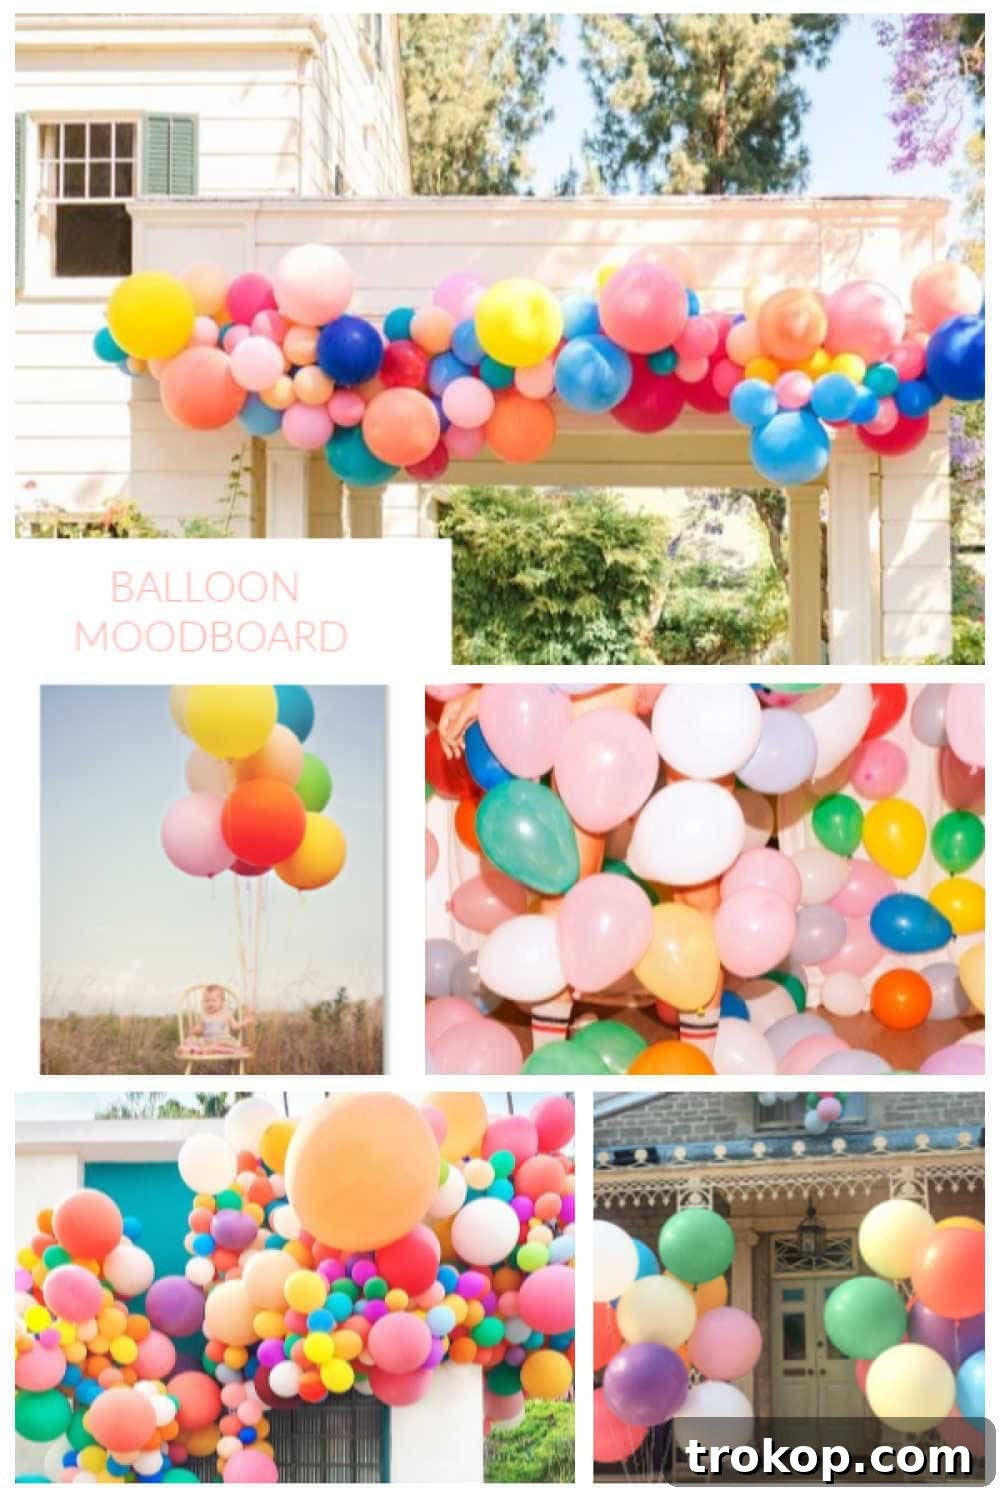
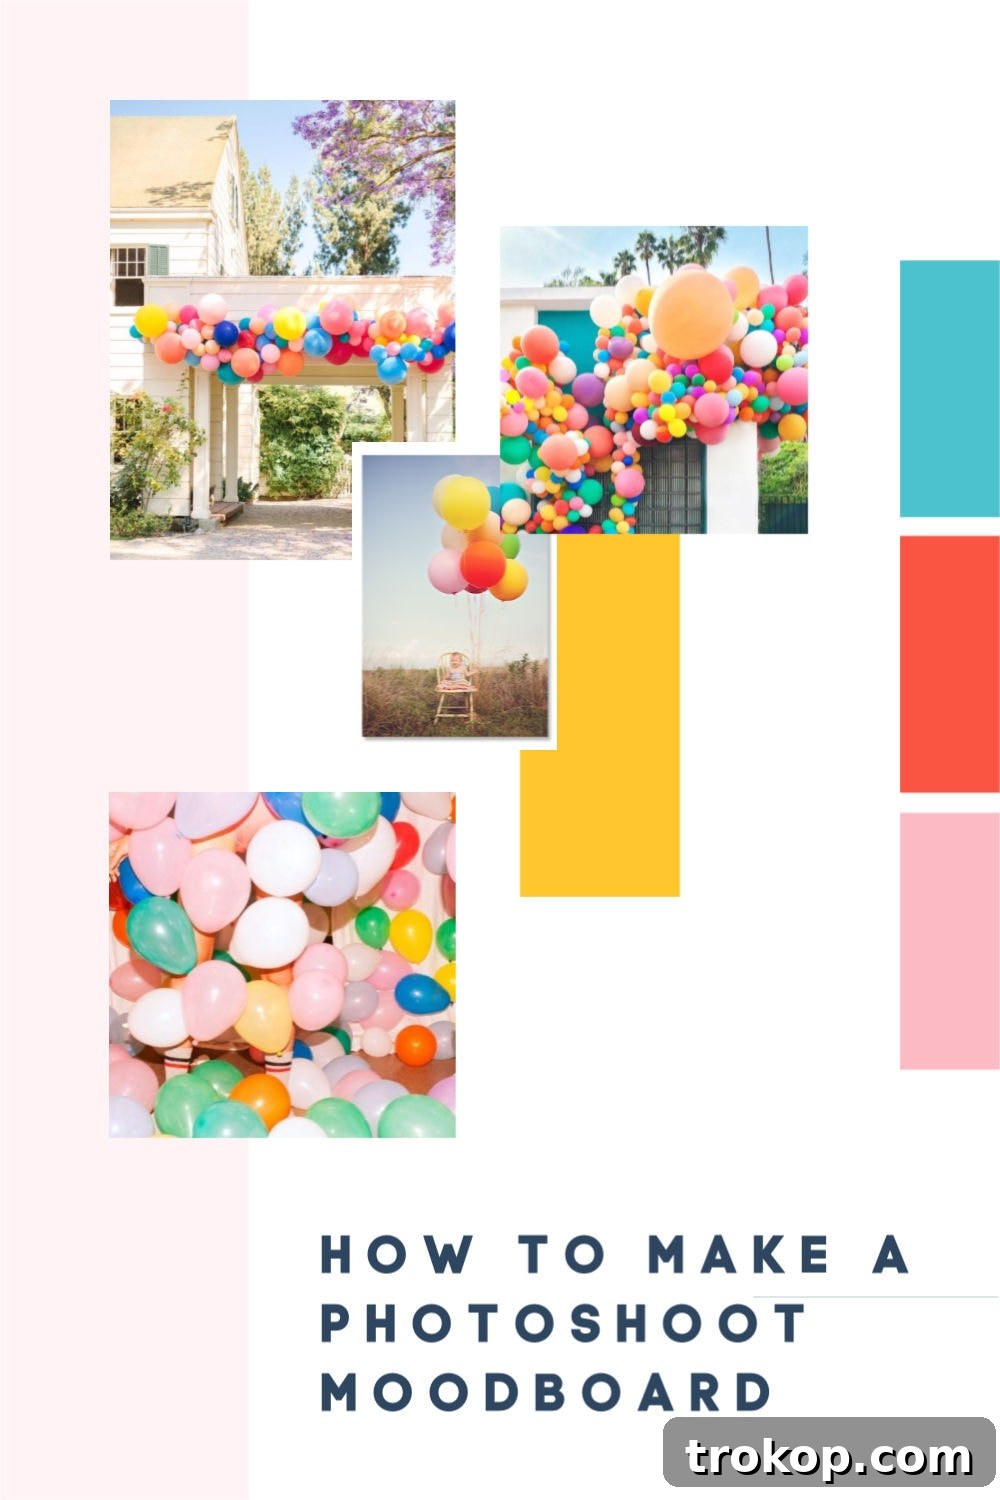
Creating Stunning Mood Boards with Ease
Don’t waste time creating templates for social channels and mood boards from scratch. Tools like Picmonkey offer a wide range of pre-designed templates that can be easily customized to fit your specific needs.
The mood boards above were created in under 4 minutes using Picmonkey templates! Start by gathering your inspiration online and saving all images and sources in one central location. Then, log in to Picmonkey and find a template that aligns with your vision. Simply drag and drop your images into the template, adjust the layout and colors as needed, and voila! You have a professional-looking mood board in minutes.
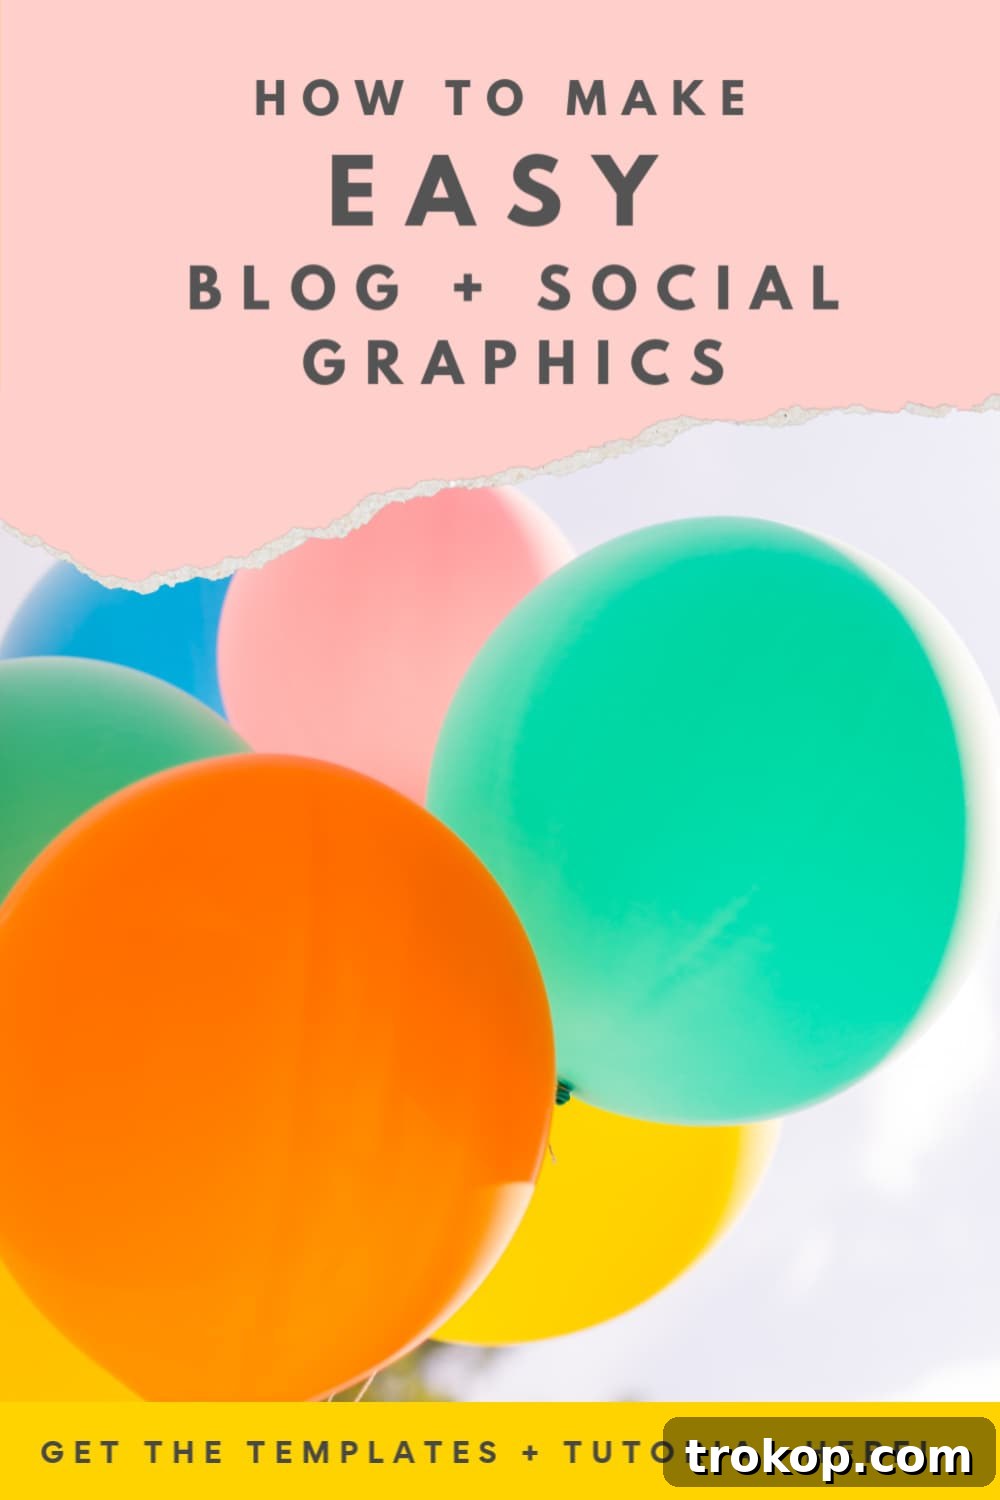
Crafting Eye-Catching Pinterest Graphics
Creating visually compelling Pinterest graphics is essential for driving traffic to your blog. While I used to resist the trend of giant text graphics on Pinterest, I’ve come to appreciate their effectiveness in capturing attention and conveying information quickly.
An image with prominent text tells the reader exactly what they’re looking at, helping your content stand out in a crowded feed. To create a Pinterest graphic that converts, customize a Picmonkey Pinterest template, which is already optimized for current Pinterest best practices for image sizing and design.
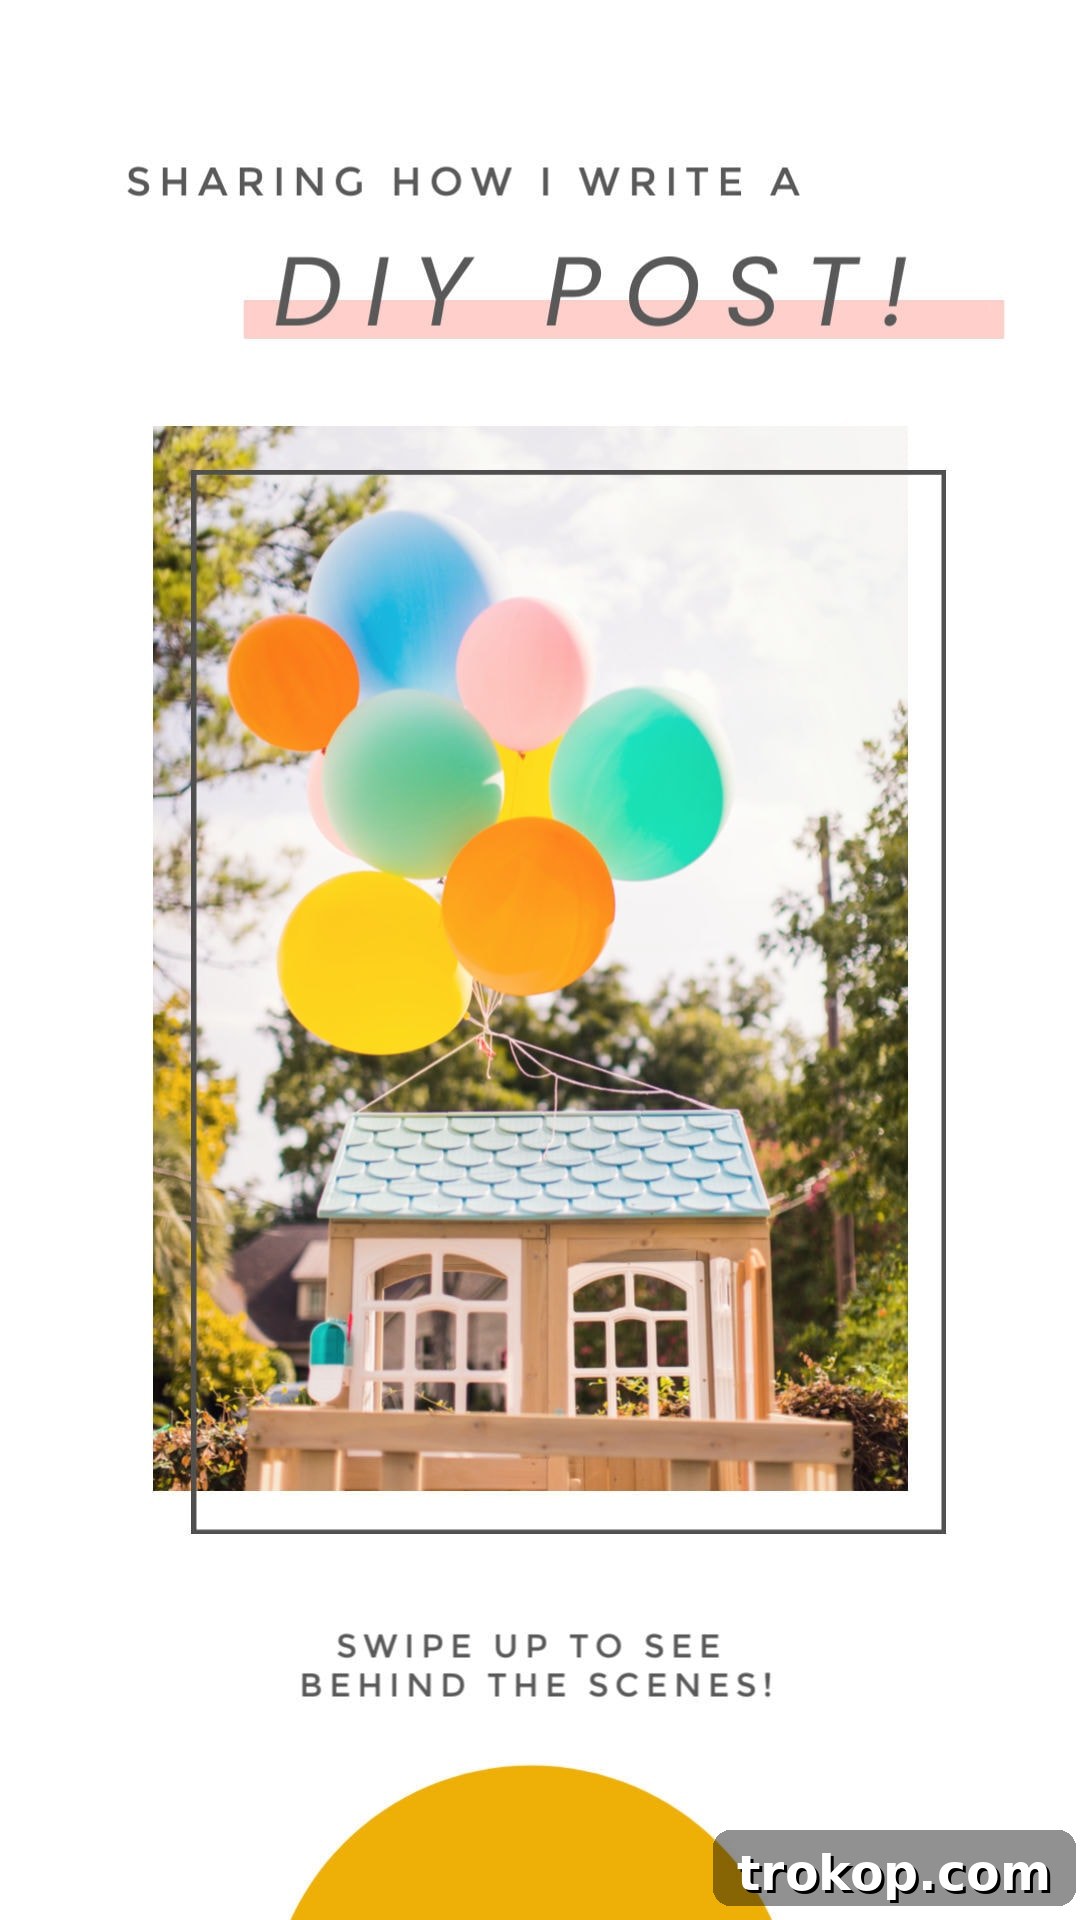
Designing Engaging Instagram Stories Graphics
Instagram Stories are a powerful tool for engaging with your audience and driving traffic to your blog. While I often create my Stories on the fly within the Instagram app, I’m making a conscious effort to plan and design them in advance for a more polished and cohesive look.
Instead of investing in a limited set of Instagram Stories templates, I prefer the flexibility of Picmonkey, which offers a vast library of customizable templates with diverse color and font options. The ability to save my designs to a central hub makes it easy to maintain a consistent brand aesthetic across all my Stories.
You can try Picmonkey for free with a seven-day trial or purchase a yearly standard membership at a discounted rate. Their pro account allows team sharing, enabling multiple employees to access the same templates and designs remotely, streamlining the collaborative design process.
Once all graphics, photos, and content are produced, it’s time to move on to the next project!
While there’s rarely time to relax and bask in the glow of a finished DIY blog post, I hope this guide has provided a valuable overview of the process.
If you have any additional questions or need further guidance, please leave a comment below or send me a message via our contact page!
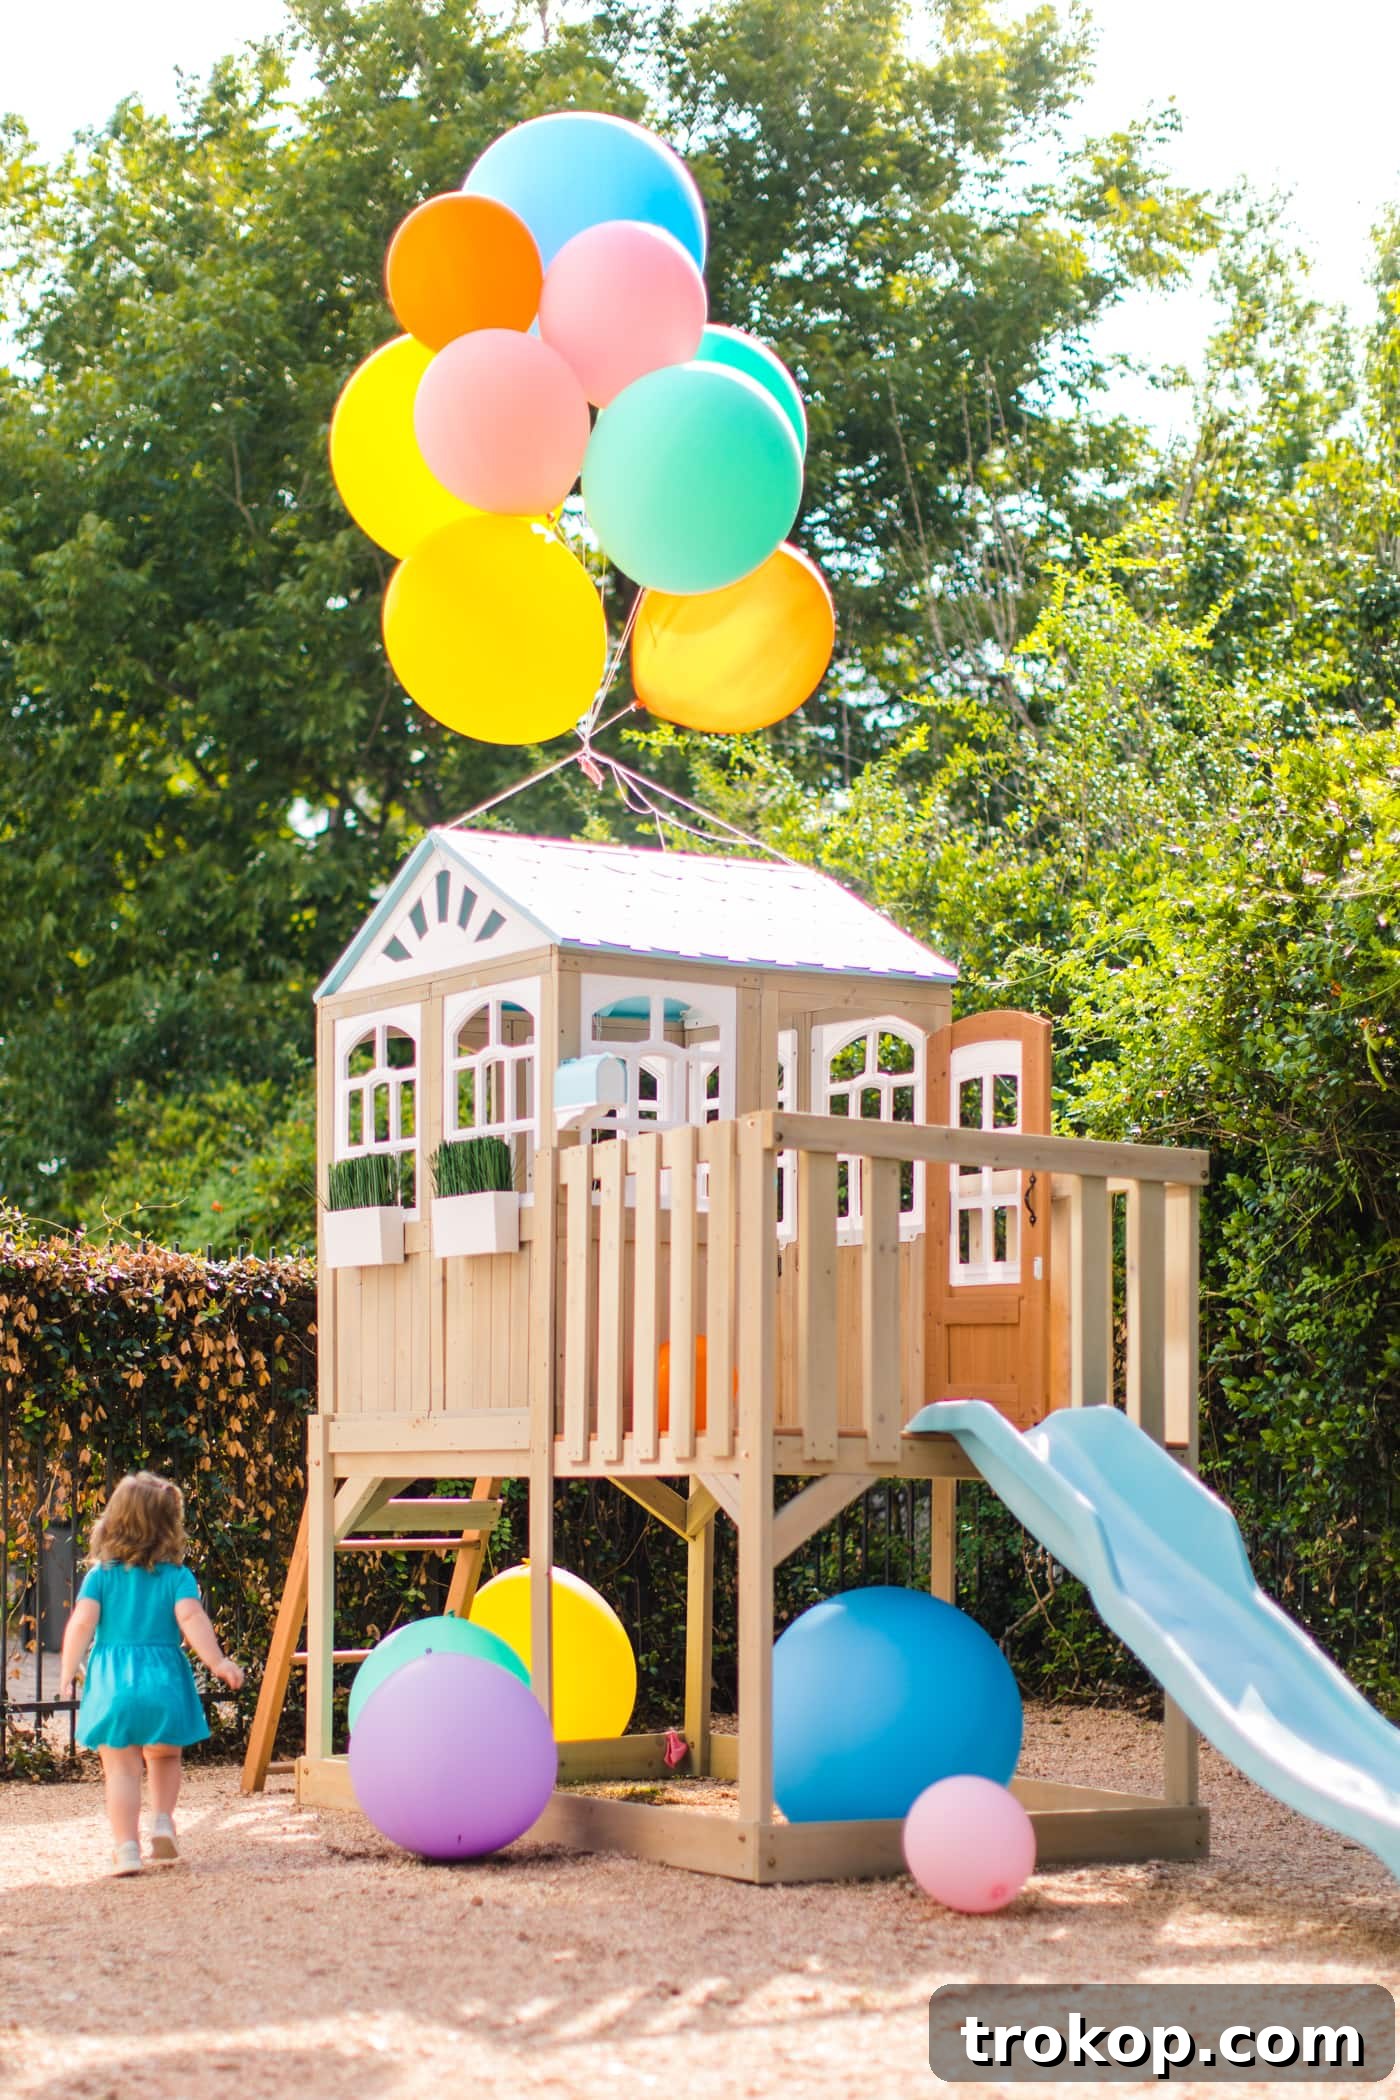
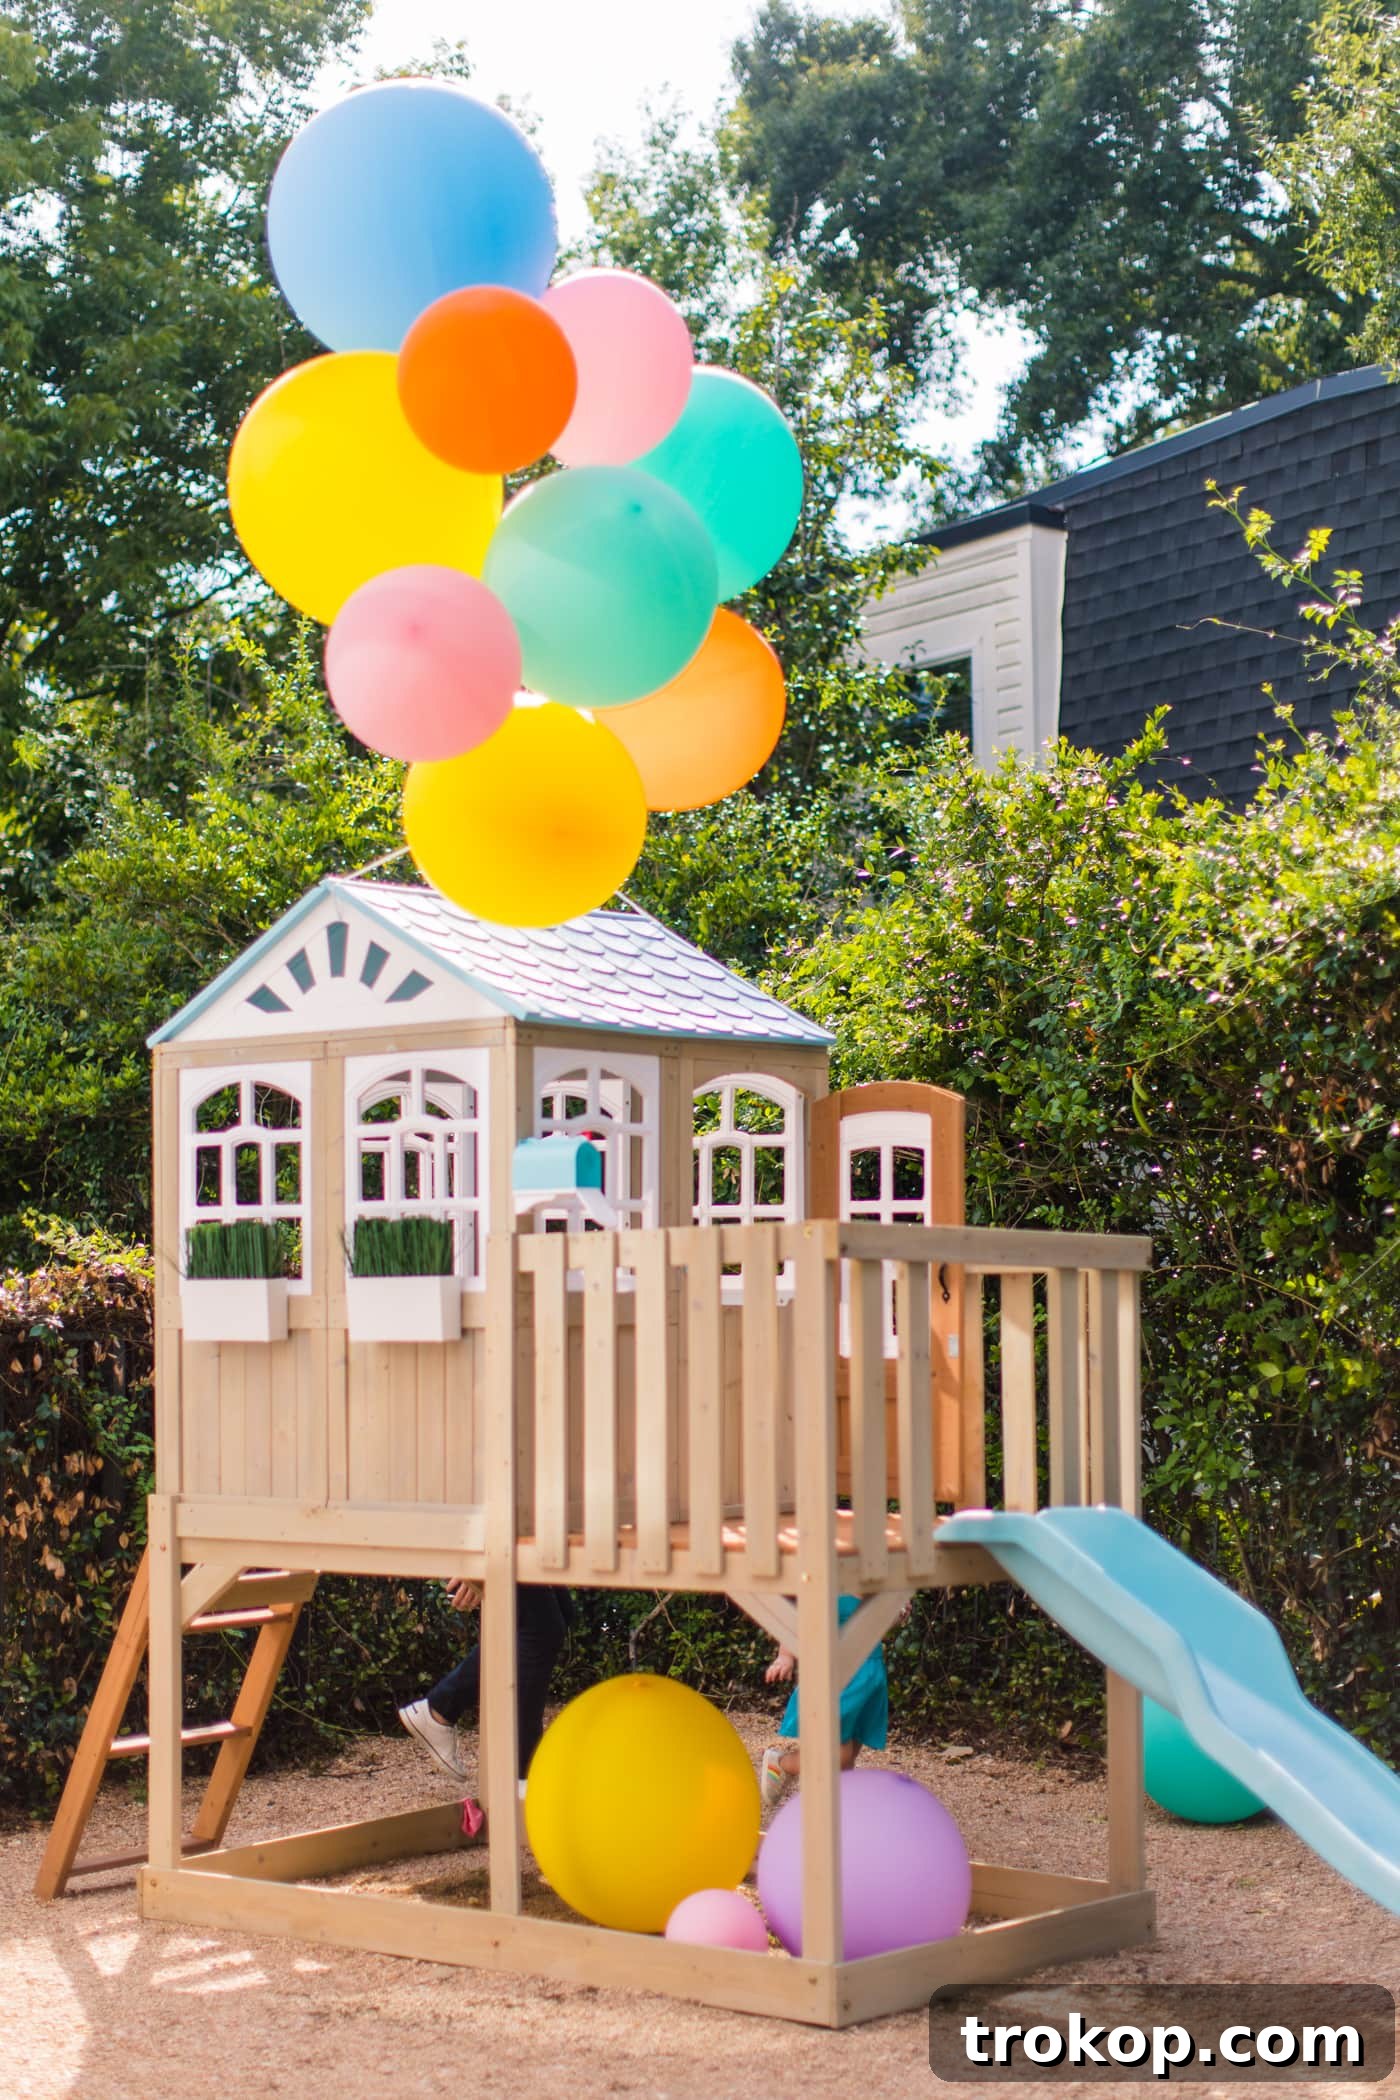
And for those of you looking for Gwen’s playset, you can find it right here.
This post has been sponsored by Picmonkey, but all opinions are my own and we’re happy to work with them since they’re a platform we use regularly! Sugar & Cloth has chosen to donate 5% of all sponsored campaigns to charity, which you can read more about right here.
Related posts:
- 10 Secret Things About Being a DIY Blogger
- FAQ: How Do You Make Money From A DIY Blog?