
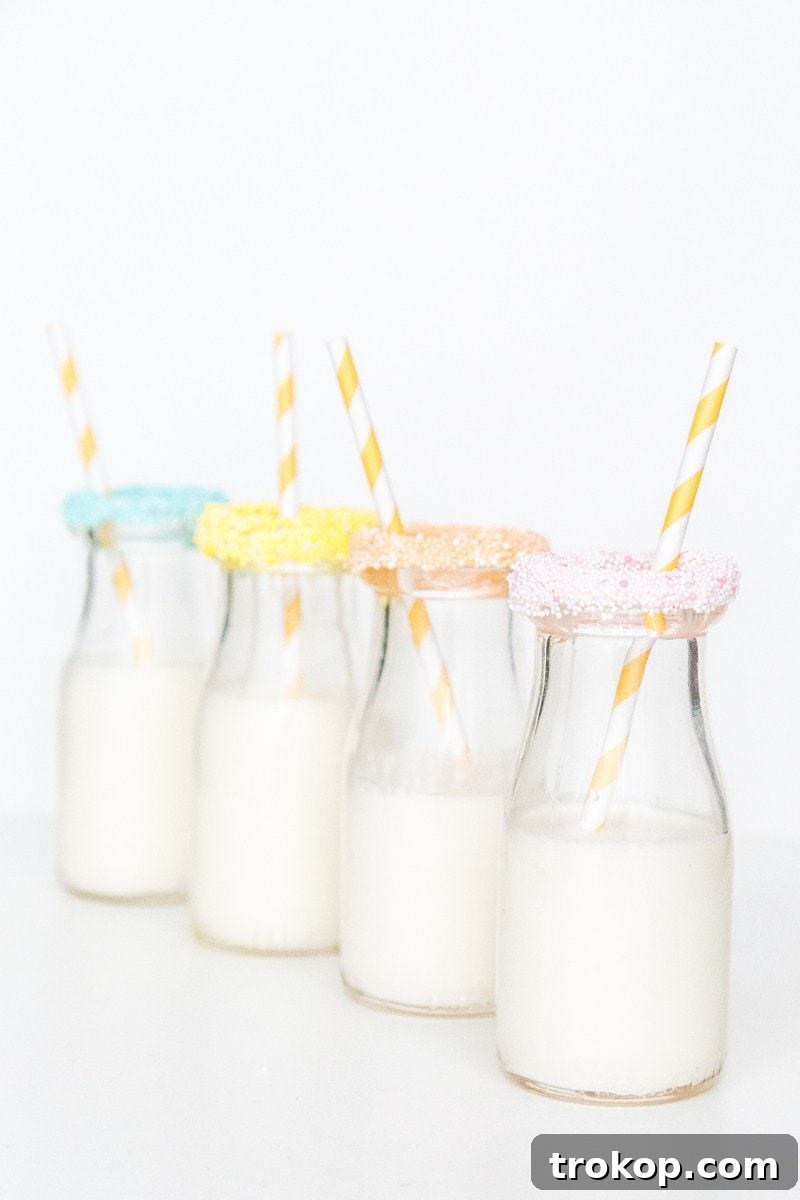
Elevate your upcoming celebrations, particularly Easter festivities, with enchanting DIY Speckled Eggs and whimsical Speckled Glasses. This comprehensive guide will walk you through the delightful process of creating your own vibrant, custom-tinted sprinkles, transforming ordinary treats and drinkware into extraordinary, eye-catching masterpieces. Prepare to add a personalized touch that will leave your guests impressed and your party pictures looking perfectly Pinterest-worthy.
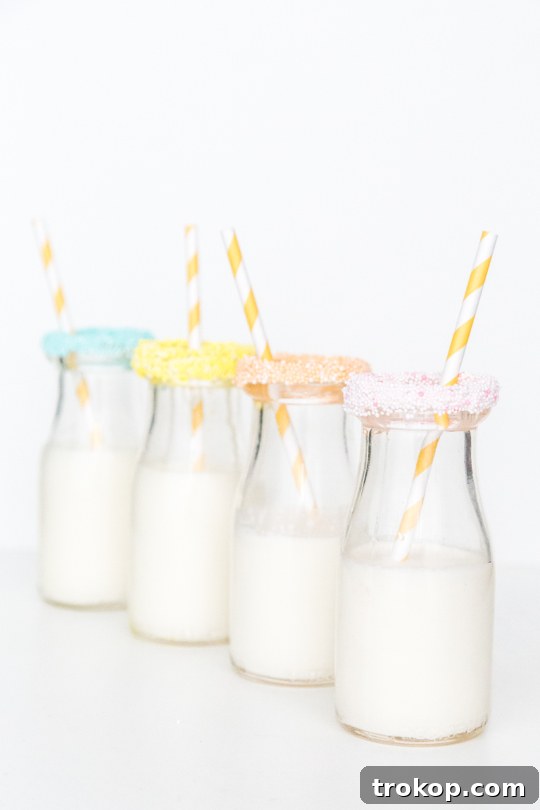
Every creative journey has its unique twists and turns, and this particular DIY adventure was no exception. What began as a single idea for edible speckled eggs organically evolved into a dual project, giving birth to both the charming speckled eggs and the utterly delightful speckled glasses. Rather than editing out the spontaneous expansion of creativity, we believe in embracing these happy accidents. Sometimes, the most unexpected detours lead to the most inspiring discoveries! We’re excited to share both fantastic concepts, allowing you to choose your favorite, or better yet, incorporate both into your next gathering.
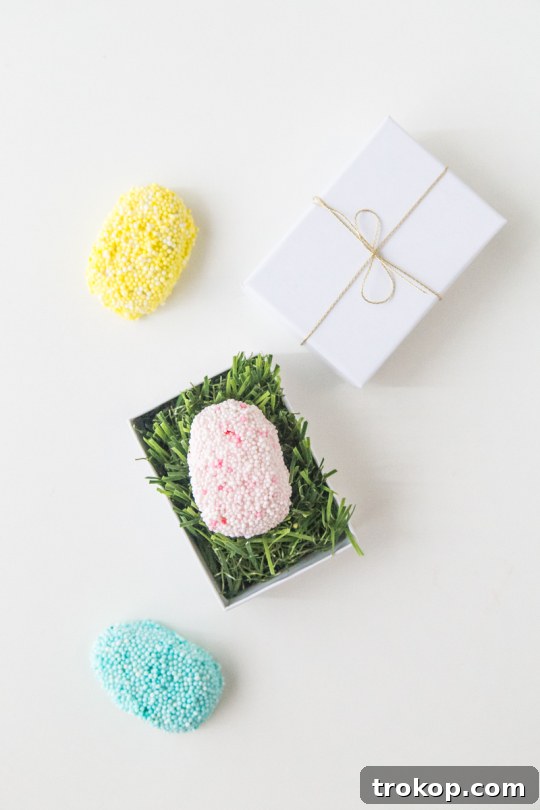
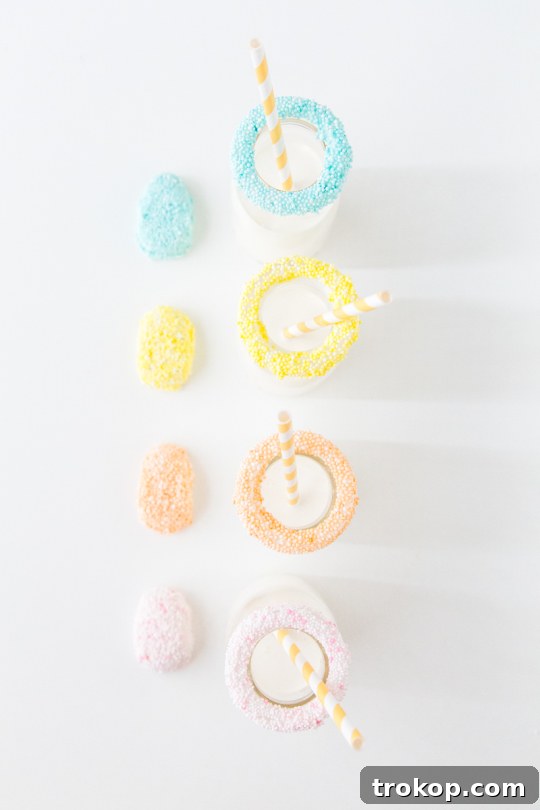
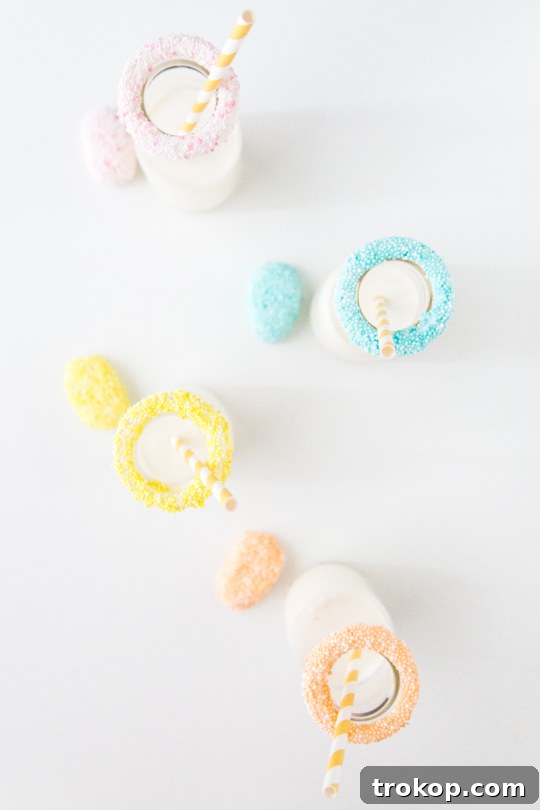
Initially, the vision was to simply tint white nonpareil sprinkles and adorn white chocolate Reese’s cup eggs, crafting perfectly edible speckled egg treats for Easter. The eggs turned out beautifully. However, during the styling process for the egg photos, a new idea sparked: why not rim glasses of milk with these custom sprinkles? This spontaneous addition proved to be so captivating that the sprinkle-rimmed milk glasses ended up stealing a significant portion of the spotlight. It just goes to show that sometimes, the simplest ideas can spark the most joy. Rest assured, whether you’re here for the adorable DIY speckled eggs or the charming sprinkle-rimmed glasses, you’ll find everything you need to bring these festive concepts to life!
Essential Materials and Tools for Your Speckled Creations
Gathering the right supplies is the first step towards creating your stunning speckled treats and decor. Thankfully, most of these items are readily available at your local craft or grocery store, or even in your pantry!
- White Sprinkles: For the best “speckled” effect, we highly recommend using nonpareil sprinkles. Their small, spherical shape absorbs color beautifully and creates that classic speckled look. You can often find large containers of white nonpareils, which will be perfect for tinting multiple colors.
- Gel Food Coloring: Gel food coloring is a game-changer for tinting. Unlike liquid food coloring, gels are highly concentrated, delivering vibrant colors without adding excess moisture, which can dissolve your sprinkles. A small amount goes a long way, allowing you to achieve a wide spectrum of hues. Choose colors that match your celebration’s theme – pastels for Easter or baby showers, bold colors for birthdays, or earthy tones for autumn.
- Plastic Container with a Lid: Any clean, empty plastic food container with a tight-fitting lid will work. This will be your makeshift shaker for tinting the sprinkles. Make sure it’s large enough to hold your desired quantity of sprinkles with some room to spare for shaking.
- Royal Icing: This is the adhesive that will allow your sprinkles to stick. You can opt for the convenience of store-bought royal icing, often found in the baking aisle. Alternatively, for a truly homemade touch, consider whipping up a batch of easy homemade royal icing. Royal icing dries hard and shiny, ensuring your sprinkles stay perfectly in place.
- Toothpick or Lollipop Stick: These slender tools are essential for transferring small amounts of gel food coloring and for dipping your eggs into sprinkles. A lollipop stick offers a bit more sturdiness for dipping.
- Glasses or White Chocolate Reese’s Cups: For the speckled glasses project, any clean drinking glasses will do. For the speckled eggs, white chocolate Reese’s cups offer a convenient and delicious base. You could also use store-bought white chocolate eggs or even hard-boiled eggs for decorative purposes.
Crafting Your Own Custom Speckled Sprinkles
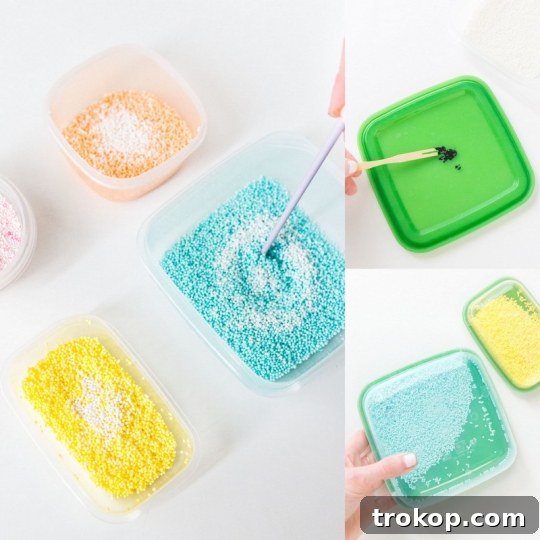
The magic truly begins when you transform plain white sprinkles into a kaleidoscope of speckled wonders. This simple technique allows for endless customization, giving you complete control over the color intensity and speckled effect.
- Prepare Your Coloring: Begin by dabbing a small amount of gel food coloring onto the inside of your plastic container’s lid. A toothpick is perfect for this, allowing you to control the amount with precision. Remember, gel food coloring is highly concentrated, so start with a tiny dab – you can always add more to achieve a deeper, more vibrant hue. The more gel you use, the more intense and saturated your sprinkle colors will become. For a softer, pastel look, use less.
- Add Your Sprinkles: Fill the container with your plain white nonpareil sprinkles. Ensure there’s enough space remaining for the sprinkles to move freely when shaken.
- Shake It Up: Securely place the gel-covered lid onto your container. Now, it’s time to shake! This is where you control the speckled effect.
- For a distinctly “speckled” appearance, shake the container gently for a shorter period. The color will adhere unevenly, creating charming little flecks of color on the white sprinkles.
- For a more uniform, evenly colored sprinkle, shake vigorously for a longer duration. This distributes the gel food coloring more thoroughly, resulting in a consistent color across all sprinkles.
Experiment with different shaking times to achieve various effects – a light shake for subtle speckles or a longer shake for a more solid, yet still charmingly imperfect, color.
- Achieve Ombre Effects (Optional): For an elegant ombre or blended look, once you’ve tinted your sprinkles, stir in a small dash of plain white sprinkles. This will dilute the color slightly and create a beautiful gradient of shades within your batch.
Once you’ve achieved your desired color and speckle, your custom-made sprinkles are ready to be the star of your party essentials! Store any unused tinted sprinkles in an airtight container for future projects.
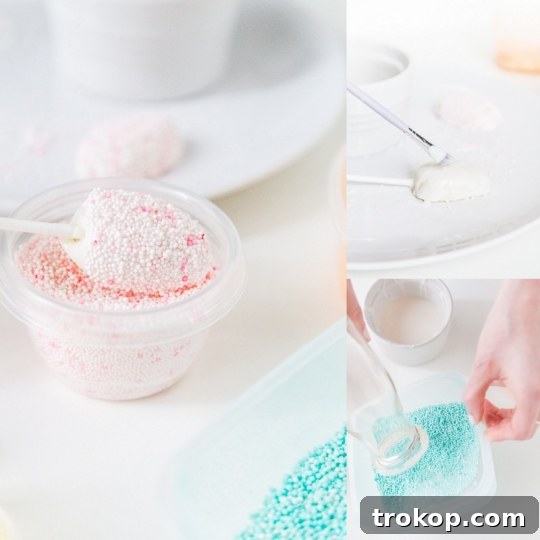
Transforming Treats: DIY Speckled Eggs Tutorial
These adorable speckled eggs are perfect for Easter baskets, dessert tables, or as charming individual treats. We’ll focus on white chocolate Reese’s cups, but this method can be adapted for various egg forms.
- Prepare Your Eggs: Unwrap your white chocolate Reese’s cups or have your preferred edible egg base ready. If using hard-boiled eggs for decoration, ensure they are clean and dry.
- Apply Royal Icing: Using a small brush (a clean, food-safe paintbrush works well) or a butter knife, carefully brush a thin, even layer of royal icing over the surface of each white chocolate egg. The icing should be wet enough for the sprinkles to adhere, but not so thick that it drips excessively. A consistent layer will ensure even sprinkle coverage.
- Dip in Sprinkles: Once the icing is applied, gently insert a lollipop stick or a sturdy toothpick into the base of the egg (if it’s a solid chocolate egg) or hold it carefully. Then, dip and roll the egg into your newly made speckled sprinkles. Ensure all sides are coated to your liking. For a lighter speckle, gently roll. For denser coverage, press slightly.
- Allow to Set: Place the decorated eggs on a piece of parchment paper or a cooling rack to allow the royal icing to fully set and dry. This usually takes about 15-30 minutes, depending on the humidity and the thickness of the icing. Once dry, the sprinkles will be securely attached.
These speckled eggs are not just treats; they are miniature works of art that add a festive and whimsical touch to any spread. Arrange them on a platter, nestle them in a decorative basket, or use them as edible place settings.
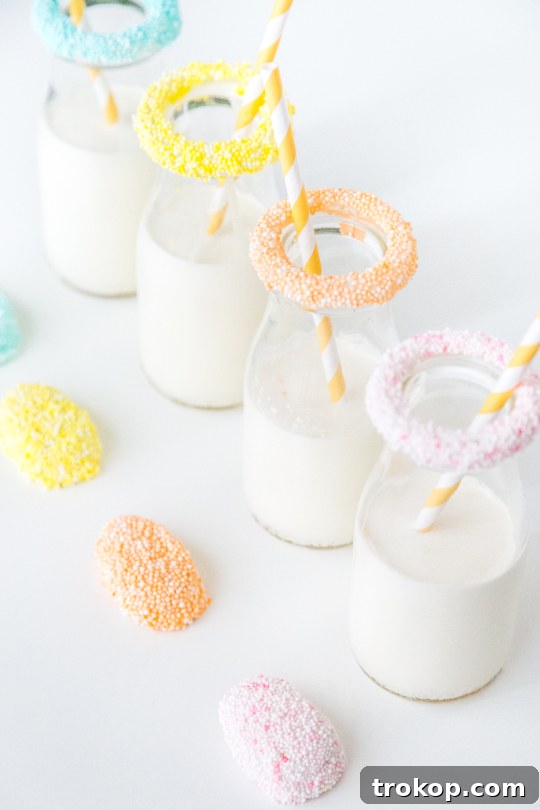
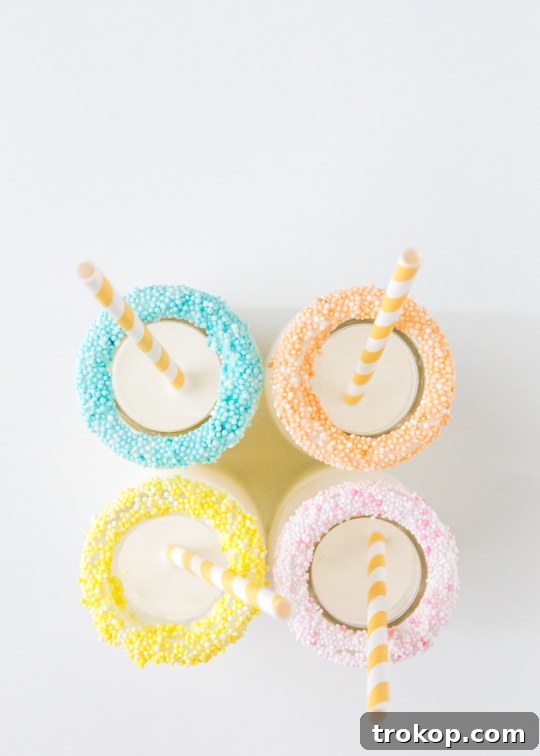
Elevate Your Drinks: How to Rim Glasses with Sprinkles
Sprinkle-rimmed glasses instantly transform any beverage into a celebratory drink. They are incredibly simple to make and add a playful elegance to milk, juice, mocktails, or even cocktails.
- Prepare Your Royal Icing: Pour a shallow layer of royal icing into a small, flat dish, wider than the rim of your glasses. The consistency should be thick enough to cling to the glass but thin enough for a smooth application.
- Dip the Glass Rim: Carefully dip the rim (the very edge) of your glass into the shallow dish of royal icing. Gently twist the glass to ensure an even coating around the entire circumference. Lift the glass, allowing any excess icing to drip off briefly.
- Dip in Sprinkles: Immediately after dipping in icing, gently dip the royal icing-coated rim of the glass into your prepared speckled sprinkles. Twist and press lightly to ensure the sprinkles adhere well and cover the entire rim. For a full, dense rim, you might need to gently roll the glass in the sprinkles.
- Set Aside to Dry: Carefully place the rimmed glasses upright on a piece of parchment paper or a clean surface. Allow the royal icing to fully dry and harden before filling them with beverages. This prevents the sprinkles from falling off into the drink and ensures a neat finish. Drying time can vary, but usually, 20-30 minutes is sufficient.
These festive glasses are incredibly versatile. Fill them with milk for a charming Easter bunny’s milk station, colorful juices for a child’s birthday, or even celebratory sparkling cider for a baby shower. The possibilities are endless, and the visual impact is always a delight!
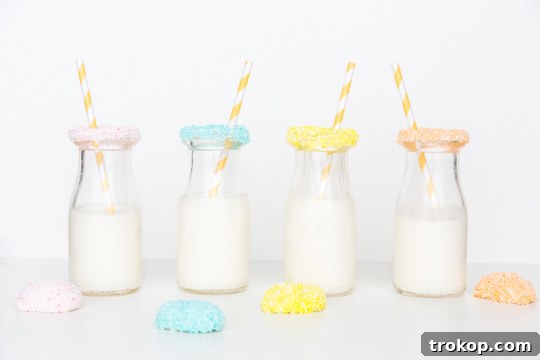
As charming as these little speckled eggs turned out, we think the sprinkle-rimmed glasses stand equally strong as a standalone DIY. They’re incredibly versatile and can adapt to nearly any celebration. Imagine them serving adorable drinks at a baby shower, bringing extra sparkle to a birthday party, or simply making an ordinary Tuesday feel a little more special. Their colorful simplicity makes them a perfect accent piece for any festive decor. Which way do you prefer these delightful sprinkles to be used? We’d love to hear your thoughts and see your creations!
Beyond the Basics: More Creative Ways to Use Speckled Sprinkles
Once you master the art of making and applying your custom speckled sprinkles, a world of creative possibilities opens up. Don’t limit yourself to just eggs and glasses! Here are a few more ideas to spark your imagination:
- Cupcake Toppers: Before your cupcake frosting sets, dip the top of the frosted cupcake into a bowl of your speckled sprinkles for an instant burst of color and texture.
- Cookie Decor: Frost sugar cookies with royal icing, then immediately sprinkle your custom blends over them. You can even create patterns or outlines before sprinkling.
- Cake Borders: Use royal icing to create a border around the base or top edge of a cake, then gently press sprinkles onto the wet icing.
- Chocolate Dipped Treats: Dip strawberries, pretzels, or even marshmallows into melted white chocolate, then roll them in your speckled sprinkles before the chocolate sets.
- Party Favors: Fill small clear bags with your homemade speckled sprinkles, tie with a festive ribbon, and give them as unique and edible party favors.
- Ice Cream Sundaes: Simply sprinkle them over a scoop of vanilla ice cream for a fun and colorful dessert that kids and adults alike will adore.
- Edible Art: Use a tiny brush and royal icing to draw designs on cookies or cakes, then carefully sprinkle individual areas with different colored speckles for intricate edible art.
The beauty of these DIY speckled sprinkles lies in their adaptability. By changing the colors, you can tailor them to any holiday, season, or event, making every occasion truly unique and memorable. Get creative and let your imagination lead the way!
Share Your Speckled Masterpieces
From whimsical DIY speckled eggs to charming sprinkle-rimmed glasses, these projects offer a delightful way to infuse your celebrations with personality and charm. They are simple to create, incredibly versatile, and guaranteed to bring smiles to faces. Whether you’re planning an elaborate Easter brunch, a joyful baby shower, or simply want to add a dash of everyday magic to your home, these speckled delights are the perfect solution.
We absolutely love seeing how you bring Sugar & Cloth tutorials to life! Don’t forget to share your beautifully speckled creations with us. Hashtag your project with #sugarandcloth and tag @sugarandcloth on social media. Your fantastic work might even be featured right here on our blog!