
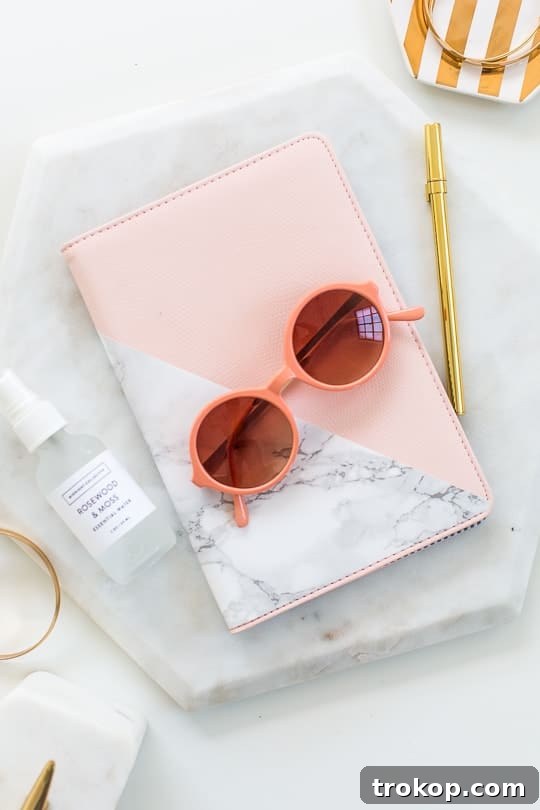
Craft Your Perfect E-Reader Companion: The Ultimate DIY Kindle or Tablet Cover Guide
Embrace the joy of digital reading with a touch of personal flair! We recently welcomed a Kindle into our lives, and the first thing on our minds was creating a unique and protective DIY Kindle cover. If you’re anything like us, you appreciate both functionality and style, and a store-bought cover simply doesn’t always capture your personal aesthetic. That’s why we’re excited to share this simple, elegant, and highly customizable tutorial for crafting your very own DIY tablet cover or e-reader case.
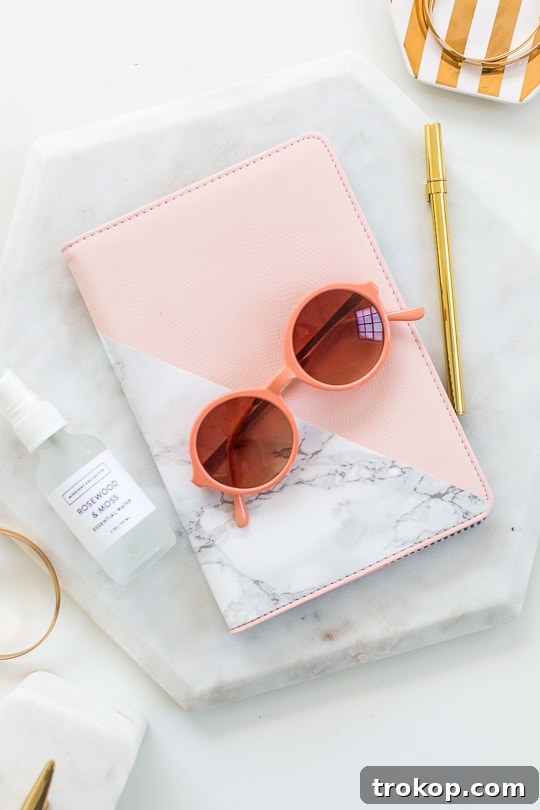
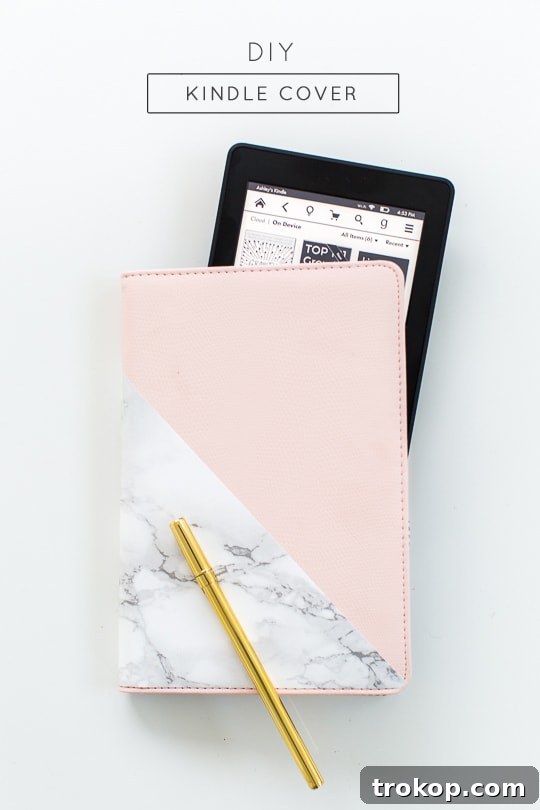
After enduring countless sunny days in the Bahamas, squinting at my screen and battling sun glare, I was thrilled to receive a Kindle Paperwhite. This fantastic device instantly elevated my reading experience, transforming me into what I like to call a “cool kid” in the world of e-readers! No more cramped fingers from shading my book by the pool – pure reading ease was finally mine. The only element missing from this idyllic picture was a cover that truly reflected my personal style. When I couldn’t find one that felt like “me,” I decided to take matters into my own hands and create a custom cover.
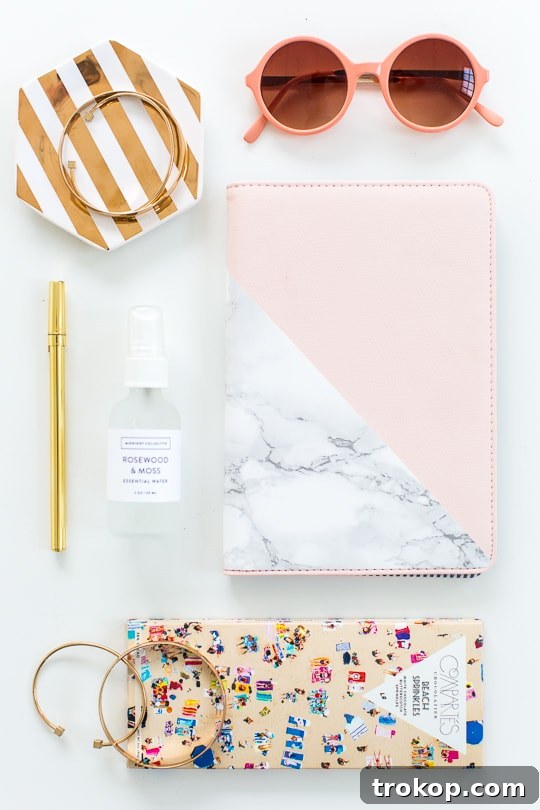
This DIY Kindle or tablet cover project is not only satisfying to make for yourself but also an excellent idea for a thoughtful, personalized gift. Imagine surprising a loved one with a brand new Kindle, perfectly nestled in a handmade case designed just for them! If you’re planning such a delightful Kindle gift package for special occasions, these cute gift wrapping ideas can help you make the presentation truly unforgettable.
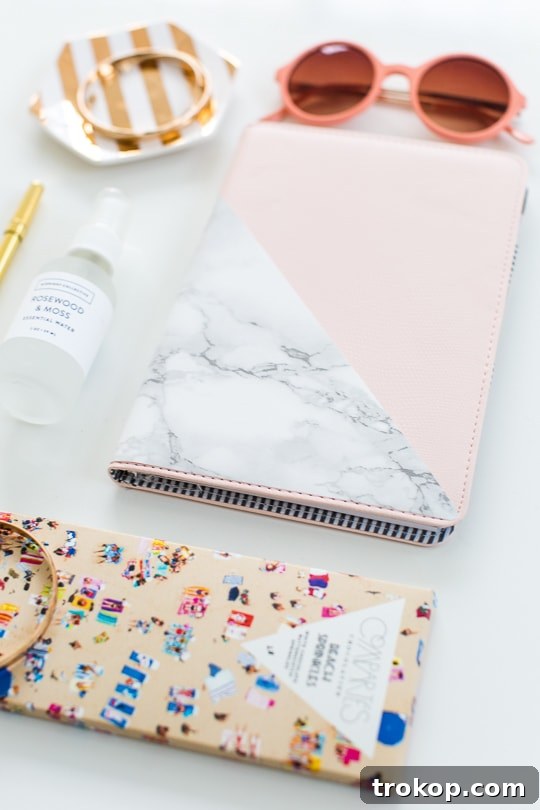
To further enhance the travel theme of my new e-reader, I’ve paired this DIY cover with some of my favorite vacation essentials, offering you additional stocking stuffer ideas. And yes, for those wondering, I do occasionally delve into work-related books even on vacation. My current read is this one. Judge if you must, but some of us are just machines that can’t stop learning!
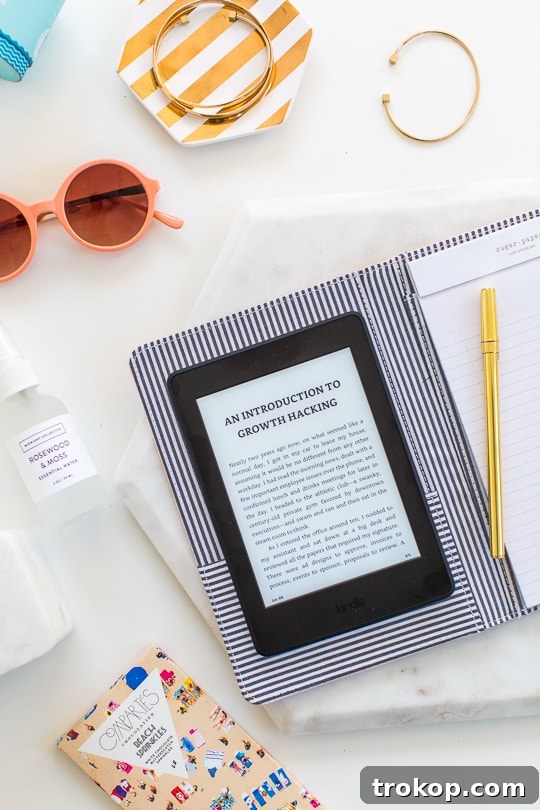
The Appeal of a DIY E-Reader Cover
Why choose a DIY approach for your e-reader cover when there are countless options available in stores? The answer lies in personalization, cost-effectiveness, and the sheer satisfaction of creating something with your own hands. A DIY Kindle cover allows you to express your unique style, whether you prefer minimalist elegance, bold patterns, or a touch of whimsical charm. It’s an opportunity to transform a functional item into a personal accessory that truly reflects who you are. Moreover, making your own often proves to be significantly cheaper than purchasing a designer cover, especially when you can repurpose existing items like a simple padfolio. This project is quick, fun, and yields a professional-looking result, making it ideal for beginners and seasoned crafters alike.
Materials and Tools for Your Custom Kindle Case
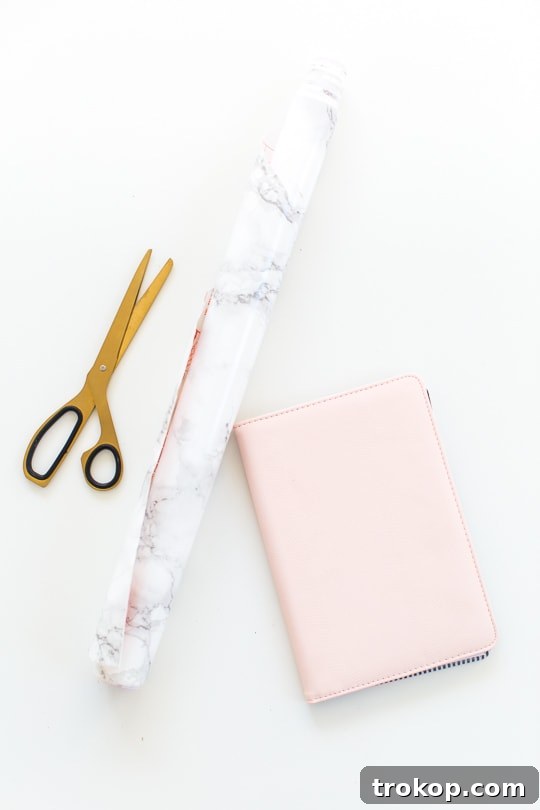
Gathering your supplies is the first exciting step in bringing your custom e-reader cover to life. The beauty of this project is its simplicity, requiring just a few key items that are readily available. We’ll be transforming a basic folding folio notepad into a chic and protective case using decorative adhesive paper. Make sure your Kindle or tablet fits snugly inside the padfolio’s pocket before you begin, as the internal dimensions are crucial.
Essential Equipment
- Scissors: A good pair of sharp scissors will ensure clean, precise cuts for your adhesive paper. Consider using craft scissors for best results.
- Measuring Tape or Ruler: Accuracy is key! A flexible measuring tape or a sturdy ruler will help you get the exact dimensions needed for your design.
- Pencil or Marker: For marking your cutting lines on the back of the adhesive paper.
- Craft Knife (Optional): For even more precise cuts, especially around edges or corners, a craft knife with a cutting mat can be very helpful.
- Smoother/Squeegee (Optional): A plastic card or a dedicated craft squeegee can help press down the adhesive paper smoothly and eliminate air bubbles.
Key Materials
- Folding Folio Notepad: The foundation of your custom cover. Look for one with a pocket that securely holds your Kindle or tablet. We recommend finding a similar one like this Filofax Original Folio or a comparable option. The size should be slightly larger than your e-reader to provide adequate protection. These often come with an elastic band or clasp, which adds to the security of your device.
- Marble Adhesive Paper: This decorative self-adhesive paper will give your cover its stylish finish. Marble patterns are timeless and elegant, but you can choose any pattern or color that suits your taste. Explore options like d-c-fix Decorative Self-Adhesive Marble Film. Consider the texture and thickness – a slightly thicker paper will be more durable.
Step-by-Step Guide to Making Your DIY Kindle or Tablet Cover
This project is incredibly straightforward, perfect for a quick craft session. In just a few simple steps, you’ll transform a plain padfolio into a chic and personalized e-reader case. My Kindle fits perfectly inside the pocket of my chosen padfolio, but the goal is to give it a stylish makeover.
Step 1: Measure and Plan Your Design
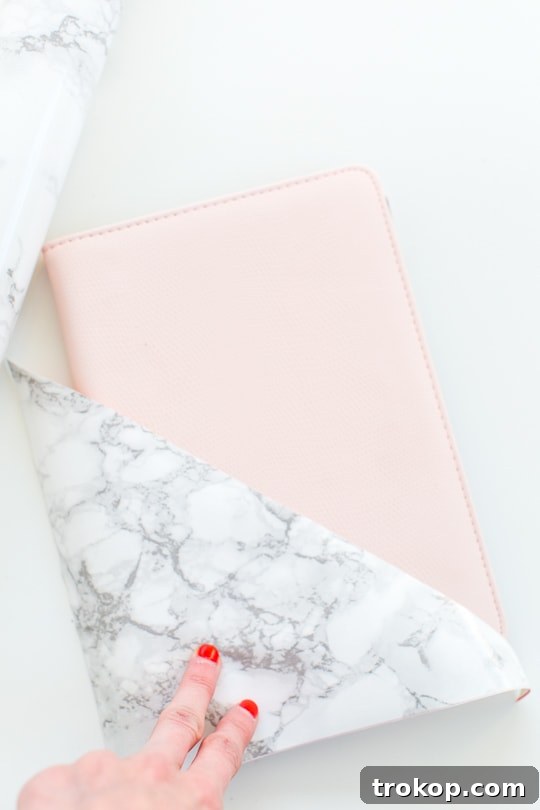
Begin by determining how much of the decorative adhesive paper you want to showcase on the cover. Lay your chosen padfolio flat and envision the final look. Do you want the paper to cover the entire front, or just a portion? For a classic and elegant touch, consider wrapping the paper around the front cover and extending it partially onto the back. This creates a cohesive design and often helps with grip. Carefully measure the dimensions, paying close attention to the spine of the padfolio, ensuring your design accounts for the fold without creasing or tearing the adhesive paper.
Step 2: Precise Cutting for a Perfect Fit
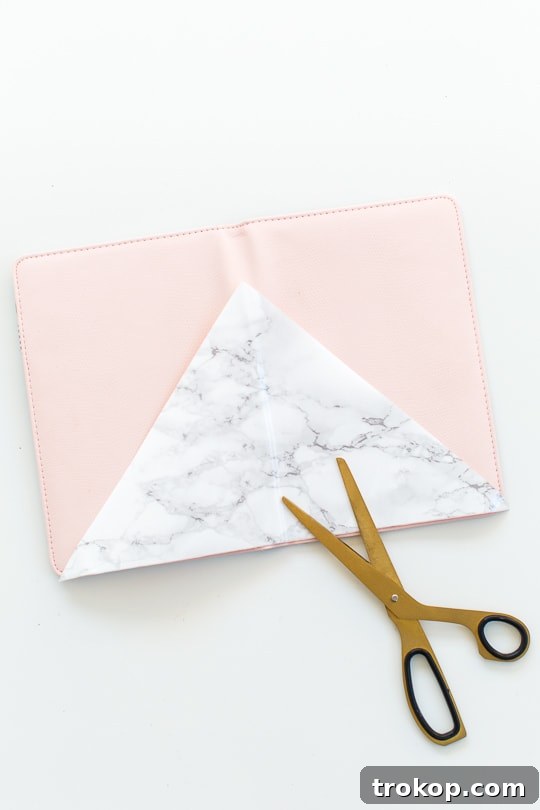
Once you’ve finalized your measurements and design, it’s time to cut the adhesive paper. For a design that wraps around both the front and back for an improved grip, I opted for one giant triangular piece. This shape allowed for a seamless transition across the spine and provided a visually interesting diagonal line. Lay the adhesive paper, backing side up, on a flat surface. Using your measurements, carefully mark the cutting lines with a pencil. Then, with a steady hand and sharp scissors (or a craft knife for extra precision), cut out your piece of marble paper. Take your time to ensure clean, straight edges – this attention to detail will significantly impact the professional finish of your DIY cover.
Step 3: Apply the Adhesive Paper with Care
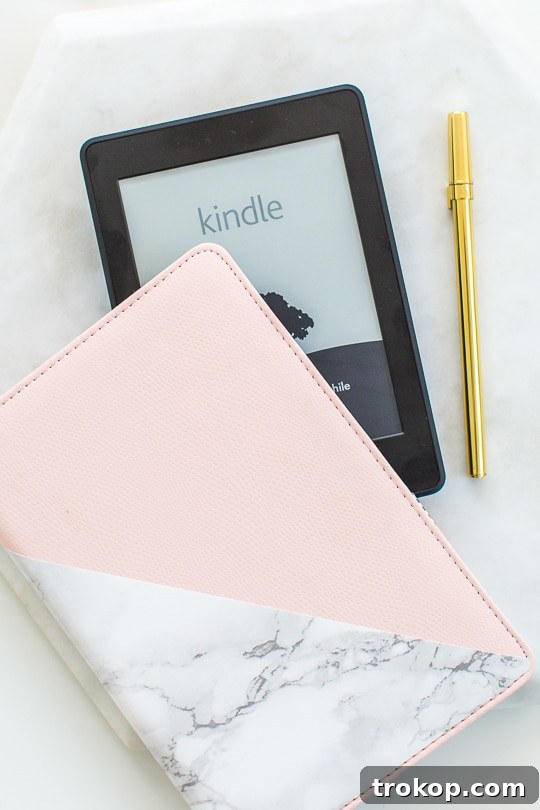
Now for the most satisfying part! With your precisely cut piece of marble paper ready, gently peel off a small section of the backing from one edge. Align this edge carefully with the desired starting point on your padfolio. Slowly and steadily, press the adhesive paper onto the surface, gradually peeling off more of the backing as you go. Work from one side to the other, using your fingers or a smoother (like a credit card or a craft squeegee) to press out any air bubbles as you adhere the paper. This technique ensures a smooth, wrinkle-free finish. If you make a mistake, carefully lift and reapply the paper – many adhesive papers allow for a bit of repositioning before they fully set. Once fully applied, firmly press down all edges to secure your beautiful new custom tablet sleeve.
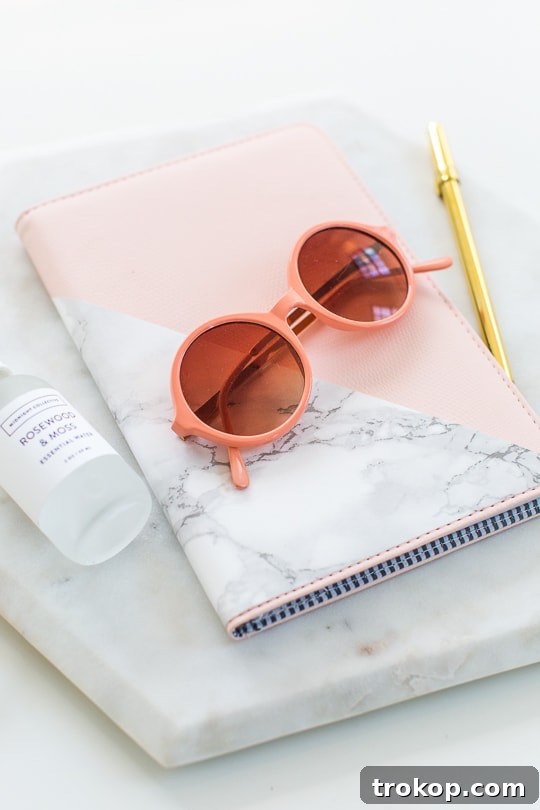
Pretty simple, right? In just three easy steps, you’ve created a stunning and personalized DIY Kindle or tablet cover. This project is not only quick but incredibly rewarding. It feels like the perfect component for a care package or an ideal gift for any avid reader or travel enthusiast. Have you ventured into the world of e-readers yet? I’d also love to hear your most recent business-related reads!
Customization Ideas for Your Tablet Sleeve
While the marble adhesive paper offers a sophisticated look, the possibilities for personalizing your DIY Kindle or tablet cover are endless! Get creative and make your cover truly one-of-a-kind. Here are some ideas to spark your imagination:
- Fabric Fun: Instead of adhesive paper, use fabric! Choose a favorite pattern, floral print, or a luxurious velvet. You can adhere fabric with strong fabric glue or spray adhesive. Consider adding a layer of thin batting underneath for extra padding.
- Paint and Stencils: If you use a plain-colored padfolio or adhesive paper, you can add custom designs with acrylic paint and stencils. Geometric patterns, monograms, or freehand artwork can make your cover pop.
- Embellishments: Add small decorative elements like iron-on patches, embroidered details, small metal charms, or even a personalized label. Just ensure they are flat enough not to interfere with the device or cause bulk.
- Mixed Media: Combine different materials. Perhaps a strip of glitter tape, a border of washi tape, or a small leather accent.
- Vinyl Decals: Cut custom designs, quotes, or your initials from adhesive vinyl for a clean, professional finish.
- Add Pockets: If your padfolio doesn’t have enough internal pockets, you can easily sew or glue on additional fabric pockets for earbuds, a small stylus, or notes.
Gifting Your DIY E-Reader Case
A handmade personalized gadget case is a truly thoughtful present. It shows effort, care, and an understanding of the recipient’s style. When gifting your homemade e-reader protector, consider these tips to make it extra special:
- Pair with an E-reader: The ultimate gift combo! Present the cover alongside a new Kindle or tablet.
- Curate a Reading Bundle: Include a gift card for e-books, a cozy blanket, a favorite tea or coffee, and some gourmet snacks.
- Travel Theme: If your recipient loves to travel, add a stylish luggage tag, a mini travel journal, or a list of recommended e-books for their next adventure.
- Presentation Matters: Wrap the cover in beautiful paper, tie it with a silk ribbon, and include a handwritten note explaining the DIY effort.
- Personalized Touch: If you know their favorite color, hobby, or even their initial, incorporate it into the cover’s design.
Care and Maintenance for Your New Cover
To ensure your beautiful new custom Kindle case lasts, a little care goes a long way. If you used adhesive paper, it’s generally quite durable. For minor smudges or dust, simply wipe the surface with a soft, dry cloth. For tougher spots, a slightly damp cloth can be used, but avoid excessive moisture, especially near the edges of the adhesive paper, to prevent lifting. If you opted for a fabric cover, spot cleaning with a mild fabric cleaner is usually best. Always avoid harsh chemicals or abrasive scrubbers, as these can damage the decorative surface. Store your e-reader cover in a cool, dry place when not in use to maintain its pristine condition.
Conclusion and Call to Action
Creating your own DIY Kindle or tablet cover is an enjoyable and rewarding project that offers both protection and a unique style statement for your beloved e-reader. With minimal materials and effort, you can transform a simple item into a personalized accessory or a thoughtful gift. The versatility of this craft means you can adapt it to any taste, making each cover truly one-of-a-kind. We hope this guide inspires you to unleash your creativity and craft something beautiful!
Don’t forget to share your amazing DIY Kindle or tablet cover creations with us on Instagram using the hashtag #sugarandclothloves. We always love seeing your unique projects! Looking for more interior design inspiration and DIY ideas? You can find all of our home decor tutorials and creative ideas right here.
This post is made possible by Amazon Kindle. Thank you for supporting the brands that keep bigger and better DIYs, and even sweeter sweets, coming straight to your inbox!
DIY Kindle Or Tablet Cover Project
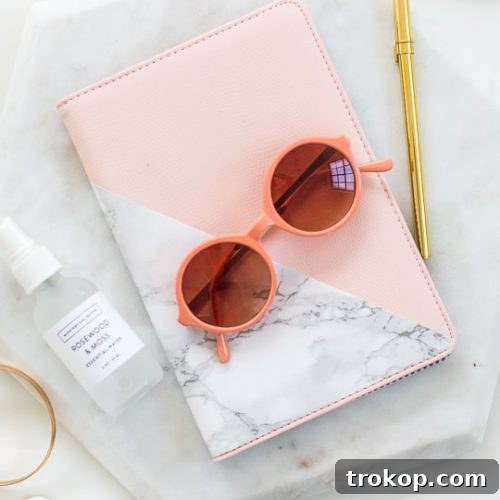
A quick tutorial on how to make a simple e-reader cover for your Kindle or tablet. It’s cheap, easy, and cute!
Active Time: 30 minutes
Total Time: 30 minutes
Course: DIY
Category: Decor
Equipment
- Scissors
Materials
- Folding folio notepad (Find a similar one like this one.)
- Marble adhesive paper
Instructions
- Measure how much of the marble paper you want to show on the cover, planning your design carefully.
- Lay the padfolio flat to accurately measure and mark for cutting a large triangular piece of marble paper. This piece will wrap around both the front and back sides to ensure a better, more aesthetically pleasing grip.
- Once your marble paper is cut to the desired size and shape, simply peel off the backing and carefully stick it onto your padfolio, smoothing out any air bubbles as you go.
Cost: $10
Keywords: diy kindle cover, custom tablet sleeve

More Easy DIY Office Decor Ideas
Office Accessories – DIY Nesting Desk Organizer

How to Make a DIY Animal Memo Holder Gifts for Your Loved Ones
Office Desktop Organizer – DIY Dry Erase Board
Office Decor: Geometric DIY Chalkboard Desk

Office Accessories – Patterned DIY Magnetic Board
DIY Cork Storage Box