
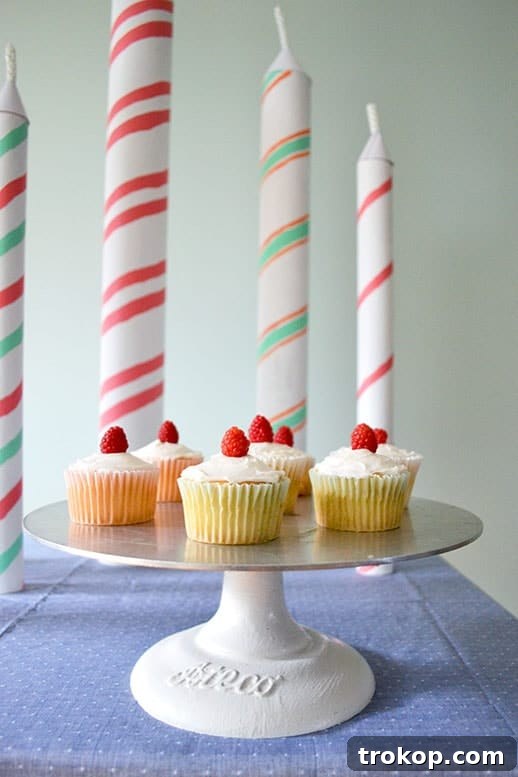
DIY Giant Birthday Candles: Add a Touch of Whimsy to Your Celebrations
Looking to make your next birthday celebration extra special? Forget the store-bought decorations and embrace your inner DIY enthusiast! This project teaches you how to transform ordinary mailing tubes into extraordinary giant birthday candles. Not only are these candles visually stunning, but they also add a personalized, playful touch that will delight guests of all ages. Whether you’re decorating for a child’s party or surprising a loved one, these giant candles are guaranteed to make a statement.
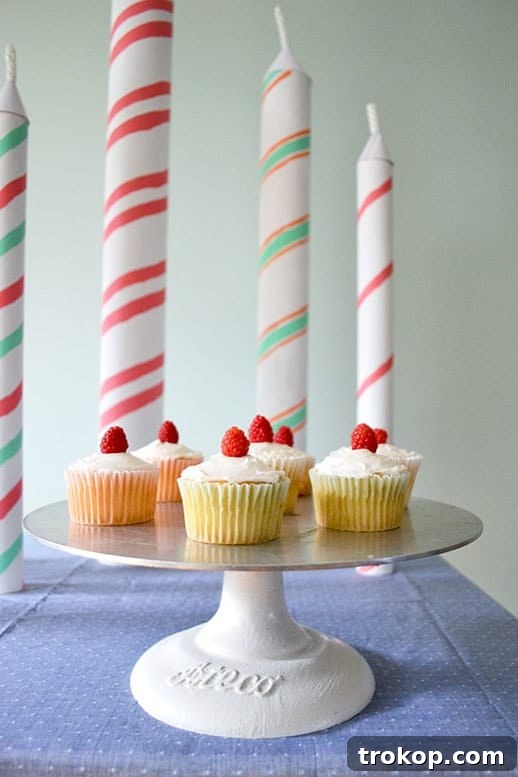
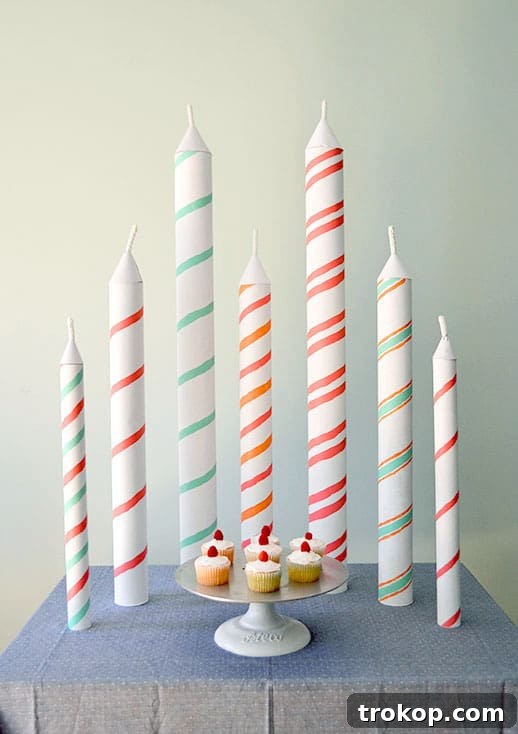
What’s a birthday without candles? They’re an essential element of any birthday celebration, symbolizing hope, wishes, and the joy of another year. This DIY project takes the traditional birthday candle to a whole new level, creating a larger-than-life version that’s both fun and functional. Plus, you can customize them to perfectly match your party’s theme and color scheme. Get ready to ignite the fun with these amazing DIY giant birthday candles!
In this easy-to-follow DIY guide, we’ll walk you through the process of repurposing plain mailing tubes into eye-catching giant candle decorations. This project is not only budget-friendly but also a great way to get creative and add a personal touch to your party decorations.
Imagine the surprise and delight on the birthday boy or girl’s face when they see these giant candles! Line them up at the entrance to the party to create a grand entrance or use them to decorate their room for a memorable morning surprise. The possibilities are endless!
A unique bonus: these mailing tubes can still function as packaging! Fill the inside of the candles with small gifts or soft items for an extra layer of surprise. This adds an element of practicality to the craft, making it both decorative and useful.
Materials & Tools Needed for Your DIY Giant Birthday Candles
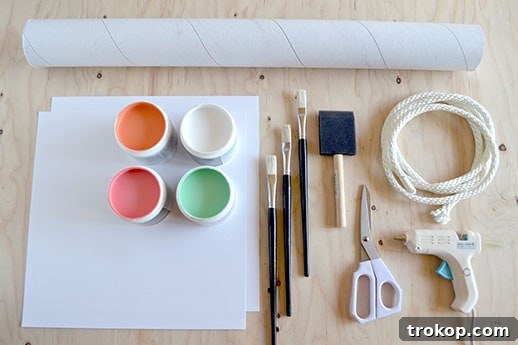
Before you begin, gather all the necessary materials and tools. This will make the crafting process smoother and more enjoyable. Here’s what you’ll need:
- White Cardstock: Used to create the candle flame. Choose a sturdy cardstock for durability.
- Cardboard Mailing Tubes: These form the base of the candles. Different sizes add visual interest. Tubes pictured are 3” x 36”, 2 ½” x 24”, and 1 ½” x 18”. Feel free to experiment with other sizes!
- Paint: White paint is the base color, but feel free to add stripes of other colors for a festive look. Acrylic paint works well.
- Paintbrushes: Select brushes of various sizes for different painting tasks.
- White Rope: Used to create the candle wick. Cotton rope works best, but any sturdy rope will do.
- Scissors: For cutting the cardstock and rope.
- Hot Glue Gun: To securely attach the flame and wick to the tube.
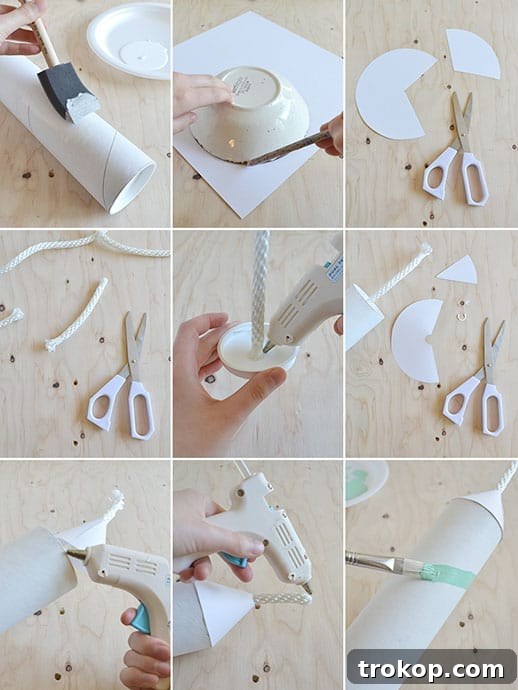
Step-by-Step Guide: How to Make Your DIY Giant Birthday Candles
Now that you have all your materials, let’s get started! Follow these simple steps to create your own set of giant birthday candles:
-
Paint the Mailing Tubes: Start by painting your mailing tubes with white paint. This creates a clean canvas for the rest of the decoration.
The tubes you acquire might have slight imperfections or marks from the store. A coat of white paint effectively covers these imperfections, giving the tubes a fresh and uniform look.
If your tubes are already in good condition and have a clean, white surface, you can skip this step and move directly to decorating.
-
Prepare the Flame: While the white paint on the tubes is drying, begin working on the candle flame. Draw a circle onto the white cardstock.
-
Shape the Cone: Cut out the circle you just drew. Then, cut a wedge from the circle so you can form it into a cone shape. The cone should be sized to fit snugly on top of the mailing tube.
-
Create the Wick: Cut a piece of rope about 5” long. If your rope has a tendency to fray, use tape to wrap the end tightly to prevent unraveling.
-
Attach the Wick: Using the hot glue gun, attach the rope wick to the center of the mailing tube’s lid. Then, place the lid back onto the mailing tube. This step creates the illusion of a real candle wick.
-
Adjust the Cone: Now that the wick is attached, you can better adjust your cardstock cone to fit perfectly around the wick. Cut a small notch in the center of the cone to accommodate the rope. Then, use hot glue to secure the cone together, forming a sturdy flame.
-
Secure the Flame: Apply hot glue around the rim of the mailing tube and carefully attach the cardstock cone to the top. Ensure the cone is securely attached to the base, creating a seamless transition from the tube to the flame.
-
Finish the Wick: Remove the tape from the rope wick and apply a small amount of hot glue to the end to prevent fraying. This will give the wick a clean and polished look.
-
Add Stripes (Optional): For a more festive look, paint stripes around the mailing tube. Use the spiral line on the tube as a guide to create even and consistent stripes. It’s best to let each stripe dry before adding another to prevent smudging the wet paint. This will ensure clean, crisp lines.
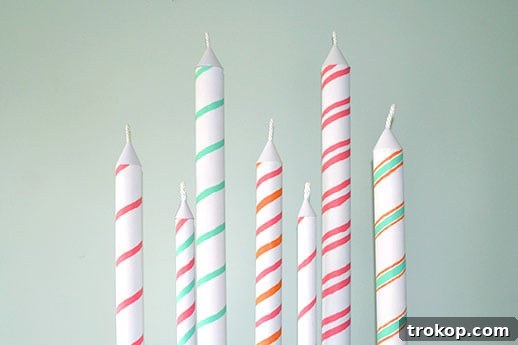
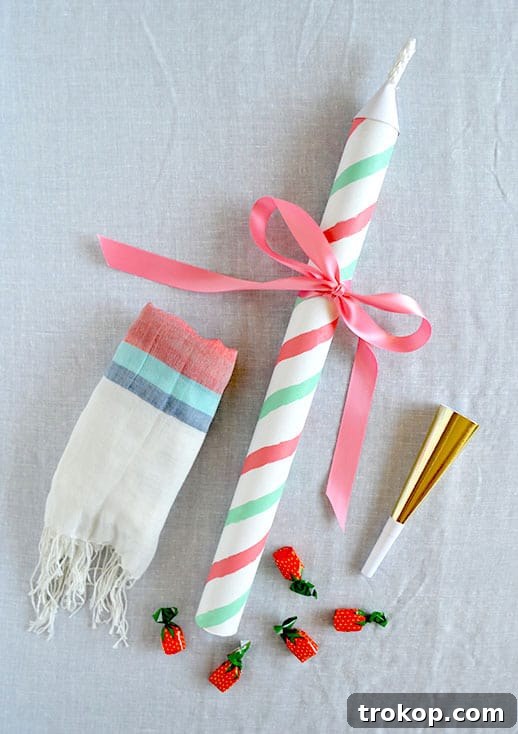
Congratulations! You’ve successfully created your own DIY giant birthday candles. These whimsical decorations are perfect for adding a personalized touch to any birthday celebration. Experiment with different colors, sizes, and embellishments to create a truly unique and memorable display.
Pro Tip: Consider adding glitter or other decorative elements to the paint for an extra sparkle. You can also use different colored cardstock for the flames to match your party’s theme.
These giant birthday candles are not only fun to make but also a sustainable way to decorate. By repurposing mailing tubes, you’re giving them a new life and reducing waste. So, get creative, have fun, and make your next birthday celebration unforgettable with these amazing DIY giant birthday candles!
We hope you enjoyed this DIY tutorial. Happy crafting!