Transforming your guest bathroom from drab to delightful can significantly enhance your guests’ experience, making them feel truly at home. Whether you’re planning a full-scale renovation or just looking for clever design ideas to refresh your space, this comprehensive guide offers inspiration, practical tips, and a detailed look at our own guest bathroom remodel journey, complete with stunning before-and-after insights.
Get ready to uncover the secrets to crafting a welcoming, stylish, and functional guest bathroom that leaves a lasting impression. From tackling unexpected renovation challenges to selecting the perfect materials and adding thoughtful touches, we’ll walk you through every step. Join us as we explore the design concepts, material choices, and essential elements that turn an ordinary bathroom into an extraordinary retreat for your visitors.
Embarking on the Guest Bathroom Remodel Journey
Fresh off sharing our master bathroom design plans last week, it’s now time to dive into the exciting transformation of our guest bathroom! Remodeling projects often come with their own unique set of challenges and surprises, and our journey with this guest bathroom was no exception. It serves as a perfect example of how renovation timelines can be unpredictable, even for seasoned DIYers and designers.
Interestingly, while the demolition for our master bathroom kicked off our initial construction phase, the guest bathroom remodel didn’t even begin until seven months later. Yet, against all odds, it was completed before our master bathroom! This serves as a testament to the unpredictable nature of home renovations, especially when gutting a room and meticulously sourcing every component. One of the biggest lessons we learned throughout this process was to never fully trust estimated ship dates, particularly for unique or specialized items – a lesson often learned the hard way, but invaluable for future projects.
Simplicity and Smart Sourcing: Our Guest Bathroom Approach
For our guest bathroom, we consciously chose a more streamlined approach compared to the elaborate, custom-designed elements and oversized porcelain slabs featured in our master bath. Our goal was to create a space that was both elegant and approachable, without the extensive lead times or bespoke requirements that can often prolong a renovation.
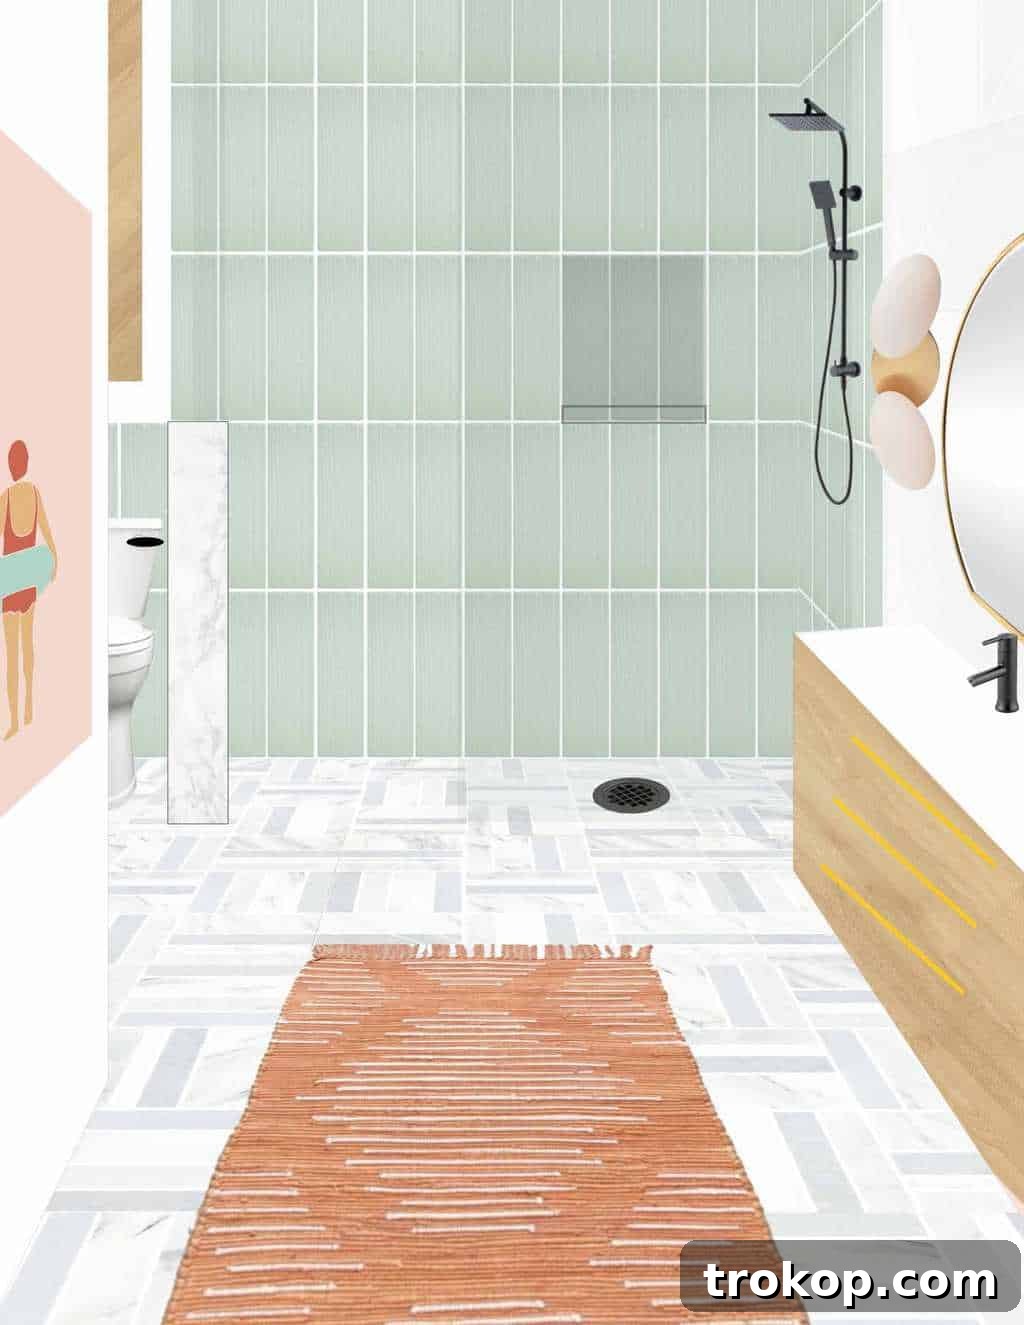
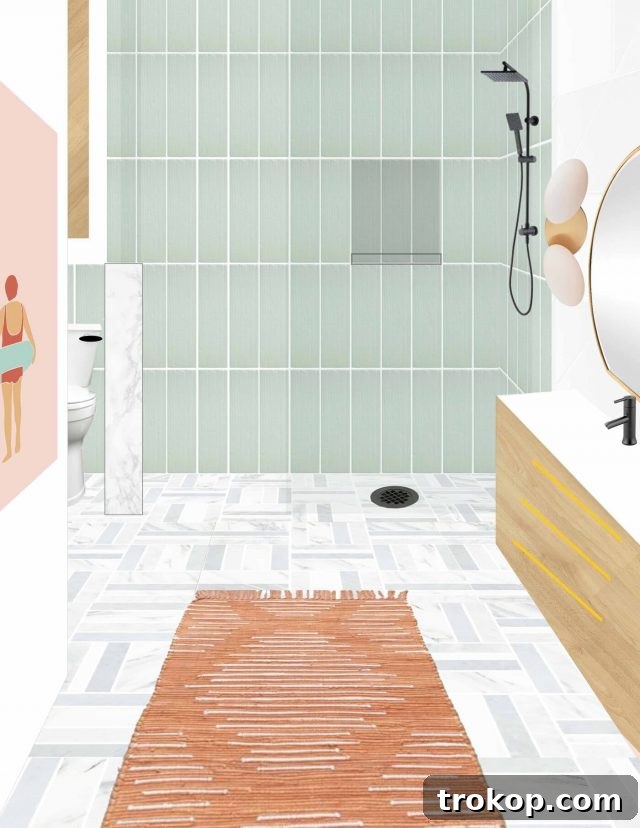
We opted for a cohesive aesthetic with matte black Peerless Faucet Precept® hardware throughout, moving away from the gold accents we considered, to achieve a sophisticated yet understated look. This choice not only offered a contemporary appeal but also ensured durability and ease of maintenance. A significant advantage in our material selection process was our new home’s proximity to The Tile Shop. Being just five minutes away allowed us to physically touch, feel, and compare tile samples in person, a crucial step that provided immense clarity and confidence in our decisions. For the decorative elements and furnishings, we embraced efficiency, sourcing almost everything from readily available local stores and IKEA, proving that a stunning guest bathroom doesn’t always require custom, high-end pieces.
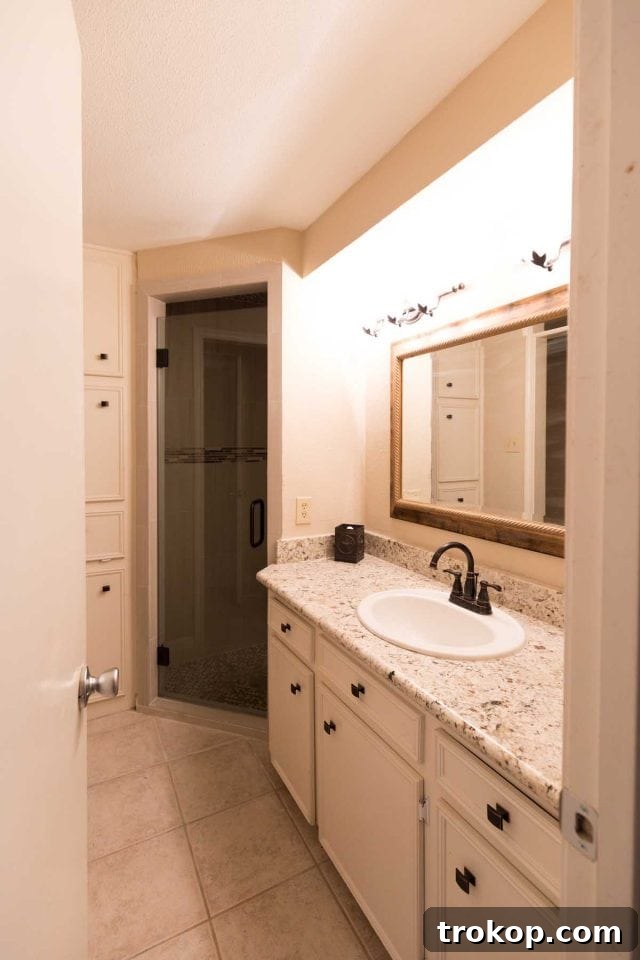
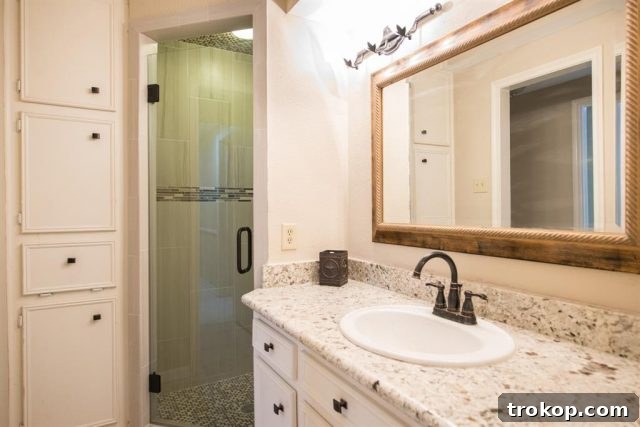
Table of Contents
Guest Bathroom Before the Transformation
Before we picked up the first tool, our guest bathroom was a true relic of the 1970s. The space was defined by its original, rather peculiar design elements: dated cabinetry, an imposing fur down ceiling, and an array of awkward cubbies that did little to enhance functionality or aesthetics. These features collectively contributed to a cramped, dark, and visually disjointed environment that was far from the inviting space we envisioned for our guests. The primary objective of our renovation was clear: to open up the space, eliminate the strange angles, and inject a sense of modern airiness.
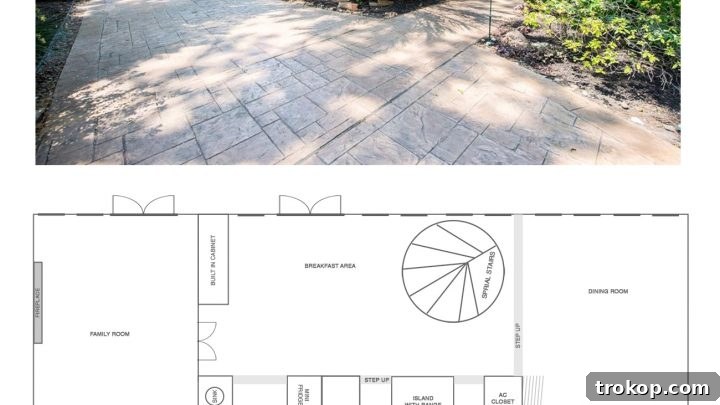
Achieving this vision necessitated a complete overhaul. We embarked on a full gut renovation, stripping the room down to its studs. This extensive demolition allowed us to fundamentally rework the space. Key structural and functional updates included upgrading the electrical system to accommodate modern recessed lighting, which instantly brightened and expanded the visual footprint of the room. We also reconfigured the shower plumbing to align with a contemporary layout and, most significantly, revised the main floor plan. Previously, I shared the original first-floor plans, which vividly illustrate how we managed to open up this particular bathroom, transforming it from a confined, segmented area into a cohesive and spacious retreat.
Material Selection and Overcoming Renovation Surprises
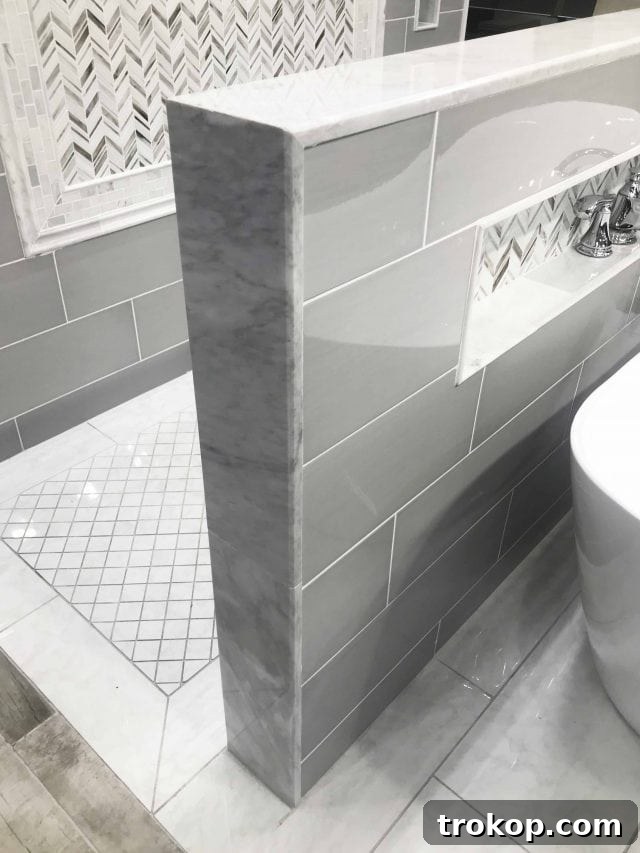
Our material selection process was both exciting and insightful, particularly with the invaluable resources at The Tile Shop. I had initially fallen in love with their stunning Aquamarine ceramic subway tile and a complementary marble mosaic, envisioning them as the core elements of our guest bathroom’s aesthetic. A visit to the showroom proved to be incredibly beneficial, offering a chance to see these materials in a larger context and sparking new design ideas. It was there, observing various installations, that we formulated a concrete plan for the wall divider between the toilet and shower area.
Initially, we hadn’t intended to incorporate a wall, but an inspiring example in the showroom led us to decide on a short “pony wall” finished with elegant marble trim pieces. This not only added a touch of sophistication but also provided a subtle separation without completely enclosing the space, maintaining an open and airy feel. The showroom visit truly helped bridge the gap between abstract ideas and tangible design solutions, allowing us to visualize the final outcome more clearly.
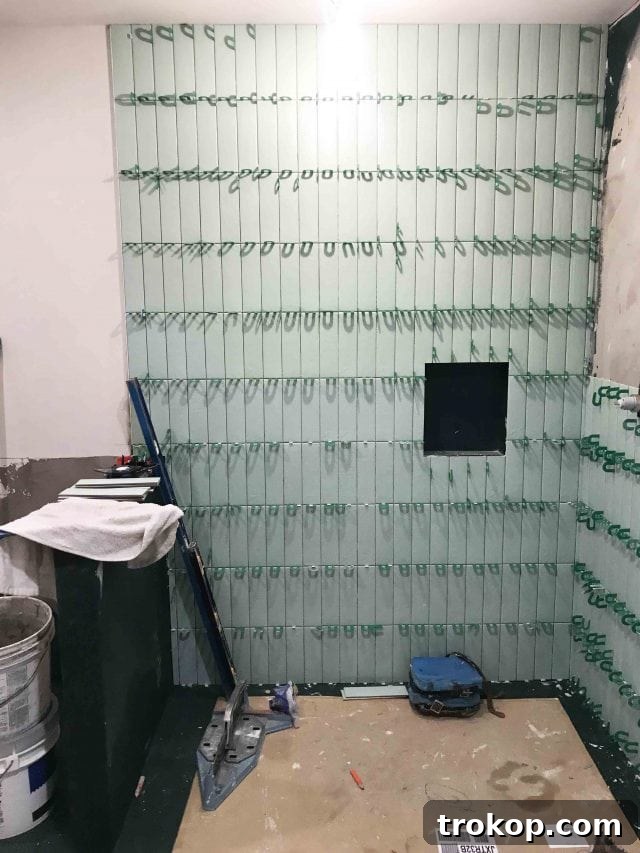 During the tile installation, we encountered a minor, yet momentarily concerning, surprise: the flooring, particularly the marble mosaic, appeared significantly darker once the mastic was applied than it had in its uninstalled state. For a brief moment, I experienced a tinge of regret, questioning the combination of the flooring with our chosen wall tile. This color difference was quite substantial and was a stark reminder that materials can often look different under various lighting conditions and when paired with installation compounds.
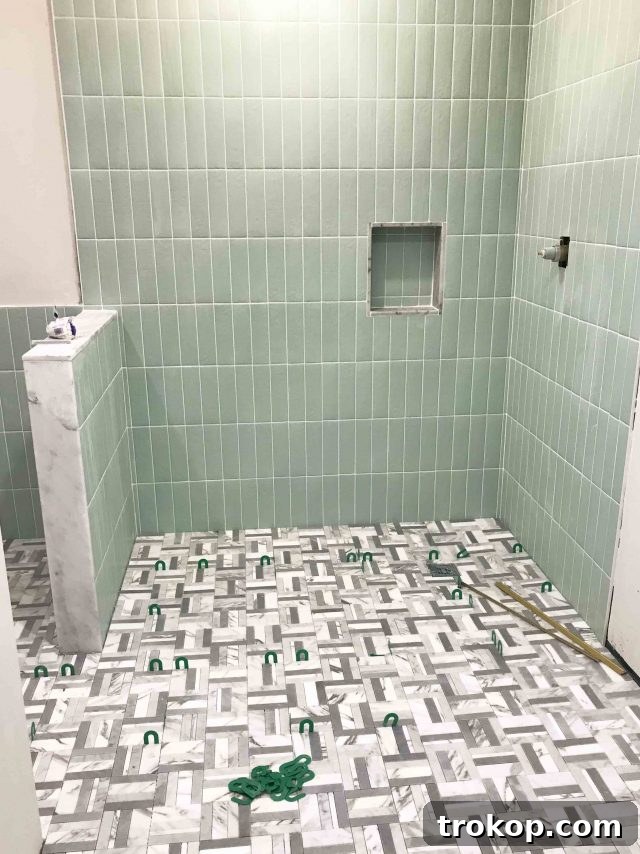
However, once the white grout was applied, the shower walls were completed, and the vanity was installed, the overall appearance of the floor tile lightened considerably. While a subtle color difference from the original samples remains, the room now exudes a much brighter and more cohesive feel. This experience highlighted the importance of patience and trusting the process through various renovation stages. The final result, which you’ll have to check back next week to see in its full glory, truly showcases how these elements came together beautifully.
Tips for Creating the Most Welcoming Guest Bathroom
Crafting a guest bathroom that feels both functional and luxurious is key to providing an exceptional experience for your visitors. It’s more than just a place to freshen up; it’s a sanctuary where guests can feel comfortable and catered to. Here are some essential tips to help you design the most welcoming guest bathroom.
Optimize Layout and Functionality
First and foremost, focus on creating a layout that is both user-friendly and aesthetically pleasing. Guests appreciate space, so ensure there’s ample counter space for their toiletries, as well as enough room to move around comfortably. If your guest bathroom is on the smaller side, consider a floating vanity to free up floor space, or wall-mounted shelving for vertical storage without cluttering the room. A well-placed shower niche can keep essentials organized, and clear glass shower enclosures can make the space feel larger and more open. Thoughtful lighting, including both general overhead lighting and task lighting around the mirror, ensures functionality and ambiance. Natural light is always a bonus, so keep window treatments simple and elegant to maximize its impact.
Curate Essential Amenities
Attention to detail truly elevates a guest bathroom. Go beyond the basics to provide a five-star experience. Stock plenty of fresh, clean towels in various sizes – bath sheets, hand towels, and washcloths. Offer high-quality toiletries like shampoo, conditioner, body wash, and lotion, perhaps even small travel-sized bottles of upscale brands for a hotel-like touch. Don’t forget extra toilet paper, tissues, and a discreetly placed plunger. A small waste bin, a hair dryer, and even a night light can make a big difference in comfort. Consider a small, labeled basket of emergency essentials such as toothbrushes, toothpaste, pain relievers, and cotton swabs, anticipating any needs your guests might have.
Inject Personal Style and Comfort
Finally, add a personal touch to the space to make it truly feel like a home away from home for your guests. This could be anything from a vase of fresh flowers that adds a pop of color and a delightful scent, to a thoughtfully assembled basket of goodies like a scented candle, a cozy bath bomb, or a small selection of magazines. Artwork on the walls, a comfortable bath mat, and a subtle diffuser can further enhance the ambiance. Make sure to provide easily accessible Wi-Fi information, perhaps framed beautifully, so guests can connect effortlessly. A cozy robe or extra blankets can also add to the feeling of warmth and hospitality, ensuring your guests feel pampered and cherished during their stay.
Guest Bathroom Design Idea Room Sources
For those inspired to recreate a similar aesthetic or simply curious about our selections, here are the key sources we used to bring our guest bathroom vision to life. Each item was chosen for its quality, style, and contribution to the overall welcoming atmosphere.
- Color Market Matte Aquamarine subway tiles from The Tile Shop
- Bennett Marble mosaic floor tile from The Tile Shop
- Honed marble floor and wall trim for lining the shower wall from The Tile Shop
- White powder-coated edging for the subway tile walls from The Tile Shop
- All grout, mastic, and tile sealers from The Tile Shop
- Peerless Faucet Precept® single faucet in matte black
- Peerless Faucet Precept® shower-only trim kit in matte black
- Ikea floating vanity, Godmorgan sink cabinet with light oak drawer fronts
- Round gold mirror with wall shelf from CB2
- Single bulb round gold wall sconce from CB2
- Light wood picture frames
- Swimmer print artwork, digital download from Etsy
- “Don’t overthink it” quote artwork, digital download from Etsy
- Quinn woven rug in rust from Urban Outfitters
And in case you’re on the before and after photo train, you can see more of our room reveals and design plans for the new house below!
More Bathroom Design Ideas for Your Home
If you’ve enjoyed this renovation journey, we invite you to explore more of our bathroom transformations and design inspiration. Discover how we tackle various styles, budgets, and challenges to create beautiful, functional spaces throughout our home.
- Before & After Budget Bathroom Update
- Sugar & Cloth Casa: The Before + After Of Our Guest Bathroom Makeover
- Our House: Guest Bathroom Remodel Reveal
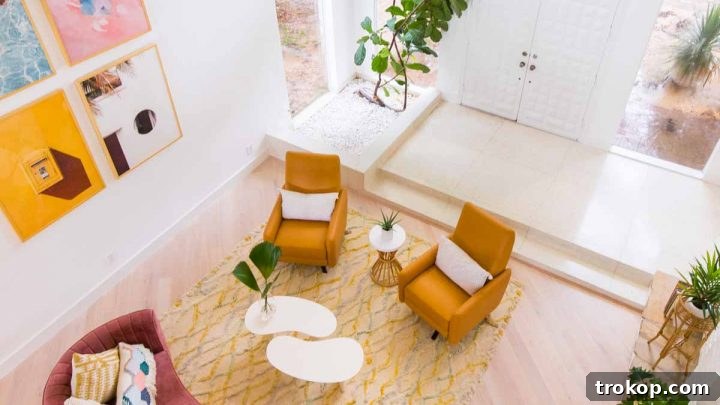
One Room Challenge Week 6: Our Living Room + Dining Room Design Reveal!
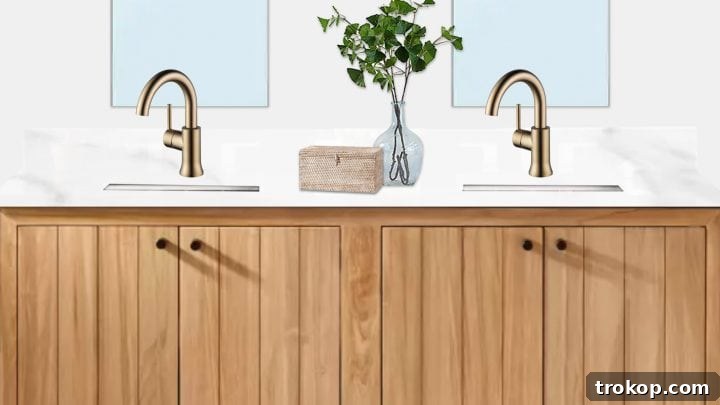
Our Remodel: The Master Bathroom Design Ideas + Before Photos
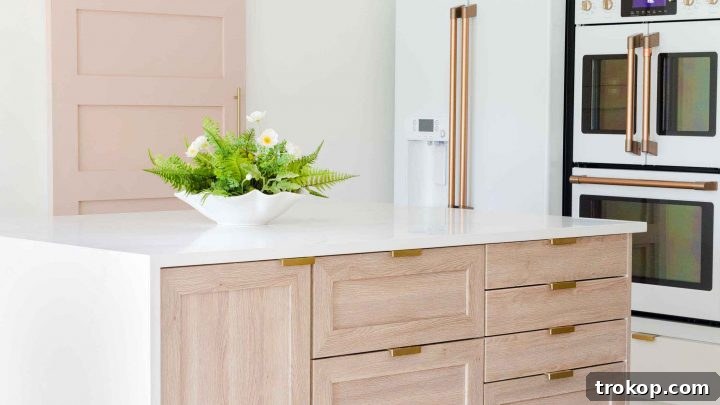
Sugar & Cloth Casa: Our Renovation Kitchen Before & After!
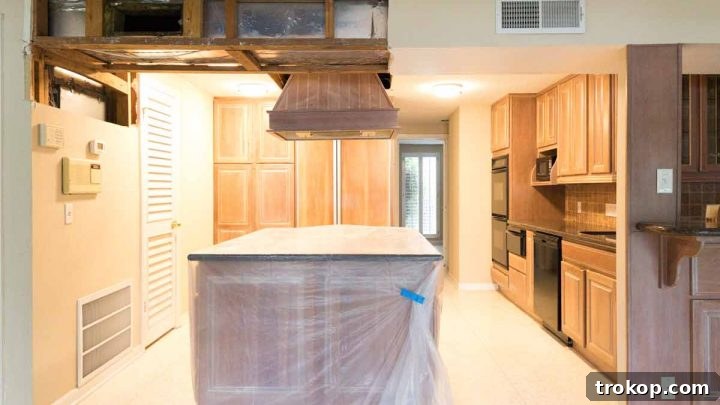
Sugar & Cloth Casa: Before Photos + Our New Kitchen Design Plan!
Sugar & Cloth Casa: Our New Floor Plans for the First Floor!

Sugar & Cloth Casa: All the Before Photos from Our New House (+ video!)
How to Paint an Accent Wall + Our Guest Bedroom Makeover