
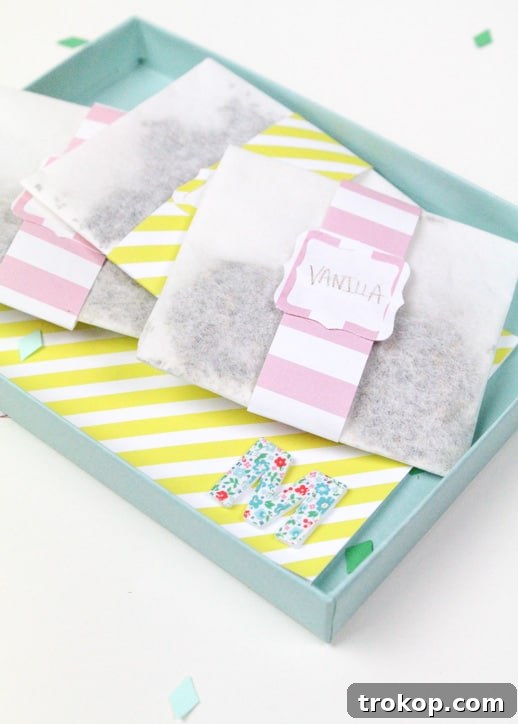
DIY Bath Sachet Gift Set: A Thoughtful Handmade Present
Looking for a unique and heartfelt gift? This DIY Bath Sachet Gift Set is a fantastic way to show someone you care. Whether it’s for Mother’s Day, a bridal shower, or just a special treat for yourself, these aromatic sachets add a personal touch that store-bought items simply can’t match. They are incredibly easy to make, customizable with your favorite scents, and beautifully presented, making them a perfect gesture for any occasion.
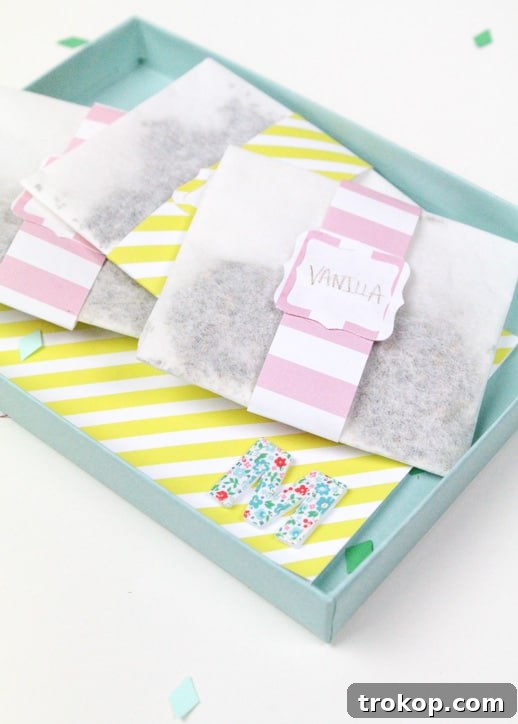
There’s something truly special about giving a handmade gift. In a world of mass-produced items, a DIY present shows that you’ve invested your time and effort into creating something unique and meaningful. While I used to make gifts out of necessity (sorry for the painted rocks, Mom!), I now enjoy adding a handmade element to complement store-bought presents. It’s a way of saying, “I took the time and care to create something just for you.”
This DIY bath sachet gift set is the perfect example of a quick and simple project that adds a touch of personalization to any gift. You can easily pair it with other handmade items, like a DIY Decorated Tray, or include it as part of a larger spa-themed gift basket. And because these sachets are so versatile, they can also be easily adapted as party favors or wedding gifts.
After all, who wouldn’t appreciate a relaxing bath infused with the soothing scents of chamomile, lavender, or mint? These bath sachets offer a simple yet luxurious way to unwind and de-stress, making them a thoughtful and practical gift for anyone.
What You’ll Need: Materials and Tools for Your DIY Bath Sachets
Before we dive into the step-by-step instructions, let’s gather all the necessary materials and tools. This project is relatively simple and doesn’t require any specialized equipment. You likely already have many of these items at home, making it an even more convenient and budget-friendly craft.
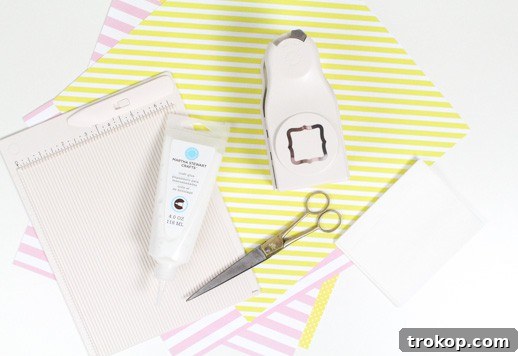
- Card Stock: Choose a variety of colors and patterns to create visually appealing bands and labels for your sachets.
- Scissors: A good pair of scissors is essential for cutting the card stock and coffee filters.
- Rectangular Coffee Filters: These will serve as the base for your sachets, holding the aromatic herbs and flowers.
- Dried Herbs and Flowers: Select your favorite scents, such as lavender, chamomile, mint, rose petals, or eucalyptus. Ensure they are completely dry to prevent mold growth.
- Craft Glue: A strong craft glue is needed to adhere the bands and labels to the sachets.
- Decorative Craft Punch (Optional): A craft punch, such as a flourish frame layering punch, can add an extra touch of elegance to your labels.
- Scoring Board (Optional): A scoring board can be used to create a professional-looking card to accompany your gift set.
- Pencil: For tracing and marking measurements.
- Stapler: To secure the coffee filter edges.
Step-by-Step Guide: How to Create Your DIY Bath Sachet Gift Set
Now that you have all your materials and tools ready, let’s get started on creating your DIY bath sachet gift set. Follow these simple steps to make beautifully scented and personalized sachets that will delight anyone who receives them.
Making the Sachets:
Step 1: Prepare the Coffee Filter: Lay a rectangular coffee filter flat on a clean surface. Choose your desired blend of dried herbs and flowers and place a generous amount in the center of the right side of the filter.
Step 2: Fold the Filter: Fold the coffee filter in half, like a hot dog, bringing the top and bottom flaps inward to enclose the herbs and flowers.
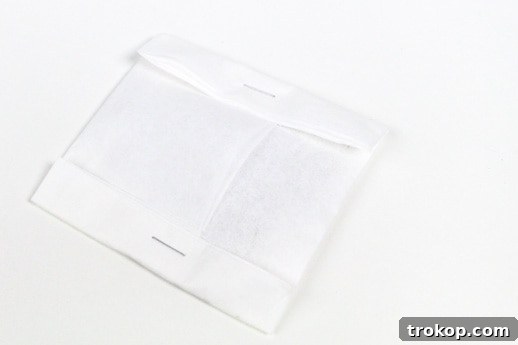
Step 3: Secure the Sides: Fold the sides of the filter inward by about half an inch and staple them down to create a sealed pouch. This will prevent the herbs and flowers from escaping into the bathwater.
Crafting the Bands:
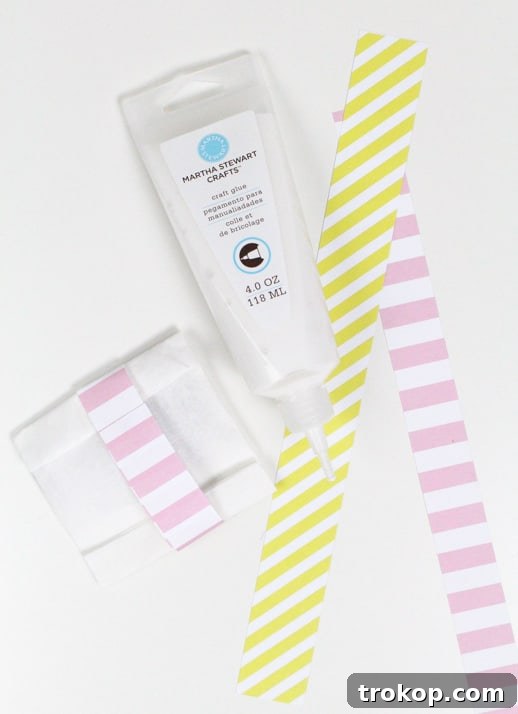
Step 4: Cut the Card Stock Strips: Cut strips of card stock that are approximately 1 inch thick and long enough to wrap around your filled sachets. The length should allow for a slight overlap to secure the band.
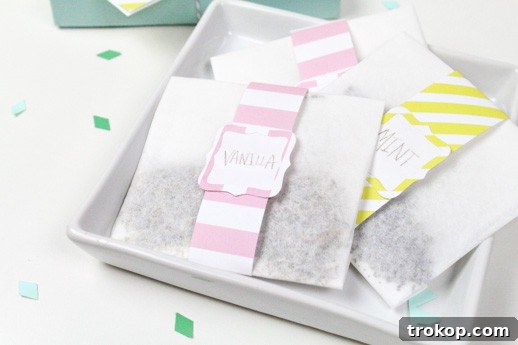
Step 5: Adhere the Band: Apply a small amount of craft glue to one end of the card stock strip and wrap it around the sachet, overlapping the ends to create a band. Ensure the band is snug but not too tight, allowing it to slip off easily before using the sachet in the bath.
Designing the Labels:
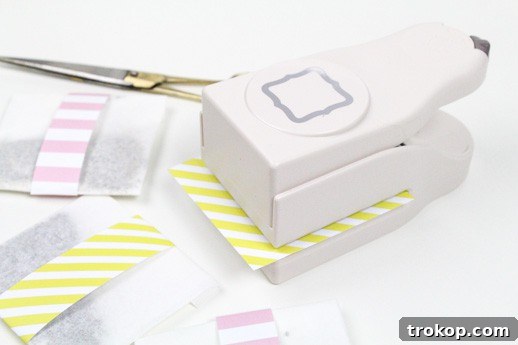
Step 6: Punch the Backing: Use your layering hole punch to create a solid color backing for your labels. This will provide a base for the patterned border.
Step 7: Create the Border: Switch to the border setting on your craft punch and cut a patterned card stock to create an ornate border for your labels.
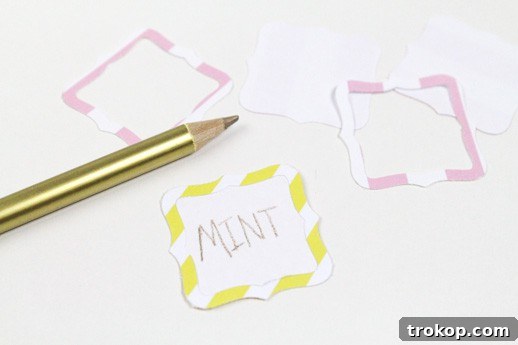
Step 8: Assemble the Labels: Apply a small amount of craft glue to the back of the patterned border and carefully adhere it to the solid color backing.
Step 9: Label the Sachets: Write the name of each scent on the label, clearly indicating the aroma of the sachet.
Step 10: Attach the Labels: Apply a small amount of craft glue to the back of the label and attach it to the band around your sachet.
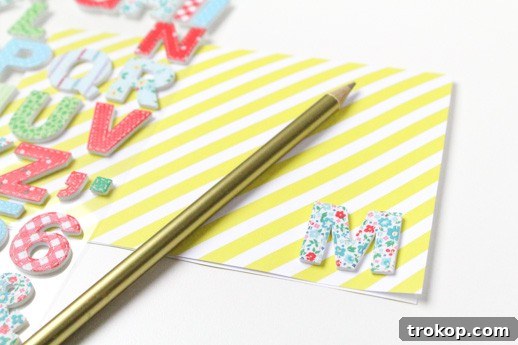
Step 11: Create a Matching Card (Optional): Using a scoring board, create a matching card to accompany your gift set. Personalize it with a handwritten message or a simple monogram to add an extra special touch.
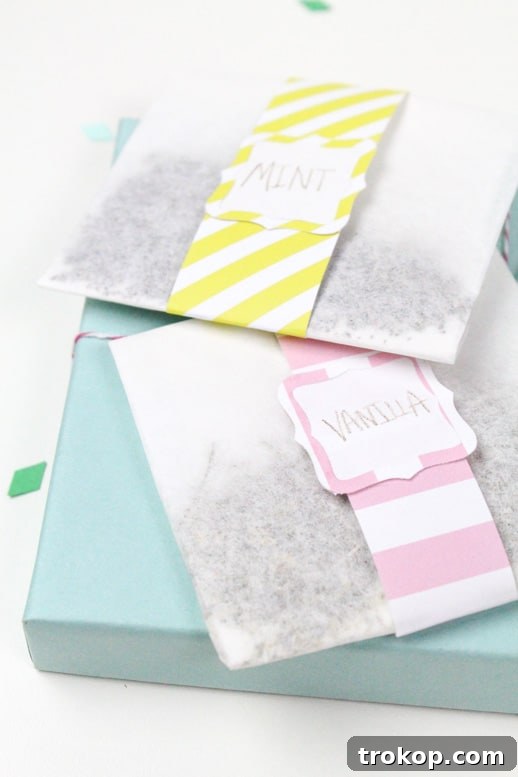
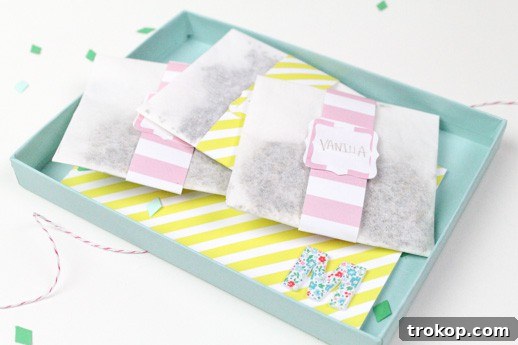
Your handmade bath sachet gift set is now complete and ready to be presented to your favorite lady! These sachets are a delightful way to pamper and show appreciation for someone special.
More Easy Beauty DIY’s
More Easy Beauty DIY’s
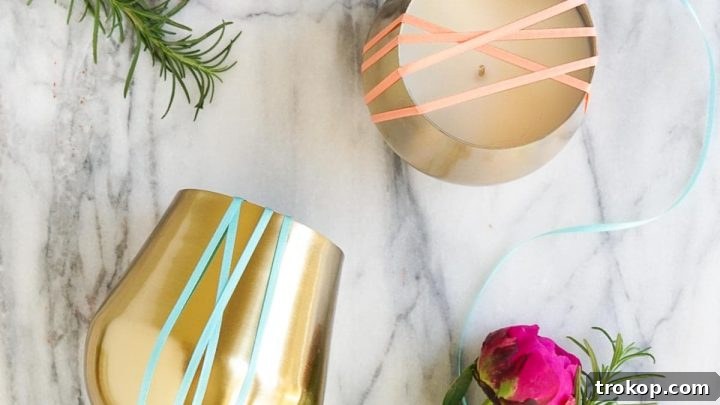
Essential Oil Candles – DIY Rosemary Grapefruit Candle
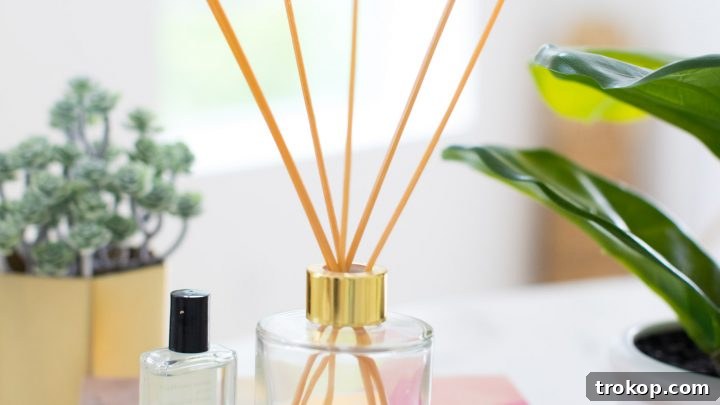
Homemade Reed Diffuser – Natural Ways To Make Your Home Smell Amazing!
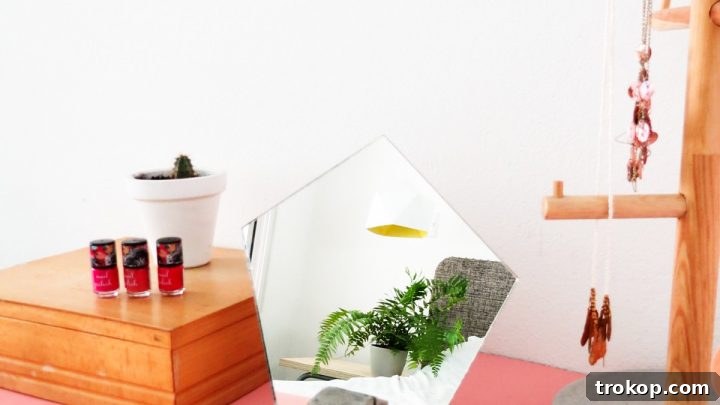
DIY Concrete Vanity Mirror
DIY Patterned Matches Vanity Tray
DIY Sand Art Sugar Scrub
DIY Love Potion Bath Sets