
Transform Your Table: A DIY Retro Lazy Susan Tutorial
Elevate your dining experience with our easy-to-follow DIY Lazy Susan tutorial. This rotating centerpiece not only adds functionality to your table but also injects a delightful touch of retro charm. Perfect for family dinners, game nights, or any gathering where sharing is key, this project is a fun and rewarding way to personalize your home decor.
Imagine hosting a pizza night with friends, where everyone can effortlessly reach their favorite toppings. Or picture a family brunch where the condiments are always within easy reach. With a DIY Retro Lazy Susan, these scenarios become a reality. It’s more than just a decorative piece; it’s a practical addition to any dining space.
This project is beginner-friendly, requiring minimal tools and materials. With a few simple steps, you can create a unique and eye-catching centerpiece that reflects your personal style. Whether you’re a seasoned DIY enthusiast or a first-time crafter, this tutorial will guide you through the process with clear and concise instructions.
In this comprehensive guide, we’ll cover everything from gathering the necessary materials to installing the lazy susan hardware. We’ll also share tips on customizing your design to match your existing decor, ensuring that your new centerpiece seamlessly integrates into your home. Get ready to spin your way to a more organized and stylish dining experience!

Materials and Tools Needed
Before you begin, gather the following materials and tools. Having everything on hand will streamline the process and ensure a smooth and enjoyable crafting experience.
- 18″ Wood or MDF Round Circle: This will serve as the base for your lazy susan. Choose a high-quality wood or MDF for durability and stability.
- Drill and Drill Bits: A drill is essential for creating holes for the knob and screws. Select drill bits that are appropriate for wood or MDF.
- Small Wood Screws: These screws will be used to secure the lazy susan hardware to the base. Ensure that they are the correct size and length to avoid damaging the wood.
- Painter’s Tape: Painter’s tape is crucial for creating clean, crisp lines when painting the stripes. Opt for a high-quality tape that won’t bleed or leave residue.
- Foam Brushes: Foam brushes are ideal for applying paint smoothly and evenly. Choose brushes that are the right size for the stripes you plan to create.
- Non-Toxic Paint in Your Choice of Colors: Select non-toxic paints that are safe for food contact. Consider coordinating the colors with your existing decor or opting for a vibrant retro palette.
- Lazy Susan Hardware: This hardware allows the lazy susan to rotate smoothly. Choose a sturdy and reliable mechanism that can support the weight of the items you plan to place on the lazy susan.
- Non-Toxic Clear Spray Shellac: This sealant will create a food-safe surface that is easy to clean. Ensure that the shellac is specifically designed for food contact.
- Brass Knob (Optional): A brass knob adds a touch of retro flair to your lazy susan. Choose a knob that complements the overall design and provides a comfortable grip.
These materials are readily available at most craft stores and online retailers. Take your time to select high-quality items that will ensure the longevity and durability of your DIY Retro Lazy Susan.

Step-by-Step Guide: Crafting Your Retro Lazy Susan
Now that you have all the necessary materials, let’s dive into the step-by-step instructions for creating your very own DIY Retro Lazy Susan. Follow these steps carefully, and don’t hesitate to pause and review if needed. Remember, patience and attention to detail are key to a successful project.
Step 1: Drilling the Knob Hole (Optional)
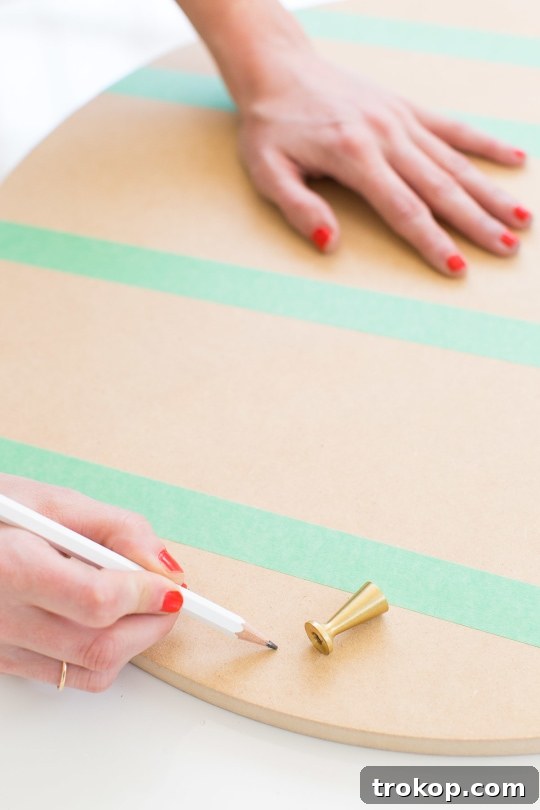
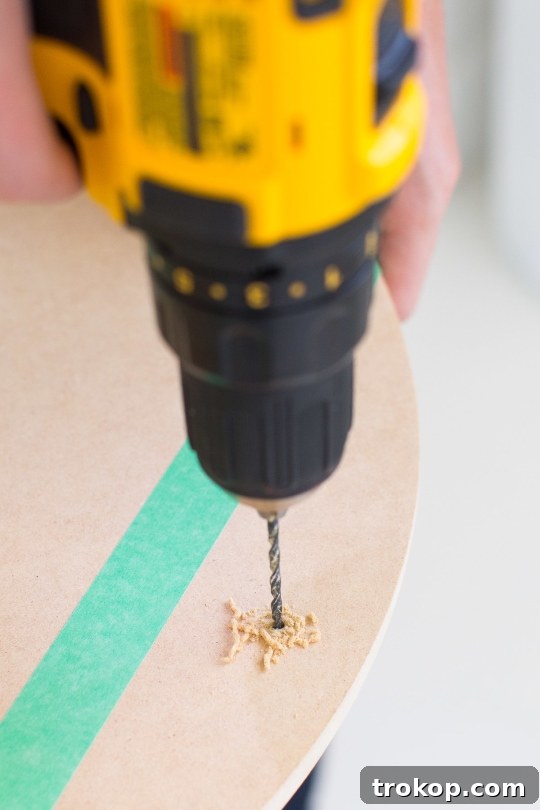
If you’ve decided to add a brass knob to your lazy susan, the first step is to drill a hole for the knob hardware. Mark the desired location for the knob on the edge of the wood round. Use a drill bit that is slightly larger than the diameter of the knob’s screw or bolt. Drill slowly and carefully, ensuring that the hole is straight and clean. This step is crucial for ensuring that the knob is securely attached and functions properly.
Step 2: Creating the Stripes
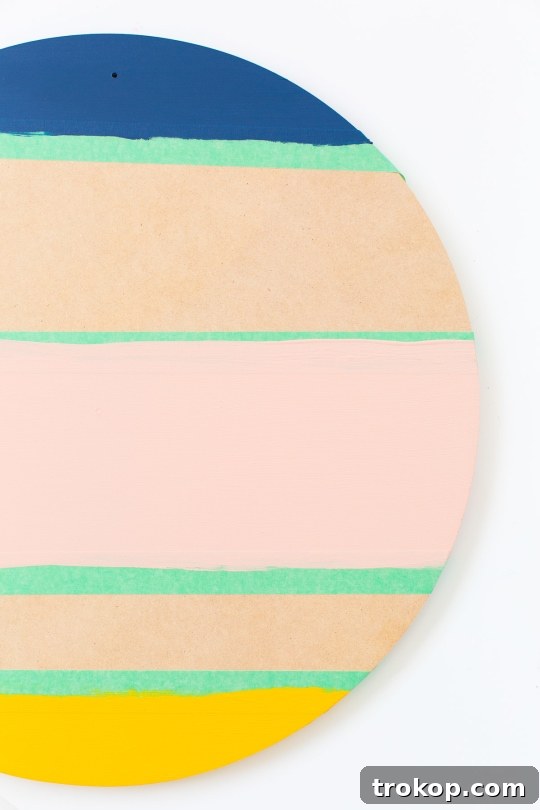
The signature retro look of this lazy susan comes from the vibrant stripes that adorn its surface. Use painter’s tape to create 3-4 stripes of varying widths across the wood round. Ensure that the tape is applied firmly and smoothly to prevent paint from bleeding underneath. Experiment with different stripe arrangements to create a unique and eye-catching design. Once the tape is in place, apply the first coat of paint to the stripes. Allow the paint to dry completely before applying a second coat, if necessary. Patience is key to achieving clean, crisp lines and vibrant colors.
Step 3: Painting and Drying
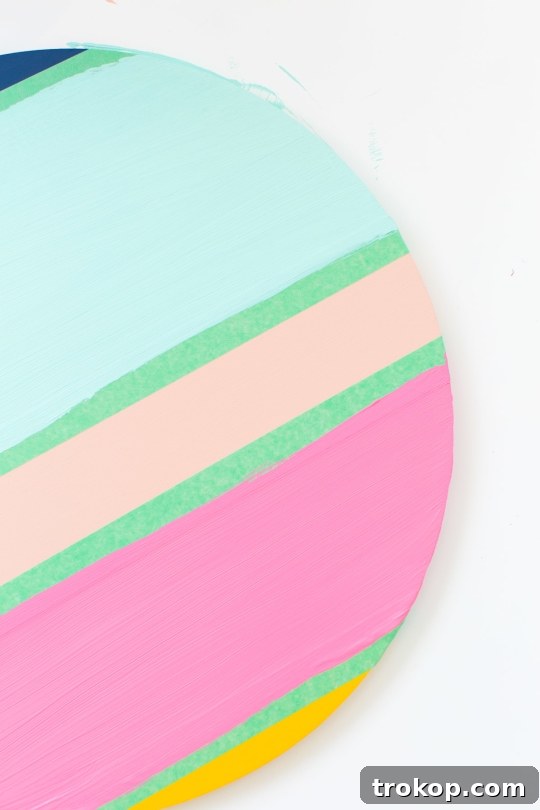
After the first set of stripes is completely dry, carefully remove the painter’s tape. Place new tape on the edges of the painted stripes to create clean lines for the remaining colorful stripes. This step is crucial for preventing the colors from bleeding into each other and ensuring a professional-looking finish. Apply the paint to the remaining stripes, and allow them to dry completely before moving on to the next step.
Step 4: Applying the Sealant
Once all the paint is completely dry, it’s time to apply the non-toxic shellac spray sealant. This sealant will create a food-safe surface that is easy to wipe down when it’s time to clean up. Apply a generous and even coat of the sealant to the entire surface of the lazy susan. Ensure that you are working in a well-ventilated area and follow the manufacturer’s instructions for proper application. Allow the sealant to cure for 24 hours before moving on to install the lazy susan hardware. This curing time is essential for ensuring that the sealant is fully hardened and provides adequate protection.
Installing the Lazy Susan Hardware: The Final Touch
With the painting and sealing complete, it’s time to install the lazy susan hardware. This is the final step in transforming your painted wood round into a functional and stylish centerpiece.
Step 5: Attaching the Swivel Plate
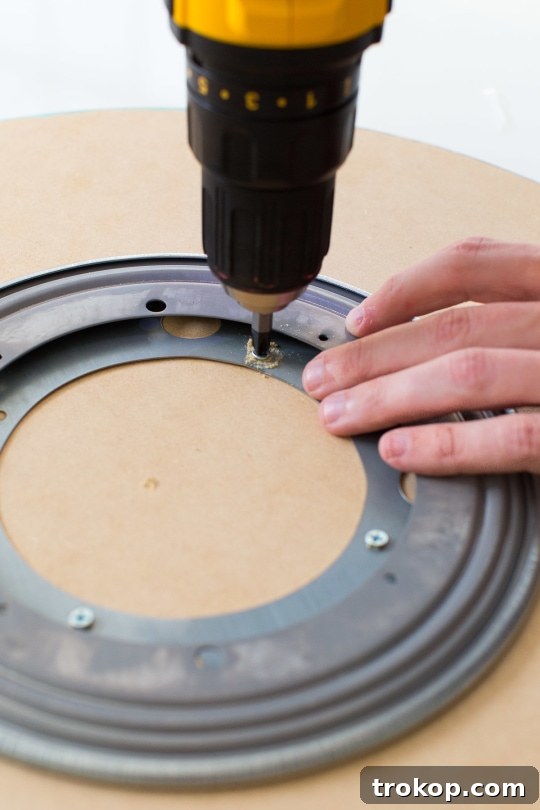
After the sealant has dried completely, turn the painted wood round over and place the lazy susan bearing directly in the center. Use a ruler or measuring tape to ensure that the bearing is perfectly aligned. Using a drill and the small wood screws, screw the swivel plate in place with four wood screws. Be careful not to drill in too far, as this could cause the screws to poke through the other side of the wood. Ensure that the screws are securely fastened to prevent the lazy susan from wobbling or coming apart.
Step 6: Adding the Knob (Optional)
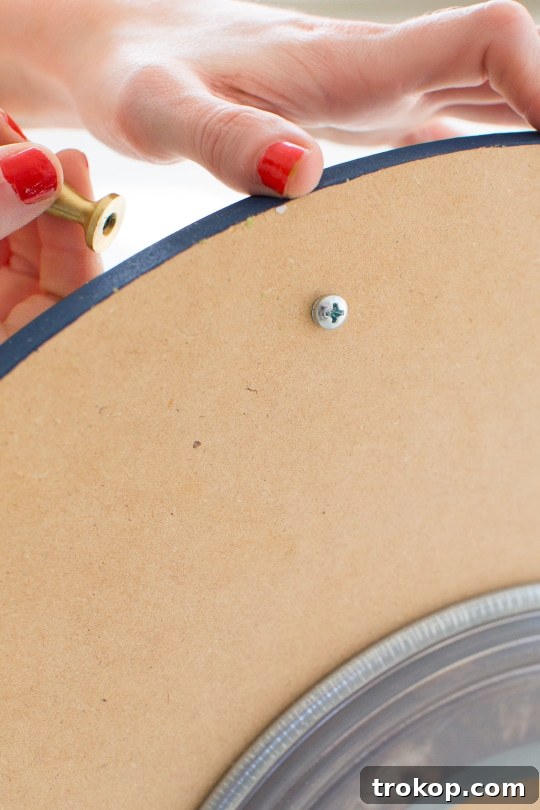
If you chose to add a brass knob, now is the time to insert the knob hardware and secure it in place. Ensure that the knob is tightly fastened to prevent it from loosening over time. The knob not only adds a touch of retro flair but also provides a convenient handle for rotating the lazy susan.
Congratulations! Your DIY Retro Lazy Susan is now complete. Step back and admire your handiwork. You’ve successfully transformed a simple wood round into a functional and stylish centerpiece that will enhance any dining experience.

Now you’re all set to style your pizza gathering for guests or use your new creation for any occasion. Enjoy the convenience and charm of your DIY Retro Lazy Susan!