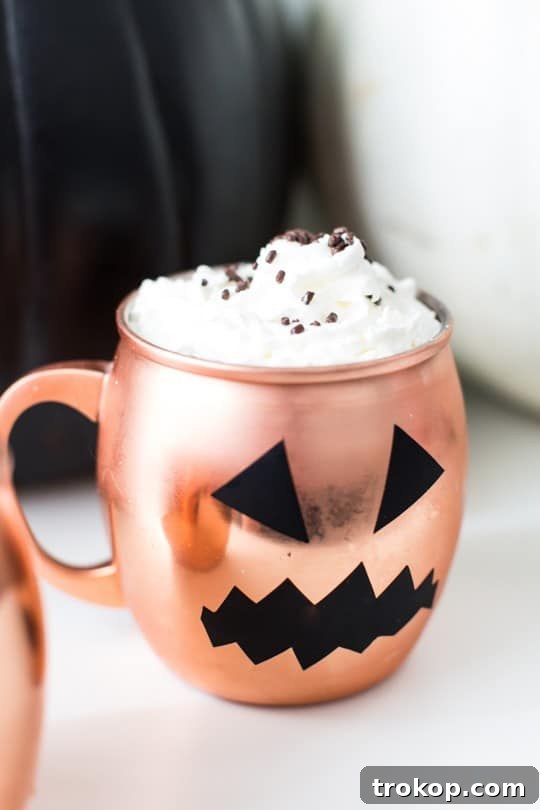
Transform your ordinary glassware into captivating Halloween decor with this incredibly simple yet highly effective DIY project! Whether you’re hosting a spooky soirée, setting up a festive Halloween bar, or simply want to infuse your home with seasonal charm, these DIY Halloween Glassware Pumpkin Decals are your perfect solution. Not only are they quick and easy to create, but their temporary nature ensures your cherished glassware collection remains pristine once the holiday festivities conclude. Say goodbye to permanent alterations and hello to effortlessly stylish, temporary Halloween accents.
This project is designed for everyone, from seasoned crafters to complete beginners. In just a few minutes, you can adorn your favorite mugs, glasses, or even pitchers with cheerful pumpkin faces, adding a whimsical touch to your Halloween spread. Imagine your guests delighting in themed beverages served in custom-decorated cups – it’s a small detail that makes a big impact on your party’s atmosphere. Get ready to elevate your Halloween entertaining without the fuss or commitment of permanent decorations!
Why Choose DIY Halloween Glassware Decals?
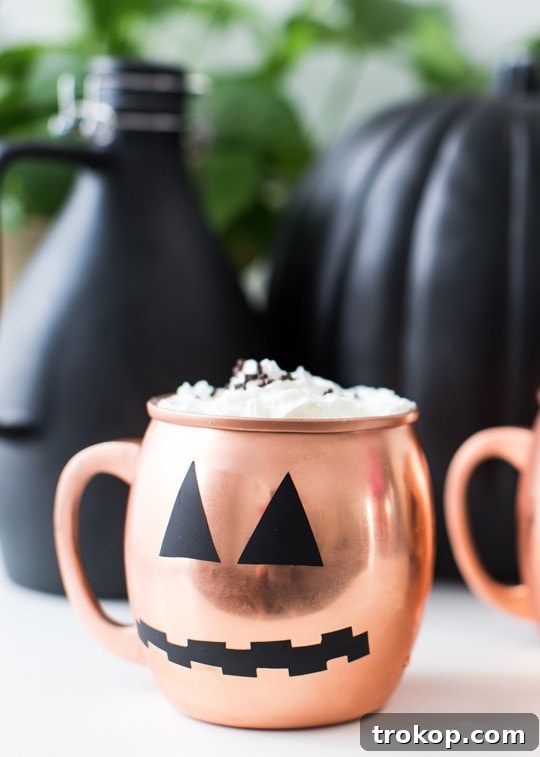
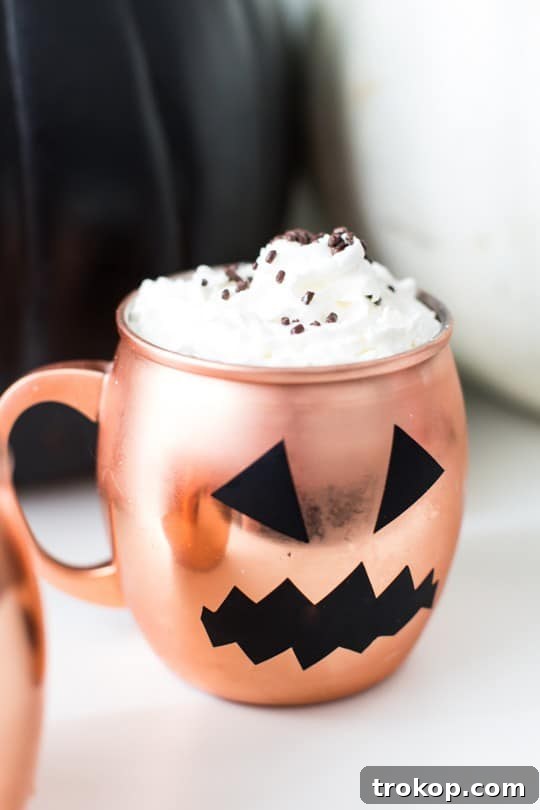
While I may not be the biggest fan of overly gruesome or scary Halloween themes, I absolutely adore crafting creative and non-intimidating decor. These DIY Halloween decals stand out as one of my most satisfying craft endeavors! They offer an ingenious way to personalize your party supplies without any long-term commitment. One of the main reasons these decals are a game-changer is their temporary nature. This means you can embrace the holiday spirit with full enthusiasm, transforming your everyday copper mugs (chosen to mimic the warm hues of a pumpkin, of course!) or elegant stemware into festive Halloween masterpieces, knowing that after the season passes, your beautiful collection will revert to its original charm.
Beyond being temporary, these decals are incredibly budget-friendly. With just a single package of black vinyl window cling material, you can create a whole assortment of custom glassware decals for your entire costume party. This allows you to craft a cohesive and stylish theme for your spooky floral Halloween bar or dinner table, all while keeping costs down. Your guests will be impressed by the thoughtful details, and no one needs to know how easy and economical it was to achieve such a polished look. It’s all about smart decorating that leaves a lasting impression without breaking the bank.
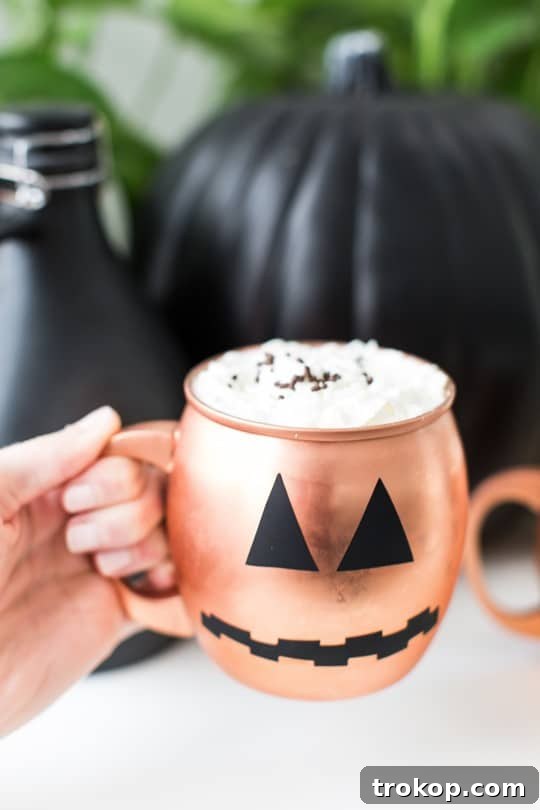
Table of Contents
Materials To Make A Halloween Pumpkin Decal
Every Halloween celebration deserves a touch of pumpkin charm, and our DIY glassware decals offer a unique twist on the traditional window cling. Instead of adorning windows, these playful pumpkin faces will bring personality to your drinkware, making them a fantastic conversation starter for any gathering. The beauty of repurposing window clings for this project lies in their non-permanent nature. You can enjoy a festive display without the worry of damaging your cherished copper mugs, elegant wine glasses, or any other preferred drinkware. This temporary design allows you to fully embrace the holiday spirit knowing that your beautiful items will be returned to their original state once Halloween is over. It’s the perfect blend of fun, festivity, and practicality.
The process couldn’t be simpler: you’ll cut out your desired shapes, apply them effortlessly to your clean glassware, and then easily remove them when the party winds down. This makes cleanup a breeze and ensures your glassware is ready for its next use, whether it’s for another holiday or just everyday enjoyment. Let’s gather your materials and get started on this delightful Halloween craft!
- Sharp Scissors (for precise cutting)
- Black Window Cling Material (enough for all your desired decals)
- Smooth Surface Copper Mugs or your preferred type of glass drinkware (ensure surfaces are clean and dry)
Step-by-Step Guide to Creating Your Decals
Creating these Halloween pumpkin decals is a quick and satisfying process. Once you have your materials ready, you’ll be able to transform your glassware in just a few minutes. Precision in cutting will give you the best results, but remember that the charm of DIY often lies in its imperfect, handmade touch. Don’t be afraid to experiment with different shapes and expressions for your pumpkin faces to make each piece of glassware unique and full of character.
Step 1: Design and Cut Your Pumpkin Faces
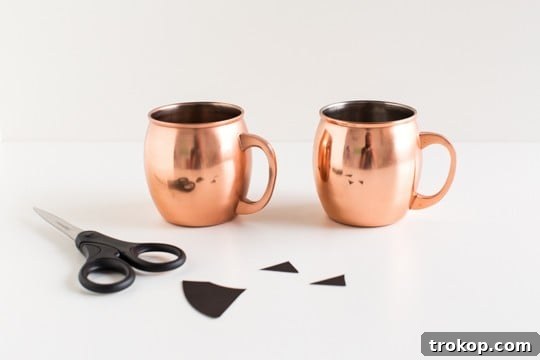
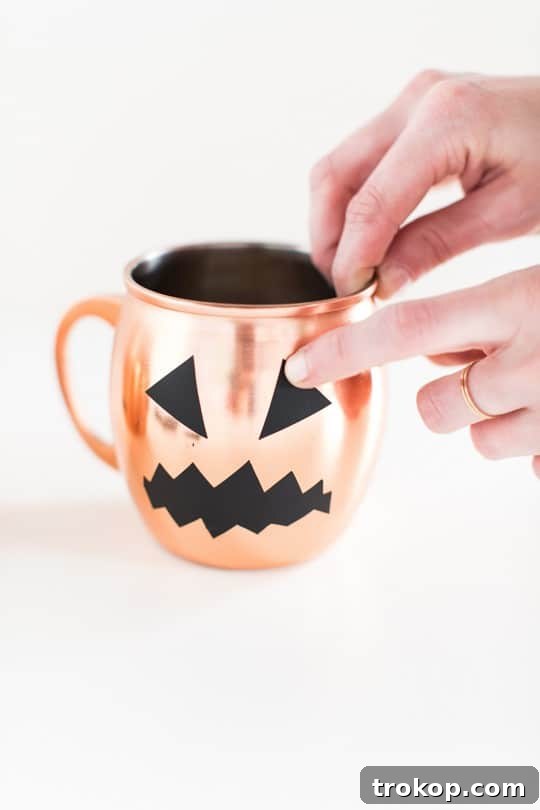
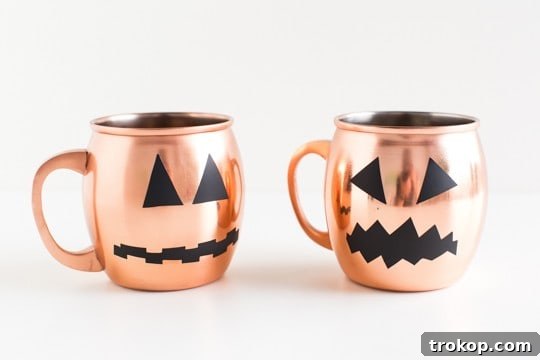
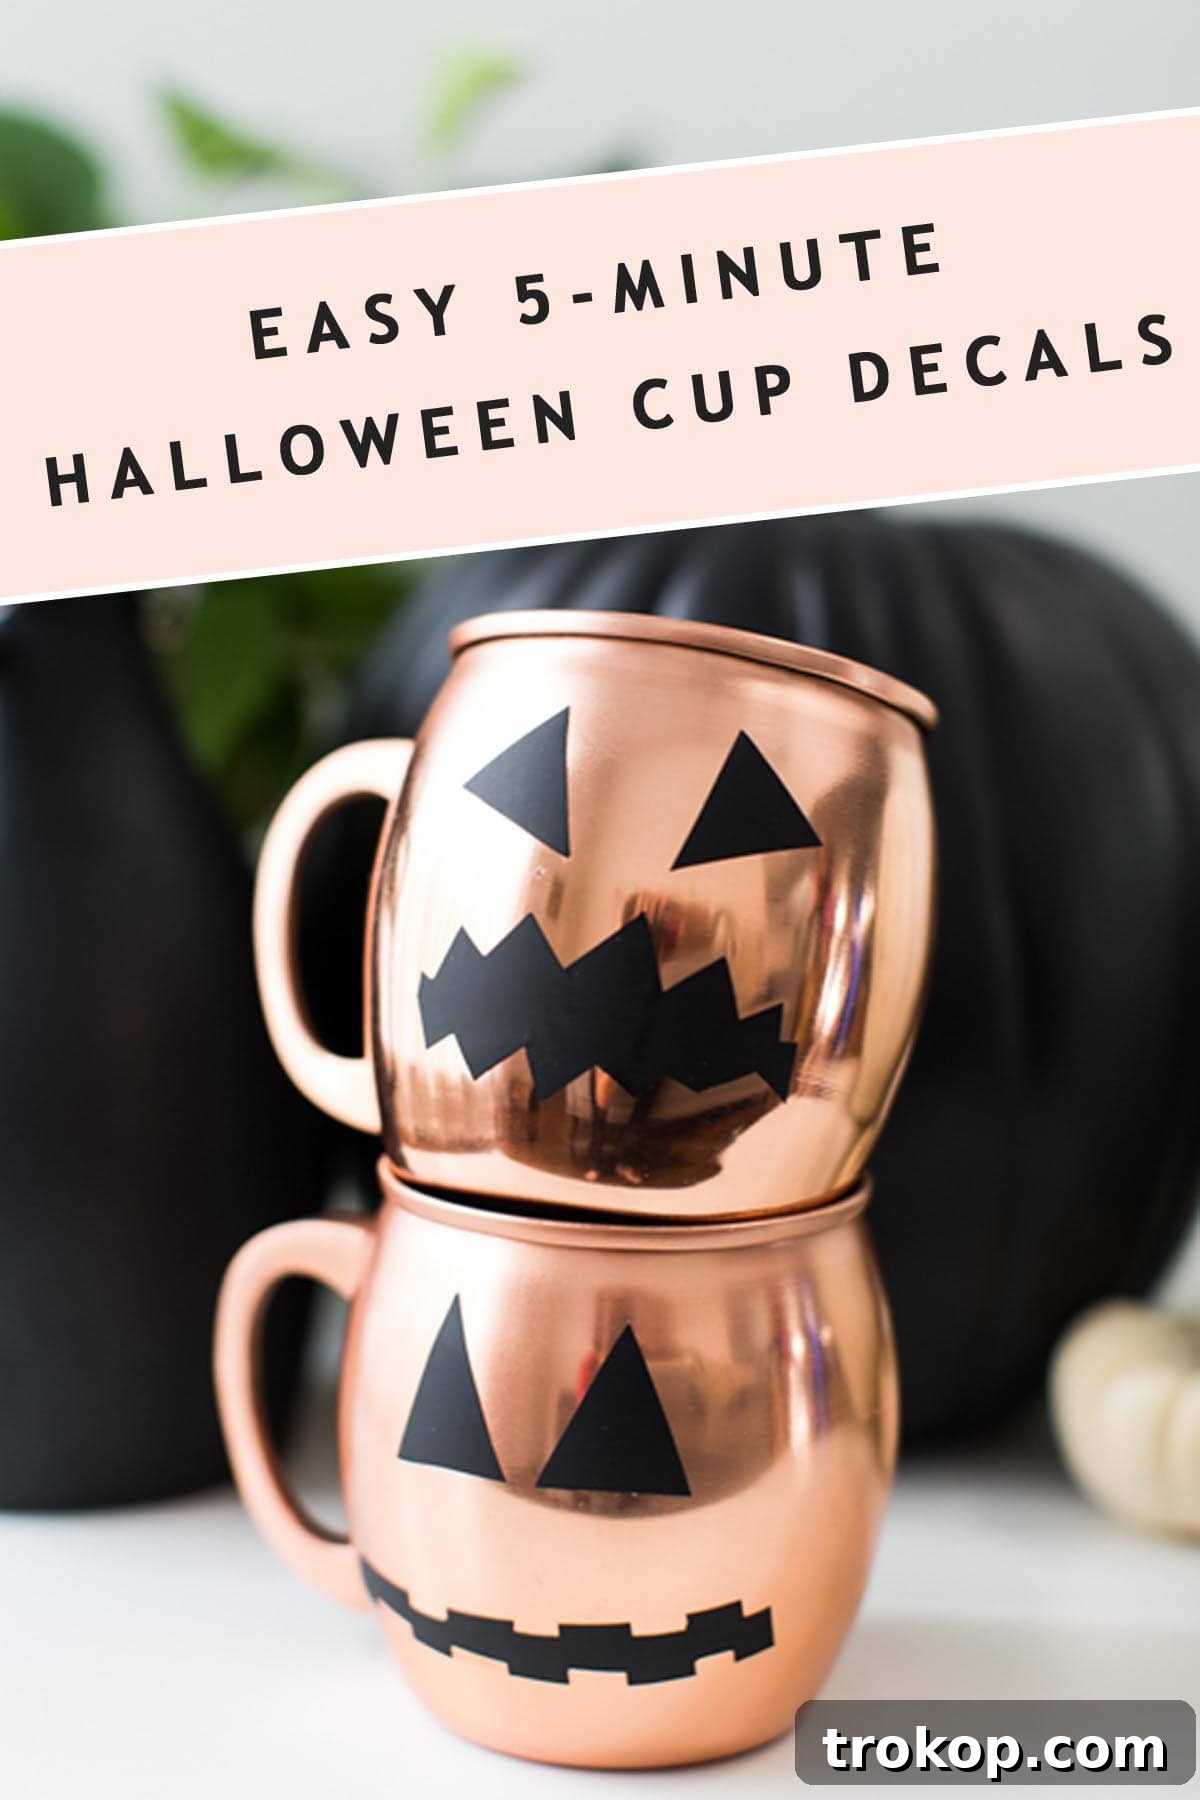
To begin crafting your Halloween pumpkin decals, start by sketching out your desired shapes directly onto the black window cling material. Think about the classic carved pumpkin faces: triangles for eyes, and jagged or scary burst shapes for mouths. You can freehand these or use stencils for more uniform designs. Consider a variety of expressions – some goofy, some spooky, some surprised – to add personality to your collection. The burst shapes, reminiscent of a zipper or jagged teeth, add a dynamic and playful element to the pumpkin’s mouth. Carefully use your sharp scissors to cut out these shapes. The cleaner your cuts, the more defined your pumpkin faces will be. These cut-outs will become the eyes and mouth, bringing your glassware to life, just as if you were carving a real pumpkin.
Step 2: Apply Decals to Clean Glassware
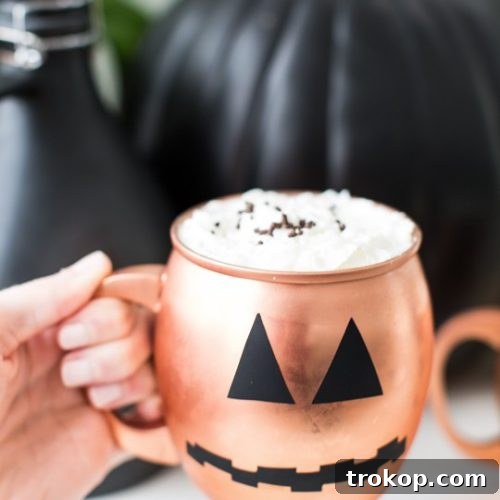
Before applying your newly cut pumpkin decals, ensure that your chosen glassware is impeccably clean and completely dry. Any dust, grease, or moisture on the surface can hinder the cling’s ability to adhere properly. Once your glassware is prepped, simply peel the backing from your window cling shapes and gently press them into place on the smooth surface of your mugs or glasses. Smooth out any air bubbles with your fingers or a soft cloth, working from the center outwards, to ensure a seamless look. The clings adhere remarkably well using static electricity, so no adhesive is needed. Once applied, your festive glassware is ready to be filled with your favorite Halloween beverages and served to your delighted guests!
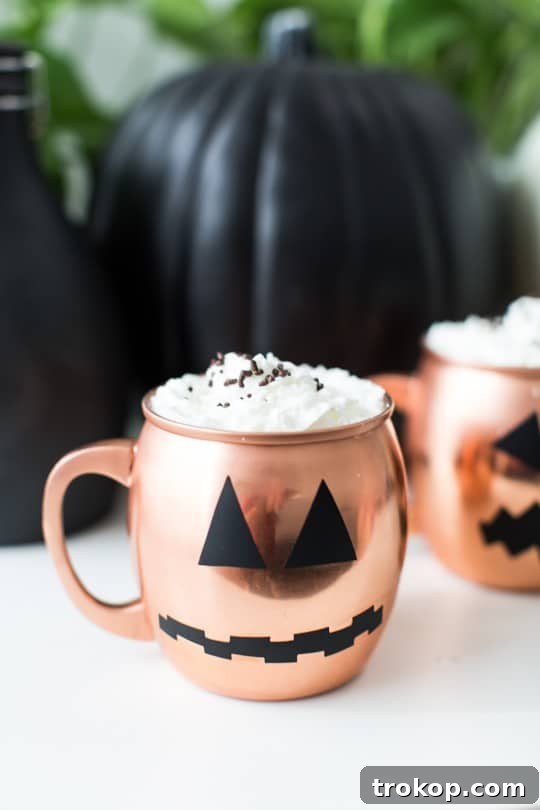
These temporary clings are surprisingly resilient! They hold up exceptionally well against condensation from cold drinks and even the warmth of hot beverages. We’ve personally tested them by hand-washing cups with the clings still attached, and they remained firmly in place. This durability means you can easily reuse the same decorated cups throughout your party without worrying about the decals peeling off, making them perfect for busy hosts.
When the party comes to an end, the removal is just as effortless as the application. Simply peel the clings away from the glassware. You can then choose to discard them, or, if you wish to reuse them for future Halloweens, carefully store them on their original backing paper or a sheet of plastic to preserve their stickiness. This makes them an eco-friendly and convenient decorating option.
Pumpkin Decals Pro Tip: Ensuring Perfect Adhesion
While window clings generally adhere well to smooth surfaces using static, you might occasionally encounter a stubborn decal that just won’t stay put, especially if your glassware isn’t perfectly smooth or clean. Don’t worry, there’s a simple trick to ensure your pumpkin decals stick firmly and beautifully every time! This pro tip will help you achieve maximum adhesion and keep your spooky faces grinning throughout your Halloween festivities.
The Vinegar Trick for Stubborn Clings
If you find your window cling material is having trouble sticking as a pumpkin decal, a quick wipe with diluted white vinegar is the secret. Simply mix a small amount of white vinegar with water (a 1:1 ratio works well) and dampen a lint-free rag or cloth with the solution. Carefully wipe down the surface of your glass where you plan to apply the decal. The vinegar acts as a mild degreaser and helps remove any invisible residue or film that might prevent the static cling from working effectively. It ensures that the surface is impeccably smooth and clean, creating the ideal canvas for your cling to grab onto. Allow the surface to air dry completely before applying the decal for the best results. This small extra step can make all the difference in achieving a perfectly adhered and long-lasting temporary decoration.
How To Wash The Halloween Glassware
As mentioned, this pumpkin decal DIY is specifically designed to be a temporary decor item, perfect for enhancing your Halloween party or festive Halloween bar setup. Its temporary nature is one of its greatest advantages, allowing for easy removal and versatility. However, if you’re particularly fond of your decorated glassware and wish to extend the life of your decals for the duration of the holiday season, or even save them for future use, there are specific care instructions to follow.
To keep the decals on your glassware for a longer period, you’ll need to be very gentle when washing. We recommend very careful handwashing for each cup. When cleaning around the decals, make sure to wipe softly and avoid any harsh scrubbing or abrasive sponges that could dislodge or damage the clings. Focus on cleaning the inside and areas of the glass not covered by the decal. Avoid soaking the glassware for extended periods with the clings attached, as this might reduce their adhesive quality over time.
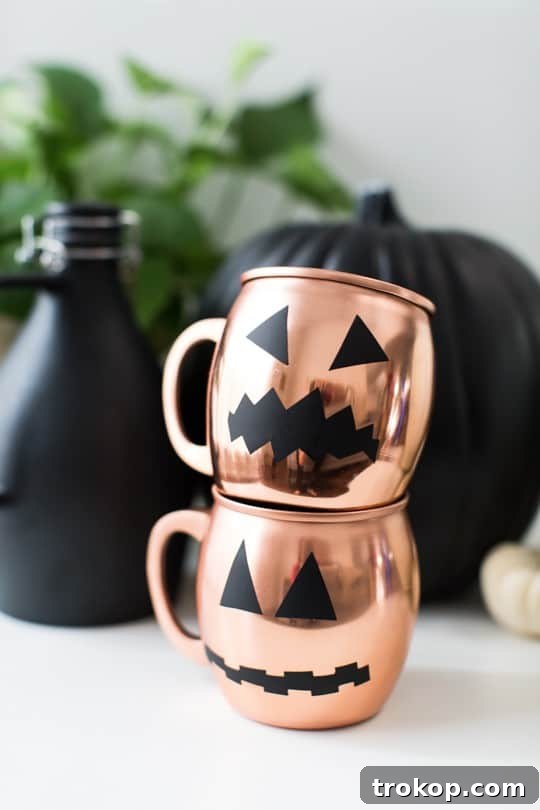
Alternatively, and perhaps the most practical method for reuse, is to simply peel the decals back off of your copper mugs or other glassware once your event is over. To preserve them for next Halloween, carefully place them back onto a sheet of plastic paper (like their original backing or a clean plastic sheet protector). Store them flat in a cool, dry place. This method ensures the decals retain their static cling properties and are ready to be applied again for many Halloweens to come, making them a truly sustainable decorating choice.
How to Reuse Window Cling Pumpkin Decals Year After Year
The reusability of window clings is one of their most appealing features, making this DIY project both economical and environmentally friendly. If you’re storing your custom cup decals with the intention of reusing them for Halloween year after year, there’s a simple and effective method to ensure they’ll retain their stickiness and look as good as new. Since window clings adhere to smooth surfaces primarily through static electricity, they are inherently designed for easy reuse, provided they are stored correctly and applied to clean surfaces each time. However, even the best clings can lose a bit of their static charge or accumulate dust over time, leading to reduced stickiness. If your treasured pumpkin decals start to lose their cling, here’s a straightforward way to revive them and ensure they’re ready for their next spooky appearance:
- Prepare a Cleaning Bath: Start by filling your cleaned kitchen sink or a shallow basin with warm water. Add just a few drops of mild dishwashing soap – you don’t need much, as too much soap can leave a residue.
- Soak and Rinse: Gently place your pumpkin decals into the soapy water, ensuring they are fully submerged. Let them soak for a few minutes. This helps loosen any accumulated dirt, dust, or residue. After soaking, drain the soapy water and run cool, clean water over the decals. You can gently rub them with your fingers to ensure all soap and debris are removed.
- Dry Thoroughly: Carefully lift the clean decals from the water. Place them flat on a clean, dry cloth – a lint-free cloth, such as a microfiber towel, is preferable to prevent any fibers from sticking to the cling. Allow them to air dry completely. Do not wipe them dry, as this can create friction and reduce the static charge needed for adhesion. Once fully dry, their static charge should be restored, and they’ll feel tacky again. Then you’re ready to reuse your vibrant pumpkin decals for another festive season!
By following these simple steps, your DIY Halloween glassware pumpkin decals can become a cherished part of your holiday traditions, bringing joy and a festive touch to your celebrations for years to come.
More Halloween Projects & Ideas
These Halloween glassware pumpkin decals are just one way to infuse your celebrations with DIY charm! If you’re looking to expand your Halloween repertoire with more creative projects, whether it’s finding the perfect Halloween costume ideas, concocting a batch of fancy champagne jello shots, or simply enhancing your overall Halloween table decor setting, we’ve got you covered. Dive into these additional ideas to make your Halloween truly memorable:
- 41 Easy Ideas for Halloween Couples Costumes
- Easy Halloween Wigs and Lashes: 4 Last-Minute Costume Ideas
- 36 Easy Halloween Costumes for Kids
- Family Costume Idea: Easy DIY Hungry Hippos Costume
- 28 Simple Halloween Decor Ideas
- 22 Best DIY Outdoor Halloween Decorations for Front Yard
- Spooky Stencil Cocktails
- DIY Dirt Worm Macarons
- Trick or Treat Yourself with These 31 Spooktacular Halloween Desserts
From costumes to cocktails and delectable treats, these resources will help you curate the ultimate Halloween experience for all ages. Happy crafting and happy haunting!
How To Make Our Five Minute Halloween Pumpkin Decal
Easy Pumpkin Decal: Five Minute Temporary DIY Halloween Glassware
This Halloween party idea is a super easy DIY that’s quick to make and perfect for entertaining or your Halloween bar. It’s also a temporary Halloween sticker so you won’t ruin your pretty glassware collection after the holiday fun is over…
25 mins
Equipment
- Scissors
Materials
- Black window cling material
- Smooth surface copper mugs or your choice of glass drinkware
Instructions
-
To make the Halloween pumpkin decals, cut out triangles and scary burst shapes (similar to zipper shapes) from the window cling material. These will serve as the eyes and mouth just like you would when carving a real pumpkin.
-
Make sure your glassware is clean and dry, then press the clings in place on the glassware, and serve!
-
The clings actually hold up really well to condensation and warm drinks. We even hand-washed the cups with the clings on them and they still stayed in place, so you could easily reuse cups throughout a party if you needed to.
$10
cling, decals, decorated, diy, easy, entertaining, glasses, glassware, halloween, party ideas, pumpkin, window