
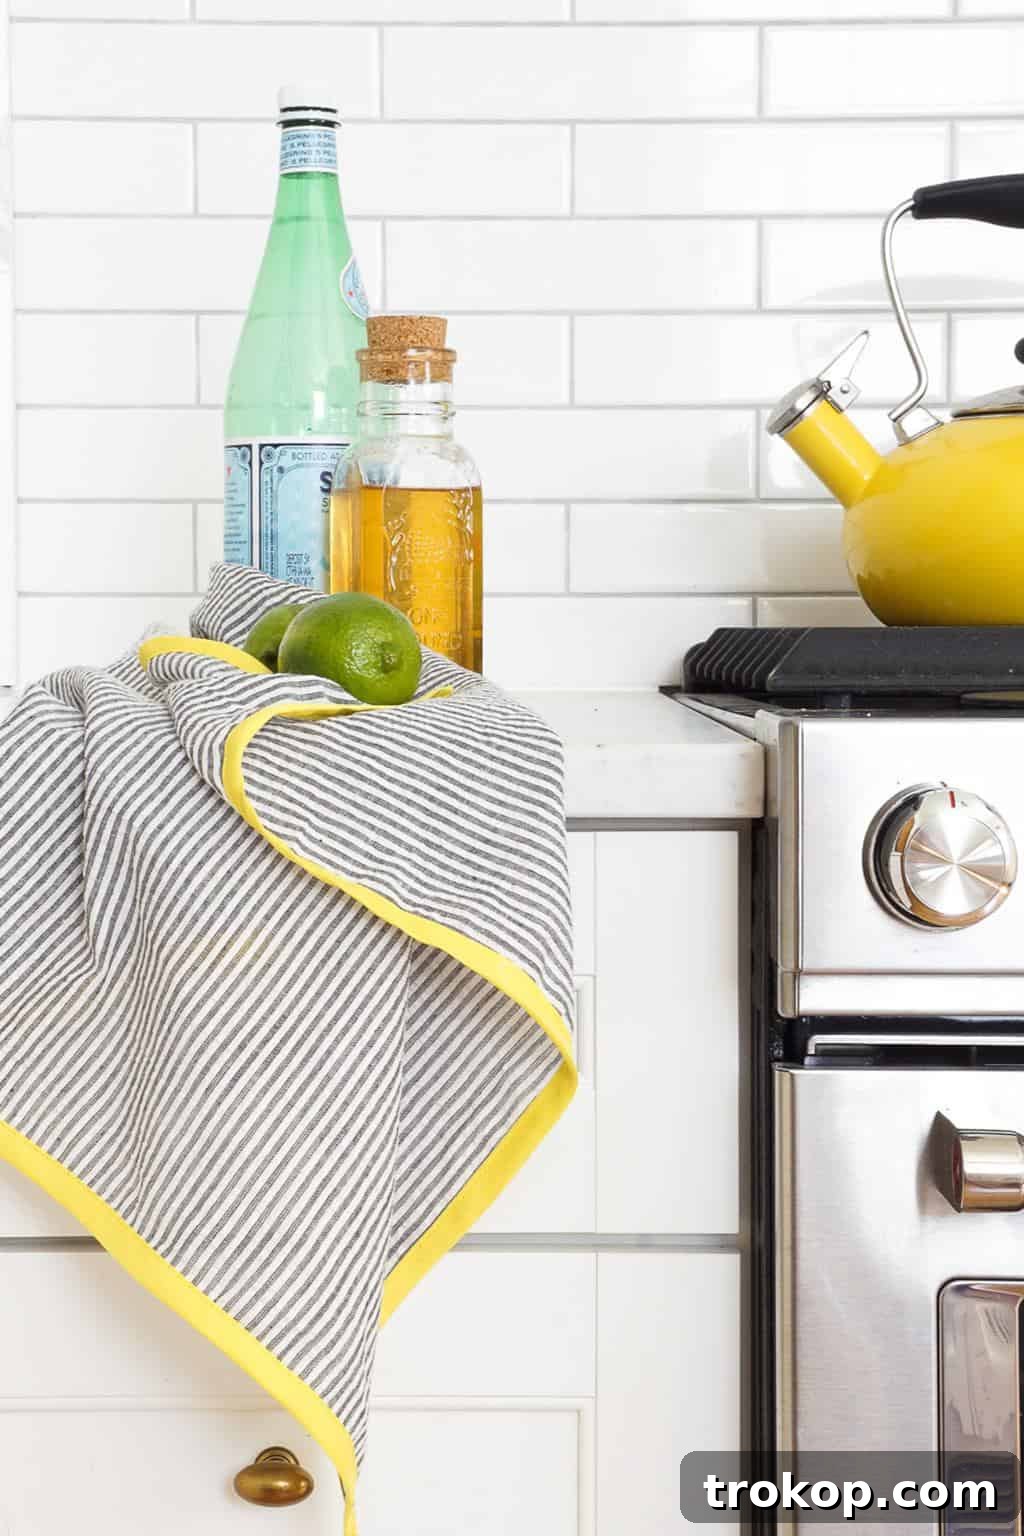
Transform your kitchen into a haven of style and functionality with our comprehensive guide to crafting beautiful **Seersucker DIY Tea Towels**. This tutorial will walk you through creating absorbent, charming, and personalized tea towels that are perfect for drying dishes, wiping hands, or adding a decorative touch to your home. Discover the joy of handmade items and infuse your kitchen with a unique character that off-the-shelf options simply can’t match.
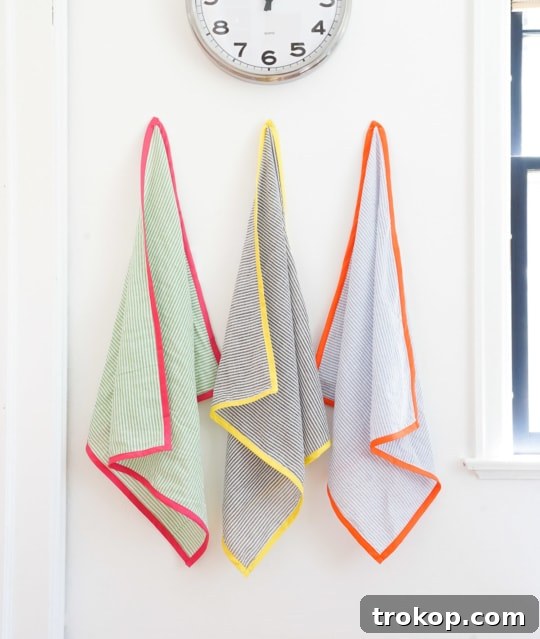
From the daily rituals of baking fresh bread to the inevitable spills and clean-ups, kitchen towels in any busy household face constant use and demand. As a passionate home enthusiast, I, Erin, often find myself needing to replace them to keep my kitchen both hygienic and visually appealing. While store-bought options are convenient, there’s an undeniable satisfaction and charm in crafting your own.
Making your own **DIY tea towels** provides an exceptional opportunity to inject your unique personality into your kitchen decor. It allows for complete customization, from fabric patterns and colors to the specific size and style that best suits your needs. And despite what you might think, sewing projects like these aren’t daunting at all! With just a few simple steps and basic sewing skills, you can whip up a batch of these lovely towels in no time, making them a perfect project for beginners and seasoned crafters alike.
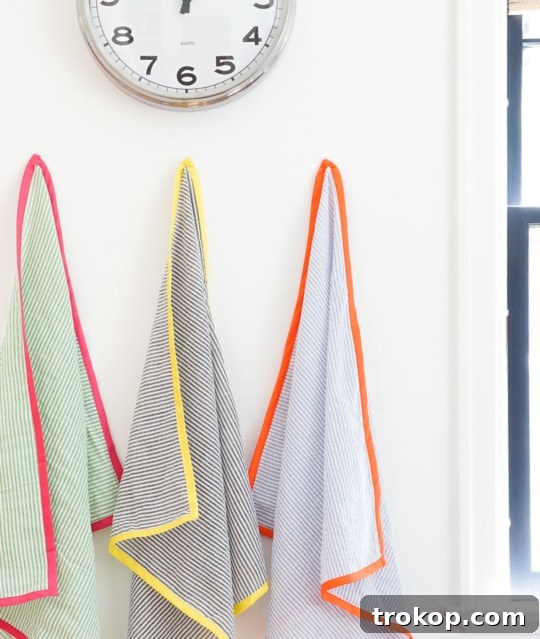
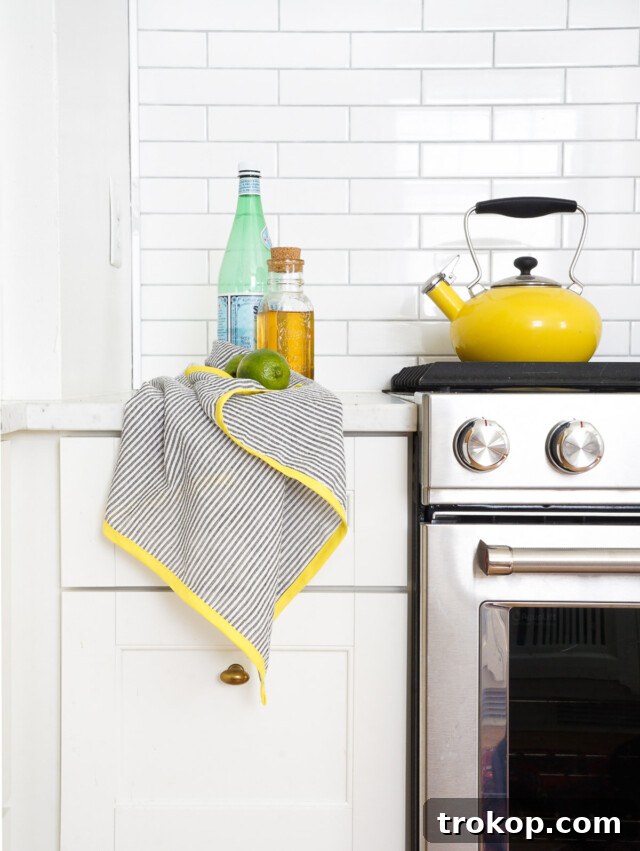
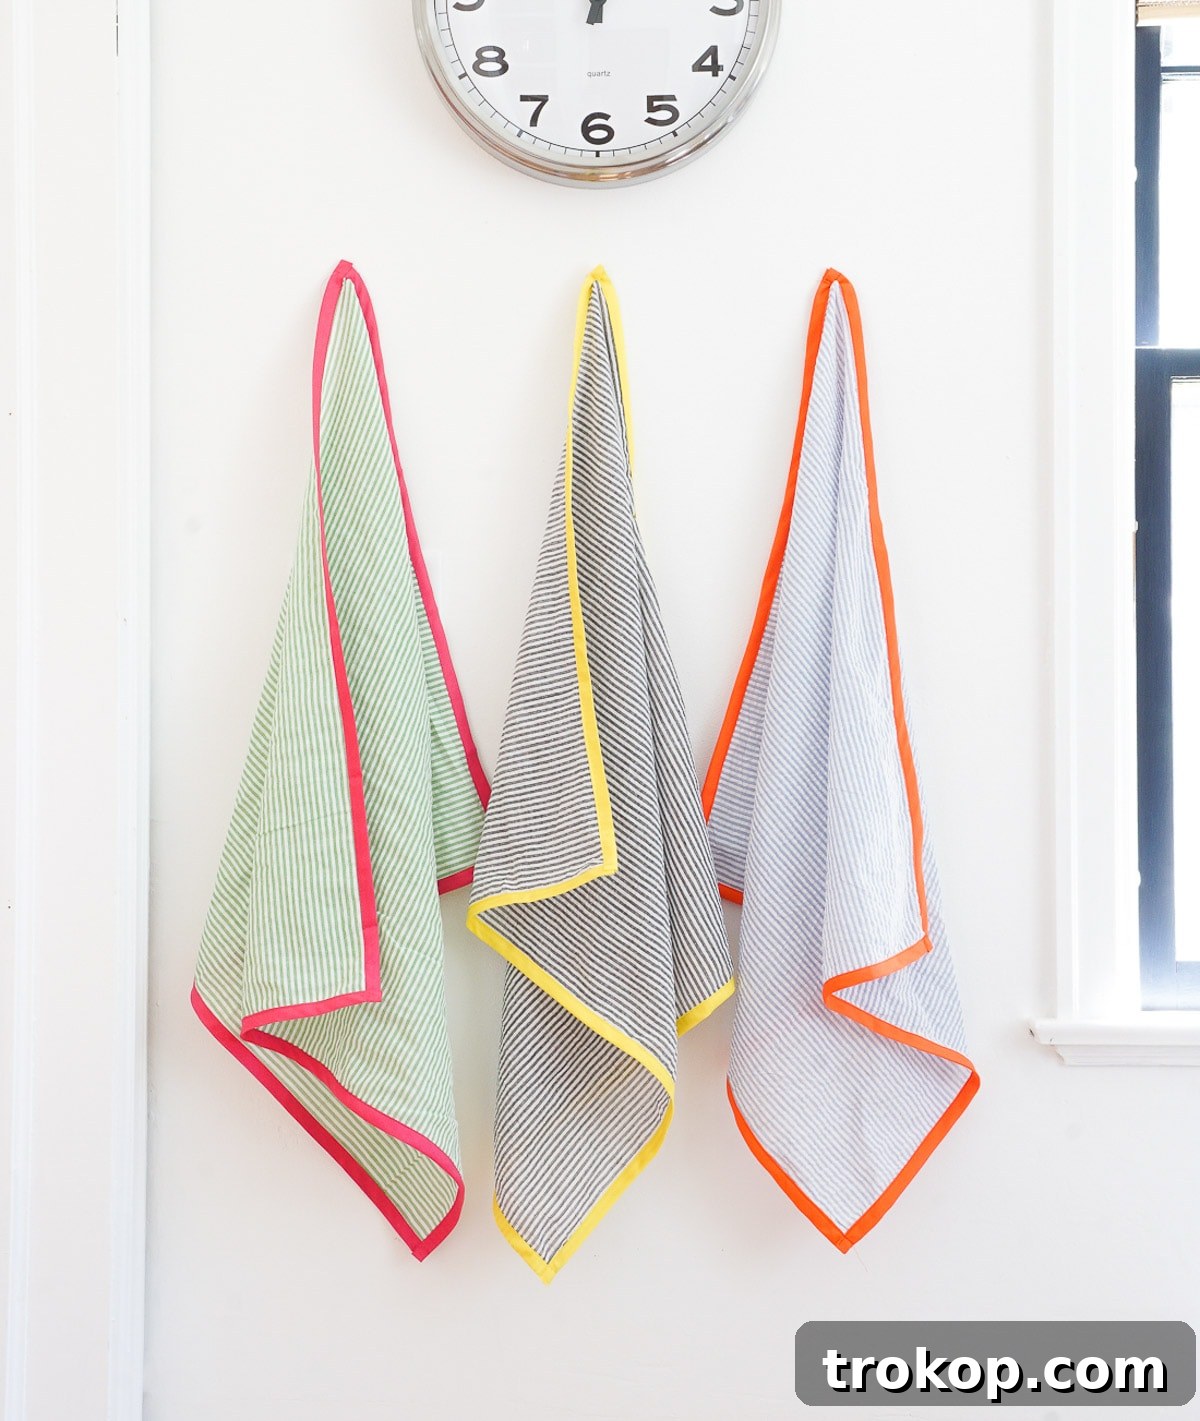
Our featured **Seersucker DIY Tea Towels** are constructed from delightful and highly absorbent cotton seersucker fabric, known for its distinctive puckered texture and durability. The addition of pre-made bias binding not only simplifies the hemming process but also allows you to introduce vibrant pops of color, transforming plain fabric into a cheerful and functional set of **kitchen towels** that will brighten any culinary space.
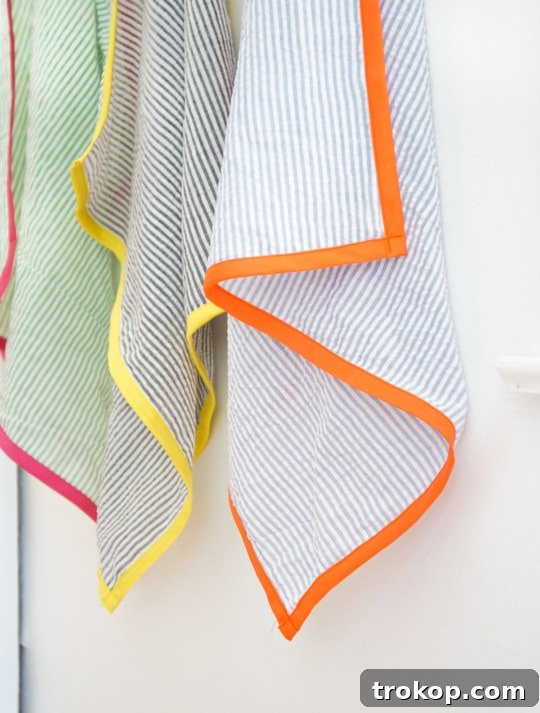
Table of Contents
What are Tea Towels?
A **tea towel**, also commonly known as a dishtowel in some regions, is a versatile and indispensable piece of cloth primarily utilized in the kitchen. Historically, these towels were used by tea maids in 18th-century England to dry expensive china and tea sets, hence their elegant name. They were often made from fine linen and embroidered, showcasing not just utility but also a touch of refinement in the tea service ritual.
Today, while still maintaining their original function of drying delicate items, tea towels have evolved into a multi-purpose workhorse for the modern kitchen. They are typically crafted from highly absorbent natural fabrics like cotton or linen, designed to be lint-free to ensure a spotless finish on glassware and cutlery. Measuring approximately 18″x28″, their ideal size makes them easy to handle and store.
Beyond drying dishes, **kitchen tea towels** serve a myriad of functions: they are perfect for wiping down countertops and tables, soaking up accidental spills, and drying hands. Their aesthetic appeal also makes them popular for covering rising bread dough, lining baskets for baked goods, or even as charming decorative accents draped over an oven handle. Essential for any home cook, tea towels seamlessly blend functionality with style, adding warmth and personality to the heart of your home.
What’s the Difference Between a Tea Towel and a Dish Towel?
While often used interchangeably, there are subtle yet significant differences between a **tea towel** and a **dish towel** that cater to specific kitchen tasks. Understanding these distinctions can help you choose the right towel for the job and appreciate their unique qualities.
Primarily, **tea towels** are renowned for their superior absorbency and a remarkable ability to be lint-free. This characteristic is crucial when drying dishes, especially glassware and polished cutlery, as it prevents unsightly streaks and tiny fabric fibers from being left behind. They are typically made from tightly woven cotton or linen, which contributes to their smooth texture and quick-drying properties. Their fine weave often allows for more intricate patterns and designs, making them a popular choice for decorative purposes.
In contrast, **dish towels** (or sometimes called utility towels) tend to be made from a coarser, thicker material, often cotton terry cloth. They are designed for more heavy-duty tasks, such as wiping down counters, scrubbing spills, and handling general kitchen messes. While absorbent, they may not offer the same lint-free finish as tea towels and are less likely to be chosen for drying clean dishes. Their robust nature makes them ideal for tasks where durability and bulk absorbency are prioritized over a pristine finish. In essence, while both are invaluable kitchen textiles, tea towels excel at delicate drying and presentation, while dish towels are built for rigorous cleaning.
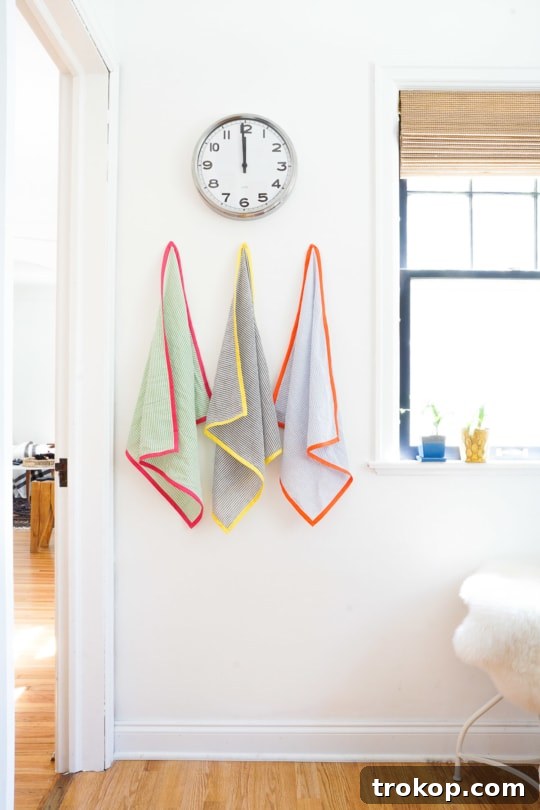
Gathering Your Essentials: Materials and Tools
Before you embark on your creative journey to make these charming **homemade tea towels**, ensure you have all the necessary materials and tools at hand. Choosing quality supplies will make the sewing process smoother and result in durable, beautiful towels you’ll love for years.
- Seersucker fabric: We recommend absorbent cotton seersucker for its unique texture and excellent drying properties, but feel free to select any other cotton-based fabric with patterns or colors that align with your personal aesthetic. Opt for a medium-weight cotton that is pre-washed to prevent shrinkage after your towels are made.
- Extra wide double fold bias tape: This pre-folded tape is a game-changer for neatly finishing raw fabric edges without a lot of fuss. Choose a color that either harmonizes with your fabric or, for a bolder statement, one that provides a striking contrast. The “extra wide” and “double fold” features simplify the hemming process significantly for beginners.
- Thread that matches the bias tape color: For a professional and cohesive look, selecting a thread that closely matches your bias tape is essential. This helps the stitching blend in seamlessly with the binding.
- Pins: Essential for holding your fabric and bias tape in place before and during sewing, preventing shifting and ensuring accurate seams.
- Sharp fabric scissors: A good pair of fabric scissors is crucial for clean, precise cuts, which are the foundation of any well-made sewing project. Avoid using them for paper or other materials to keep them sharp.
- Sewing machine: Any standard sewing machine capable of a straight stitch will work perfectly for this project. Ensure it’s in good working order and you have bobbins pre-wound with your chosen thread.
Step-by-Step Guide: How to Sew Your Own Seersucker Tea Towels
Ready to get started? Follow these simple instructions to create your own beautiful and functional **seersucker tea towels**. Even if you’re new to sewing, these steps are easy to follow and designed for success.
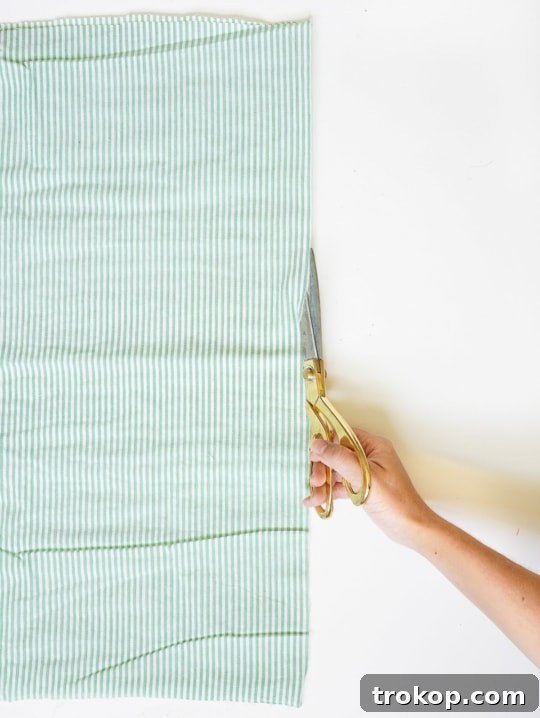
- Prepare Your Fabric: Begin by cutting your chosen seersucker fabric into the desired tea towel sizes. For a standard tea towel, a common dimension is around 18″x28″. In this tutorial, we cut two pieces measuring 22″x24″, which creates a generously sized towel. Remember, you can always adjust these dimensions based on your personal preference or the specific use you have in mind for your towels. Use your sharp fabric scissors for a clean edge.
- Create the Initial Hem Folds: To prepare for the bias tape, you’ll first create a neat, narrow hem around all edges of your fabric. Fold and press each edge of the tea towel by approximately 1/4 inch to 1/2 inch inwards. Use a hot iron to create a crisp fold; this pressing step is crucial as it helps the fabric maintain its shape and makes the next step much easier. Repeat this process for all four edges of each fabric piece.
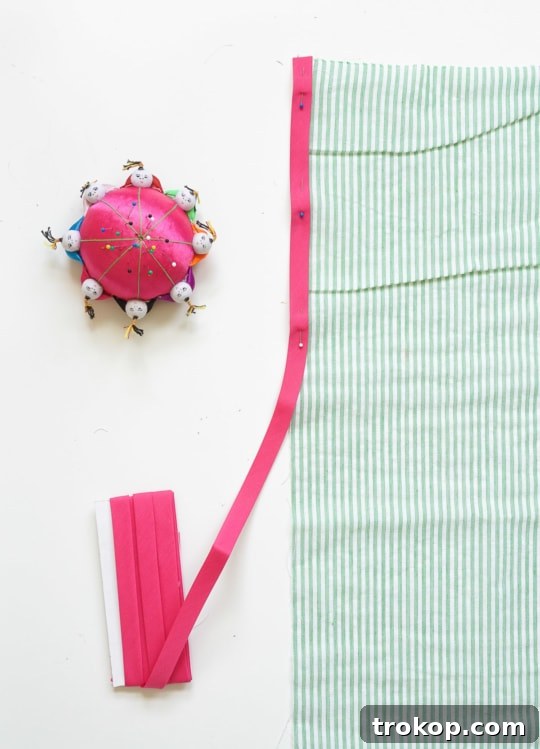
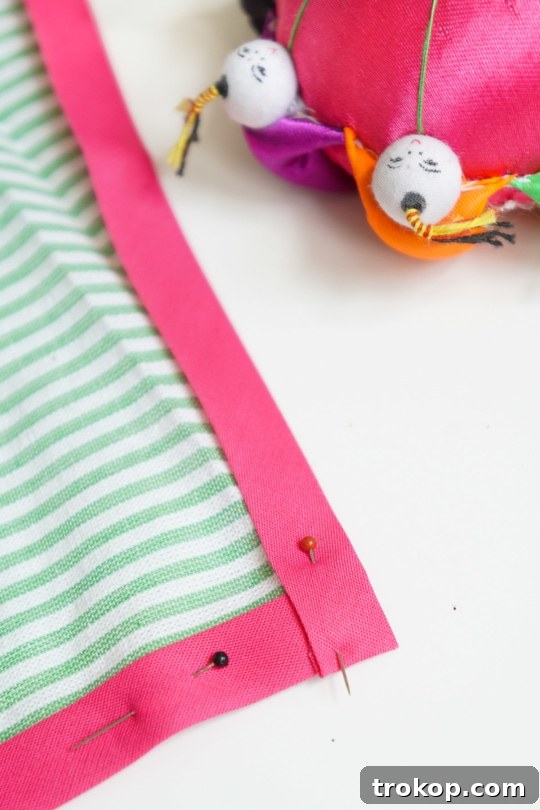
- Pin the Bias Tape: Now, take your extra-wide double-fold bias tape. Open up one side of the bias tape and align its raw edge with the raw edge of your fabric’s folded hem. Sandwich the initial folded edge of your tea towel fabric within the bias tape’s folds. The bias tape should completely cover the raw edge of your fabric, creating a clean finish. Secure the bias tape in place with pins every few inches. Pay special attention to the corners, folding and pinning them neatly to create crisp, mitered corners for a polished look. This step is key for a professional finish.
- Thread Your Sewing Machine: Load your sewing machine with the thread that matches the color of your bias tape. Ensure your bobbin is also wound with the same matching thread. This consistency ensures your stitches blend in beautifully with the bias tape.
- Stitch the Hems: Position your fabric under the sewing machine needle, starting from one corner of your pinned bias tape. Using a straight stitch (a stitch length of approximately 2.8mm is usually ideal for a clean finish), carefully stitch along the folded edge of the bias tape, as close to the inner edge as possible. This secures both the bias tape and the fabric hem in place. Remember to backstitch at the very beginning and end of each seam to reinforce it and prevent the stitches from unraveling over time. Take your time to sew straight and evenly.
- Navigate the Corners: As you approach each corner, gently pivot the fabric and the bias tape. Ensure that your mitered corners remain neat and crisp. A good technique is to stop sewing precisely at the corner, lift the presser foot (keeping the needle in the fabric), turn the fabric 90 degrees, lower the presser foot, and then continue stitching along the next side. This creates a sharp, clean corner. You can further secure the corner by adding a few extra backstitches or hand-tucking any excess bias tape for a flawless appearance.
- Finishing Touches: Once you have stitched around all four edges of your tea towel, carefully remove any remaining pins. Using your sharp scissors, trim any loose or excess threads to give your newly made tea towel a professional and tidy finish. Give your towel a final press with an iron for an even crisper look.
Expert Tips for Flawless Finish and Longevity
To ensure your **DIY tea towels** are not only beautiful but also durable and long-lasting, consider these expert tips and notes:
- Fabric Selection is Key: Always opt for absorbent and durable fabrics like cotton or linen. **Seersucker**, as used in this tutorial, is an excellent choice due to its natural crinkle and quick-drying properties. Before you even cut, pre-wash and dry your chosen fabric. This crucial step helps prevent future shrinkage and ensures your tea towels maintain their shape and size even after multiple washes.
- The Power of Pressing: A well-pressed seam can make all the difference in the finished look of your project. Pressing the fabric before you begin cutting helps ensure even cuts. Pressing the folds for the hems and bias tape before sewing locks them into place, making stitching much easier and resulting in crisp, professional-looking edges. Use a hot iron with steam for best results, especially with natural fibers.
- Consistent Seam Allowance: Maintaining a consistent seam allowance, particularly when hemming the edges and attaching the bias tape, is vital for uniformity. This attention to detail contributes significantly to a neat, professional finish and ensures all your tea towels look cohesive if you’re making a set.
- Needle and Thread Match: Use the correct needle size for your fabric (a universal needle size 70/10 or 80/12 typically works well for cotton) and a good quality polyester all-purpose thread. The right needle will prevent skipped stitches and fabric damage, while quality thread will resist breakage and endure frequent washing.
- Optional: Add Decorative Touches: This is where your creativity can truly shine! Personalize your **homemade kitchen towels** by adding decorative elements. Consider simple embroidery stitches, a stenciled design with fabric paint, or even a small fabric appliqué. These unique touches can transform a functional item into a cherished piece of kitchen art or a thoughtful, personalized gift.
- Proper Washing and Care: Before the first use, wash your newly sewn tea towels. This removes any sizing or residue from the fabric and thread, enhancing absorbency. Moving forward, follow the care instructions specific to your chosen fabric. Generally, machine wash with like colors on a warm cycle and tumble dry on low to medium heat. Avoid using fabric softener, as it can reduce the absorbency of cotton fibers over time.
Elevate Your Home with More Easy DIY Projects
Wasn’t that a surprisingly easy and rewarding project? Crafting a set of these **custom tea towels** for your own home is a fantastic way to refresh your kitchen. They also make truly thoughtful and practical housewarming gifts for friends and family who’ve just moved or simply appreciate handmade treasures. Trust us, everyone will adore them!
If you’re now feeling inspired to tackle more home decor projects, we have plenty of other easy-to-follow tutorials that will help you add personal touches throughout your living space. Explore some of our favorite DIY ideas below and continue your creative journey:
- DIY Serving Tray with Bowl Rest: Perfect for entertaining or simply adding elegance to your coffee table.
- Homemade Candles with Essential Oils: Create custom scents that fill your home with warmth and tranquility.
- DIY Reed Diffuser: An effortless way to keep your rooms smelling fresh and inviting.
- 22 DIY Vanity Ideas for Your Home: Transform your dressing area into a stylish and functional haven.
DIY Tea Towels
1 hr
1 hr
How-To
Kitchen
Equipment
-
Sewing machine
-
Scissors
-
Sewing pins
Materials
- 1 yd fabric 24″ wide (e.g., Seersucker)
- 6 yd bias tape extra wide & double fold
- Thread to match bias tape
Instructions
-
Cut the seersucker fabric into desired tea towel sizes. We cut 2 pieces that were 22″x24″ in size. You can adjust according to your preference.
-
Hem the edges: Fold and press the edges of each tea towel by 1/4-1/2 inch to create a neat hem. You can iron the folds to help them stay in place. Repeat this step for all four edges of the fabric.
-
Pin the hems: Once the edges are folded and pressed, pin them in place with bias tape along the edges to secure the hems before sewing. Sandwich the raw edges within the fold of the bias tape. Ensure the bias tape fully covers the raw edges. Make sure the corners are neatly folded and pinned to create crisp edges.
-
Thread your sewing machine with coordinating thread.
-
Sew the hems: Starting from one corner, stitch along the folded edge of the hem/bias tape using a straight stitch (2.8″ stitch length). Sew as close to the edge as possible to secure the hems in place. Backstitch at the beginning and end of each seam to prevent unraveling.
-
When you reach the corner, pivot the fabric and bias tape, ensuring neat mitered corners. You can fold and tuck the bias tape to create a clean corner.
-
Trim any excess threads: Once all edges are sewn, trim any loose threads with scissors to give your tea towels a clean finish.

DIY Ikea Play Kitchen Hacks to Make it One-of-a-Kind
Take your child’s pretend play to the next level with…
Continue ReadingDIY Ikea Play Kitchen Hacks to Make it One-of-a-Kind
19 Wet Bar Ideas for a Stylish & Functional Home Design
From sleek and modern to cozy and classic, discover the…
Continue Reading19 Wet Bar Ideas for a Stylish & Functional Home Design
Best Amazon Kitchen Gadgets You Didn’t Know You Needed
Upgrade your kitchen and explore the best Amazon kitchen gadgets.…
Continue ReadingBest Amazon Kitchen Gadgets You Didn’t Know You Needed
17 DIY Cake Toppers that Will Steal the Show at Your Next Celebration
Take your cake decorating skills to the next level with…
Continue Reading17 DIY Cake Toppers that Will Steal the Show at Your Next Celebration