
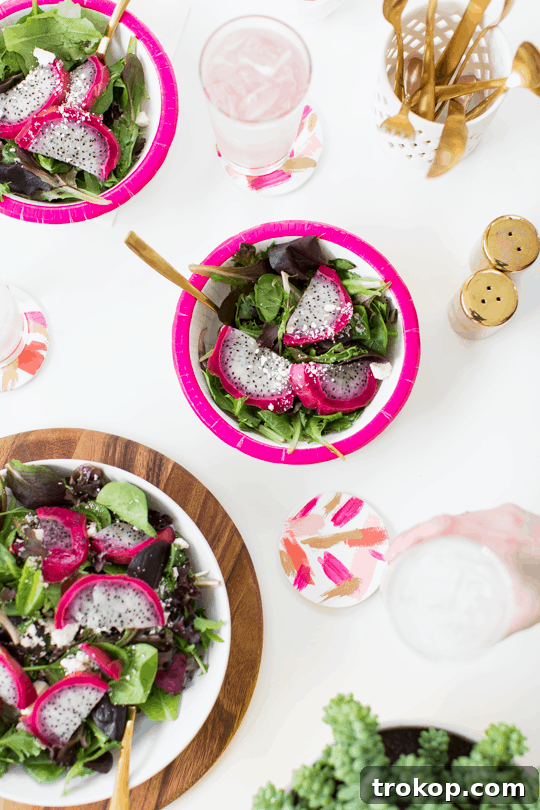
Transform your entertaining experience with handmade charm and effortless style! This comprehensive guide will show you how to craft beautiful, custom air dry clay coasters that add a personal touch to any table setting. Beyond crafting, we’ll unveil sophisticated tips for hosting with paper plates, proving that convenience doesn’t have to compromise elegance. Get ready to elevate your gatherings with bespoke decor and smart, stress-free styling solutions that impress without the fuss.
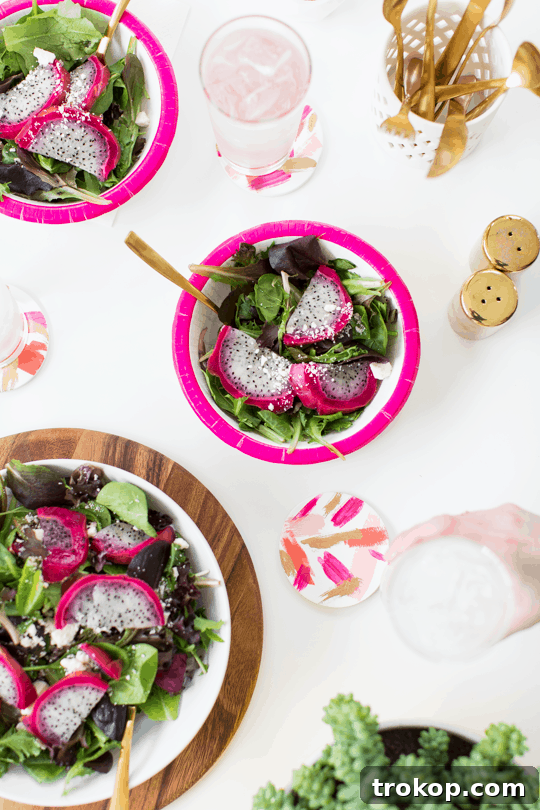
In the world of entertaining, it’s often the small, thoughtful details that leave the biggest impression. Whether you’re orchestrating a laid-back brunch for friends or a more formal dinner party, infusing your table with a unique, personal touch can dramatically enhance the atmosphere and guest experience. The beauty lies in creativity and accessibility, turning everyday items into conversation starters and functional art.
One of the most engaging and rewarding ways to inject this personal flair is by crafting your very own DIY Air Dry Clay Coasters. This isn’t just another craft project; it’s an opportunity to design bespoke pieces that perfectly complement your home decor while providing essential protection for your surfaces. Air dry clay offers incredible versatility, allowing for a wide array of shapes, textures, and artistic expressions, making each coaster a miniature masterpiece.
But let’s be honest: not every social gathering warrants the meticulous effort of fine china and extensive cleanup. Sometimes, paper plates are the pragmatic, go-to solution for ease and convenience. The exciting news is that opting for disposable tableware doesn’t mean sacrificing style or elegance. With a few ingenious styling techniques, you can transform ordinary paper plates into an effortlessly chic presentation. From clever layering and strategic accessorizing to infusing vibrant pops of color, we’re here to share all the secrets to hosting a memorable event with sophisticated disposable ware—free from the usual post-party cleanup stress.
So, gather your crafting supplies, prepare your workspace, and let’s embark on a journey to make hosting not just easy and fun, but truly fabulous!
Materials and Tools Needed for Your DIY Coasters
Embarking on your air dry clay coaster project is incredibly simple, requiring just a few basic materials and tools that are readily available at most craft stores. Gathering everything before you begin will ensure a smooth and enjoyable crafting experience.
- Air Dry Clay: The star of our project! Choose a high-quality, non-toxic air dry clay that is easy to work with and dries hard. White or natural clay varieties offer a versatile base for any color scheme.
- Rolling Pin: Essential for achieving an even thickness, which is crucial for uniform coasters that won’t warp as they dry. A standard kitchen rolling pin or even a smooth, cylindrical bottle will work perfectly.
- Round Biscuit Cutter (or a Glass): To create perfectly circular coasters. A 3-4 inch diameter cutter is ideal. If you don’t have one, the rim of a drinking glass can serve as a simple, effective alternative for cutting circular shapes.
- Acrylic Paint Colors of Your Choice: This is where your creativity shines! Select acrylic paints that match your home decor or party theme. Acrylics dry quickly and offer vibrant, lasting color. Don’t forget specialty paints like liquid gold leaf for an extra touch of glamour.
- Paint Brushes: A variety of sizes will allow for different decorative effects, from broad base coats to fine brushstrokes and intricate details.
- Matte Mod Podge (or any other sealer): Crucial for protecting your painted designs and making your coasters water-resistant. A matte finish will preserve the natural look, but a glossy sealer can also add a polished sheen.
With these simple items in hand, you’re ready to dive into the rewarding process of crafting your own personalized coasters!
Step-by-Step Guide: Crafting Your Own Air Dry Clay Coasters
Creating your custom air dry clay coasters is a straightforward process that’s perfect for crafters of all skill levels. Follow these simple steps to bring your unique coaster designs to life:
Step 1: Prepare and Roll the Clay
Begin by taking a sizable chunk of air dry clay. On a clean, smooth, and non-stick surface (a silicone mat or a piece of parchment paper works wonderfully), start rolling out the clay using your rolling pin. The key here is to achieve a consistent, even thickness throughout, ideally about ¼-inch thick. This uniformity is vital; it ensures that your coasters dry flat and prevents them from warping, cracking, or becoming uneven once hardened. Take your time to roll it out smoothly, working out any air bubbles or imperfections.
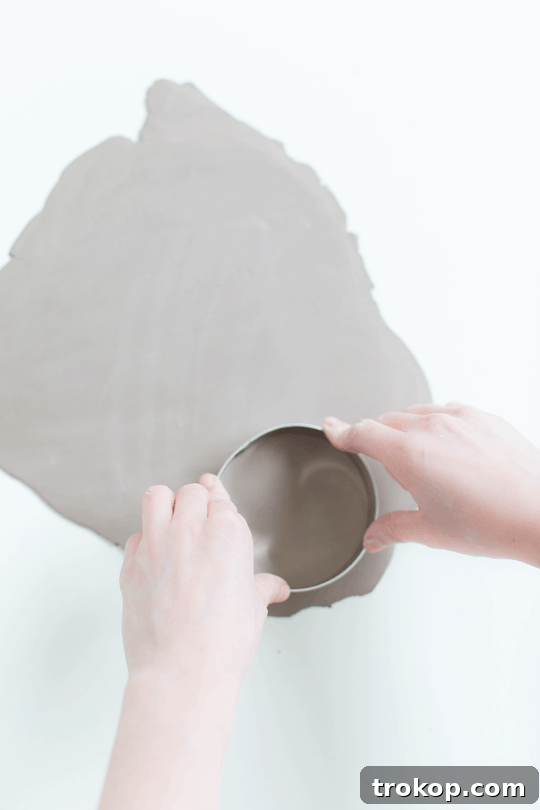
Step 2: Cut Out Your Coaster Shapes
Once your clay is rolled to the desired thickness, take your biscuit cutter (or the rim of a glass) and firmly press it into the clay to cut out perfect circles. For a cohesive set, try to make all your coasters the same size. After cutting, gently remove the excess clay from around the edges of your newly formed coasters. You can re-roll and reuse this excess clay for more coasters or other small projects. Smooth any rough edges with a damp finger for a professional finish.
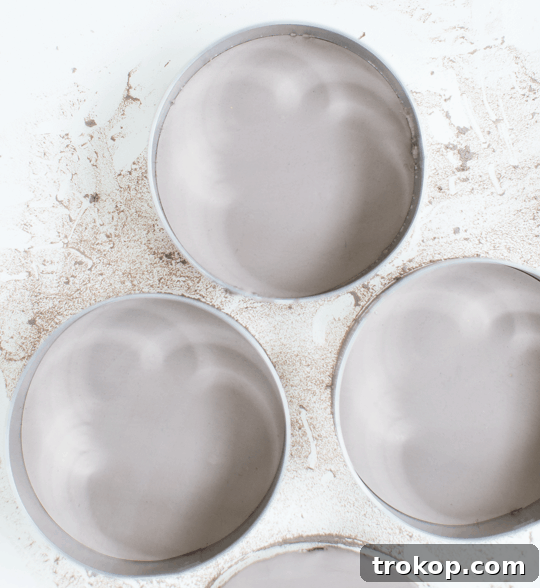
Step 3: Allow for Complete Drying
This is a crucial step that requires patience. Arrange your newly cut coasters on a flat, non-stick surface, ensuring they have good air circulation on all sides. Allow them to air dry completely for approximately 24-48 hours, depending on the thickness of your clay and the humidity in your environment. To prevent warping and ensure even drying, remember to flip your coasters over occasionally during this period. Avoid placing them in direct sunlight or using artificial heat sources, as this can lead to cracking.
Step 4: Decorate with Paint
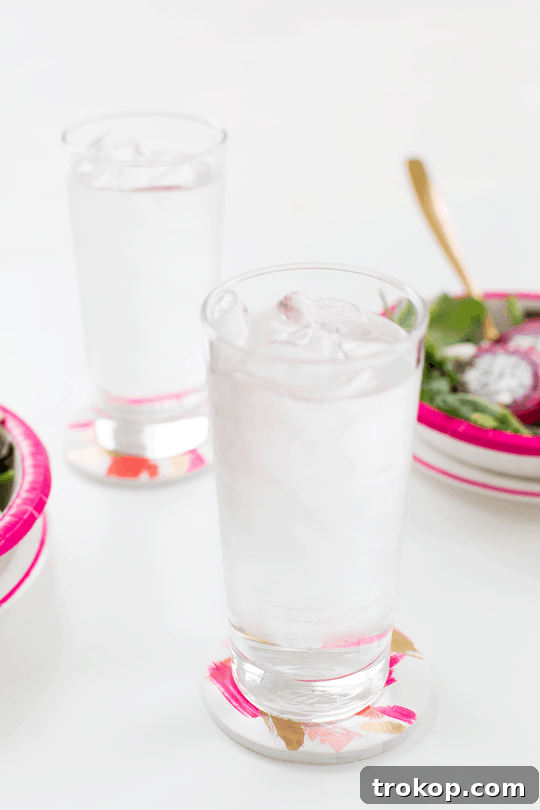
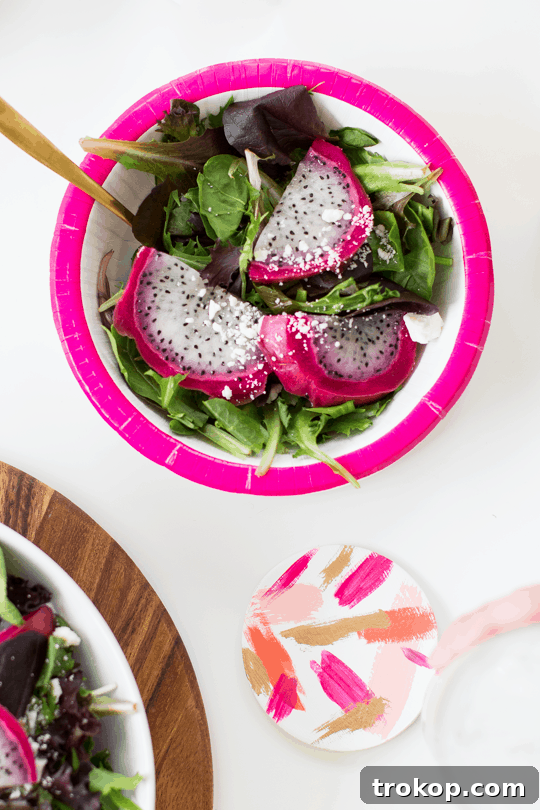
Once your coasters are thoroughly dry and hard to the touch, it’s time for the fun part: decorating! Using craft paint in your chosen colors, unleash your artistic vision. We started with a crisp white base coat to ensure our colors popped, then mixed various shades of pink to create a harmonious look that complemented our envisioned table setting. For a captivating brushstroke effect, lightly load your paintbrush with paint and use quick, confident, almost dry strokes across the surface. This technique creates a modern, artistic, and effortlessly chic appearance. You can experiment with abstract patterns, geometric designs, or even freehand illustrations. If you love the brushstroke design, you might also enjoy our free DIY gold foil wall art printable which uses a similar aesthetic.
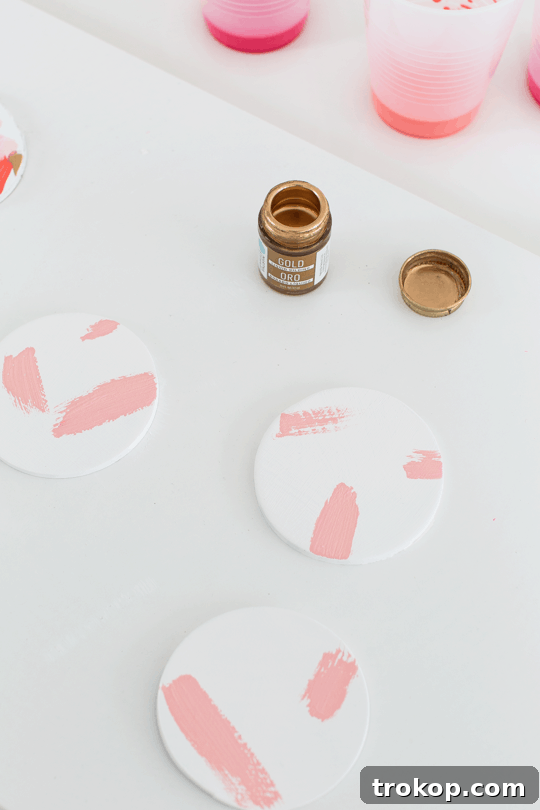
Step 5: Seal for Protection and Longevity
After your paint is completely dry to the touch (allow several hours, or even overnight, for best results), it’s time to seal your masterpieces. Apply a clear coat of Mod Podge or your preferred sealant to the tops and edges of each coaster. This protective layer is essential for several reasons: it safeguards your painted design from scratches, makes the coasters water-resistant, and protects them from general wear and tear from condensation or spills. Apply in thin, even coats, allowing each coat to dry fully before applying the next. For maximum durability, two to three coats are recommended.
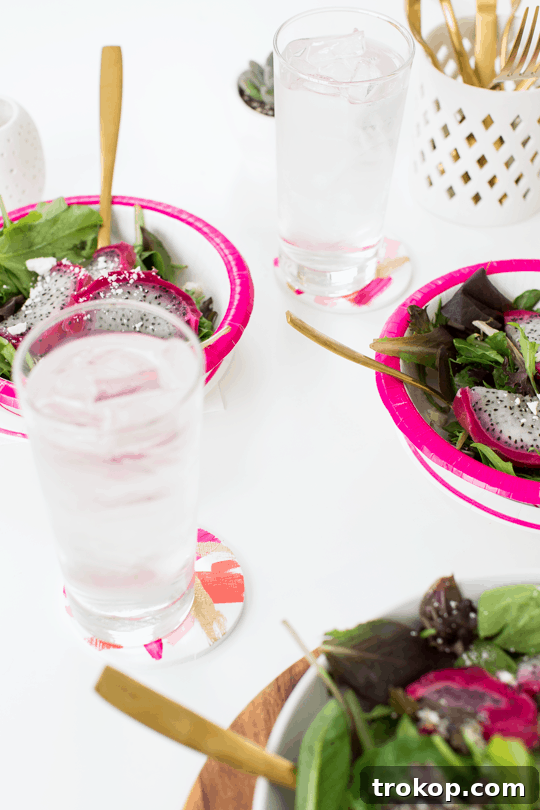
Congratulations! You’ve successfully created a set of beautiful, custom air dry clay coasters. These functional pieces of art are now ready to adorn your home or be gifted to loved ones, adding a touch of personalized elegance to any occasion.
Expert Tips and Tricks for Clay Coaster Creation
Mastering air dry clay can be a delightful journey. Here are some invaluable tips and tricks to ensure your coaster-making process is smooth, successful, and leads to professional-looking results:
- Use Cornstarch to Prevent Sticking: Air dry clay can sometimes be a bit sticky, adhering to your rolling pin or work surface. A light dusting of cornstarch on your work area and rolling pin acts as a non-stick agent, ensuring your clay rolls out smoothly without tearing or leaving residue.
- Even Thickness is Key for Durability: As mentioned in the tutorial, rolling your clay to a consistent ¼-inch thickness is paramount. This not only ensures your coasters dry evenly but also provides sufficient structural integrity, preventing them from warping, cracking, or becoming fragile over time. Consistency is key for a lasting product.
- Experiment with Shapes Beyond Circles: While circles are classic, don’t limit your creativity! Explore cutting your coasters into hexagons, squares, hearts, or even organic freeform shapes. Geometric designs offer a modern, contemporary look, while freeform shapes can add an artistic, sculptural element to your decor.
- Get Creative with Textures: Before the clay dries, it’s impressionable! Use everyday items to press in unique patterns and textures. Lace doilies, natural leaves, bubble wrap, rubber stamps, or even textured fabric can create intricate designs, adding another layer of visual interest to your coasters.
- Speed Up Drying (But with Caution!): While you might be eager to finish, always let your coasters air dry naturally at room temperature to prevent cracking. Avoid placing them in direct sunlight, near heaters, or using a hairdryer, as rapid or uneven drying can cause the clay to crack and compromise its strength. Patience is a virtue in air dry clay crafting!
- For Crisp Edges, Use Water: If the edges of your cut coasters appear rough or uneven, don’t worry! Simply dip your finger in a little water and gently smooth out the edges before the clay fully dries. This simple technique creates a clean, polished finish, elevating the overall look of your coasters.
- Mix and Match Colors for Unique Effects: Beyond painting, consider mixing different clay colors together before rolling it out. Kneading two or more colors just enough to create swirls (but not fully blending) results in a beautiful marbled effect, offering a chic, high-end look without needing to paint.
- Seal for Longevity: If your coasters are intended for use with beverages, applying a waterproof sealer is non-negotiable. This protective layer shields the clay and your painted design from moisture and stains, making them truly functional and durable for everyday use. Ensure your chosen sealer is appropriate for clay and suitable for contact with condensation.
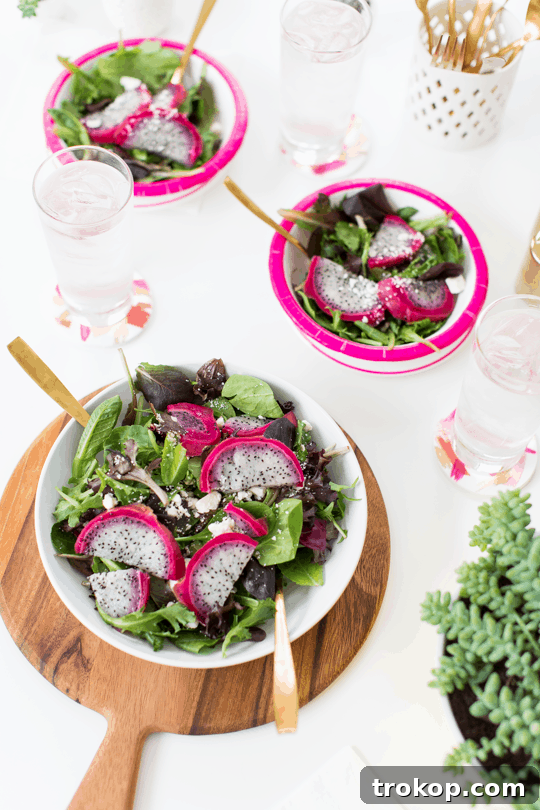
Elevate Your Table: Styling Tips with Paperware
Gone are the days when paper plates were exclusively relegated to backyard barbecues and children’s parties. With a touch of creativity and smart styling, disposable paperware can be transformed into an unexpectedly chic element of your table setting. The secret lies in treating them not as a compromise, but as a blank canvas for effortless elegance.
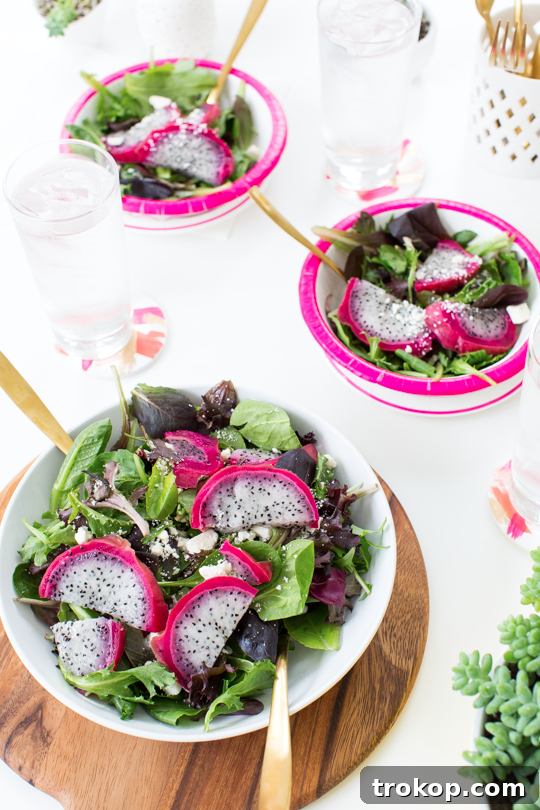
One of the easiest and most impactful paper plate styling tricks is layering different shapes and sizes. Imagine a large, solid-colored plate serving as a charger, topped with a smaller, patterned plate for the main course, and perhaps an even smaller, contrasting bowl for salads or desserts. This technique not only adds captivating visual interest and depth to your table but also significantly enhances the sturdiness of the disposable plates, making them feel more substantial and less prone to bending.
Here at Sugar & Cloth, we proudly consider ourselves paper plate aficionados. Over the past two decades, we’ve dedicated ourselves to perfecting the art of stylish disposables, transforming humble paperware into focal points of festive and elegant gatherings.
Our biggest revelation and most effective strategy for elevating paper plates is surprisingly simple: mix them with a few statement serveware pieces. This high-low approach creates a sophisticated balance. Our tried-and-true method involves using attractive paper plates for the main meal where convenience is paramount. For sides, appetizers, or desserts, we bring out our cherished real dishes – perhaps a beautiful ceramic platter, glass bowls, or a set of proper flatware. This way, you minimize cleanup while still presenting a refined table. Items that can be quickly rinsed or easily tossed into the dishwasher are perfect companions for your chic paper plates, allowing you to enjoy the company of your guests without dreading the after-party chores.
Beyond layering, consider these additional tips:
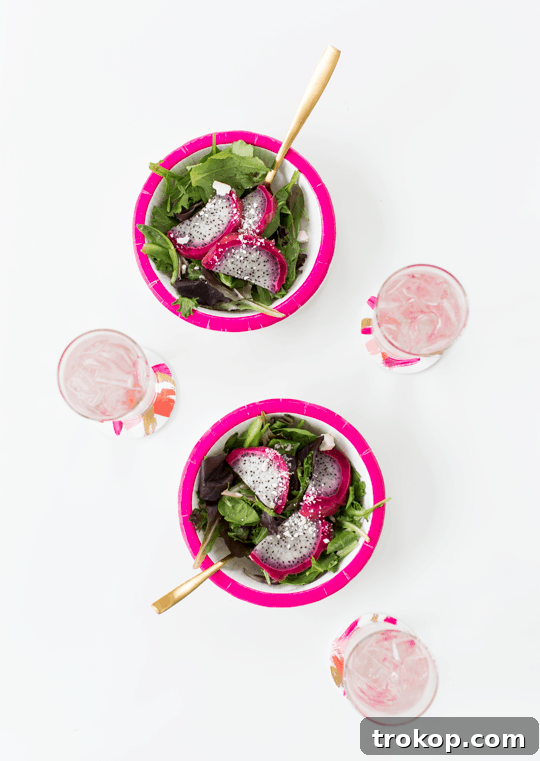
- Accessorize Thoughtfully: Pair your paper plates with linen-look disposable napkins or real cloth napkins for a touch of luxury. Add elegant flatware (even if it’s high-quality plastic or bamboo), and use real glassware for drinks. These small details can make a huge difference.
- Choose Sophisticated Designs: Move beyond plain white. Many brands offer paper plates with elegant patterns, metallic accents, or rich, solid colors that mimic ceramicware. Opt for designs that align with your party theme or home aesthetic.
- Incorporate Natural Elements: Small floral arrangements, leafy green sprigs, or even seasonal fruits placed directly on the table or as part of a centerpiece can ground your disposable settings and add organic beauty.
- Utilize Place Cards: Handwritten place cards add a personalized and thoughtful touch, instantly elevating the perceived formality of the table, regardless of the plates used.
- Consider a Tablecloth or Runner: A beautiful tablecloth or a stylish runner provides a rich backdrop for your paper plates, making the entire setup feel more complete and considered.
- Candlelight and Ambiance: Never underestimate the power of lighting. Candles (real or LED), string lights, or thoughtfully placed lanterns can create a warm, inviting atmosphere that enhances even the simplest table setting.
By implementing these strategies, you can host a beautiful, memorable event that looks effortlessly elegant, all while enjoying the unparalleled convenience of easy cleanup. It’s a win-win for both the host and the guests!
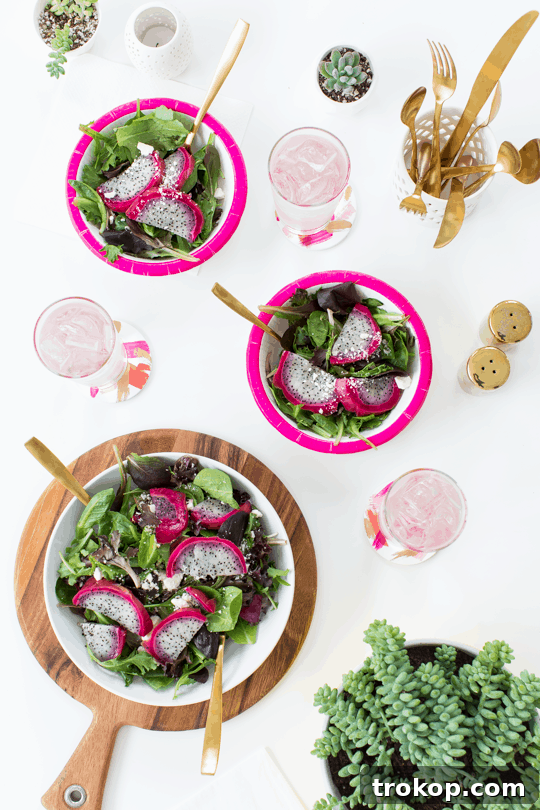
Curated Styling Sources
To help you recreate the elegant look showcased in our table settings and inspire your next gathering, we’ve compiled a list of some of our favorite styling sources. These pieces perfectly blend style and functionality, making your hosting experience both beautiful and effortless.
- Wooden Paddle: A versatile piece for serving appetizers, cheeses, or even as a rustic centerpiece base.
- Cheeky Plates from Target: Discover playful yet stylish paper plates that add character without sacrificing convenience.
- The Seletti Gold Flatware from AllModern: Elevate your table with stunning gold flatware that brings a touch of luxury, perfectly complementing even disposable plates.
Incorporating unique elements like these can truly transform your table, proving that a mix of high-end and practical items creates a truly memorable aesthetic.
Beyond Coasters: More Easy Clay Projects to Try
If you’ve enjoyed crafting these air dry clay coasters, you’ll be delighted to know that the world of clay projects offers endless possibilities for creative expression and home decor. Air dry clay is incredibly versatile, making it perfect for a wide range of DIYs that can add a personalized touch to every corner of your home. Here are some more inspiring and easy clay projects to spark your imagination and keep your hands busy:
- Clay DIY Photo Holder: Craft unique stands to display your cherished memories, adding a sculptural element to your desks or shelves.
- Marbled Clay DIY Incense Holder: Create elegant and functional incense holders with beautiful marbled patterns, perfect for enhancing your home’s ambiance.
- Speckled DIY Clay Keychain Accessory: Fashion stylish keychains with a speckled finish, a fun and practical accessory or a thoughtful handmade gift.
- How to Make Easy Clay Sculptures for Decor: Dive into sculptural art with simple techniques to create unique decorative pieces that reflect your personal style.
Marbled Clay DIY Incense Holder
Learn how to create a beautiful and functional DIY Incense…
Continue ReadingMarbled Clay DIY Incense Holder
30 Air Dry Clay Projects for Adults & Kids
Whether you’re looking for a DIY gift idea or just…
Continue Reading30 Air Dry Clay Projects for Adults & Kids
How to Make Easy Clay Sculptures for Decor
Clay sculptures are currently all the home decor rage, and…
Continue ReadingHow to Make Easy Clay Sculptures for Decor
DIY Minimal Beaded Blanket Holder
Short on storage? Display all those favorite blankets as a…
Continue ReadingDIY Minimal Beaded Blanket Holder