
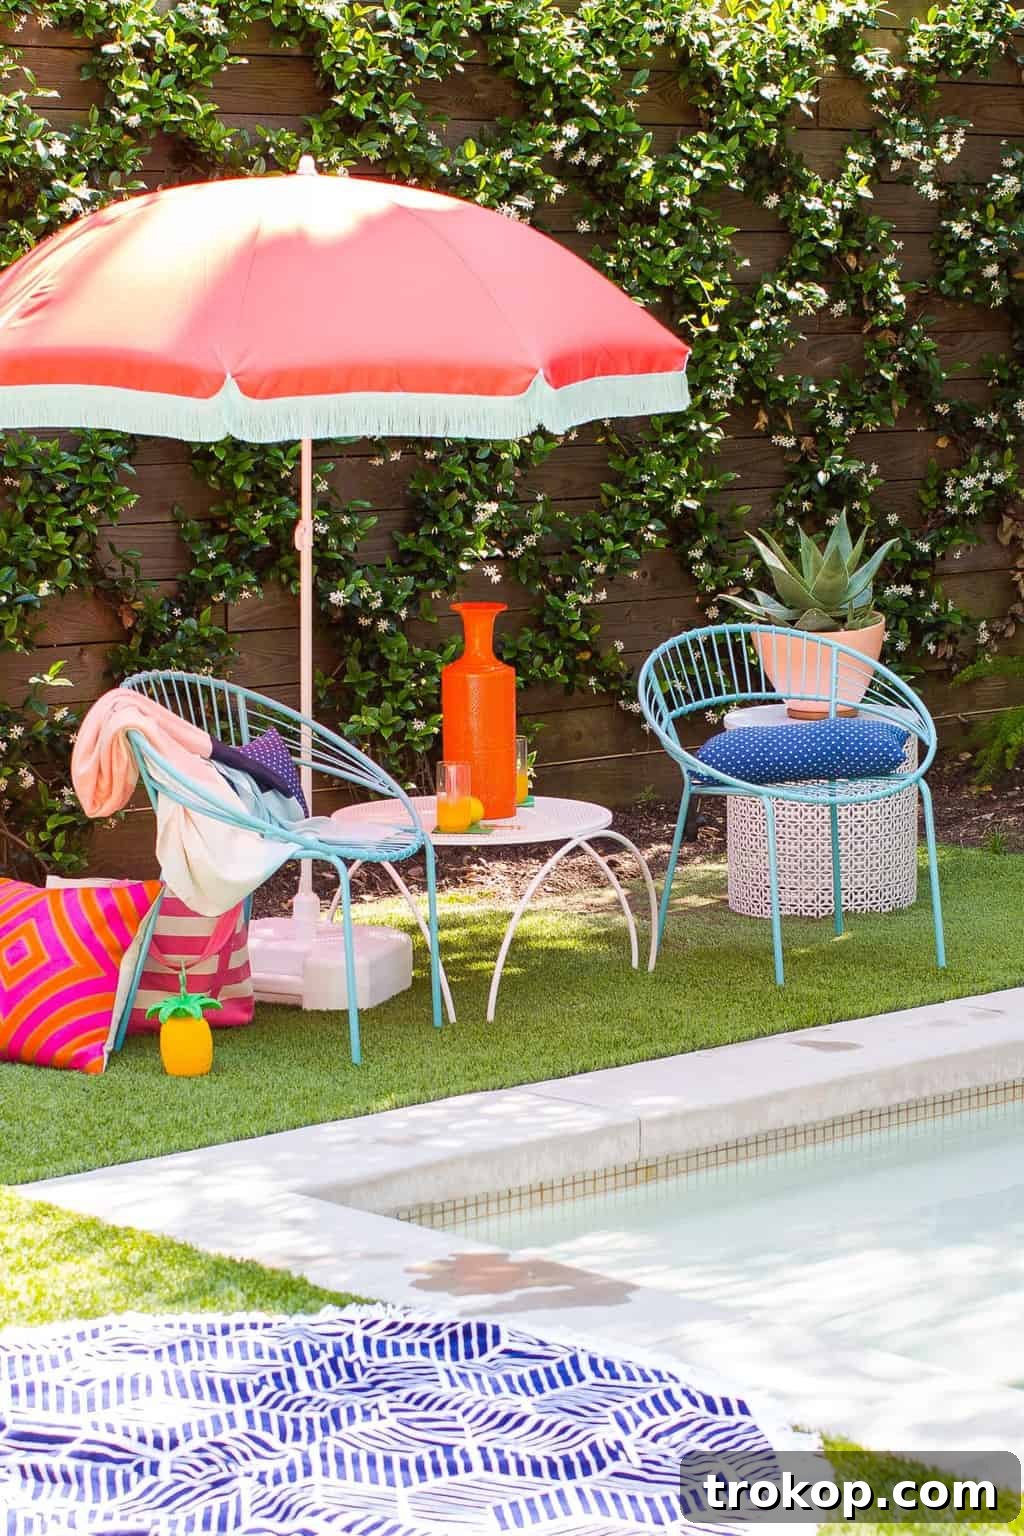
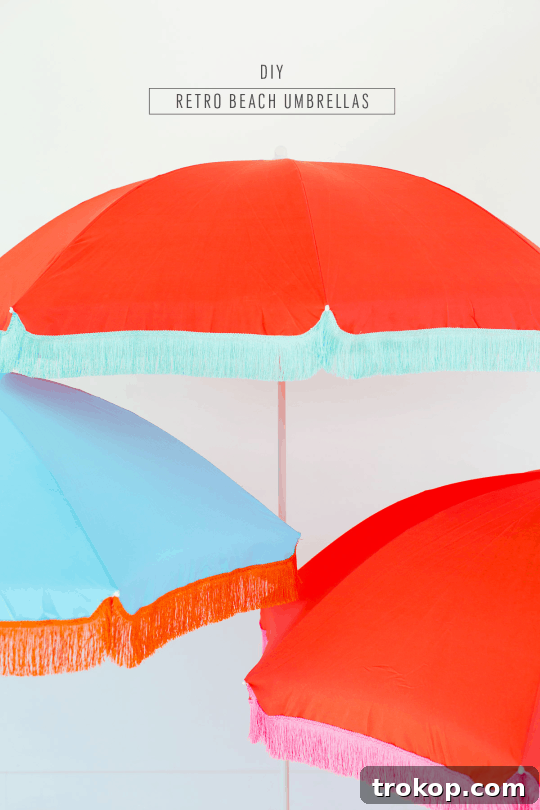
Step back in time and infuse your outdoor sanctuary with a delightful touch of nostalgic charm using our comprehensive DIY Retro Beach Umbrella tutorial. Forget bland, generic shades; this project promises to transform an ordinary sun protector into a vibrant, vintage-inspired masterpiece that will turn heads and transport you to a simpler, more stylish era.
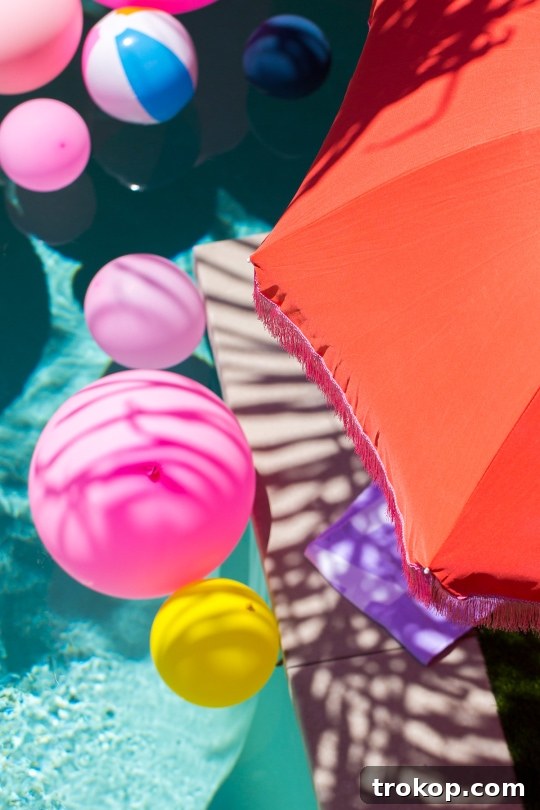
In just a few simple steps, you’ll uncover the secret to crafting a unique, personality-filled piece that will elevate your patio, garden, or poolside area. We can honestly say that this is one of those DIY projects that genuinely looks even better in person than it does in photographs. The vibrant, playful fringe adds an undeniable dimension and texture that captivates the eye, promising a truly distinctive aesthetic.
This project is so charming and effective that the fringe itself proved versatile enough to be repurposed for our memorable summer BBQ party, showcasing its enduring appeal and adaptability beyond just shading your outdoor space. It’s an investment in style that pays dividends in compliments and creative reuse.
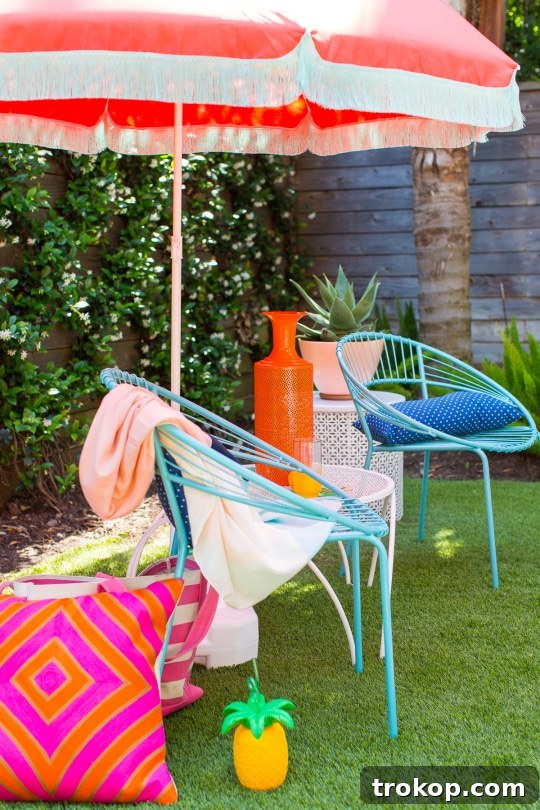
Table of Contents
Why Choose a Retro Aesthetic for Your Outdoor Space?
The allure of retro design is undeniable. It evokes a sense of nostalgia, bringing back memories of simpler times, vibrant colors, and playful patterns. A retro beach umbrella isn’t just a functional item; it’s a statement piece, a conversation starter, and an instant mood booster. Choosing a retro aesthetic for your outdoor decor allows you to:
- Stand Out from the Crowd: Move beyond the ordinary and showcase your unique style.
- Inject Personality: Reflect a fun-loving, optimistic vibe in your outdoor living area.
- Create a Relaxing Atmosphere: The whimsical charm of retro designs can contribute to a more laid-back and enjoyable environment.
- Embrace Sustainability: By upcycling or customizing an existing umbrella, you’re giving it a new life and reducing waste.
This DIY project taps into that timeless charm, offering an accessible way to integrate vintage flair into modern living, all while keeping your budget in check.
Materials Needed to Make a DIY Retro Beach Umbrella
Gathering your materials is the first exciting step toward creating your fabulous retro umbrella. The beauty of this project lies in its simplicity and affordability. Here’s what you’ll need:
- 3″ Chainette Fringe in Assorted Colors: This is the star of our show! Chainette fringe offers that classic, playful retro look. We recommend choosing a palette that complements your existing outdoor decor or introduces a vibrant pop of color. For our project, we opted for delightful shades of mint, orange-red, and pink, sourced from Etsy. Consider mixing two or three colors for a layered effect, or stick to a single bold hue for a minimalist retro statement. Ensure you purchase enough length to go around the entire edge of your umbrella, potentially multiple times if you desire more layers.
- Hot Glue Gun and Plenty of Glue Sticks: Your primary tool for attaching the fringe. A good quality hot glue gun with multiple glue sticks is essential for a smooth, uninterrupted application. Make sure your glue gun heats up quickly and maintains a consistent temperature for optimal adhesion.
- Beach Umbrella: The base for your retro transformation. Any standard beach umbrella will work, but consider one with a sturdy frame and a canopy in a neutral color (like white, cream, or a light solid color) to allow your colorful fringe to truly pop. Our umbrellas were sourced from IKEA, demonstrating that you don’t need an expensive base to achieve a high-end look.
- Matching Thread and Needle (Optional): While hot glue provides excellent adhesion, hand-sewing the fringe can offer an extra layer of reinforcement, especially if your umbrella will be exposed to frequent wind or heavy use. This step is completely optional but recommended for maximum durability.
This entire project can be completed for under $100, making it an incredibly cost-effective way to achieve a high-impact design statement.
How to Make a DIY Retro Beach Umbrella: Step-by-Step Guide
This project is wonderfully straightforward, making it perfect for DIY enthusiasts of all skill levels. Here’s how to create your stunning retro beach umbrella:
Step 1: Prepare Your Workspace
Choose a clean, flat surface, preferably outdoors or in a well-ventilated area, where you have enough space to fully open your umbrella. Lay down a drop cloth or old newspaper to protect your surface from any stray hot glue. Ensure your hot glue gun is plugged in and preheating.
Step 2: Plan Your Fringe Placement
Before you start gluing, decide where you want your fringe. The most common and impactful placement is along the outer edge of the umbrella canopy. If you’re using multiple colors, consider the order in which you want to layer them. You might opt for a single, bold layer or create a multi-tiered effect with different colors or lengths of fringe. For a multi-color design, we suggest starting with the innermost layer first.
Step 3: Begin Attaching the Fringe
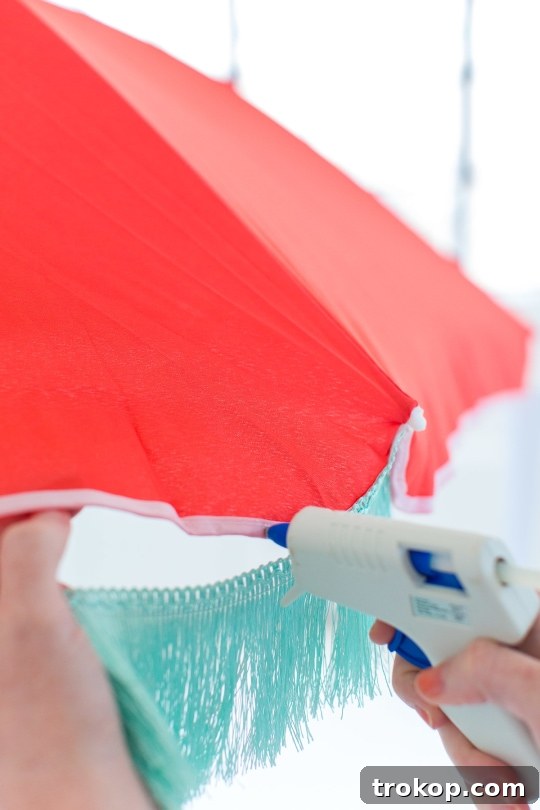
Starting at one point on the edge of the umbrella (perhaps near a seam or a rib to make your starting/ending point less noticeable), apply a line of hot glue directly to the fabric edge of the umbrella, covering only a few inches at a time. This controlled approach is crucial. Immediately press the header of your chainette fringe onto the hot glue line, ensuring it adheres firmly. The key is to work in small sections to prevent the glue from cooling and hardening before you can attach the fringe properly.
Step 4: Secure and Repeat
Once you’ve attached a small section, gently hold the fringe in place for a few seconds to allow the hot glue to cool and secure the weight of that section. This prevents the fringe from peeling off or sagging before the glue has fully set. Continue this process around the entire circumference of the umbrella, taking your time and ensuring each section is firmly attached. When you reach your starting point, overlap the fringe slightly to create a seamless finish, trimming any excess.
Step 5: Add Additional Layers (Optional)
If you’re going for a multi-layered look, repeat Steps 3 and 4, positioning subsequent layers of fringe just above or below the previous one, depending on your desired effect. Ensure each layer is securely glued before moving on to the next.
Step 6: Reinforce with Stitching (Optional, but Recommended for Durability)
For extra peace of mind and durability, especially if your umbrella will face wind or frequent use, you can hand-sew over the hot-glued fringe. Use a needle and matching thread to make small, discreet stitches through the fringe header and into the umbrella fabric. This will create a robust bond that can withstand more wear and tear. Even if we initially relied solely on hot glue for our windy photoshoot, adding stitches ensures longevity.
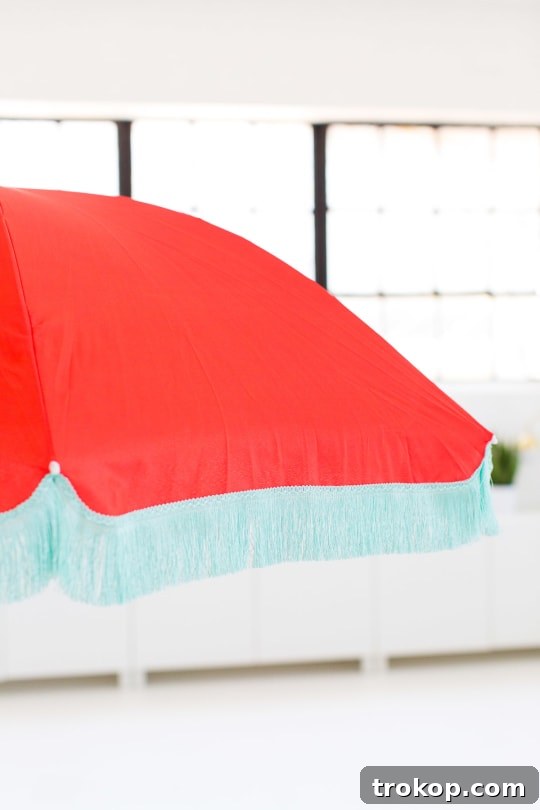
Tips for a Flawless Retro Umbrella
- Measure Twice, Cut Once: Before applying glue, unroll your fringe and measure the circumference of your umbrella’s edge to ensure you have enough material. Add a few extra inches for overlap.
- Even Application: Aim for a consistent line of hot glue. Too much can seep through and create a messy look, while too little won’t provide a secure bond.
- Temperature Matters: Ensure your glue gun is at its optimal temperature. If the glue is too cool, it won’t adhere properly; if it’s too hot, it might be difficult to control.
- Consider Weatherproofing: If your umbrella will be permanently outdoors, consider applying a fabric sealant to the fringe and the umbrella fabric itself. This can help protect against UV damage and moisture, extending the life of your vibrant creation.
- Experiment with Colors: Don’t be afraid to mix and match! Retro aesthetics thrive on bold color combinations. Consider complementary colors or a gradient effect for extra visual interest.
- Work in Sections: This cannot be stressed enough. Hot glue dries quickly, so tackling the project in small, manageable sections will ensure neatness and strong adhesion.
Now, with your newly transformed umbrella, all you need is a yellow polka dot bikini (or your favorite retro-inspired swimwear), and you’ll have the full ensemble ready for some serious poolside lounging or beach adventures! What can we say? We just can’t stay away from the retro vibe, and this fringe truly completes the look, adding an irresistible flair.
Get ready for an abundance of summer fun projects! We have plenty more exciting DIY ideas coming your way soon, so stay tuned for more inspiration to make your home and outdoor spaces shine.
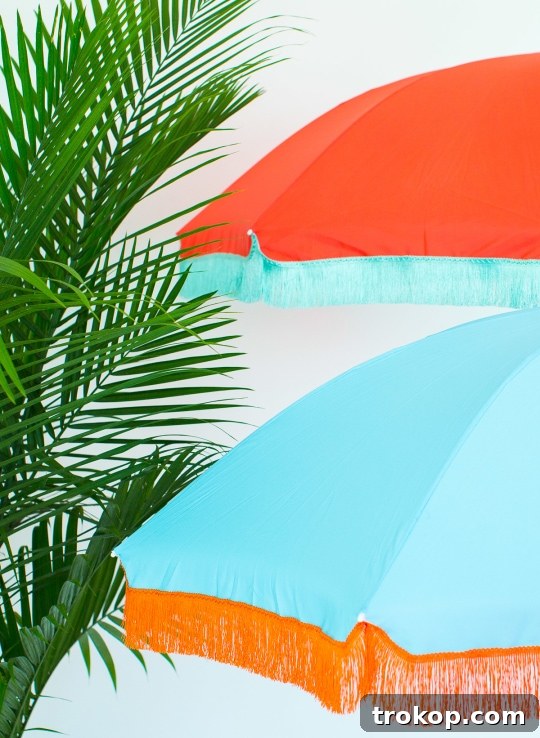
Styling Your Retro Oasis: Perfect Pairings
Once your DIY retro umbrella is complete, it’s time to create a cohesive and stylish outdoor retreat. The beauty of a statement piece like this is its ability to tie together an entire look. Here are some ideas for styling your retro oasis:
- Retro Furniture: Pair your umbrella with vintage-inspired patio chairs and tables. Look for classic rattan, metal, or bright plastic pieces.
- Colorful Textiles: Add vibrant outdoor pillows and throws in complementary retro patterns like polka dots, stripes, or geometric designs.
- Statement Seating: A comfortable chaise lounge or an egg chair can enhance the mid-century modern vibe.
- Lush Greenery: Incorporate potted plants, especially those in DIY mid-century planters, to add life and texture to your space.
- Fun Accessories: Think pineapple sippers, round beach towels, and playful servingware. These small details significantly enhance the overall theme.
- Lighting: String up some globe lights or place retro lanterns around your seating area for a magical evening ambiance.
The key is to create an inviting space that feels cohesive and joyful, where every element contributes to the charming retro narrative.
Care and Maintenance for Your DIY Retro Umbrella
To ensure your beautiful retro umbrella remains a cherished part of your outdoor decor for seasons to come, a little care goes a long way:
- Clean Gently: If your fringe or umbrella fabric gets dirty, spot clean with a mild soap and water solution. Avoid harsh chemicals that could damage the glue or fabric.
- Storage: When not in use, especially during off-seasons or severe weather, collapse your umbrella and store it in a dry, protected area. This will prevent unnecessary wear and tear from sun, wind, and rain.
- Inspect Regularly: Periodically check the fringe for any loose sections. Reapply hot glue or reinforce with stitching as needed to maintain its integrity.
- Fade Protection: If your umbrella is exposed to direct sunlight for extended periods, consider a UV-protective spray for outdoor fabrics to help prevent fading of both the umbrella canopy and the colorful fringe.
With these simple steps, your DIY retro beach umbrella will continue to bring joy and style to your outdoor living space for many summers to come.
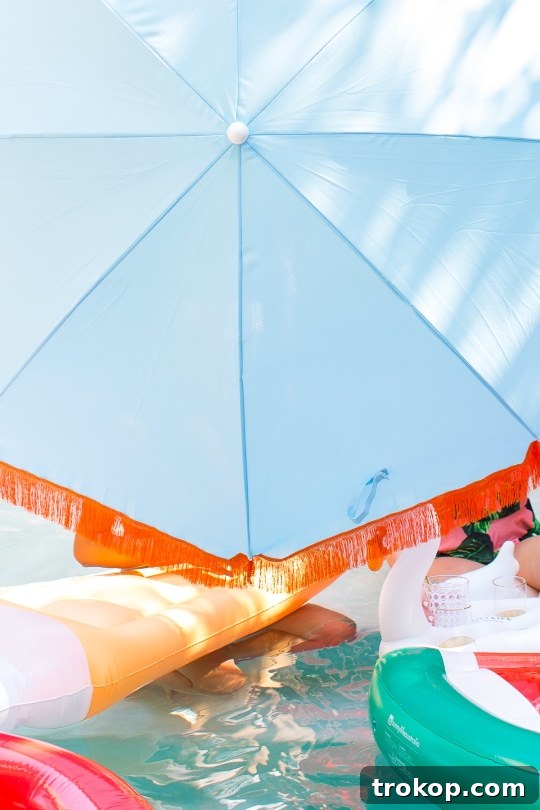
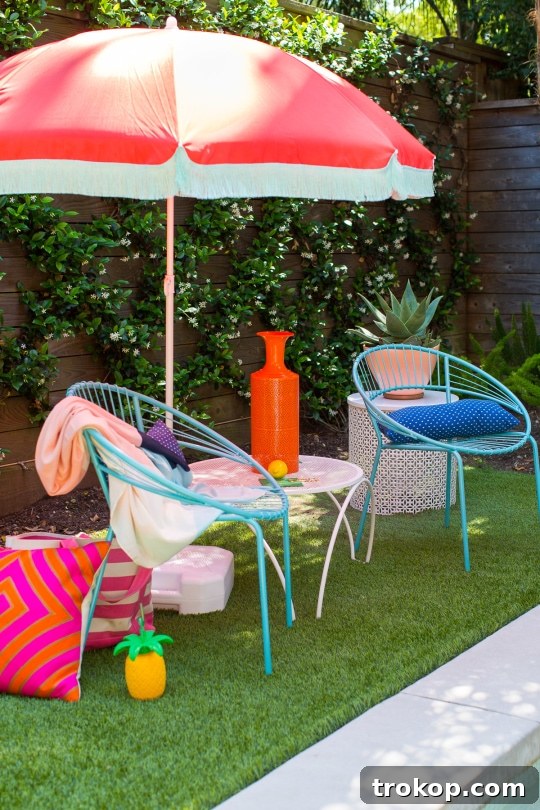
Conclusion: Embrace the Retro Revival
Creating your own DIY Retro Beach Umbrella is more than just a craft project; it’s an opportunity to inject personality, color, and a sense of timeless fun into your outdoor living. It’s a budget-friendly way to achieve a high-impact design statement that will impress your guests and enhance your personal enjoyment of your patio, garden, or poolside retreat. The simple steps, minimal materials, and stunning results make this a truly rewarding endeavor.
So, why wait? Gather your supplies, unleash your creativity, and get ready to enjoy those sunny days under the shade of your very own unique, vintage-inspired umbrella. Share your creations with us, and let’s keep the retro revival going strong!
Styling Sources and Location
For those curious about the broader styling and ambiance captured in our photographs, here are some of the sources that brought our retro vision to life:
- Photographed at On Point Custom Homes
- Chairs and table setting
- Colorful pillow
- Round beach towel
- DIY planter
- Pineapple sipper