
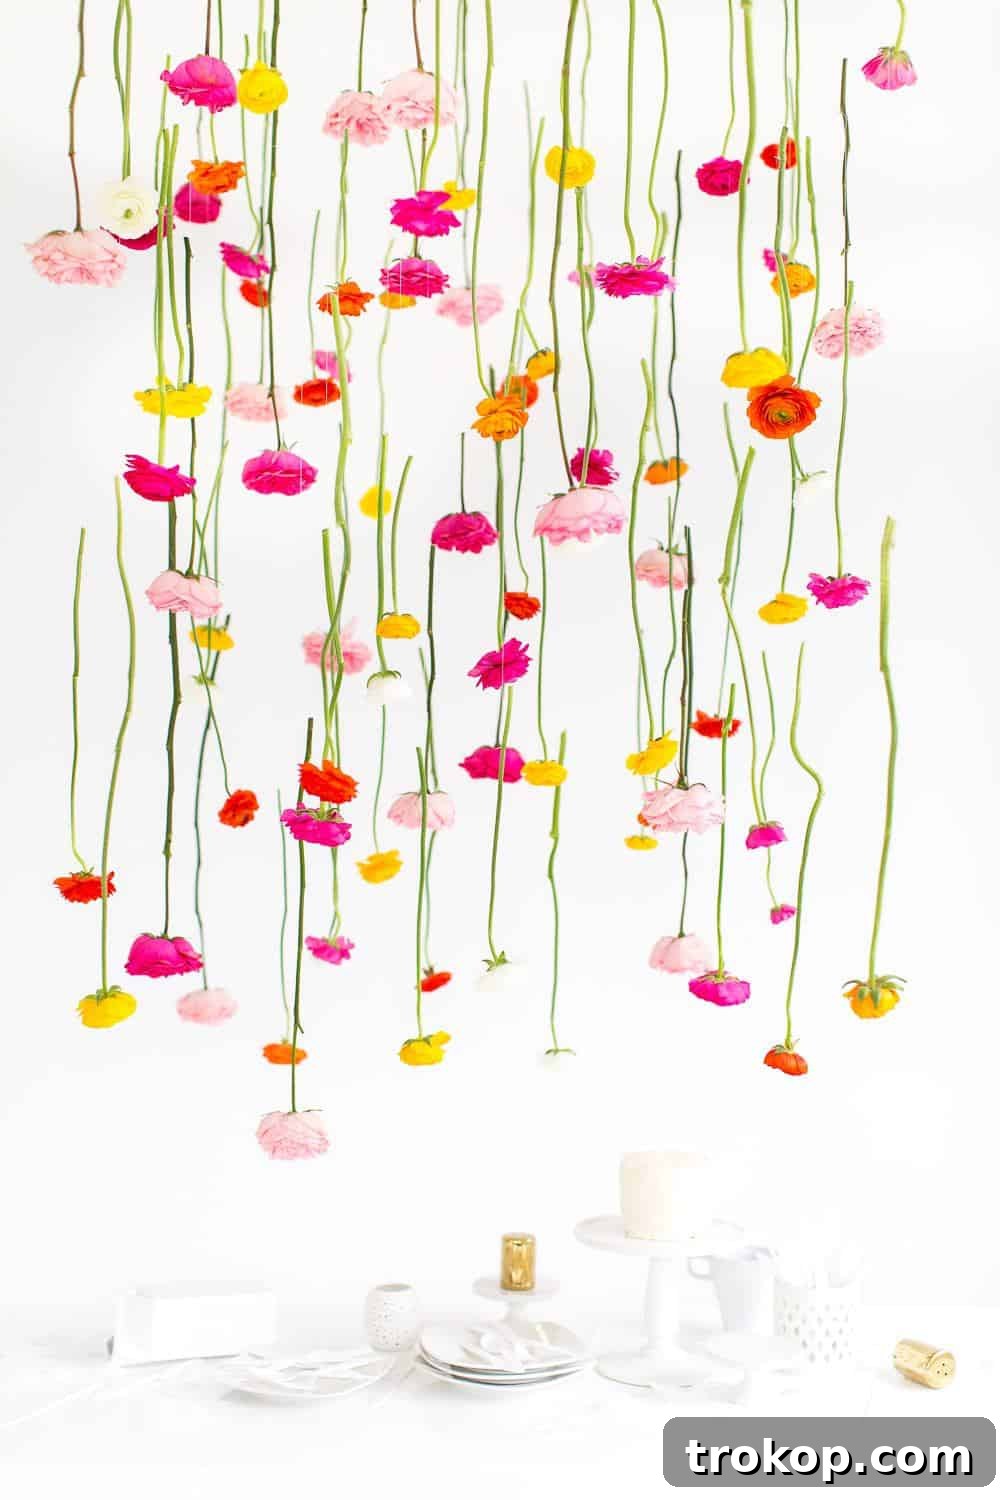
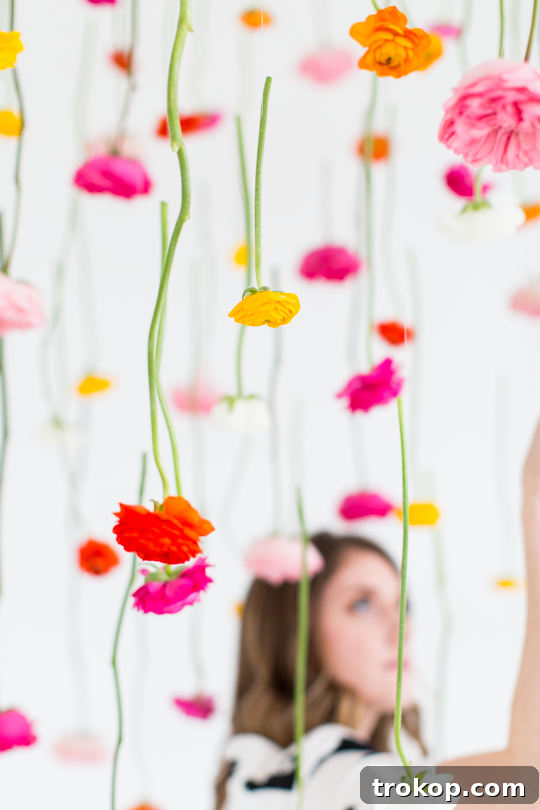
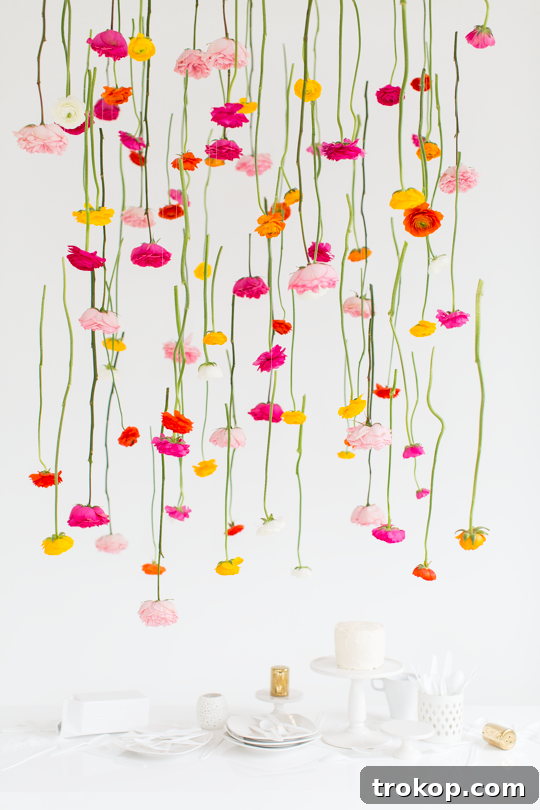
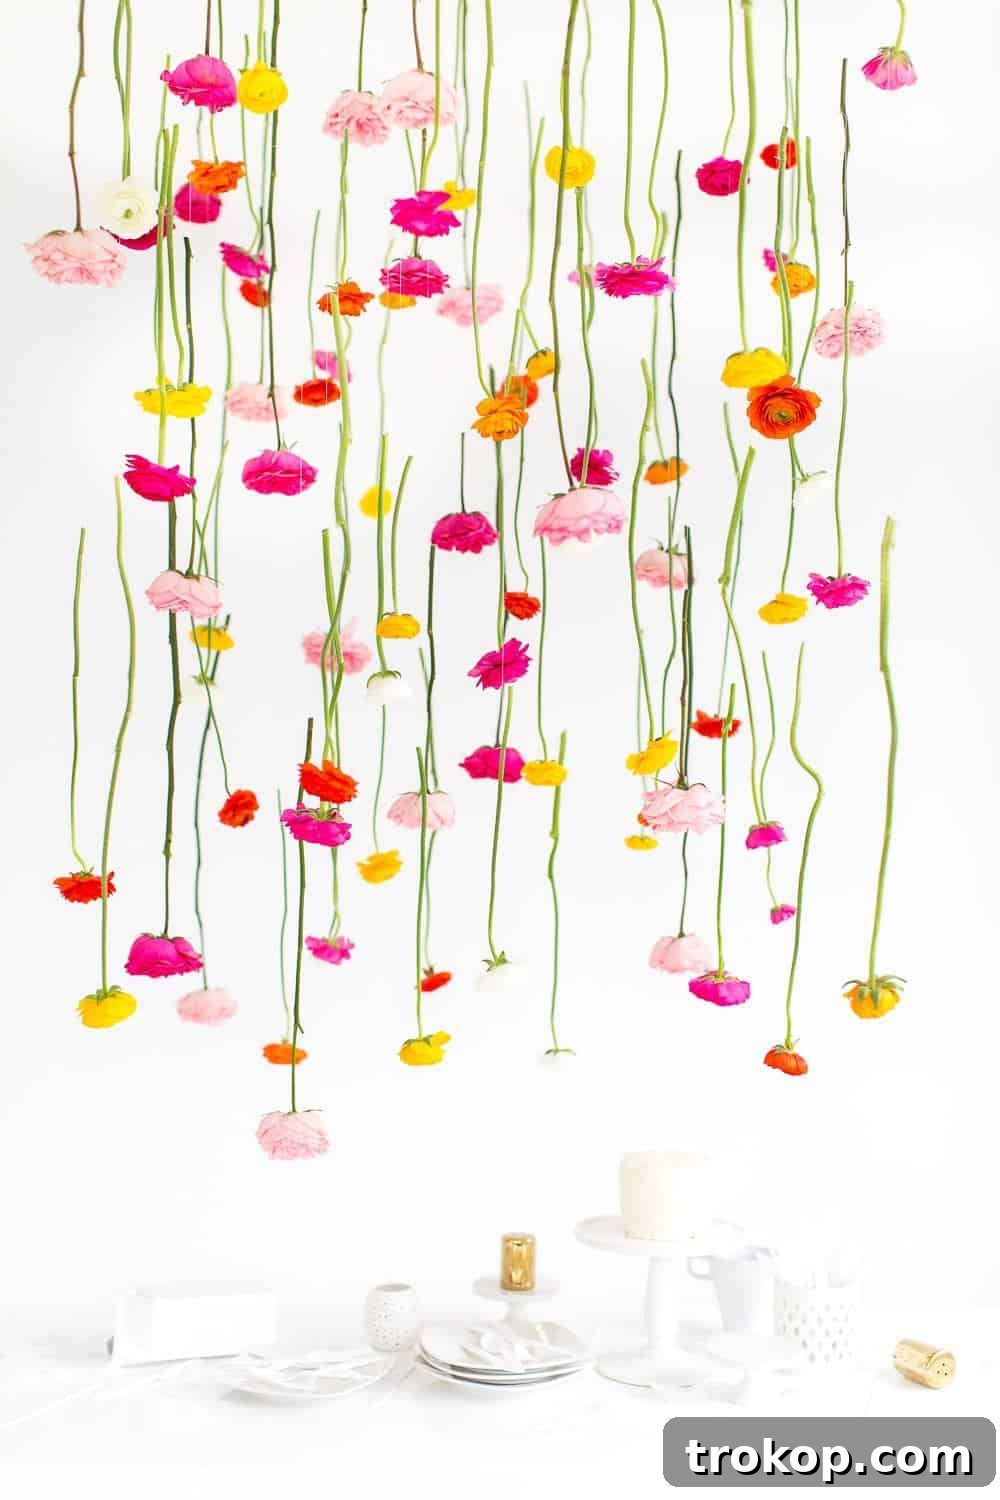
Transform your next event into an enchanting wonderland with a stunning DIY Hanging Flower Installation! Whether you’re planning an unforgettable party, a romantic engagement, or the wedding of your dreams, this breathtaking floral display is guaranteed to create a memorable statement piece that will leave your guests in awe.
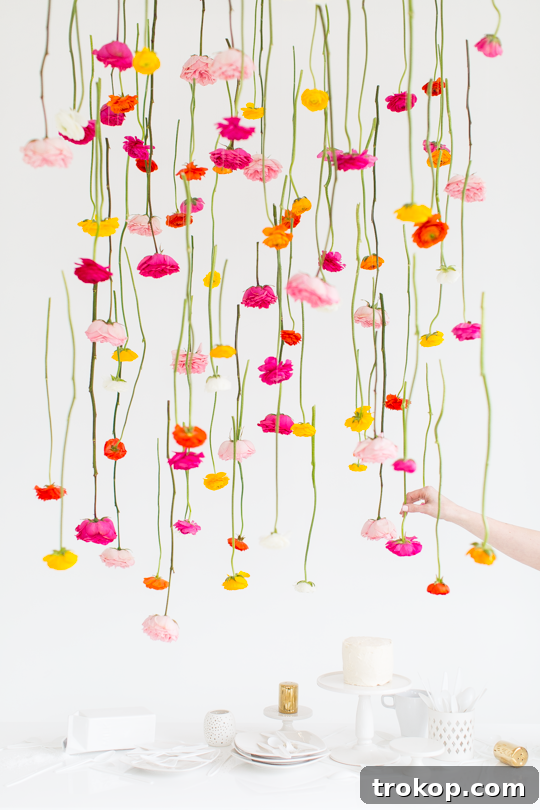
If you’ve followed our journey on Instagram, you might have already caught a glimpse of this captivating DIY hanging flower installation from a video sneak peek we shared. We know, it’s hard not to be excited! This has been a passion project we’ve eagerly anticipated bringing to life, and our new studio with its pristine white backdrop proved to be the absolute perfect setting.
Crafting an overhead floral masterpiece like this is truly a labor of love, often requiring an extra pair of hands, but the dazzling final product is undeniably worth every moment of effort. Imagine a cascade of fresh blooms creating an ethereal canopy above your guests. This makes it an ideal decor choice for grand celebrations such as a spring bridal shower, a sophisticated wedding reception, or any large event where you want to infuse a touch of magical elegance.
Materials and Tools Needed to Create a Stunning DIY Hanging Flower Installation
To successfully craft a hanging floral installation that is both visually appealing and structurally sound, selecting the right materials is paramount. Our goal was to devise a simple, reconstructible system that could gracefully suspend the flowers without becoming an eyesore itself. This list outlines everything you’ll need to get started:
- Framed Chicken Wire Base: This forms the core of your installation. Rather than starting from scratch, we cleverly repurposed a framed chicken wire piece from our DIY paper wall art project. Essentially, it’s a sturdy wooden canvas frame (choose a size appropriate for your desired artwork/installation) with chicken wire securely stapled to the back. Detailed step-by-step photos for creating this base can be found here. The chicken wire provides countless anchor points for your flowers, allowing for flexible and dynamic arrangements.
- Screw Eye Hooks: These small but mighty hooks will be drilled into the wooden frame, serving as secure attachment points for your hanging wires.
- Screw Cup Hooks: These hooks will be installed into your ceiling, providing the overhead support from which the entire structure will hang.
- Drill and Corresponding Drill Bit: Essential for pre-drilling holes for your eye hooks, ensuring a clean and secure installation.
- Picture Hanging Wire: Strong yet discreet, this wire will bear the weight of your floral frame. Choose a gauge that is robust enough for your frame size and flower quantity.
- Wire Cutters: Necessary for cleanly cutting the picture hanging wire and other wires.
- Fishing Line: Almost invisible, fishing line is perfect for delicately suspending individual flower stems from the chicken wire base, creating that magical floating effect.
- Scissors: For cutting fishing line and any other light materials.
- Pliers: Helpful for bending, tightening, and manipulating wires, especially when working with loops and clamps.
- Wire Rope Loop Clamps: These clamps are crucial for creating strong, secure loops at the ends of your picture hanging wire. Similar options can be found here.
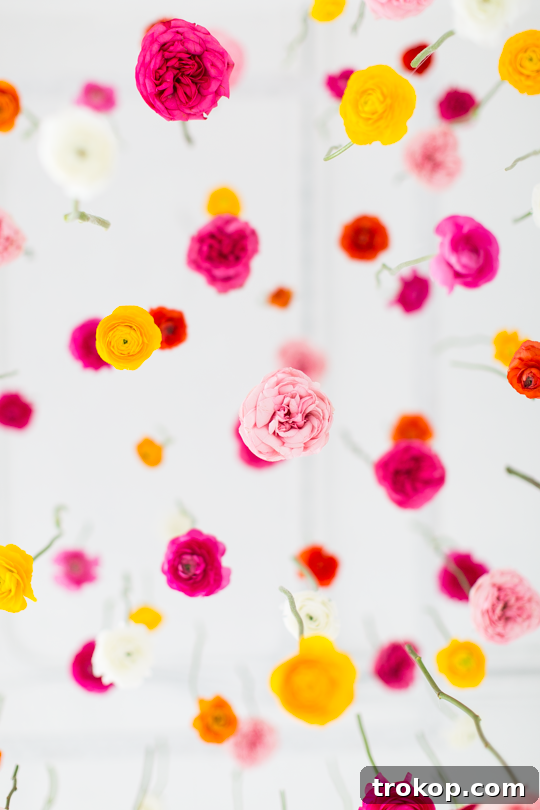
- Wholesale Flowers: The stars of your installation! We achieved our look using a lush combination of garden roses and ranunculus. Consider buying in bulk for cost-effectiveness, especially for larger installations.
How to Craft Your Enchanting DIY Hanging Flower Installation
Creating this captivating floral ceiling display is a rewarding project that transforms any space. Follow these detailed steps to build your own:
- Prepare Your Base: First, ensure your framed chicken wire base is ready. If you haven’t already constructed one, follow the instructions from our DIY paper wall art post. Once your base is complete, determine the desired distance you want your floral structure to hang from the ceiling. For our installation, we opted for a striking 2-foot drop from the ceiling, which created a beautiful, immersive effect.
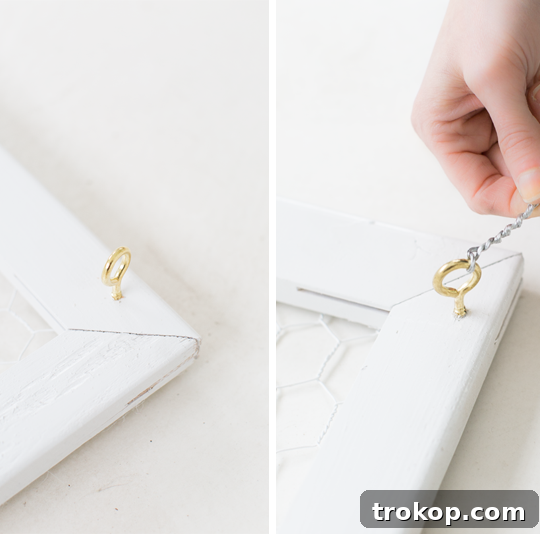
- Install Eye Hooks: Using your drill and an appropriately sized drill bit, carefully drill a small pilot hole into each of the four corners of your wooden chicken wire frame. These holes will prevent the wood from splitting when you insert the hooks. Next, screw an eye hook securely into each of these pre-drilled holes. These eye hooks will serve as the crucial anchor points for attaching the picture hanging wire that supports the entire structure.
- Attach Picture Wire to Frame: Thread one end of your picture hanging wire through an eye hook. Create a tight, secure knot around the eye hook, ensuring it won’t slip under weight. To further reinforce the connection, wrap any excess wire from the knot tightly around the main length of the picture wire. This adds both strength and a cleaner finish.
- Measure and Cut Hanging Wires: From the top of the eye hook, measure out the determined hanging length for your installation (e.g., 2 feet). Add an additional 4-6 inches of extra picture wire to this measurement. This extra length is vital for creating the secure loops and knots needed for hanging. Carefully cut the measured length of picture hanging wire. Precision here ensures an even hang.
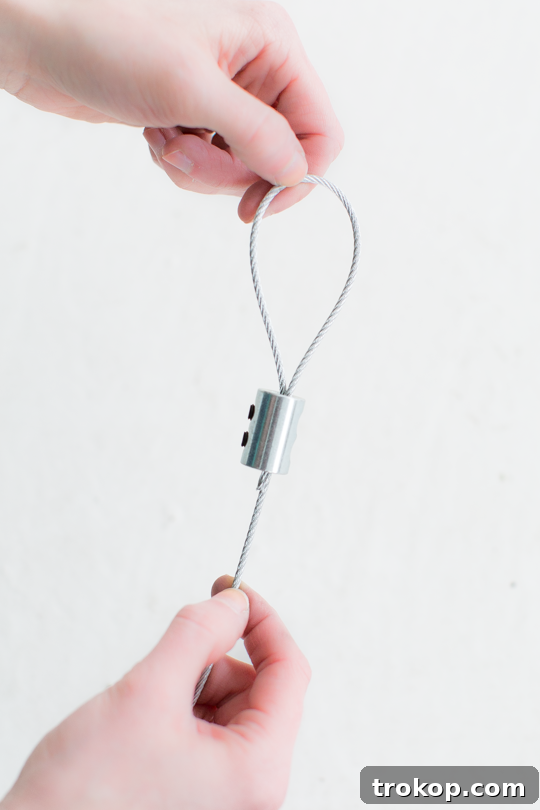
- Form Hanging Loops: Using the wire rope loop clamps and your pliers, create a robust loop at the end of each measured picture wire. These loops will be what you attach to the ceiling hooks. Ensure the clamps are tightened securely to prevent any slippage.
- Repeat and Ensure Uniformity: Repeat steps 3 through 5 for all four corners of your framed chicken wire base. It’s crucial to double-check that all four hanging wires, including their loops, are exactly the same length. This meticulous attention to detail will ensure that your entire floral structure hangs perfectly level and balanced from the ceiling.
- Install Ceiling Hooks: With your frame prepared, mark the positions on your ceiling where each of the four corners of your structure will hang. Drill pilot holes at these marks and then screw in the four cup hooks. Make sure these cup hooks are spaced precisely to match the corners of your floral frame.
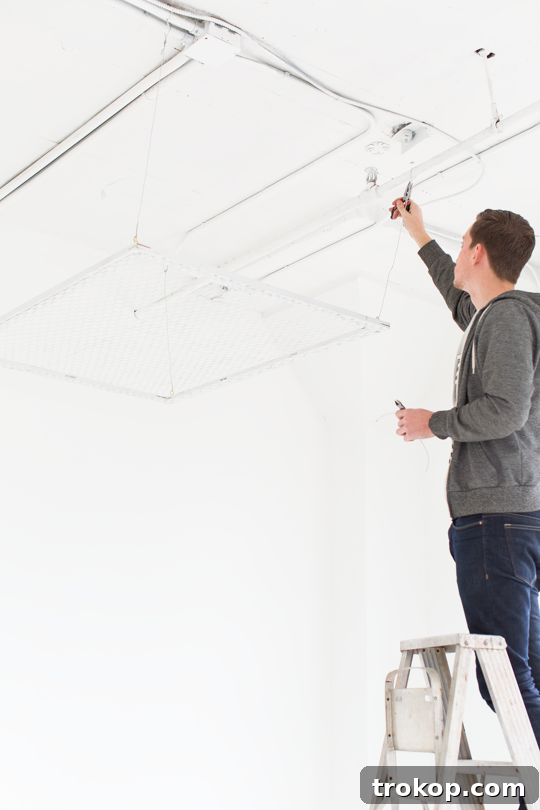
- Hang the Structure: Carefully lift your framed chicken wire base and attach the looped ends of your picture hanging wires to the cup hooks in the ceiling. Take your time to ensure all loops are securely seated on the hooks and that the entire installation hangs level. This step might require assistance from a friend due to the size and weight.
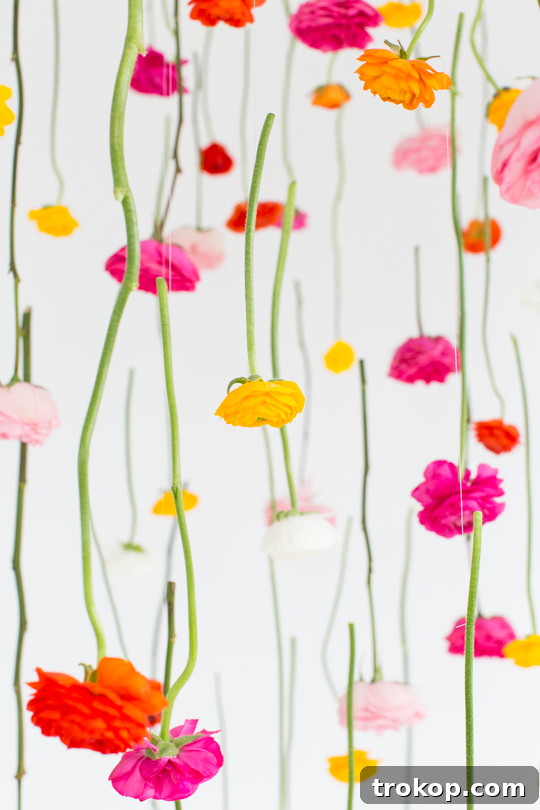
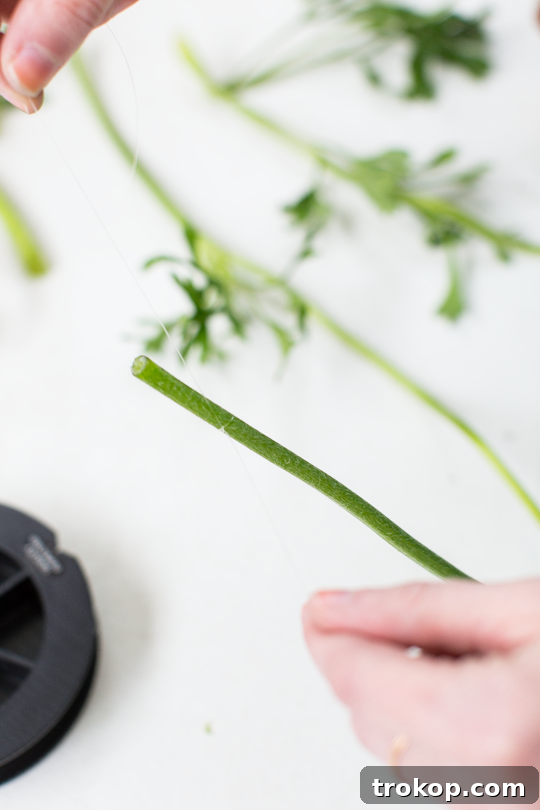
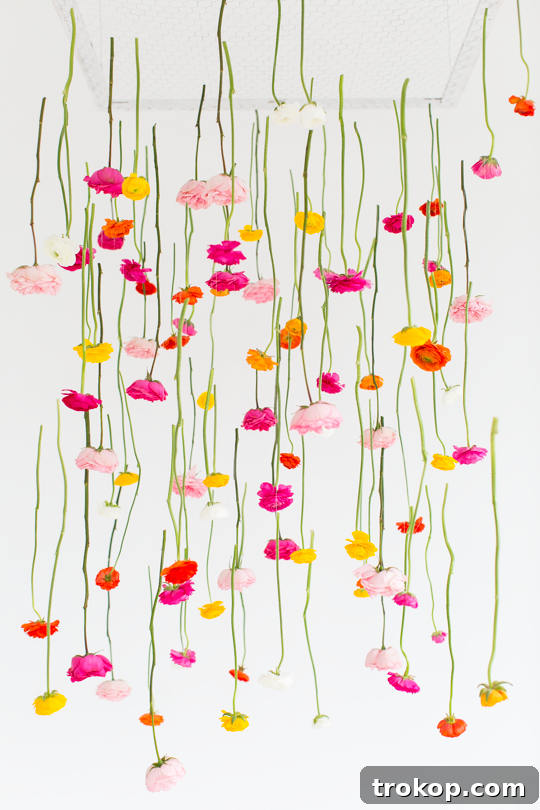
- Attach Individual Flowers: Now for the artistic part! Take each flower stem and, using fishing line, wrap and knot the line securely around the end of the stem. Ensure the knot is tight enough to hold the flower’s weight but not so tight that it cuts or damages the stem. Then, using the other end of the fishing line, tie the flower to the chicken wire base. Position your flowers sporadically, varying their hanging heights and density to create a natural, organic flow. Work your way across the entire frame, stepping back occasionally to assess the overall balance and aesthetic.
After a dedicated five hours of creative effort and perhaps a few friendly debates about flower placement, your space should be transformed into something truly spectacular!
Arranging tips: Always begin by placing your larger, more dominant blooms first. These will establish the main structure and visual weight of your installation. Once these focal points are in place, fill in any remaining gaps and add depth with smaller, more delicate flowers and greenery. Varying the lengths of fishing line for each bloom will also enhance the natural, cascading effect, making the flowers appear to float effortlessly.
Maximizing Freshness: How Long Will Your DIY Hanging Flower Installation Last?
When working with fresh flowers, timing is everything. To ensure your hanging floral installation looks its absolute best, vibrant and fresh, it is highly recommended to assemble it on the day of your event, as close to the start time as possible. This minimizes the time the flowers are without water, preserving their beauty.
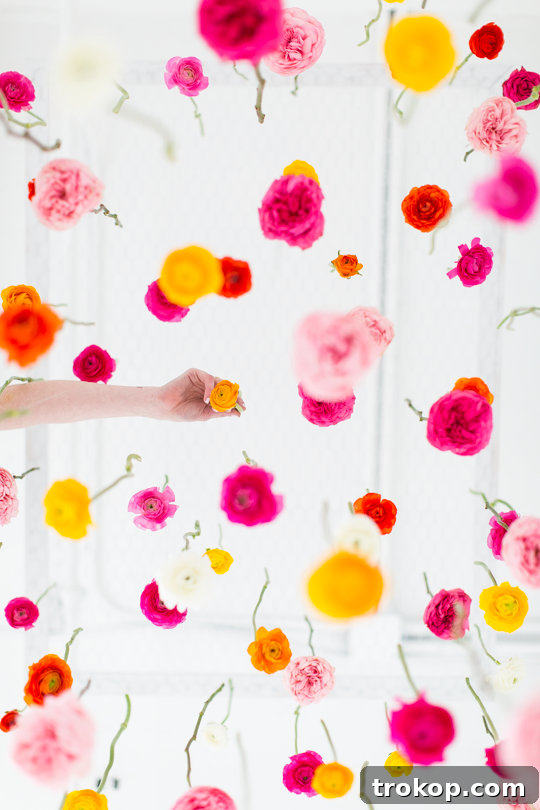
For experimental purposes, we left our installation up for three days to observe its longevity. By the next day, a few stems had begun to droop, showing signs of dehydration and losing their initial perkiness. By day three, most of the flowers had noticeably darkened in color, and some petals had started to fall. While still beautiful in a more rustic, dried sort of way, they definitely lacked the lively brilliance of their freshly installed state.
For optimal presentation, aim to have your installation complete just a few hours before guests arrive. If you need to prepare it further in advance, consider storing the frame in a cool, humid environment (like a bathroom after a shower) or misting the flowers lightly with water, though this offers only temporary relief. For longer-lasting displays, consider incorporating a mix of fresh and high-quality artificial flowers, or opt for entirely artificial blooms for zero maintenance and indefinite longevity.
Choosing the Best Flowers for Your Party Decor: A Guide
The overall impact of a hanging floral installation is undeniably stunning, and we wholeheartedly recommend undertaking this project for any special occasion. However, achieving this lavish look while keeping costs manageable often hinges on finding a reliable and affordable wholesale flower supplier. While our personal DIY budget might be more modest than typical event budgets, clever sourcing can make a significant difference.
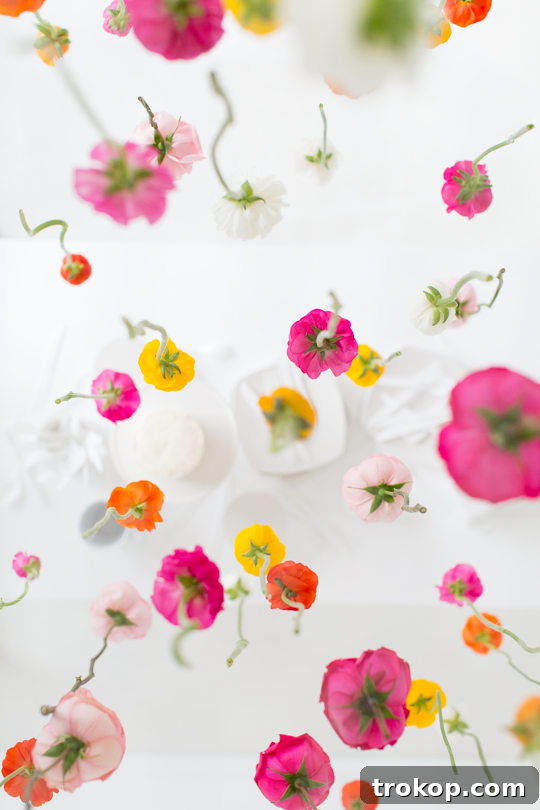
We frequently turn to Fifty Flowers for our bulk floral needs. They offer an exceptional selection throughout the year, and crucially, you don’t need a special license to purchase from them in large quantities. For this particular project, we used their delightful variety packs of ranunculus and garden roses. These choices provided a beautiful array of textures and colors, creating a rich and romantic aesthetic.
When selecting flowers, consider not only their beauty but also their practicality for hanging. Sturdy stems are a must, and lighter blooms often fare better when suspended for extended periods. Think about the overall color palette of your event and choose flowers that complement it. Don’t shy away from mixing different types of flowers and even some greenery to add depth and visual interest to your installation. Experiment with various bloom sizes to create a dynamic and varied look.
Essential Things to Keep in Mind When Hanging Flowers from the Ceiling
To ensure your hanging floral display is a complete success, consider these expert tips before you begin:
- Choose the Right Type of Flower: The weight and fragility of your chosen blooms are crucial. Heavy flowers like large roses, peonies, or hydrangeas may struggle to stay upright when suspended without a water source, and their stems might break or droop prematurely. Opt for lighter varieties with sturdy stems, such as daisies, baby’s breath, carnations, spray roses, or even some types of orchids. These will hold their form better and contribute to a lighter, airier look.
- Ensure Flowers Are Fresh: This might seem obvious, but it’s paramount for a long-lasting and vibrant display. Always start with the freshest possible flowers. Condition them properly by cutting stems at an angle and placing them in water with floral food for several hours before installation. Wilted flowers will not only look less appealing but will also be more prone to falling out of your arrangement and diminishing the overall impact.
- Utilize a Variety of Colors and Textures: A monochromatic display can be elegant, but incorporating a range of colors and textures will add immense interest and depth to your hanging arrangement. Mix larger focal blooms with smaller filler flowers, and don’t forget to include some lush greenery for contrast and fullness. This creates a more dynamic and visually rich installation.
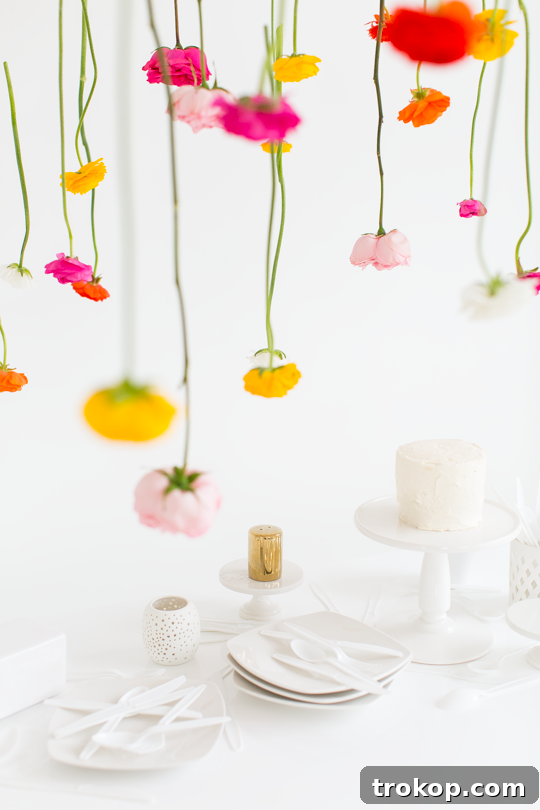
- Hang Flowers at Different Heights: Avoid a flat, uniform look. By suspending flowers at varying lengths, you’ll create a more organic, whimsical, and natural appearance. This layering effect adds dimension and movement, making the installation feel like a living, breathing cloud of blooms rather than a rigid structure.
- Secure Flowers with Fishing Line or Clear Tape: The virtually invisible nature of fishing line makes it the ideal choice for attaching individual stems to your chicken wire base. For very delicate blooms or to reinforce stems, a small piece of clear floral tape can also be used strategically. The goal is to secure each flower firmly in place so they don’t shift or fall, maintaining your carefully crafted design throughout your event.
- Consider Lighting and Background: Think about where your installation will be placed. Natural light can beautifully illuminate the flowers, highlighting their colors and forms. If your event is in the evening, strategically placed spotlights or string lights can create a magical glow through the floral canopy. Also, consider the background – a plain wall or open space allows the flowers to truly pop.
Considering all these aspects, what are the chances you’re heading home inspired to create one of these magnificent installations? While it might not be your everyday dinner decor, it would certainly be a show-stopping addition for a birthday party, an engagement celebration, a wedding centerpiece, or a captivating backdrop for a photo booth or dessert table, wouldn’t you agree?
More Inspiring DIY Hanging Flower Ideas to Explore
If you’ve enjoyed creating this hanging floral installation, or if you’re looking for other ways to incorporate beautiful suspended elements into your decor, here are some more creative DIY projects to spark your imagination:
- Easy DIY Hanging Flower Wall: Learn how to create a vertical wall of blooms, perfect for a photo backdrop or an accent wall.
- DIY Rainbow Art Wall Hanging: Explore vibrant colors and textures by crafting a unique art piece that brings a burst of joy to any room.
- DIY Hanging Marble Serving Board For Under $5: A chic and functional decor piece, ideal for entertaining or as a stylish display.
- Colorful DIY Fabric Wall Hanging: Experiment with textiles and patterns to create a soft, inviting wall decor item that adds warmth and personality.
- DIY Hanging Diamond Decor For Your Home: Craft geometric shapes that add a modern and elegant touch to your interior design.
DIY Hanging Flower Installation: Full Guide
Equipment
-
Drill and drill bit
-
Wire cutter
-
Scissors
-
Pliers
Materials
- 1 framed chicken wire base
- 4 screw eye hooks
- 4 screw cup hooks
- Picture hanging wire
- Fishing line
- Wire loop clamps
- Flowers of your choice (e.g., ranunculus, garden roses)
Instructions
-
If you haven’t already, create your framed chicken wire base. Decide how far down you want the structure to hang from the ceiling (e.g., 2 feet).
-
Using your drill, drill a pilot hole in each corner of your chicken wire wood frame. Screw in the eye hooks to create anchor points for the picture wire.
-
Thread the picture wire through an eye hook. Tightly knot the picture wire securely around the hook and wrap any excess wire from the knot around the wire for reinforcement.
-
From the top of the hook, measure your desired hanging length (e.g., 2 feet), plus an additional 4-6 inches for looping and tying. Cut the measured length of picture hanging wire.
-
Using the wire rope clamps, create a secure loop at the end of the picture wire to hang the structure.
-
Repeat steps 3-5 for all 4 corners. Ensure all wires and loops are the same length so the structure hangs evenly.
-
Screw 4 cup hooks into the ceiling, spaced to match the corners of your structure.
-
Attach the looped ends of the picture hanging wires to the cup hooks in your ceiling, making sure the installation hangs level.
-
To hang each stem, wrap and knot fishing wire to the end of each flower stem. Tie them tightly, but not so tight that it cuts through the stem. Hang each stem from the chicken wire by the other end of the fishing line, placing them sporadically and at varying heights for a natural look.
Notes

We absolutely adore seeing your creative endeavors! Be sure to share your magnificent DIY Hanging Flower Installation with us on Instagram using the hashtag #sugarandclothloves. We can’t wait to marvel at all your beautiful creations and celebrate your DIY success!