
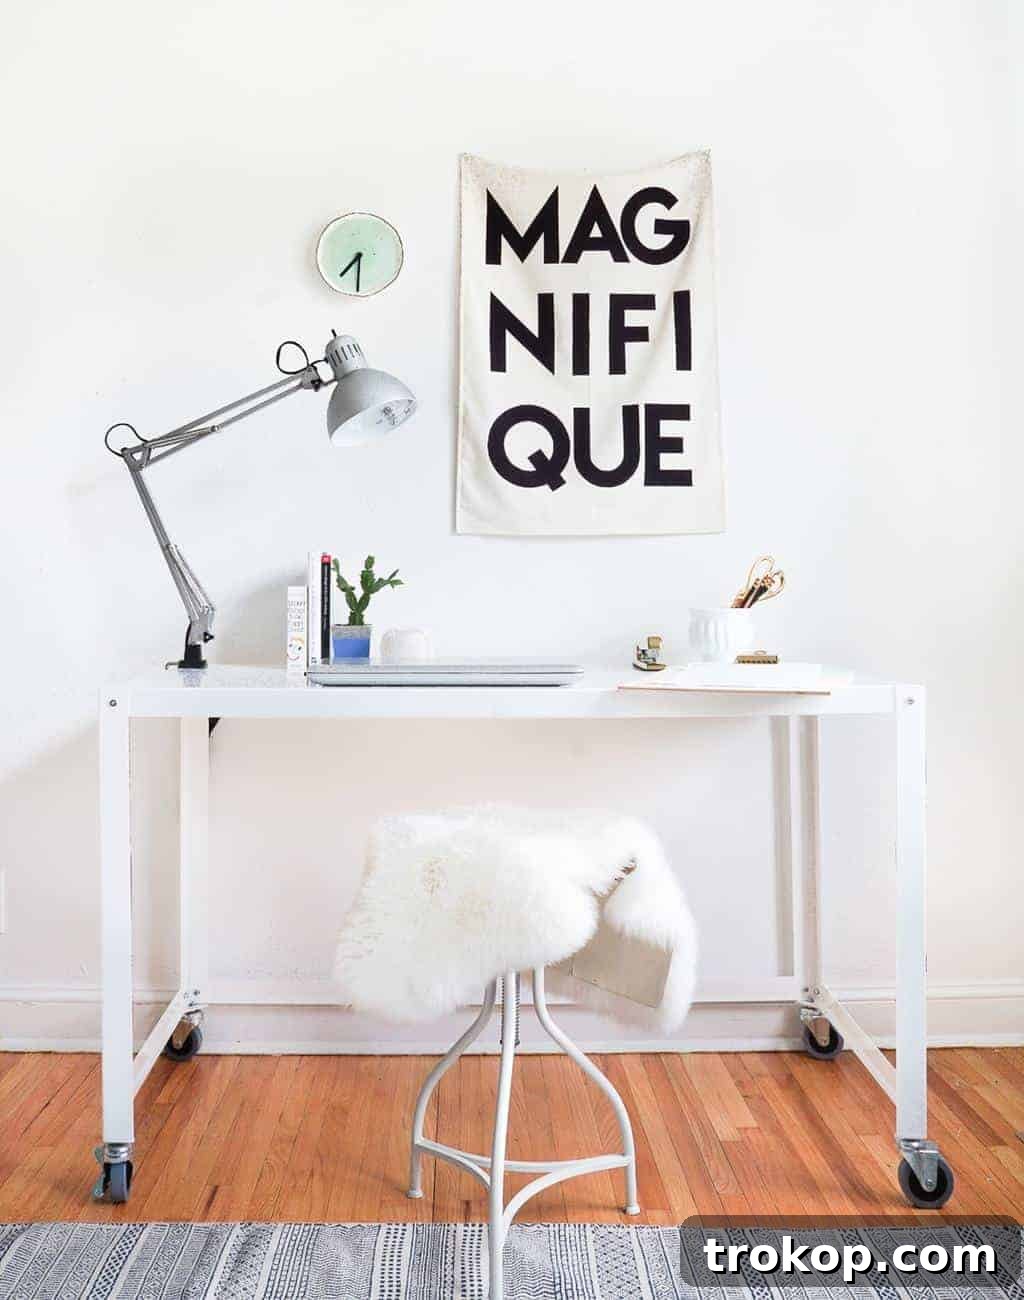
DIY Printable Fabric Flag Word Art: Personalize Your Space on a Budget
Every year, as the vibrant colors of spring emerge, a familiar urge to hit the refresh button sweeps over me. It’s a time for renewal – packing away winter wear, embarking on a deep spring clean, and, of course, giving my home decor a much-needed update. This year, my focus was on my studio. I, Erin, craved large-scale, impactful art that would inspire creativity and add a unique touch to my workspace. However, the budget for a framed statement piece simply wasn’t there. So, I decided to challenge my preconceived notions of what art should be and explore a more innovative, cost-effective solution.
The answer came in an unexpected form: fabric and the simple power of a beautiful word. This realization led me to create an impactful and deeply personal piece for my studio walls, transforming a plain space into an inspiring haven. If you’re also searching for an engaging and affordable way to refresh your home decor, look no further than this fantastic DIY project: Printable Fabric Flag Word Art. It’s not only incredibly inexpensive but also wonderfully easy to personalize with your own favorite words, quotes, or even names, making it a truly unique addition to any room.
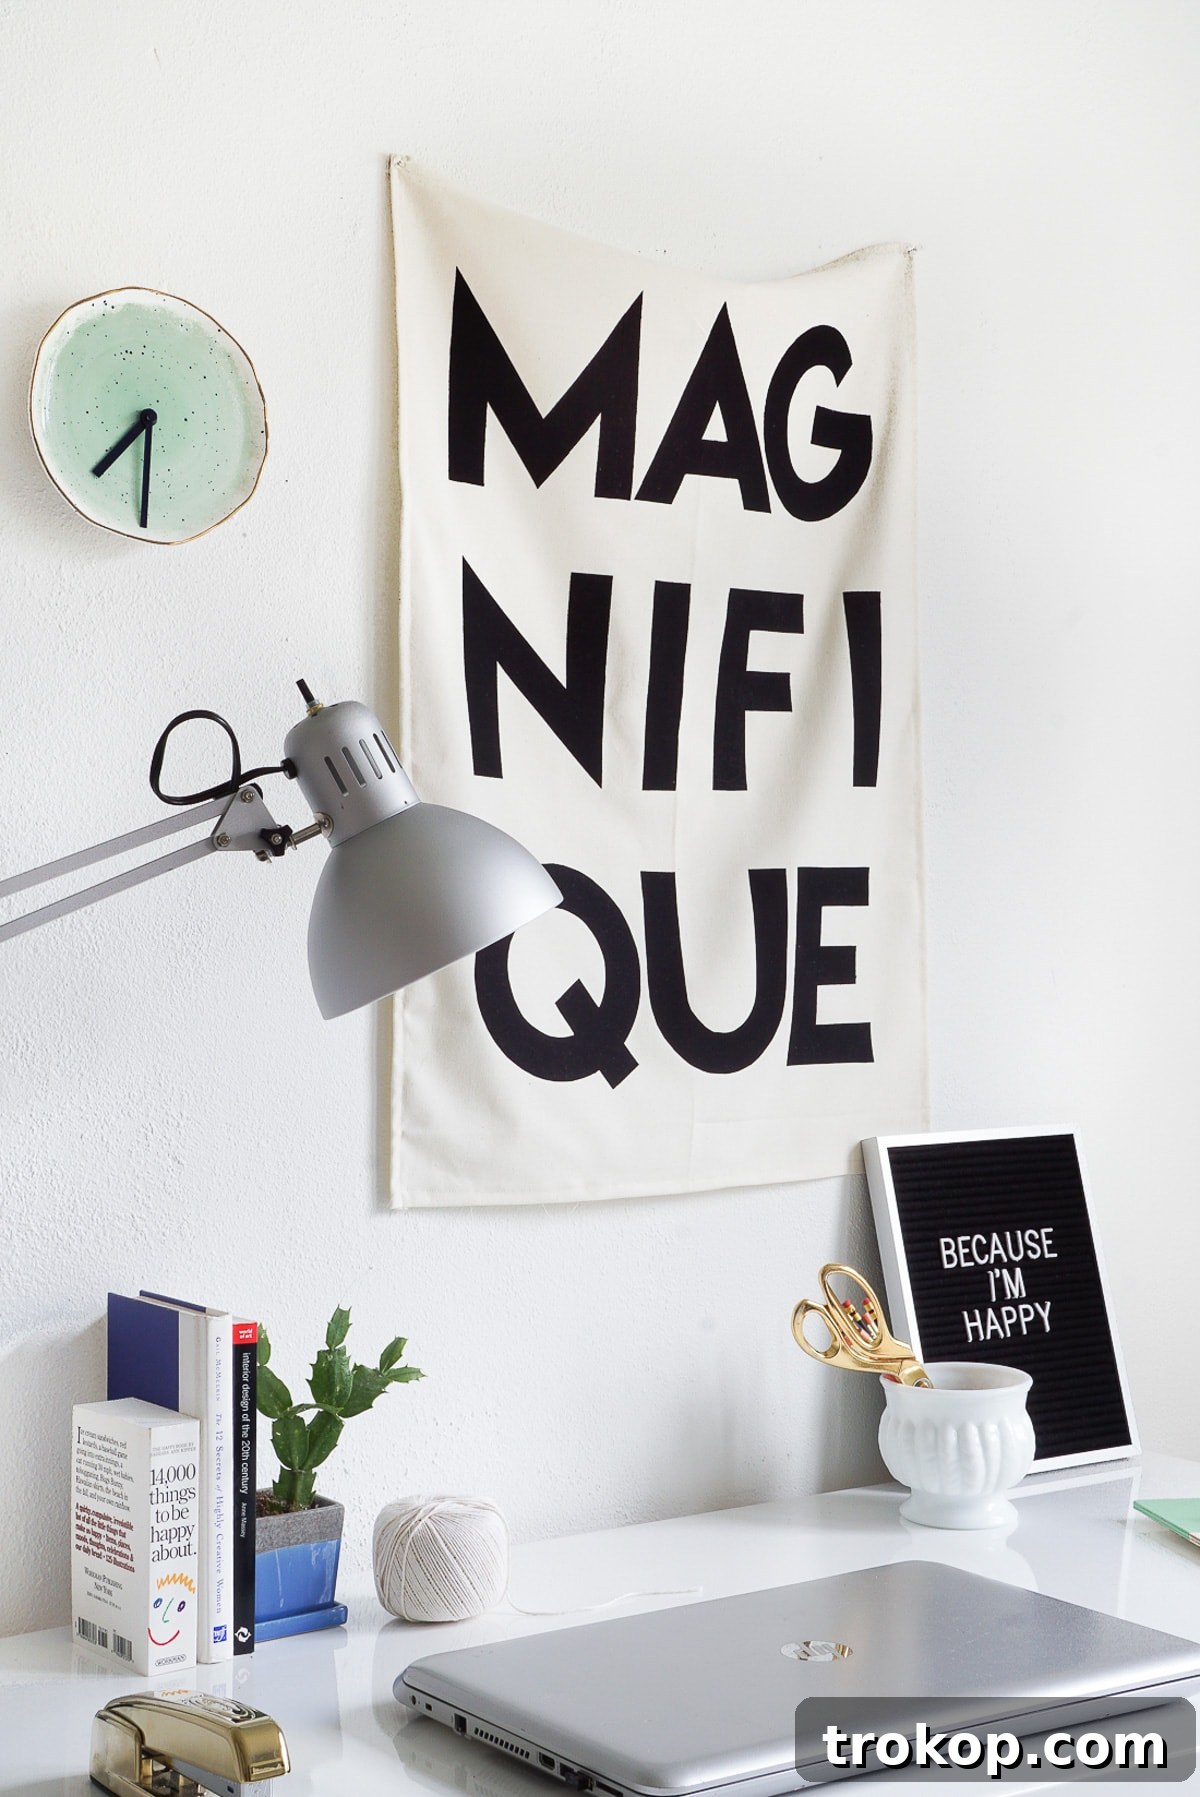
Why Choose DIY Fabric Flag Word Art for Your Home Refresh?
In a world of mass-produced decor, creating something with your own hands offers unparalleled satisfaction and a truly distinctive aesthetic. Fabric flag word art stands out for several compelling reasons:
- Unbeatable Affordability: Large framed art pieces can cost a fortune. This DIY alternative uses readily available and inexpensive materials, allowing you to achieve a grand scale impact without breaking the bank.
- Limitless Personalization: The true beauty of this project lies in its customizability. You’re not restricted to pre-made designs or common phrases. Choose a word that resonates deeply with you – be it an aspiration, a cherished memory, a name, or a simple motivational prompt. The possibilities for personal expression are endless.
- Beginner-Friendly Craft: Even if you consider yourself new to DIY projects or crafting, this project is incredibly forgiving and straightforward. With clear instructions and minimal specialized tools, anyone can achieve a professional-looking result.
- Versatile Style Integration: Whether your home decor leans towards bohemian, minimalist, modern farmhouse, or eclectic, a fabric flag can seamlessly integrate. The choice of fabric texture, color, and font style allows you to tailor the art to perfectly complement your existing aesthetic.
- Impactful Yet Lightweight: A large fabric flag makes a significant visual statement without adding the bulk or weight of traditional framed artwork. This makes it ideal for renters or anyone who prefers easily changeable decor.
Gather Your Materials: What You’ll Need for Your Fabric Word Art
Before diving into the creative process, ensure you have all your materials ready. Most of these items can be found at your local craft store or online, making this project easily accessible. Here’s a comprehensive list:
22″ x 32″ Piece of Cotton Canvas Fabric (Muslin recommended): This will serve as the base for your flag. Muslin offers a natural, versatile look, but you can choose any light-colored cotton fabric that complements your space.
Heat n Bond Ultrahold Iron-on Adhesive: Essential for securing your letters to the flag without needing extensive sewing. This fusible web creates a strong, permanent bond.
Black Cotton Fabric: This will be used for your letter cut-outs. A contrasting color like black against muslin makes the word truly pop, but feel free to experiment with other colors.
Printer + Computer Paper: For printing your chosen word or letters. Standard printer paper works perfectly.
Printable ‘Magnifique’ Letters (or your chosen word): You can find printable letter templates online, or simply type out your word in your favorite font and print it large enough for your flag.
Iron: Crucial for activating the Heat n Bond adhesive and creating a crisp, finished look.
Sewing Machine (optional): While optional, a sewing machine helps create a neat, durable hem around the edges of your flag, preventing fraying. If you don’t have one, fabric glue or a no-sew hem tape can be used.
Scissors: Sharp fabric scissors will ensure clean cuts for both the flag and the letters.
Sewing Pins: To secure patterns and hems before cutting or sewing.
Coordinating Cream Thread: If you opt to sew your hem, choose a thread color that matches your muslin fabric for a seamless finish.
Thumb Tacks (or other hanging hardware): For displaying your finished fabric flag on the wall.
Step-by-Step Guide: Crafting Your Custom Fabric Flag Word Art
1. Prepare Your Letter Fabric with Heat n Bond Adhesive
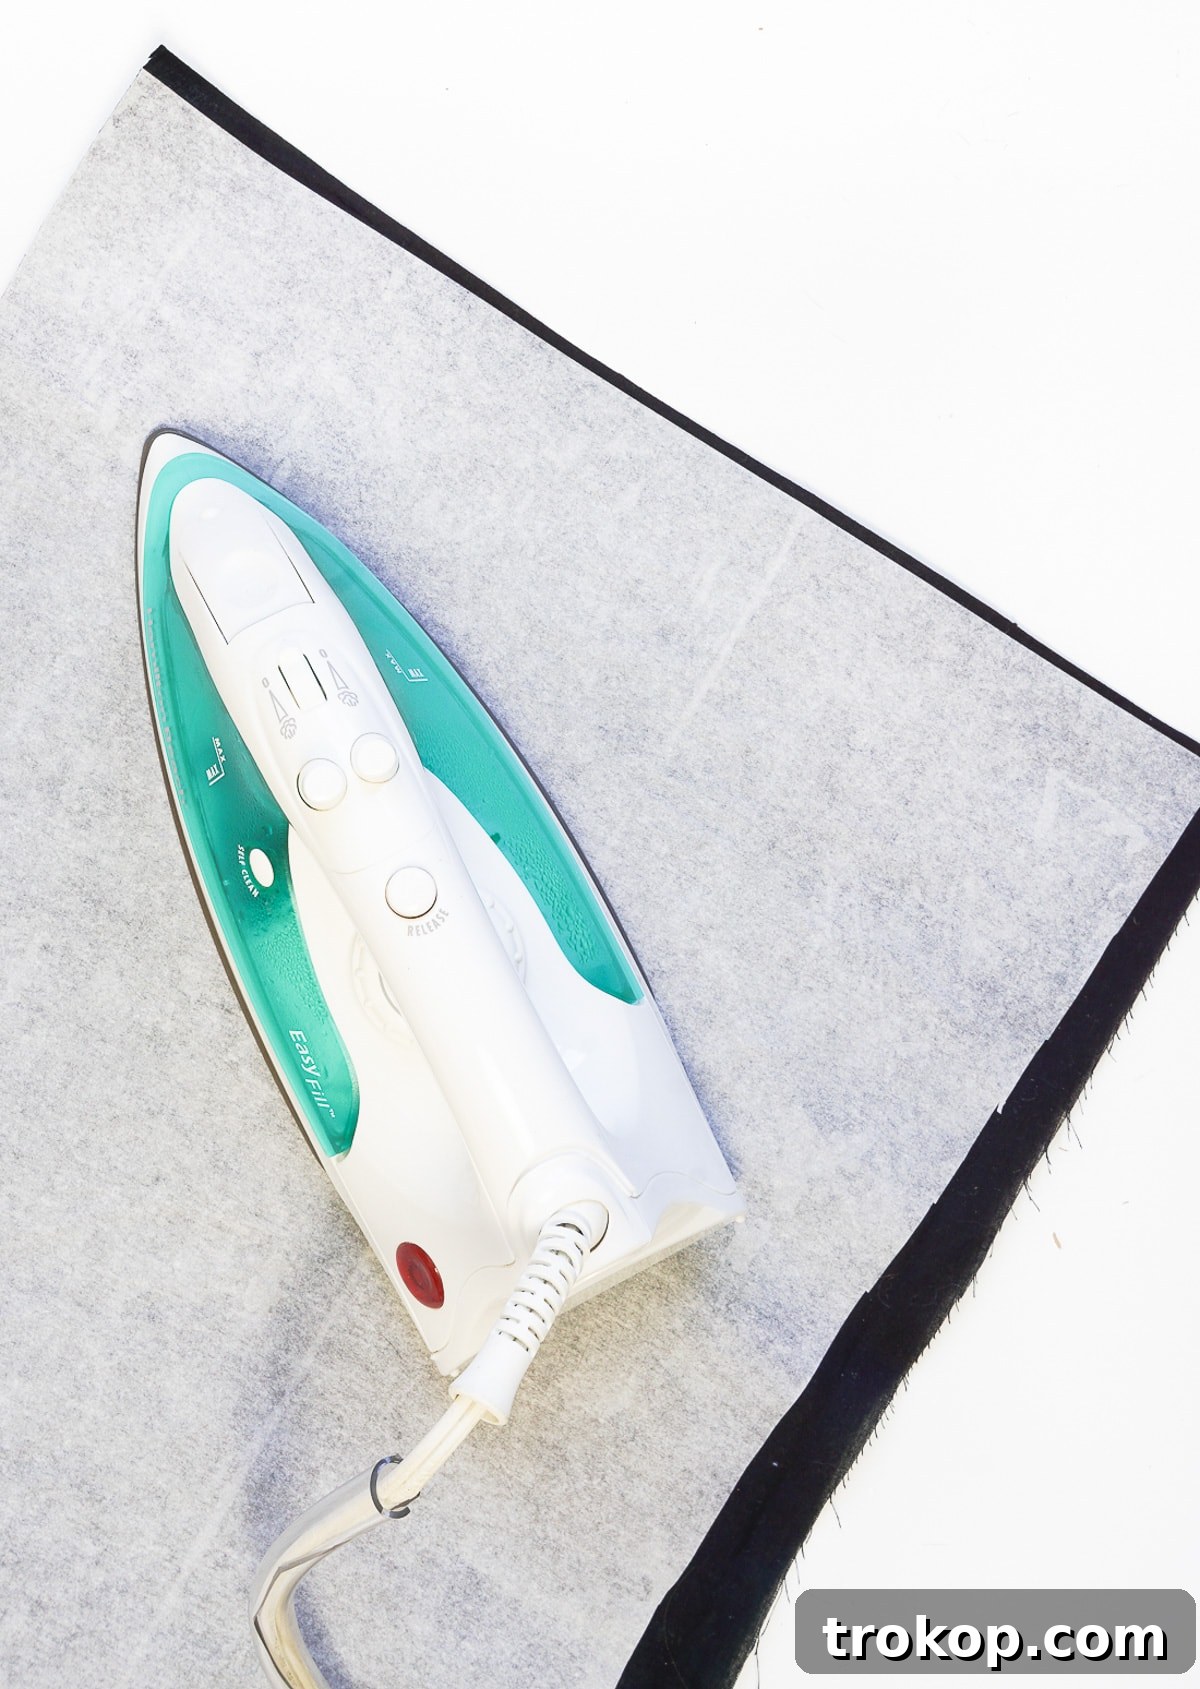
This initial step is crucial for creating crisp, no-fray letters that will adhere beautifully to your flag. Begin by preheating your iron to a medium setting, ensuring the steam function is turned OFF. Steam can interfere with the adhesive’s effectiveness. Take your Heat n Bond Ultrahold Iron-on Adhesive and place the rough, adhesive side onto the backside (the non-visible side) of your black cotton fabric. Carefully place and hold the hot iron on the paper liner of the Heat n Bond for approximately 2 seconds at a time. Lift and repeat this process, slightly overlapping, until the entire surface of your black fabric intended for letters is completely bonded with the adhesive. This ensures an even and secure bond across the fabric, which will make cutting and adhering the letters much easier later on.
2. Design and Cut Your Fabric Letters
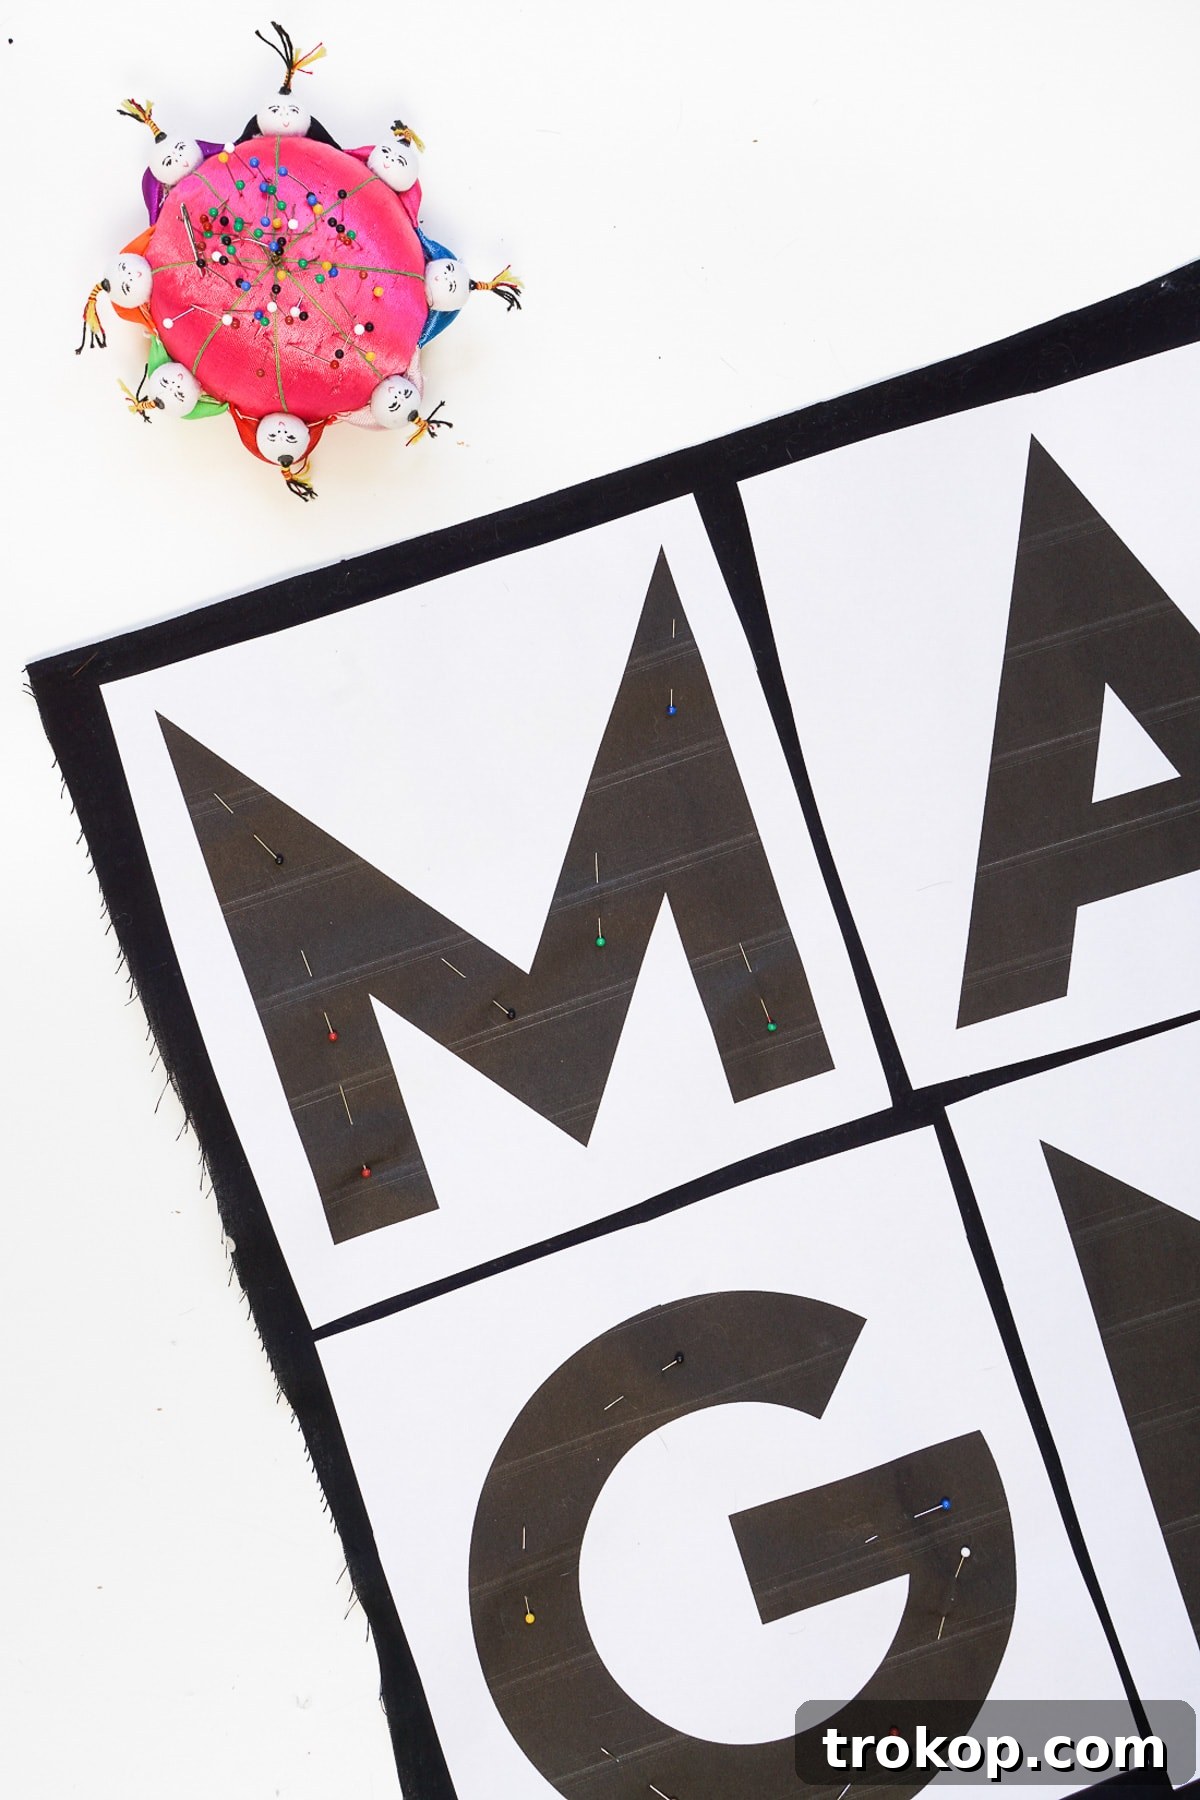
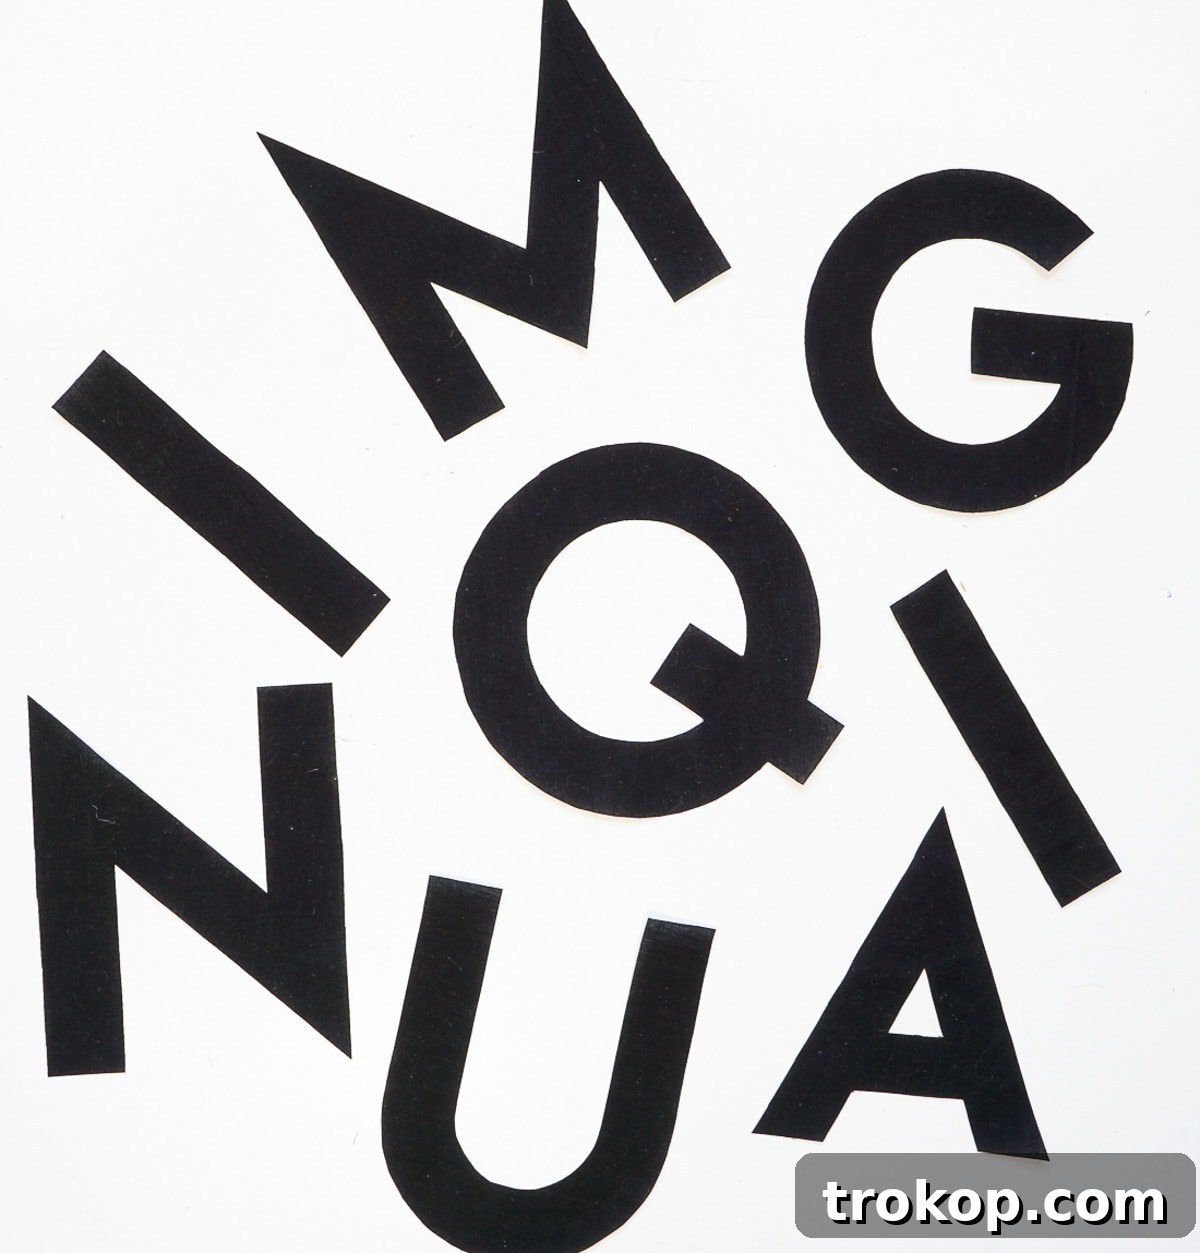
Now it’s time to bring your chosen word to life! Print out the individual letters of your word (like ‘magnifique’) on standard computer paper. Make sure they are printed in a size appropriate for your 22″ x 32″ flag – you want them to be large and legible. Once printed, carefully cut out each paper letter. Then, pin these paper patterns to the front (face) of your black fabric that you just bonded with Heat n Bond. For words with repeating letters, like the ‘I’ in ‘magnifique’, remember to cut two of those. You don’t need an excessive number of pins; 4-7 pins per letter should be sufficient to keep them securely in place while you cut. Precision in this step will ensure your final word art looks clean and professional.
3. Refine Your Fabric Letters
With the paper patterns pinned, it’s time for the most delicate cutting. Using sharp fabric scissors, carefully cut out each letter from the black fabric, following the edges of your paper templates precisely. Take your time to achieve smooth curves and straight lines. Once all letters are cut, remove the pins and gently peel away the paper patterns. You will now have a collection of beautifully cut fabric letters, each backed with the Heat n Bond adhesive, ready for placement.
4. Prepare and Hem Your Muslin Flag Base
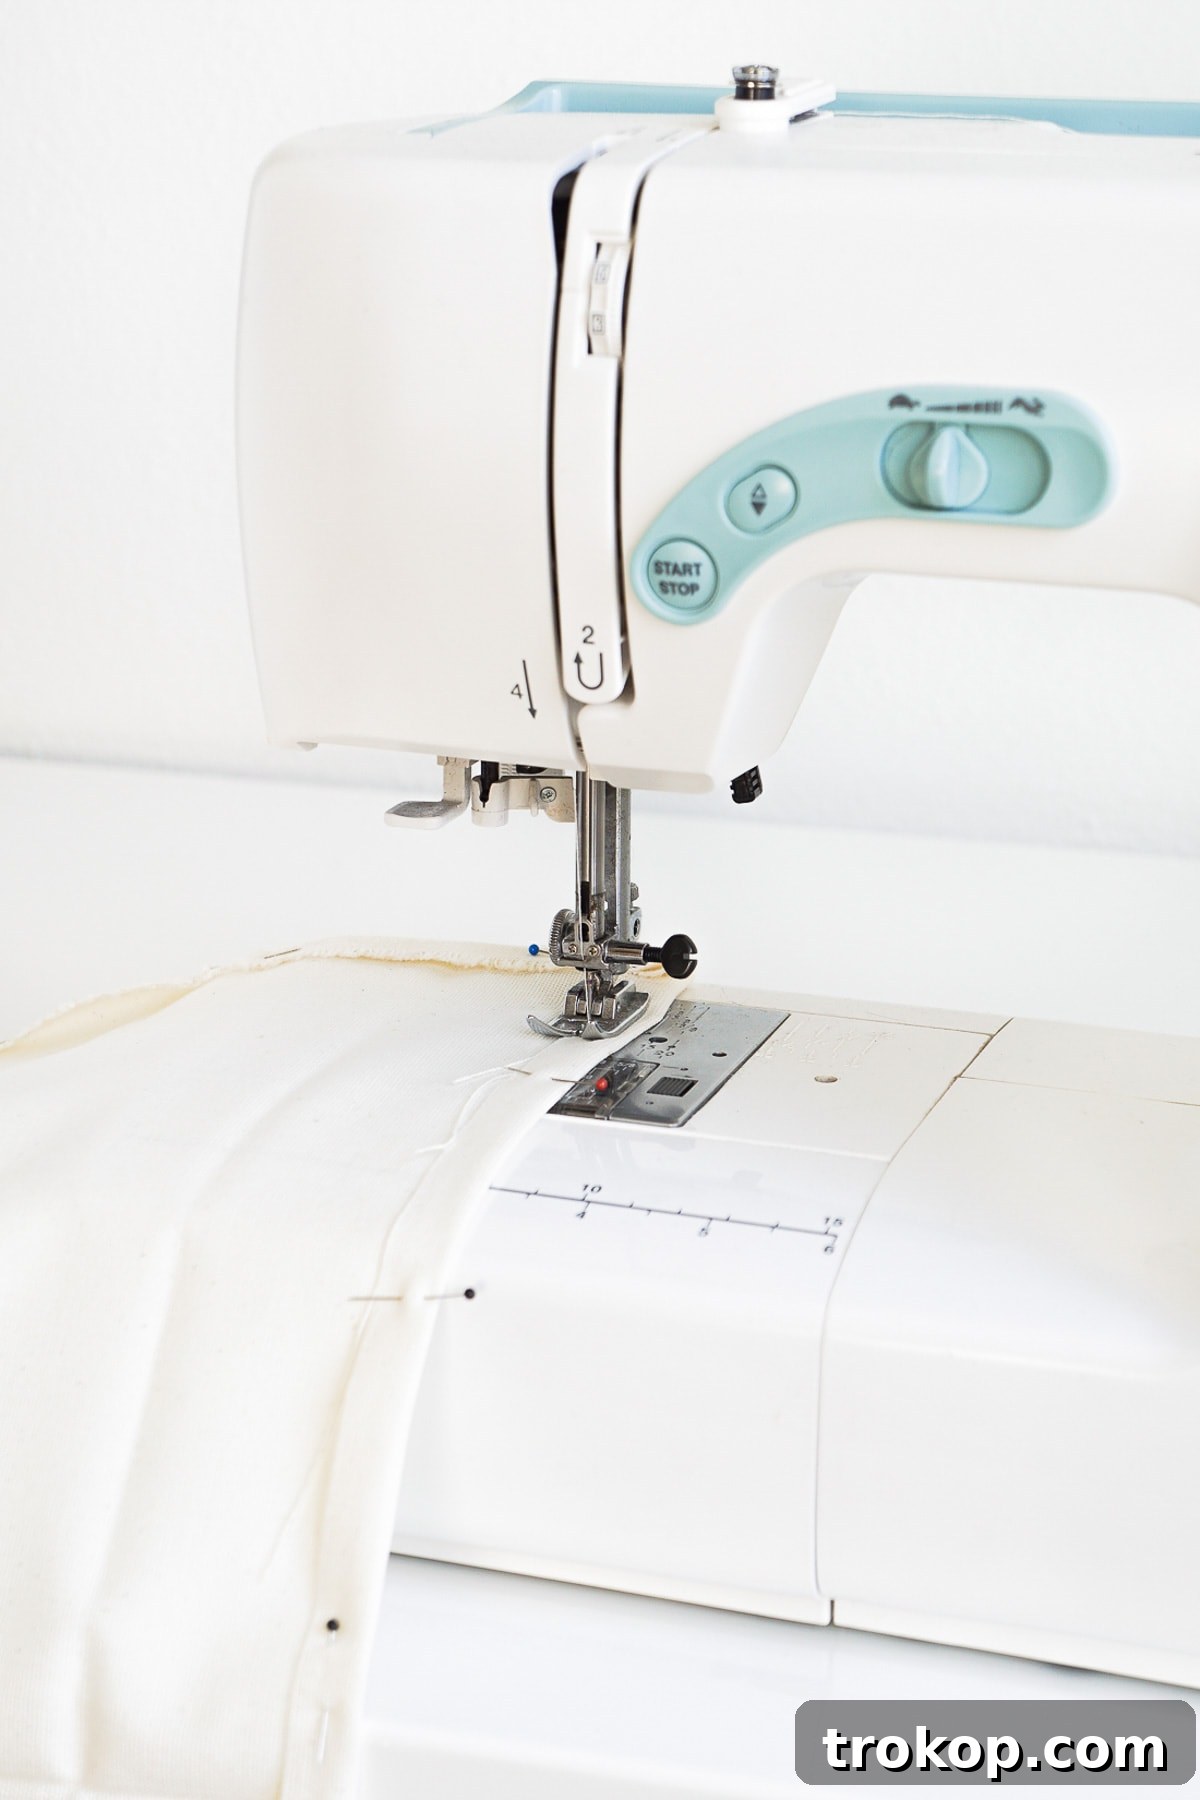
Next, we prepare the main flag fabric. Lay your 22″ x 32″ muslin canvas fabric flat. To create a neat, finished edge and prevent fraying over time, turn and pin the edges of your muslin flag under by approximately 1/2 inch. This creates a clean border. If you have a sewing machine, sew these pinned edges into place with a 3/8 inch seam allowance, using your coordinating cream thread. This step, while optional, significantly enhances the durability and professional appearance of your fabric flag. If you prefer a no-sew approach, you can use a strong fabric glue to secure the folded edges or even a no-sew hem tape, applying it carefully according to the product instructions. The goal is a clean, non-fraying edge that frames your word art beautifully.
5. Assemble and Adhere Your Word Art
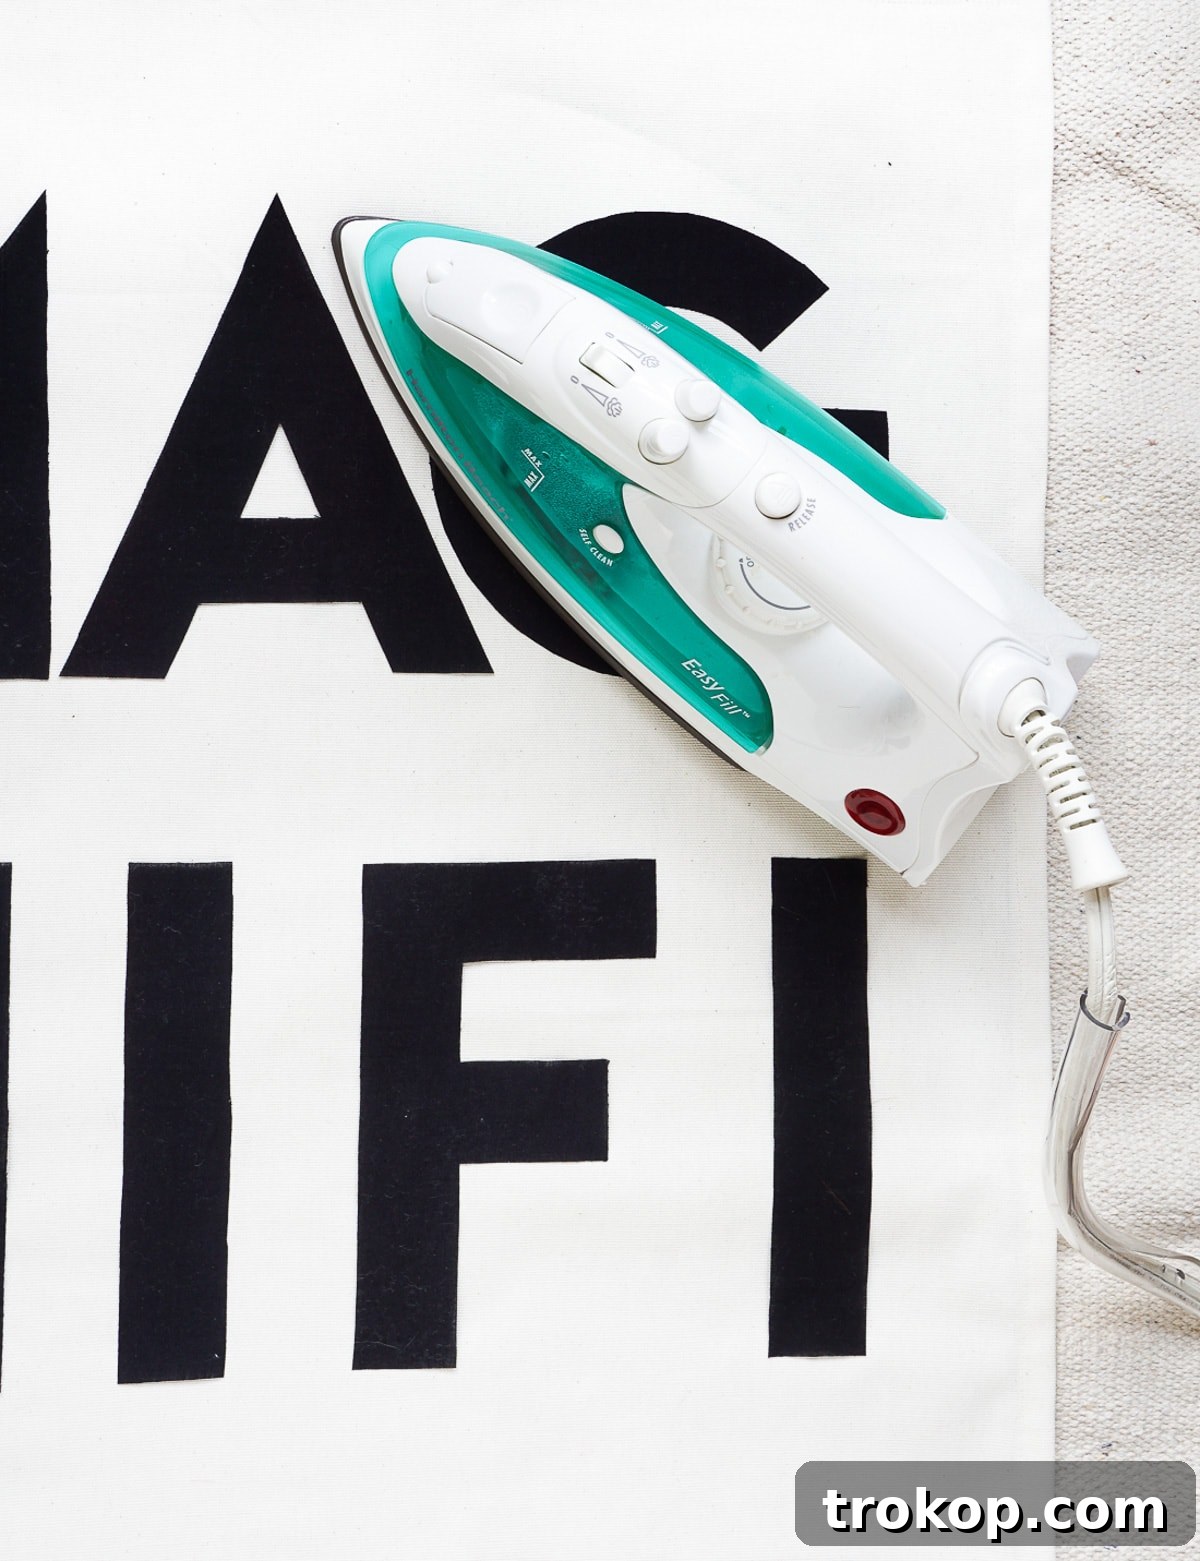
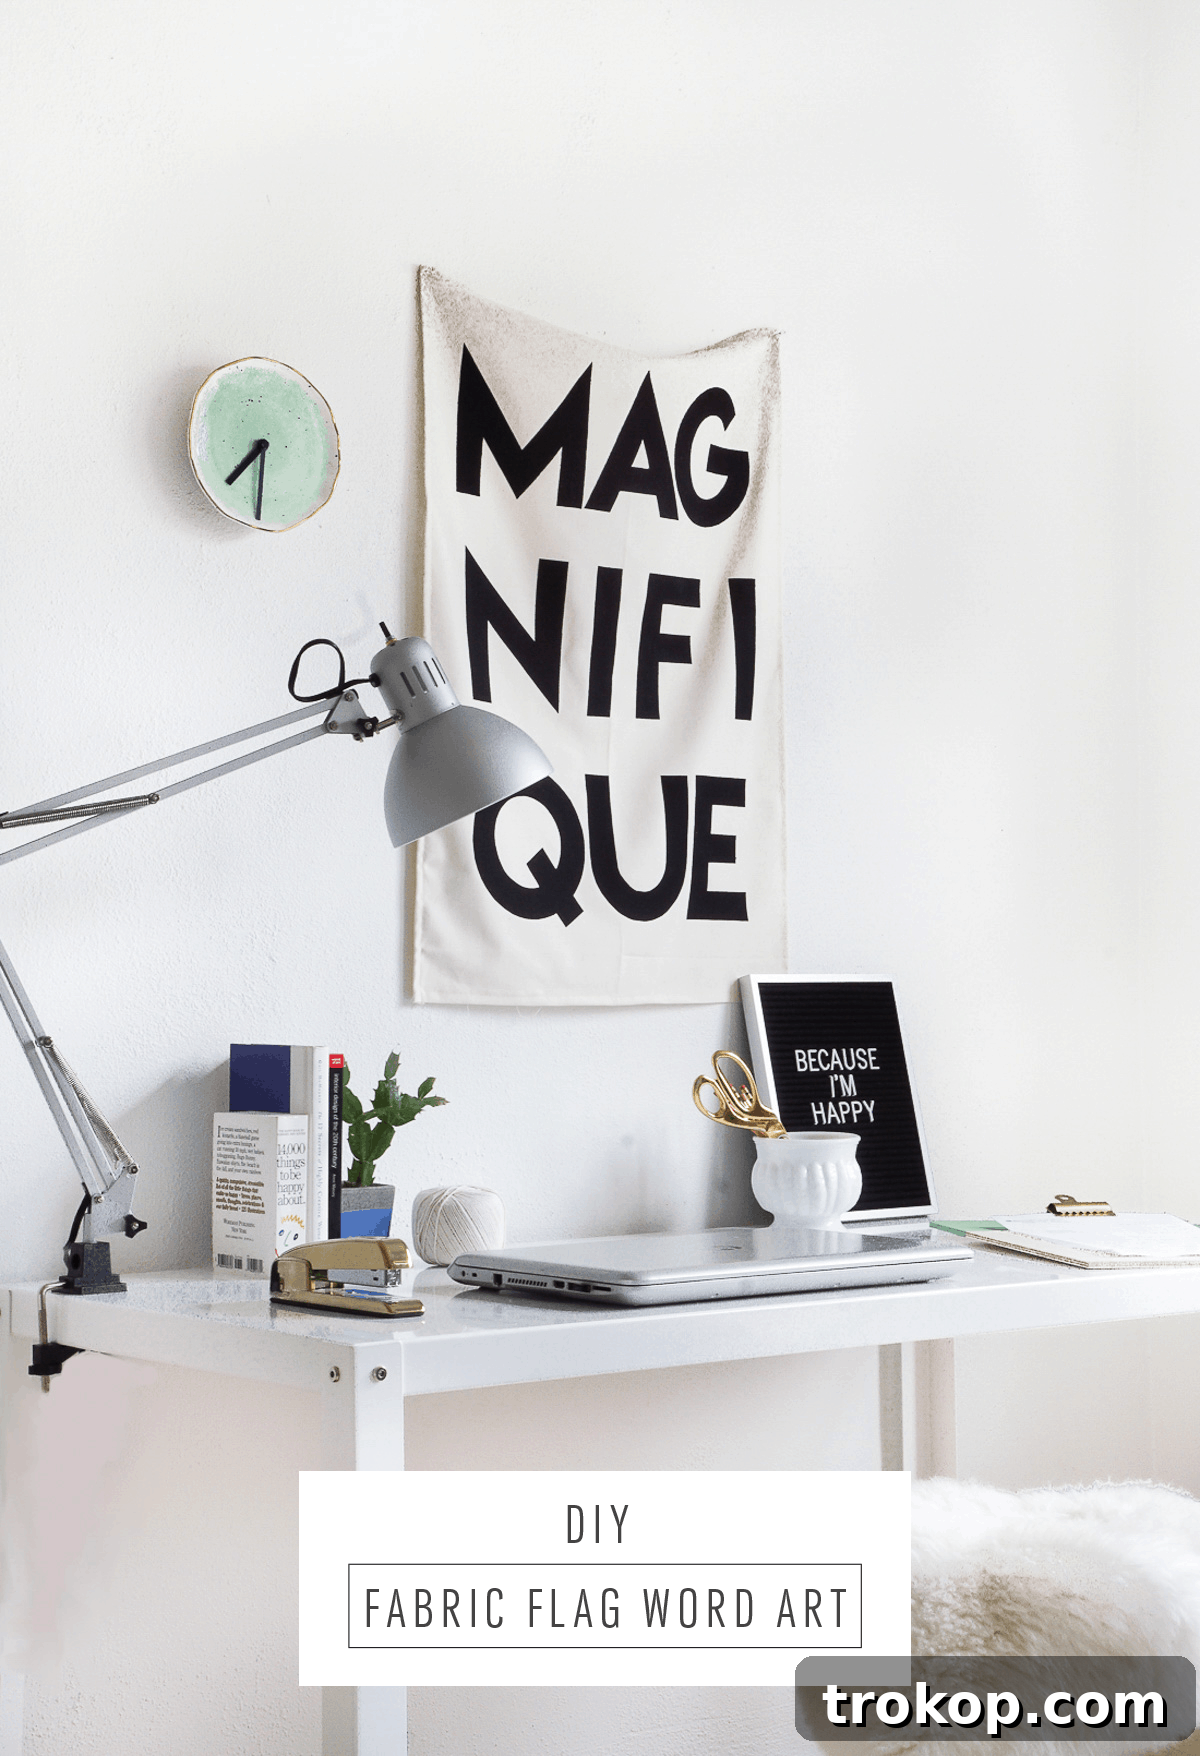
This is where your vision truly comes together! Carefully peel back the paper Heat n Bond liner from the back of each fabric letter. Arrange your letters on your hemmed muslin banner. Use a T-square or a long ruler to help you eyeball and achieve perfect alignment and spacing. Take your time with this step, stepping back to ensure the word looks balanced and centered. Once you are satisfied with the general positioning, gently press each letter with your hot iron for approximately 6 seconds. The heat will activate the adhesive, permanently bonding the letters to the muslin. Ensure each part of every letter is firmly pressed to guarantee a strong adhesion. Once cooled, your personalized fabric flag word art is complete!
6. Display Your Masterpiece
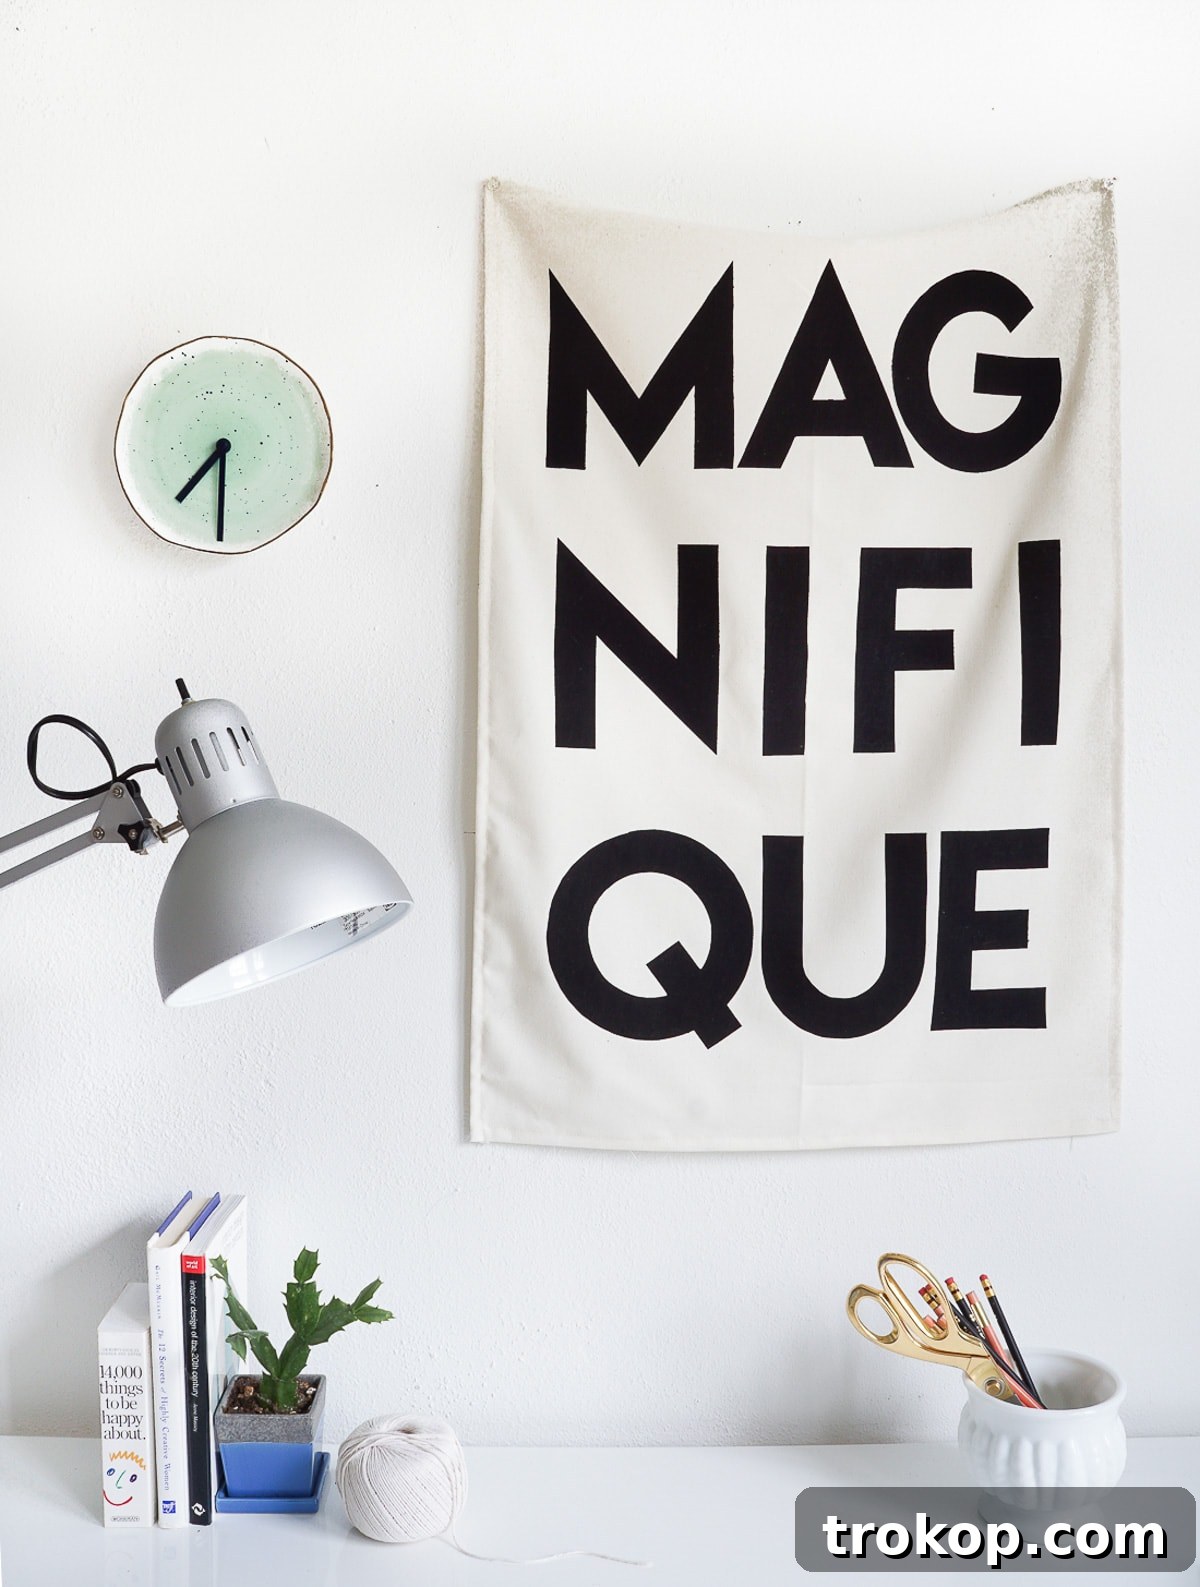
The final, exciting step is to hang your beautiful new custom fabric flag! The simplest method is to use thumb tacks to secure the top corners to your wall. For a more refined look, consider attaching a wooden dowel rod to the top edge of the flag and then hanging the dowel with string or decorative hooks. Command hooks or even strong double-sided fabric tape can also be used for a damage-free hanging solution, perfect for rented spaces. Step back and admire your personalized creation!
Customization Ideas and Tips for Your Fabric Flag
While I chose ‘magnifique’ – the French word for magnificent – to usher in Spring on a high note in my studio, the beauty of this project lies in its infinite possibilities for customization. Here are some ideas to inspire your next creation:
- Word Selection: Beyond single words, consider short inspiring phrases, coordinates of a special place, family names, or even a line from a favorite song or poem. Think about the mood you want to evoke in your space.
- Fabric Choices: Don’t limit yourself to muslin and black! Explore different background fabrics like linen, burlap, or even a subtle patterned cotton. For the letters, try textured fabrics like felt, velvet, or even a bold print for a unique effect.
- Font Styles: The font you choose dramatically impacts the flag’s aesthetic. A script font adds elegance, a sans-serif font offers modern simplicity, and a bold, block font creates a strong statement. Experiment with different fonts on your computer before printing.
- Sizes and Shapes: Adjust the dimensions of your flag to fit different spaces. A smaller banner could be perfect for a gallery wall, while a long, narrow one might suit a hallway. You could also experiment with different flag shapes, such as a swallowtail cut on the bottom.
- Embellishments: For an extra touch, consider adding subtle embellishments. A thin painted border, tassels on the bottom corners, or even a few hand-stitched details can elevate your fabric flag.
- No-Sew Alternatives for Letters: If Heat n Bond isn’t available or preferred, you can use fabric glue or permanent fabric markers to create your letters, though the texture will be different.
Conclusion: Embrace the Joy of Personalized Home Decor
This DIY Printable Fabric Flag Word Art project offers a wonderful opportunity to infuse your living space with personality and style without breaking the bank. It’s an accessible and enjoyable craft that results in a truly unique piece of decor. Whether you’re refreshing a studio, adding warmth to a living room, or personalizing a nursery, the ability to choose your own inspiring word or phrase makes this project exceptionally meaningful.
So, why wait for another season? Gather your materials, unleash your creativity, and embark on this rewarding DIY journey. What word will you choose to transform your space and bring a touch of magnificent artistry into your home?