
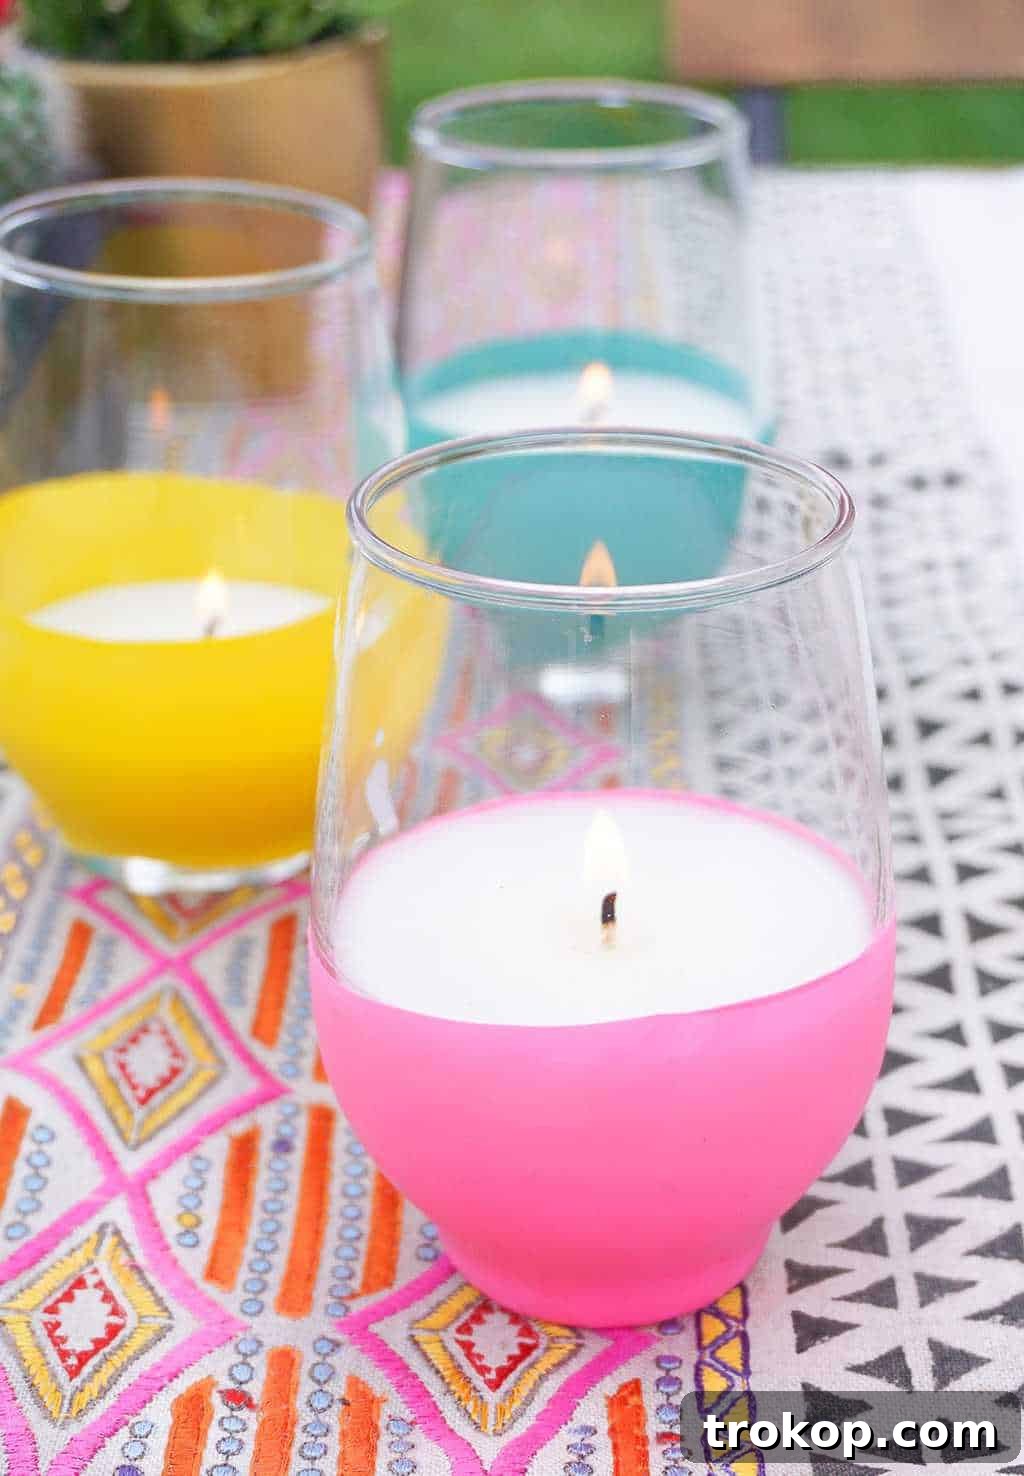
Are you ready to reclaim your summer nights from those buzzing intruders? These DIY Citronella Candles offer the perfect blend of style and function, designed to impress your guests while effectively keeping pesky mosquitos at bay. What’s even better? You won’t believe how straightforward this charming DIY project is!
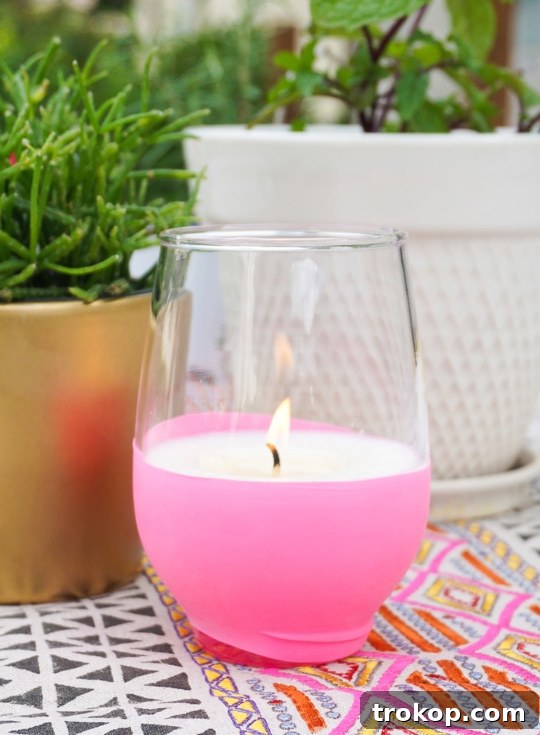
Throughout the long winter months, many of us dream of the warm embrace of summer evenings spent outdoors – perhaps a cozy backyard gathering, a romantic dinner al fresco, or simply enjoying the tranquil quiet under a starlit sky. The only unwelcome guests that threaten to disrupt this idyllic vision are mosquitos, turning blissful moments into an itchy ordeal.
But fear not! To ensure your outdoor spaces remain inviting, serene, and delightfully mosquito-free all summer long, we’ve crafted a brilliant solution. Our simple yet elegant homemade citronella candles, featuring pure essential oils and natural soy wax, are your new best friends. These beautiful candles do more than just deter bugs; they also cast a warm, ambient glow, enhancing the beauty of your backyard oasis.
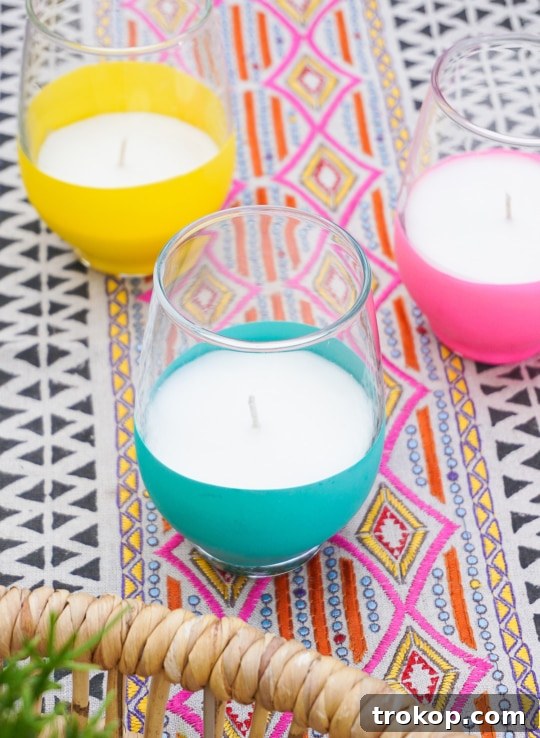
The secret to their unique aesthetic lies in a surprisingly simple decorative technique: the candle vessels are adorned with standard vinyl balloons. This clever method creates a vibrant, “dipped” look without the need for messy paints or complicated techniques. It’s an innovative way to add a pop of color and personality to your homemade candles, ensuring a clean and effortless crafting experience.
So, if your goal is to enjoy truly peaceful, bug-free outdoor moments this summer, these Balloon-Dipped DIY Citronella Candles are an absolute must-try. Infused with potent citronella essential oil, they are highly effective, and their gentle light provides the prettiest ambiance as dusk settles in.
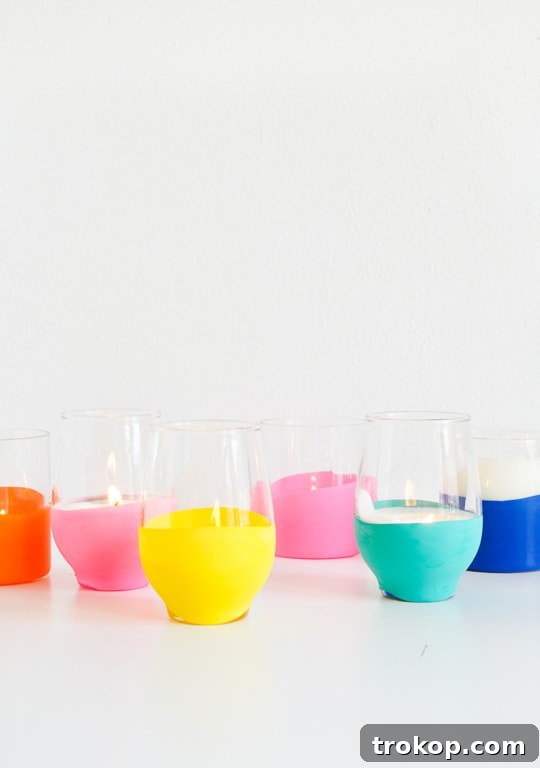
Essential Materials and Tools for Your DIY Citronella Candles
Gathering the right supplies is the first step towards creating your beautiful and effective citronella candles. Here’s what you’ll need:
- Glass Tumblers: These will serve as your candle vessels. Opt for sturdy, heat-resistant glass. Stemless wine glasses or classic mason jars are also excellent, readily available alternatives that add a rustic or chic touch.
- Citronella Java Essential Oil: This is the star ingredient for mosquito deterrence. For optimal effectiveness, we recommend using approximately 50 drops of essential oil per 1 cup of unmelted wax chips. If you’re measuring by melted wax, that’s roughly 3 drops per cup. Adjust to your preference for scent strength and bug-repelling power.
- Soy Wax: A natural, renewable resource, soy wax burns cleaner and longer than paraffin wax. It’s also easier to work with for DIY projects, making it a favorite among candle makers.
- Wax Wicks: Choose wicks specifically designed for soy wax and the diameter of your chosen vessels to ensure an even burn. Pre-tabbed wicks are typically easiest for beginners.
- Metal Wick Plates (Optional but Recommended): These small metal discs attach to the bottom of your wick and help keep it centered and secure at the base of your candle. Alternatively, a dab of hot glue can also effectively secure the wick to the bottom of the glass.
- Standard Sized Vinyl Balloons: The key to our unique “dipped” look! While latex balloons can be used, vinyl balloons are superior for this project as they are more durable, weatherproof, and resistant to color fading when exposed to outdoor elements.
- Saucepan: Crucially, dedicate one saucepan solely for candle making. Wax can be difficult to clean thoroughly, so using a separate pot prevents cross-contamination with food items. A thrift store find is perfect for this purpose!
- Stir Stick: A simple wooden skewer or kabob stick works wonderfully for stirring the melting wax and later for centering your wicks.
- Scissors: Essential for trimming wicks and preparing your balloons.
- Pencils: Handy tools for holding your wicks upright and centered while the wax sets.
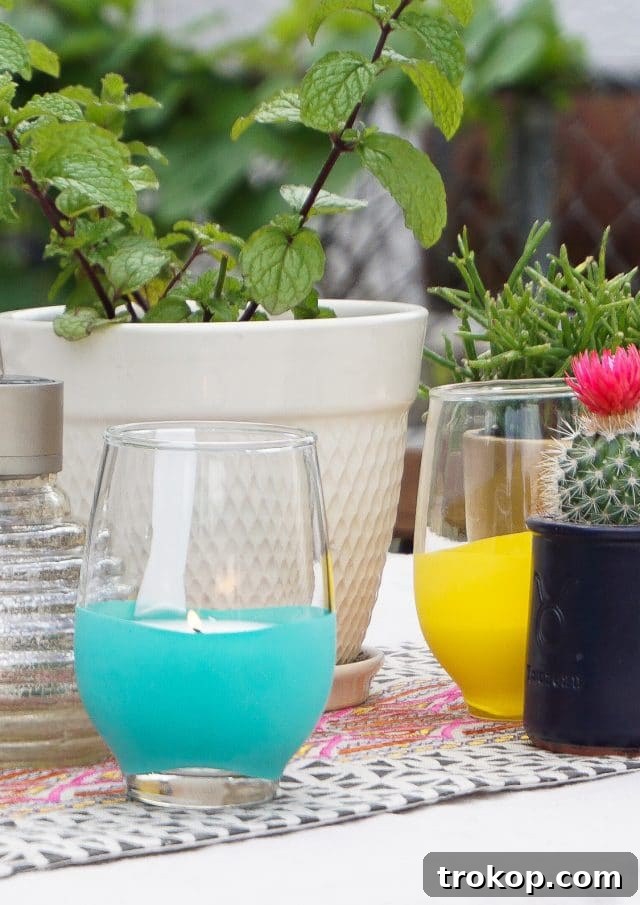
Understanding Citronella Oil: Nature’s Potent Mosquito Repellent
When it comes to natural mosquito repellents, citronella is often the first and most effective solution that comes to mind, and for good reason! This remarkable essential oil is derived from the fragrant Cymbopogon plants, primarily from varieties like Ceylon citronella and Java citronella, as well as lemongrass.
Its powerful insect-repelling properties make it a staple in plant-based bug sprays and, of course, candles. Research has shown citronella oil to be an effective deterrent against mosquitos, often comparable in efficacy to some synthetic repellents like DEET, especially in contained outdoor spaces. The way it works is by masking the scents that attract mosquitos, making it harder for them to locate you.
Beyond its functional benefits, citronella essential oil boasts a refreshing aroma. It’s often described as a grassy, citrusy, and slightly floral scent, which makes it a delightful addition to any outdoor setting. This means your homemade citronella candles will not only ward off annoying insects but also double as beautiful, scented candles, creating a pleasant atmosphere for all your outdoor enjoyment.
Enhancing Your Citronella Candles: Complementary Scents
While citronella candles are undoubtedly a must-have for any home looking to enjoy the outdoors bug-free, the distinct citrusy scent of citronella can be quite potent on its own. To create a more complex, personalized, and universally appealing aroma, consider blending citronella with other essential oils. These complementary fragrances not only enhance the overall scent profile but many also possess their own natural insect-repelling qualities:
- Pine: Adds a fresh, woodsy, and earthy note that can evoke the feeling of a forest retreat.
- Mandarin Orange: For an extra burst of bright, sweet citrus that softens citronella’s sharper edges.
- Eucalyptus: Offers a clean, camphoraceous, and invigorating scent, also known for its insect-repelling properties.
- Rosemary: Contributes a herbaceous, warm, and somewhat pine-like aroma, creating a sophisticated blend.
- Peppermint: Provides a cool, crisp, and stimulating fragrance that many bugs dislike.
- Oregano: A less common but highly effective addition, offering a warm, herbaceous, and slightly spicy note that amplifies bug deterrence.
Experiment with different combinations to find your favorite blend, creating custom citronella candles that smell as amazing as they look.
Step-by-Step Guide: Crafting Your Balloon-Dipped Citronella Candles
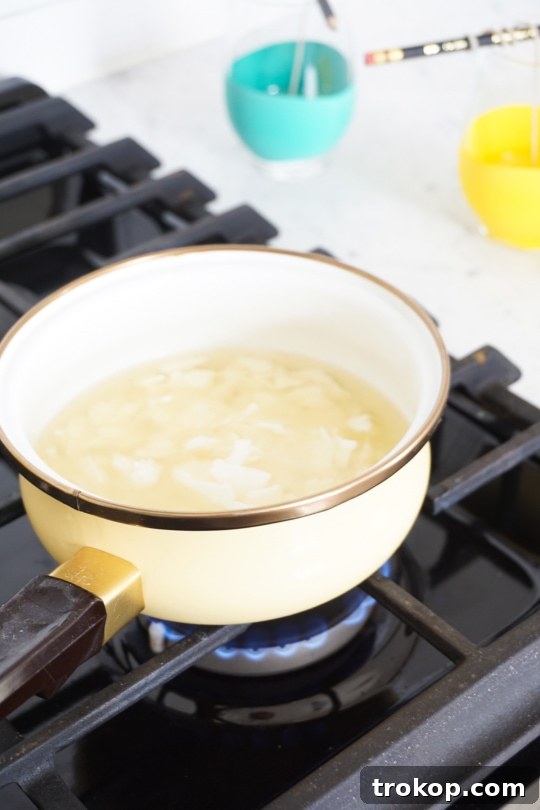
Step 1: Melt the Wax. Measure out your soy wax. A good rule of thumb is to measure twice the volume of the desired wax in each glass vessel you plan to use. Place the wax in your dedicated saucepan and melt it on the lowest heat setting. Stir the wax occasionally with a stir stick to ensure even melting and prevent scorching. Patience is key here to achieve a smooth, consistent wax base.
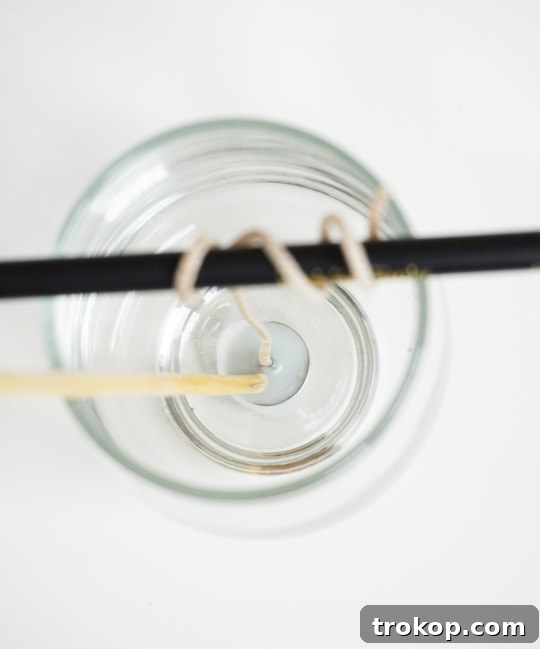
Step 2: Prepare the Wicks. While your wax is gently melting, prepare your wicks. If using metal wick plates, thread the wick through the plate. Then, carefully wrap the excess wick around a pencil and rest the pencil across the opening of the glass tumbler. This ingenious setup will keep your wick perfectly centered and upright. Alternatively, you can secure the wick by applying a small dot of hot glue to the metal base of the wick and pressing it firmly to the bottom center of the glass vessel. It’s always a good idea to prepare your wicks in advance to streamline the candle-making process.
Step 3: Secure the Wicks. Once the wax has fully melted, remove the saucepan from the heat. Dip the metal base of each wick (or the hot-glued end) into the melted wax. This creates a stronger bond. Immediately adhere the wick to the bottom center of the glass. Use your stir stick or a similar tool to gently press and set the wick in place, ensuring it’s firmly attached and perfectly vertical.
Infusing Fragrance: Adding Essential Oils to Your Homemade Candles
Now comes the exciting part: infusing your candles with the mosquito-repelling power of essential oils! It’s crucial to add the essential oil once the wax has cooled slightly but is still in liquid form. Adding it to wax that is too hot can cause the oils to evaporate, diminishing their potency and scent throw. We used approximately 150 drops of citronella essential oil (equivalent to 50 drops per 1 cup of unmelted wax chips) to ensure these candles pack a powerful punch against mosquitos, making them truly effective bug repellent candles.
Step 4: Incorporate Essential Oils. Add the desired number of essential oil drops directly into the saucepan of slightly cooled wax. Give it a thorough stir with your stir stick, ensuring the oils are evenly distributed throughout the wax for consistent scent and efficacy.
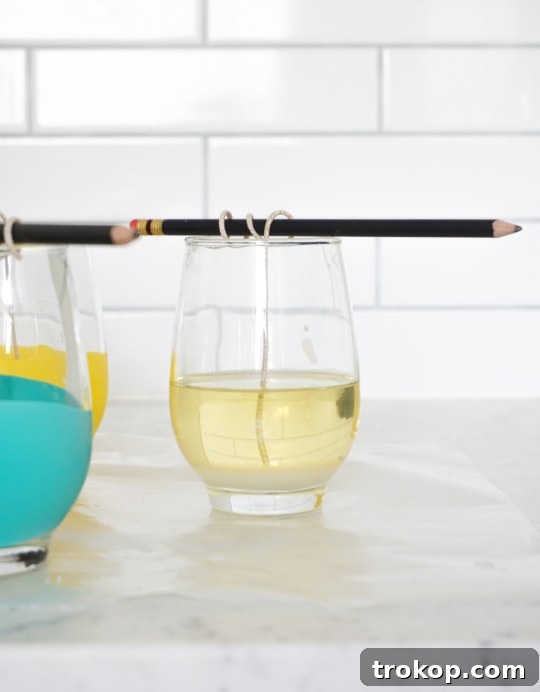
Step 5: Pour the Wax. Carefully pour the scented wax, dividing it evenly among your prepared glass tumblers. Take care not to disturb the centered wicks.
Step 6: Re-center Wicks. Double-check that all wicks remain perfectly centered. If any have shifted, gently adjust them using your stir stick or pencils before the wax begins to set.
Step 7: Allow Wax to Cool. Let the wax cool and solidify for approximately 2 hours. During this time, the wax will turn opaque, indicating it is setting properly. Avoid moving the candles during this crucial cooling phase to prevent uneven surfaces.
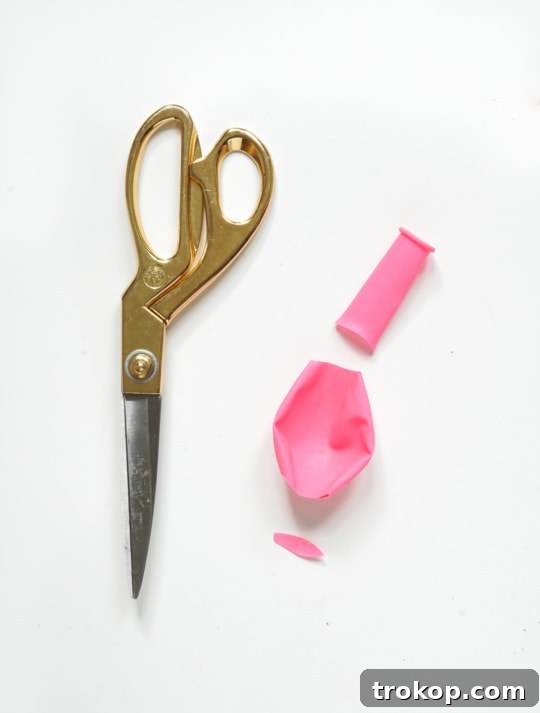
Step 8: Prepare the Balloons. While the wax is cooling, get your vinyl balloons ready. Using scissors, carefully trim off the narrow neck of each balloon and the small pointed tip at the bottom. This will create a clean, open cylinder that’s easy to slide onto the glass.
Step 9: Trim the Wicks. Once the wax has fully cooled and hardened, retrieve your scissors and trim each wick to a length of about 1/4 inch. A shorter wick ensures a cleaner, safer, and more efficient burn, minimizing soot and optimizing the flame size.
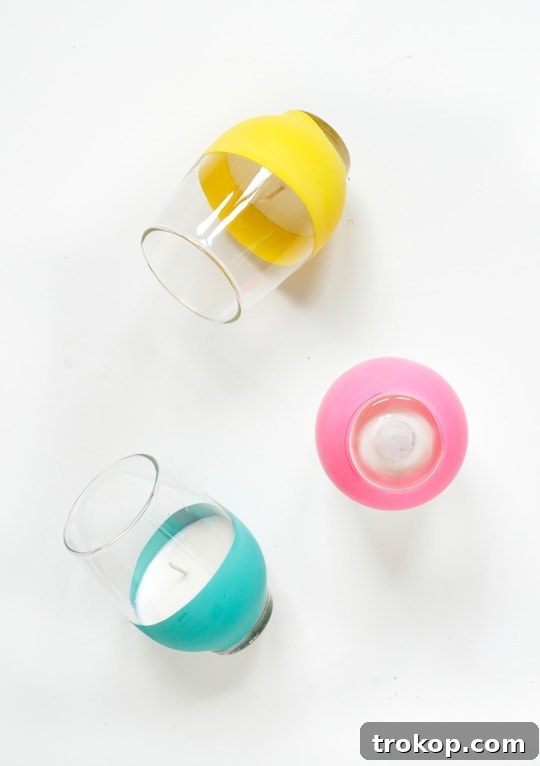
Step 10: Apply the Balloon Dip. Now for the signature “balloon-dipped” effect! Gently stretch and slide each prepared balloon onto the bottom one-third of the glass tumbler. It may require a little adjustment and maneuvering to get it perfectly into place, but remember, the beauty of this technique is its imperfect, artful “dipped” appearance. Don’t strive for absolute perfection; the slightly uneven edge adds to its handmade charm!
Beyond Candles: More DIY Projects for Your Backyard Oasis
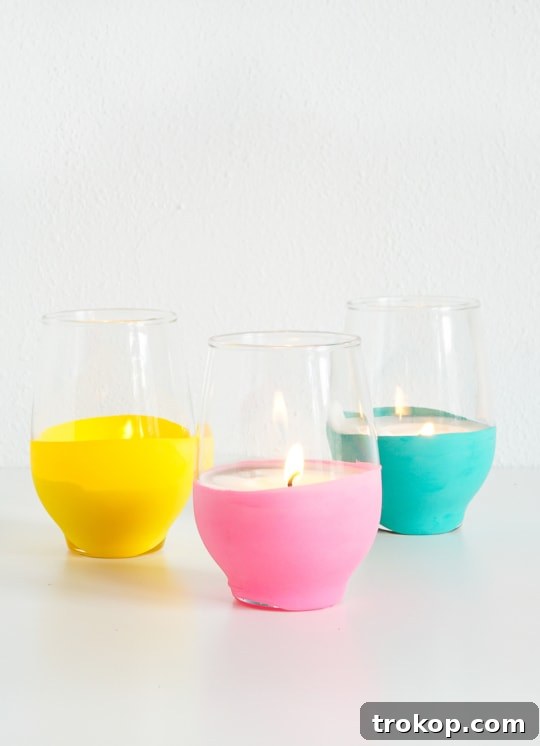
And there you have it – your very own handmade, balloon-dipped citronella candles, ready to illuminate and protect your outdoor spaces! Always be sure to follow the burn instructions provided with your wick packaging. For safety, never leave candles burning for more than four hours at a time, and always keep them within sight. We absolutely adore spending time outdoors, and these DIY citronella candles truly blend functionality with undeniable prettiness.
If you’re looking for more easy and creative ways to enhance your backyard and enjoy the warmer months, dive into a few of our other favorite DIY projects from the archives:
- Backyard games idea: Flamingo DIY Ring Toss – Fun for all ages!
- How to make an easy modern wind chime – Add soothing sounds to your garden.
- Patio lighting idea: How to make a battery operated outdoor light – Simple illumination for any setting.
- DIY vertical garden: An easy succulent wall hanger – Bring greenery to your walls, even in small spaces.
- Easy indoor and outdoor movie night ideas – Transform your space into a cinematic experience.
- DIY waterproof outdoor paper lanterns – Create festive and durable lighting.
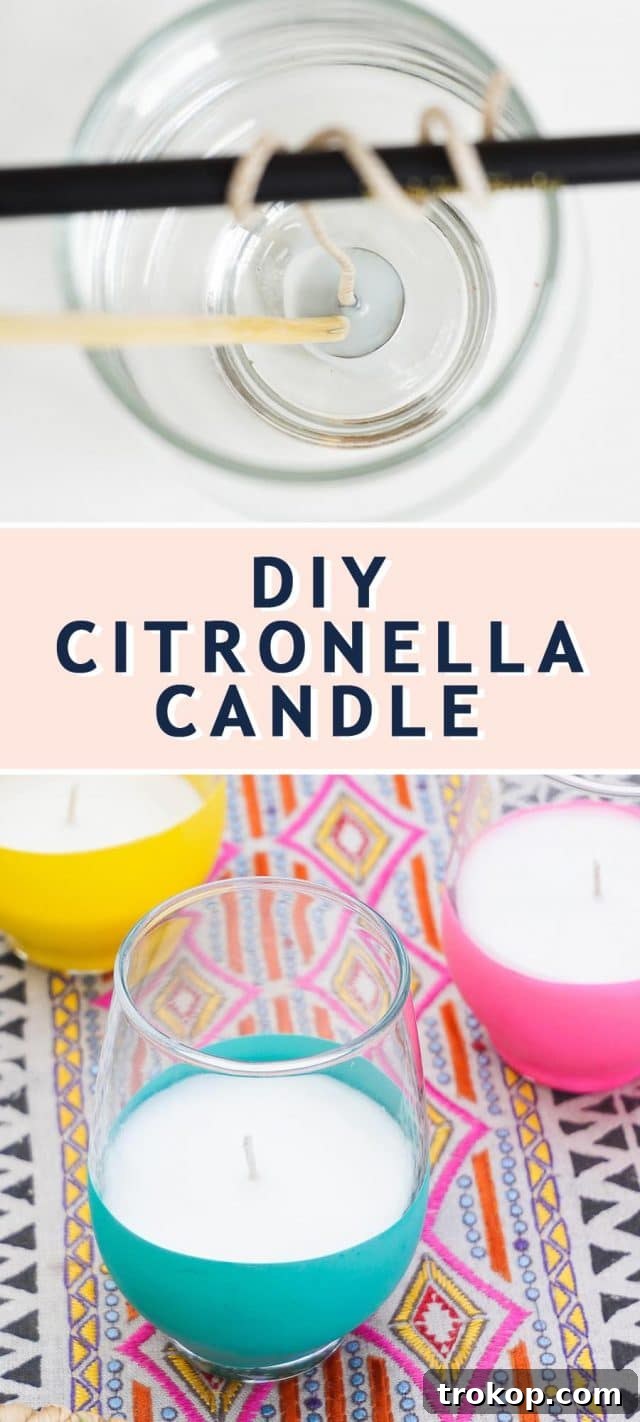
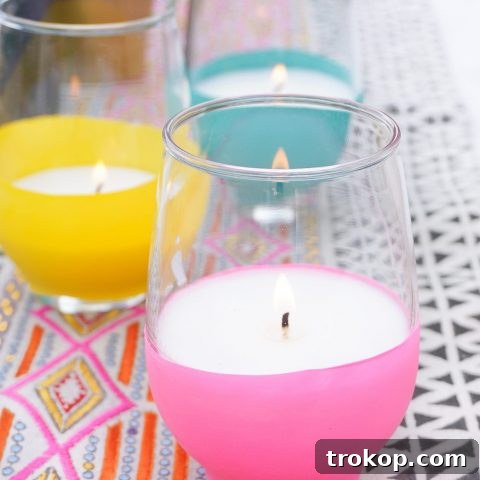
DIY Balloon Dipped Citronella Candles
These homemade DIY Citronella Candles are a brilliant way to add a stylish touch to your outdoor entertaining while effectively keeping unwanted bugs away. Easy to make and beautifully effective!
Prep Time: 45 minutes
Cool Time: 2 hours
Total Time: 2 hours 45 minutes
Course: DIY Project
Category: Candle Making, Outdoor Decor
Equipment
- Scissors
- Pencils
- Saucepan (dedicated for candle making)
- Stir stick (wooden kabob stick works well)
Materials
- 12 Glass tumblers (or stemless wine glasses, mason jars)
- Citronella Java essential oil (approx. 50 drops per 1 cup unmelted wax)
- Soy wax flakes
- Wax wicks
- Standard sized vinyl balloons
- Metal wick plates (optional, or hot glue for securing wicks)
Instructions
- Measure out twice the volume of wax needed for each glass vessel and melt it in a dedicated saucepan on the lowest heat setting. Stir occasionally.
- While the wax is melting, prepare your wicks. Thread each wick through a metal wick plate (if using). Wrap the excess wick around a pencil and rest the pencil across the tumbler’s opening to hold the wick centered. Alternatively, hot glue the wick’s metal base to the bottom of the glass.
- Once the wax is melted, remove it from heat. Dip each metal wick plate (or the hot-glued base) into the melted wax, then firmly adhere it to the bottom center of the glass. Use a stir stick to ensure it’s secure.
- Allow the wax to cool slightly. Add approximately 150 drops of citronella essential oil (or 50 drops per cup of unmelted wax) into the saucepan and stir well to combine.
- Carefully pour the scented wax, dividing it evenly among your prepared glass tumblers.
- Ensure all wicks remain perfectly centered using the pencils or by gently adjusting them.
- Allow the wax to cool and harden completely for about 2 hours. Do not disturb during this time.
- While the candles are cooling, prepare your balloons by trimming off both the neck and the pointed bottom tip with scissors.
- Once the wax has hardened, use scissors to trim the candle wicks to approximately 1/4 inch in length.
- Gently stretch and slide each trimmed balloon onto the bottom one-third of the glass tumbler. Adjust as needed to achieve your desired “dipped” look.
Notes
- Always use a saucepan specifically dedicated to candle making to avoid wax residue in your cooking utensils.
- Preparing your wicks in advance can help streamline the candle-making process.
- For enhanced scent and bug-repelling properties, consider blending citronella with other essential oils like eucalyptus, peppermint, or rosemary.
- Always follow candle safety guidelines: Never leave burning candles unattended, keep them away from flammable materials, children, and pets, and do not burn for more than 4 hours at a time.
Estimated Cost: $75 (for materials to make 12 candles)
Keywords: DIY citronella candles, homemade candles, mosquito repellent, outdoor decor, summer crafts, essential oil candles, natural bug solution, easy DIY.

Discover More Outdoor Inspiration & DIY Ideas
28 Decorative Wall Mirrors You’ll Wish You Bought Sooner
Looking for the perfect wall mirror to elevate your home decor? Explore our comprehensive roundup of stunning and stylish decorative wall mirrors to instantly brighten any room.
Continue Reading
37 Best Beach Toys for Vacation Fun
Planning a beach getaway? Discover the ultimate collection of the best beach toys for kids, toddlers, and families to ensure endless vacation fun in the sun and sand!
Continue Reading
Your Guide to Hosting the Perfect Outdoor Movie Night
From crafting your own DIY projectors to setting up cozy seating arrangements, explore the best tips and ideas for hosting an unforgettable outdoor movie night for friends and family.
Continue Reading
33 Easy DIY Pumpkin Painting Ideas
Get creative for the fall season! Create festive and unique decorations with these fun and easy pumpkin painting ideas, perfect for Halloween, Thanksgiving, and autumn home decor.
Continue Reading