
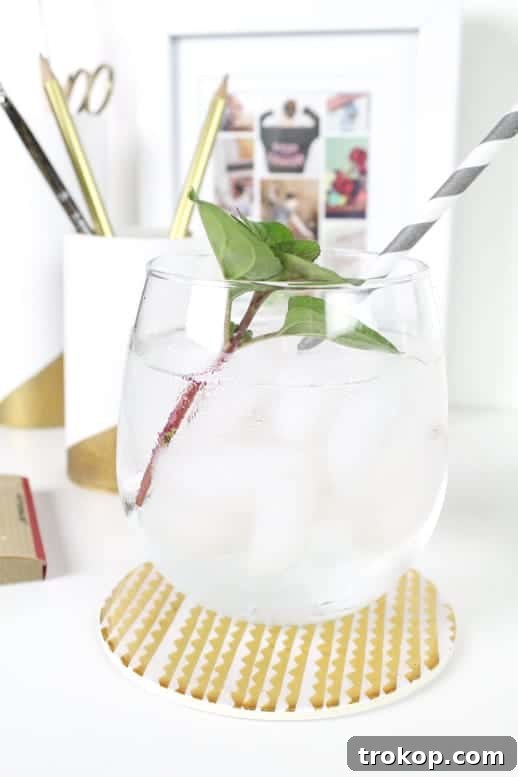
DIY Waterproof Paper Coasters: Preserve Your Paper Pretties with Ease
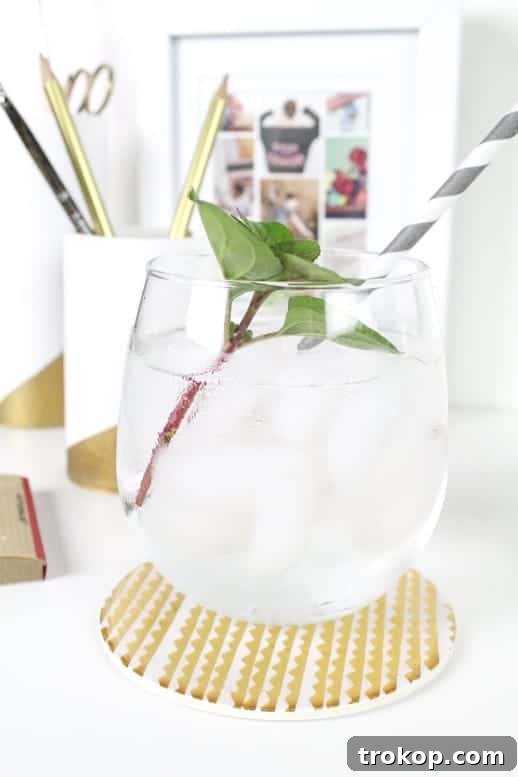
Are you someone who falls in love with beautifully designed paper goods, only to hesitate using them because you’re afraid they’ll get ruined? Perhaps you’ve collected charming paper coasters, adorable gift tags, or elegant stationery that’s just too pretty for practical use. We understand that feeling completely! The dilemma of wanting to admire and use beautiful paper items while also preserving their pristine condition is a common one among craft and decor enthusiasts.
Imagine having a stack of gorgeous paper coasters, perfect for your next gathering, but you find yourself tucking them back into their box, worried about water rings, spills, and inevitable wear and tear. Or perhaps you’ve bought a lovely scrub or candle with an exquisite label, only to keep it away from water, fearing the label might peel or fade. It’s a bittersweet experience – appreciating the aesthetic appeal but sacrificing its intended function.
Good news! There’s a simple, brilliant solution to this common creative conundrum: waterproofing your paper items. This DIY Waterproof Paper Coasters tutorial will show you exactly how to transform your delicate paper pretties into durable, functional pieces that can withstand everyday use without losing their charm. Get ready to embrace the beauty of your paper goods, knowing they are protected and ready to be enjoyed!
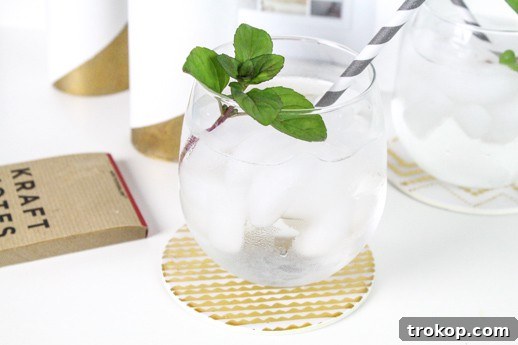
Why Waterproof Your Paper Coasters?
The charm of paper coasters lies in their intricate designs, vibrant colors, and often unique textures. However, their inherent vulnerability to moisture makes them impractical for actual use with beverages. A single condensation ring or an accidental spill can permanently stain or deform them, turning a beautiful piece into a ruined relic. This is where waterproofing becomes a game-changer.
By applying a protective layer, you can:
- Prevent Water Damage: Say goodbye to unsightly water rings, stains, and soggy paper. Your coasters will stand up to cold drinks, hot mugs, and minor spills.
- Increase Durability: The waterproofing agent adds a layer of strength, making your paper coasters more rigid and less prone to bending, tearing, or fraying edges.
- Maintain Aesthetic Appeal: Preserve the original beauty of your paper designs for much longer. No more worrying about labels on scrubs or candles wearing off in humid environments.
- Enable Practical Use: Finally, you can use those “too pretty to use” coasters for their intended purpose, adding a touch of elegance and personality to your tabletops without fear.
- Create Thoughtful Gifts: Waterproofed paper coasters make excellent, budget-friendly hostess gifts or personalized presents for friends and family, showcasing both your creativity and practicality.
Understanding Dimensional Magic: Your Waterproofing Ally
The secret ingredient for this project is a product often lauded for its versatility and remarkable finish: Dimensional Magic (or similar clear gloss sealants like specific Mod Podge formulas). This craft essential is a clear, self-leveling glaze that dries to a hard, durable, and often glossy finish, creating a dimensional effect that enhances and protects your projects.
When applied to paper, it forms a protective barrier that seals the surface, making it resistant to water and general wear. The “magic” in its name truly is fitting, as it transforms ordinary paper into something much more robust and functional. It’s perfect for giving a polished, professional look to your DIY creations while safeguarding them against the elements.
Beyond coasters, Dimensional Magic is incredibly versatile. You can use it to create faux enamel looks on jewelry, add a raised effect to scrapbooking elements, or even waterproof other decorative paper items like small decorative boxes or picture frames. For example, if you’re curious about the broader capabilities of Mod Podge, you might also be interested in how it can be used for projects like DIY waterproof paper lanterns, proving its efficacy in creating weather-resistant paper crafts.
Materials Needed for DIY Waterproof Paper Coasters
Gathering your supplies is the first step towards creating your durable paper coasters. The beauty of this project lies in its simplicity and minimal material requirements.
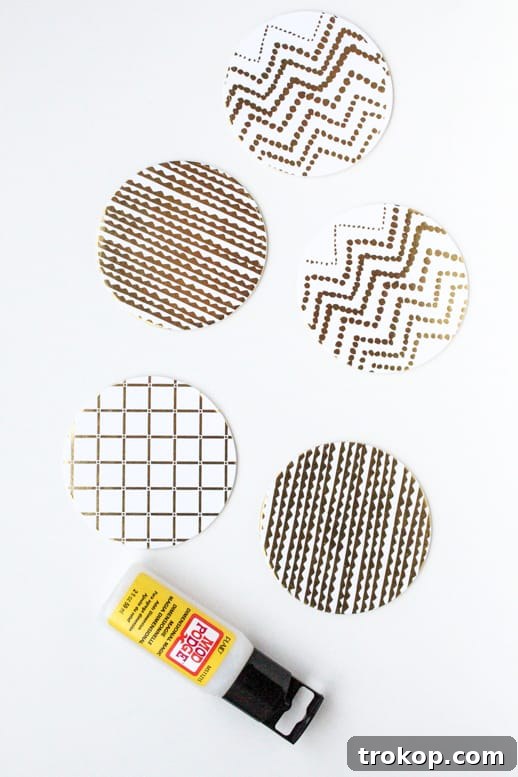
Here’s what you’ll need:
Mod Podge Dimensional Magic in clear: This is the star of our project. Ensure you get the “clear” version for a transparent, glossy finish that won’t alter your coaster’s design.
Paper coasters: Choose your favorite designs! These can be store-bought paper coasters, cardstock cut into coaster shapes, or even custom printed designs.
How to Make DIY Waterproof Paper Coasters
This tutorial is designed to be straightforward, making it accessible even for beginner DIYers. Follow these steps to achieve beautifully waterproofed paper coasters.
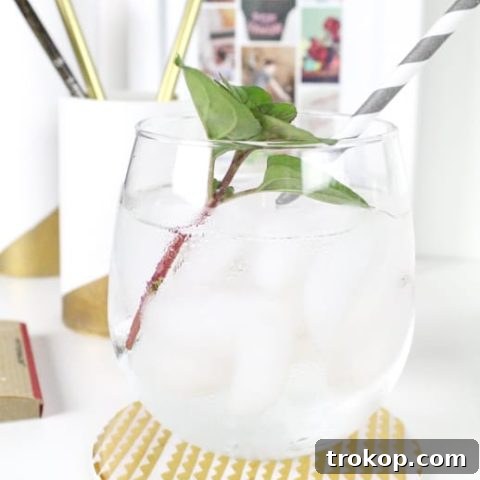
DIY Waterproof Paper Coasters
Equipment
- Mod Podge Dimensional Magic (in clear)
Materials
- Paper coasters
Instructions
-
To waterproof your favorite paper coasters, start by carefully outlining the coaster’s edge or main design with a thin, consistent rim of Dimensional Magic. This initial outline helps to create a barrier and prevent the liquid from spilling over the sides, ensuring a clean edge.
-
Once the outline is established, gently fill in the middle area of the coaster. Work slowly and methodically, ensuring an even layer across the entire surface. Avoid over-applying, as too much product can lead to longer drying times and potential bubbling. Aim for a smooth, uniform coating that covers all of the paper design.

-
After applying the Dimensional Magic, let your coasters set in a clean, dust-free, and level area for a full 24 hours. This extended drying time is crucial for the product to cure properly and achieve its maximum hardness and water resistance. Avoid touching or disturbing the coasters during this period. Once dry, your waterproof paper coasters are ready to use! Simple as that!
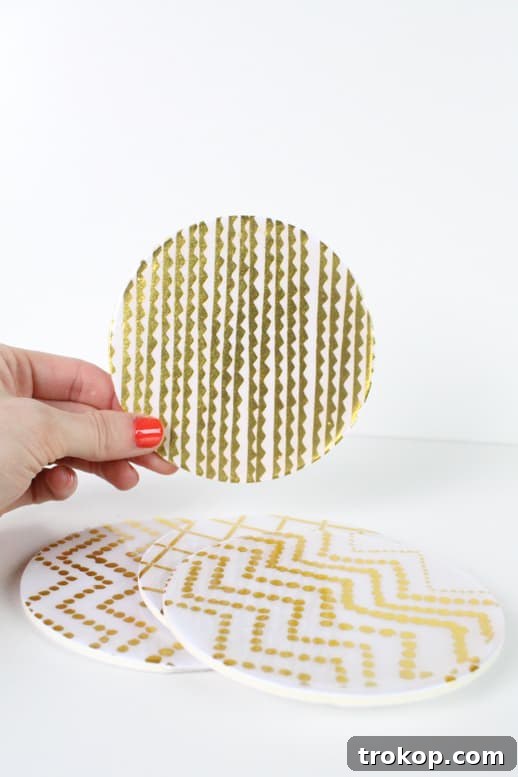

Tips for Perfect Waterproof Coasters
While the process is simple, a few expert tips can help you achieve professional-looking results every time:
- Work on a Level Surface: Ensure your workspace is perfectly flat to prevent the Dimensional Magic from pooling unevenly or running off the coaster’s edge.
- Clean Coaster Surface: Before applying, make sure your paper coasters are free of dust, debris, or any oily residues. A clean surface ensures better adhesion and a smoother finish.
- Avoid Air Bubbles: Dimensional Magic can sometimes trap tiny air bubbles. To minimize this, apply the product slowly and avoid shaking the bottle vigorously before use. If bubbles appear, gently breathe on them (the CO2 helps pop them) or use a toothpick to carefully guide them to the edge and pop them before the product starts to set.
- Even Coating is Key: Strive for a consistent layer of Dimensional Magic. Uneven application can lead to patchy drying or areas with less protection.
- Patience During Drying: Resist the urge to touch or move the coasters before the full 24-hour curing period. Premature handling can leave fingerprints or mar the smooth finish.
- Protect Your Workspace: Lay down newspaper or a silicone mat to protect your work surface from spills.
Creative Customization Ideas
This waterproofing technique isn’t limited to pre-made paper coasters. It opens up a world of creative possibilities:
- Personalized Photo Coasters: Print your favorite photos on sturdy cardstock, cut them into coaster shapes, and waterproof them for a truly unique and sentimental gift or home accessory.
- Map Coasters: Cut out sections of old maps or printed map designs that hold special meaning (like your hometown or a favorite travel destination) for a wanderlust-inspired set.
- Artistic Coasters: Use heavy art paper to create your own designs with watercolors, markers, or even digital prints. Once dry, waterproof them to protect your artwork.
- Themed Coasters for Parties: Design custom coasters for specific events, like a summer party or a holiday gathering. The waterproofing ensures they survive the festivities.
- Botanical Coasters: Press small, flat leaves or petals onto cardstock, secure them with a light layer of clear-drying glue, and then encapsulate them with Dimensional Magic for a natural, elegant look.
With this simple hack, you can transform almost any flat paper design into a functional, beautiful, and long-lasting coaster.
More Easy DIY Projects to Inspire You
If you’ve enjoyed creating these waterproof paper coasters, you’ll love exploring other DIY projects that add personality and handmade charm to your home. Crafting is a fantastic way to express your creativity, save money, and make your living space truly unique. For more DIY inspiration and engaging projects, be sure to check out some of our other popular tutorials:
- DIY Painted Chair Makeover: Give old furniture a fresh, vibrant look with a simple paint job and clever design techniques.
- Easy DIY Party Animal Magnets: A fun and quirky project to add a playful touch to your fridge or magnetic boards.
- Ombre DIY Stump Side Table: Create a stylish and rustic side table with a captivating ombre effect using natural wood stumps.
- Fancy Fiesta: DIY Pattern Bowls: Learn to decorate simple bowls with festive patterns, perfect for entertaining or everyday use.
More Kitchen & Home Decor DIYs
Retro DIY Lazy Susan
DIY Frozen Wine Chiller
Cabana Stripe DIY Apron
DIY Hanging Marble Serving Board for Under $5!
DIY Sage Smudge Sticks
DIY Faux Stoneware Salt Cellars
Conclusion
Waterproofing your cherished paper coasters is a simple yet incredibly effective way to blend aesthetics with functionality. No longer do you have to choose between preserving beauty and enjoying practical use. With just a bottle of Dimensional Magic and a little patience, you can transform delicate paper into durable, spill-resistant decor pieces that enhance your home and stand the test of time.
This DIY project is not only satisfying to complete but also offers a sustainable way to enjoy and extend the life of your favorite paper goods. Whether you’re making them for your own home or as thoughtful, handmade gifts, these waterproof coasters are sure to be a conversation starter and a testament to your crafty ingenuity. So go ahead, gather your supplies, unleash your creativity, and start making your paper pretties work harder for you!
Don’t forget to share your home decor projects with us on Instagram using the hashtag #sugarandclothloves. We always love seeing all of your creations! Looking for more interior design inspiration? You can find all of our home decor tutorials and ideas right here!