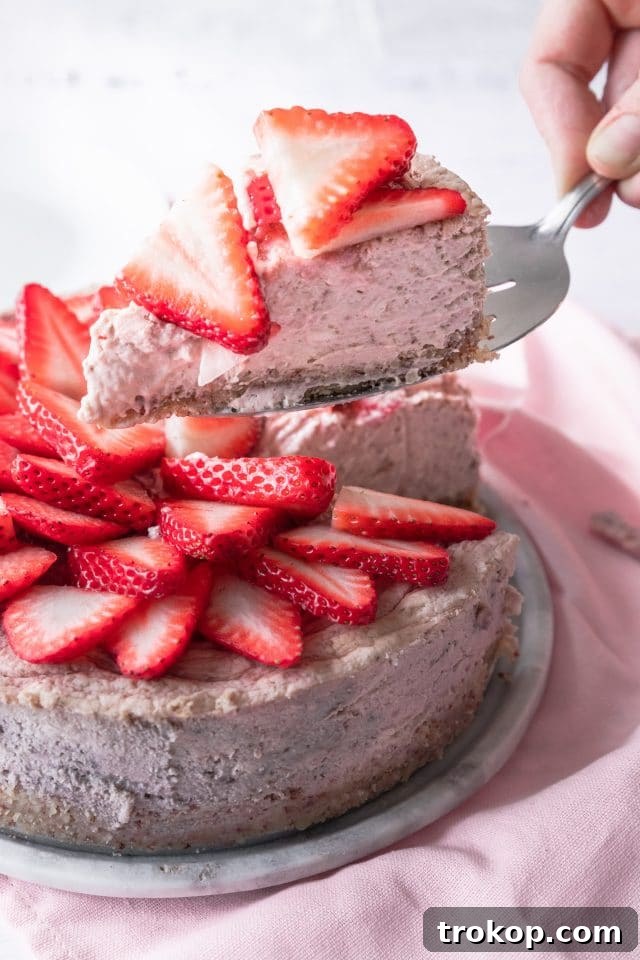
As summer approaches, many of us seek refreshing yet healthy ways to celebrate the season. This Keto Strawberry Cheesecake emerges as the perfect, guilt-free indulgence, offering a delightful blend of creamy texture and vibrant fruit flavors, all while adhering to a low-carb lifestyle.
The arrival of spring and summer brings an abundance of the finest seasonal fruits, and luscious strawberries consistently top the list of favorites. It’s truly a joy to both create and savor strawberry desserts, and this Keto Strawberry Cheesecake stands out as an exceptionally delicious and wholesome choice that you can enjoy without any reservation.
This cheesecake delivers the classic, rich, and creamy consistency that cheesecake lovers adore, perfectly complemented by the bright, natural sweetness of fresh strawberries. What makes it a healthier alternative is the thoughtful substitution of traditional sugar with a keto-friendly sweetener, such as erythritol or monk fruit. This simple change transforms a typically high-sugar dessert into a guilt-free pleasure, allowing you to relish its decadent taste while maintaining your dietary goals.
Furthermore, this dessert is incredibly convenient for meal prepping. Its ability to be made ahead of time and frozen means you can always have a delightful slice ready whenever a craving strikes. This makes it an ideal option for entertaining or for simply ensuring you have a healthy treat on hand.
What Is The Keto Diet?
The ketogenic diet, often referred to simply as “keto,” is a distinctive eating plan characterized by a very low intake of carbohydrates, a moderate intake of protein, and a high intake of healthy fats. It shares some similarities with the Atkins diet but is more stringent in its carbohydrate restrictions. The primary goal of the keto diet is to shift your body into a metabolic state known as ketosis.
To achieve ketosis, you must dramatically reduce your carbohydrate consumption, typically to around 20-50 grams per day. When your body is deprived of its usual primary fuel source – glucose from carbohydrates – it begins to break down stored fat for energy. This process produces molecules called ketones, which the body and brain can then use as an alternative fuel. This metabolic shift is not only effective for weight loss but also comes with several significant health benefits.
One of the key aspects of the keto diet is counting “net carbs,” which means you subtract the fiber content from the total carbohydrates, as fiber is not digested and does not impact blood sugar levels. Many individuals on the keto diet report a notable decrease in blood sugar and insulin levels, making it a valuable approach for managing conditions like type 2 diabetes. Moreover, the ketones produced during fat burning provide a stable and efficient energy source for the brain, often leading to improved mental clarity and focus.
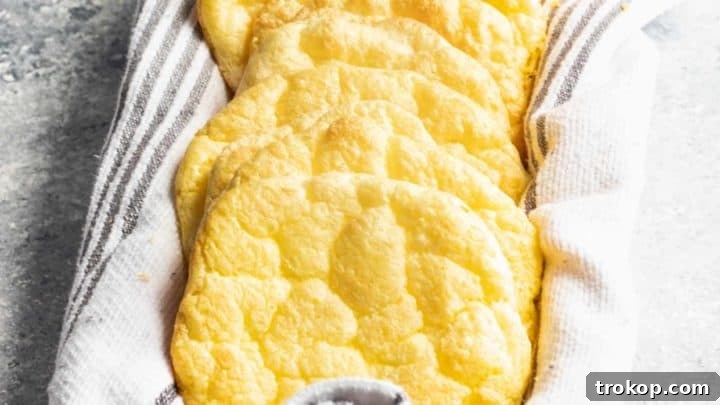
If you’re exploring the world of keto, you’ll find an array of delicious and healthy recipes designed to fit this lifestyle. Beyond this delightful Keto Strawberry Cheesecake, we offer other fantastic options such as our Low Carb Cheesecake, a savory Keto Pizza, versatile Cauliflower Pizza Dough, and light-as-air Cloud Bread, all crafted to be both healthy and incredibly tasty.
Key Ingredients for Keto Strawberry Cheesecake
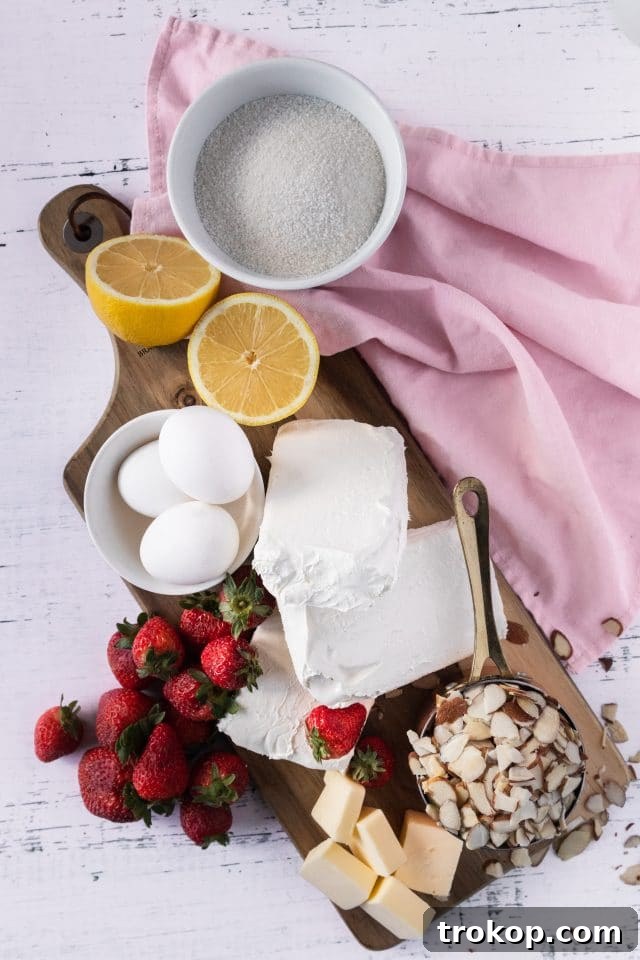
Creating an exceptional Keto Strawberry Cheesecake starts with selecting the right ingredients. Each component plays a vital role in achieving that perfect balance of flavor and texture. Here’s a detailed look at what you’ll need:
- Almond flour — This is the foundation of our low-carb crust. Almond flour provides a wonderfully nutty flavor and a tender crumb, making it an excellent grain-free alternative. If you don’t have almond flour on hand, you can easily make your own by pulsing blanched sliced almonds in a blender or food processor until they reach a fine, sandy texture. Be cautious not to over-grind them, as this can release the oils and turn it into almond butter, resulting in a dense or overly oily crust.
- Erythritol or low-carb sweetener — As a sugar-free dessert, the choice of sweetener is crucial. Erythritol is a popular sugar alcohol that offers a sweet taste with minimal impact on blood sugar. Other excellent low-carb sweeteners like monk fruit sweetener or a blend thereof can also be used. Ensure you choose a granular or powdered form that measures cup-for-cup with sugar for the best results in both the crust and the filling.
- Melted butter — Essential for binding the almond flour crust together and adding a rich, buttery flavor. Unsalted butter is generally preferred in baking to control the overall saltiness of the dessert.
- Full-fat cream cheese — This is the star of any cheesecake, and for a successful, creamy keto cheesecake, using full-fat cream cheese is absolutely paramount. Reduced-fat or fat-free versions contain more water and often added starches or gums, which can lead to significant texture issues, resulting in a thinner, runnier, or grainy filling consistency. For that signature smooth and dense cheesecake, stick with the full-fat variety.
- Large eggs — Eggs serve as a critical binder and provide structure to the cheesecake filling. They help the cheesecake set properly as it bakes, preventing it from collapsing or becoming too soft. Always use large eggs and ensure they are at room temperature for optimal mixing.
- Vanilla extract — A classic flavor enhancer that adds warmth and depth to the cheesecake. Pure vanilla extract is recommended for the best flavor profile.
- Lemon juice — A splash of fresh lemon juice brightens the flavors of the cheesecake, providing a subtle tang that beautifully complements the sweetness of the strawberries and the richness of the cream cheese. It helps to balance the overall taste.
- Strawberries — Fresh strawberries are essential for both the vibrant puree in the filling and for garnishing the finished cheesecake. They provide natural sweetness, a lovely tartness, and a burst of color. Ensure they are ripe and fresh for the best flavor.
Do I Have To Use Erythritol?
While erythritol is a highly recommended and widely used low-carb sweetener for keto baking due to its favorable taste and minimal impact on blood sugar, it’s certainly not your only option. The world of sugar-free sweeteners has expanded considerably, offering several excellent alternatives that can be successfully used in this Keto Strawberry Cheesecake recipe.
One of the most popular alternatives is **monk fruit sweetener**. Monk fruit is a natural sweetener derived from the monk fruit plant, and it’s celebrated for its intense sweetness without the aftertaste some people associate with other artificial sweeteners. You’ll find various blends of monk fruit sweetener at most health food stores, and increasingly, in standard grocery stores as well. These blends often combine monk fruit extract with erythritol or other natural fillers to provide a cup-for-cup sugar replacement.
When selecting a sugar substitute, the most important consideration is to ensure it measures **cup for cup** with granulated sugar. This is crucial for maintaining the correct balance of sweetness and texture in your cheesecake. Using a sweetener that is significantly more or less potent than sugar in terms of volume can lead to an overly sweet or insufficiently sweet cheesecake, or even alter its delicate texture. Always check the packaging for conversion ratios and adjust accordingly if your chosen sweetener is not a direct cup-for-cup replacement. This will help you achieve a perfectly balanced and delicious sugar-free cheesecake every time.
Crafting Your Low Carb Strawberry Cheesecake
Making a show-stopping low-carb strawberry cheesecake is a rewarding process that combines simple steps with a bit of patience. Follow these instructions to create a dessert that’s both impressive and delicious.
Preparing the Almond Flour Crust:
- Begin by ensuring your cream cheese and eggs are at room temperature. This is a crucial step for achieving a smooth, lump-free cheesecake filling. Cold ingredients don’t emulsify properly, leading to a potentially curdled texture.
- In a medium bowl, combine two cups of fine almond flour, three tablespoons of your chosen erythritol or low-carb sweetener, and five tablespoons of melted butter. Stir these ingredients together thoroughly until they are well combined. The mixture should have a crumbly, somewhat clumpy consistency, but it should not appear overly wet or oily. It should hold together when pressed.
- Prepare your baking pan by greasing a 9-inch or 8-inch springform pan, or a cake pan with a removable bottom. These types of pans are ideal for cheesecakes as they allow for easy removal without damaging the delicate sides. Once greased, evenly press the almond flour crust mixture into the bottom of the pan. Use the back of a spoon or your fingers to create a uniform layer across the entire base.
- Preheat your oven to 350°F (175°C). Place the pan with the crust in the preheated oven and bake for approximately 10 minutes. This short baking time helps to set the crust and give it a slight crispness. After baking, remove the crust from the oven and allow it to cool completely before adding the filling. A cool crust prevents the cheesecake filling from prematurely melting or becoming greasy.
Assembling the Creamy Cheesecake Filling:
- Using a stand mixer fitted with the paddle attachment, or a large bowl with a hand mixer, beat the three blocks (24 ounces total) of full-fat cream cheese on medium speed until it is perfectly smooth and creamy, with no lumps remaining. This step is essential for a velvety cheesecake.
- Gradually add one cup of erythritol (or your chosen low-carb sweetener) to the cream cheese mixture. Continue beating for another couple of minutes until the sweetener is thoroughly incorporated and the mixture is light and fluffy. Periodically pause the mixer to scrape down the sides and bottom of the bowl with a rubber spatula, ensuring all ingredients are evenly mixed and no pockets of unmixed cream cheese remain.
- With the mixer still running on low speed, add the three large eggs, one at a time. Beat each egg just until it is fully incorporated before adding the next. Overmixing the eggs can introduce too much air into the batter, which can cause cracks in the cheesecake during baking. Along with the last egg, add one tablespoon of vanilla extract and one tablespoon of fresh lemon juice, beating briefly until combined.
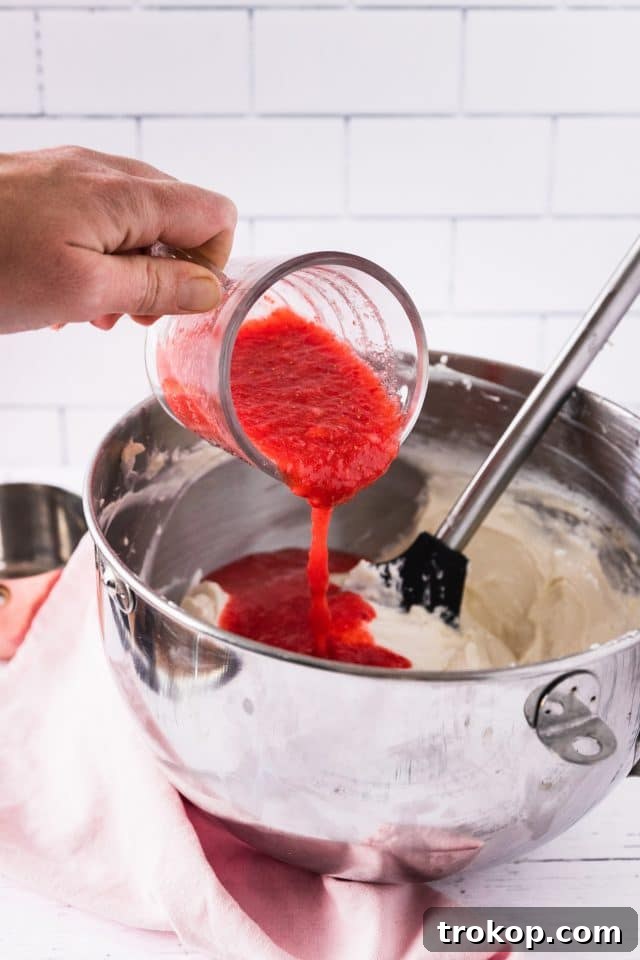
- For the strawberry puree, place one pound of fresh strawberries (hulled) into a blender or the bowl of a food processor along with half a cup of erythritol. Blend until the mixture is completely smooth and resembles a vibrant, uniform puree. You should yield approximately two cups of strawberry puree.
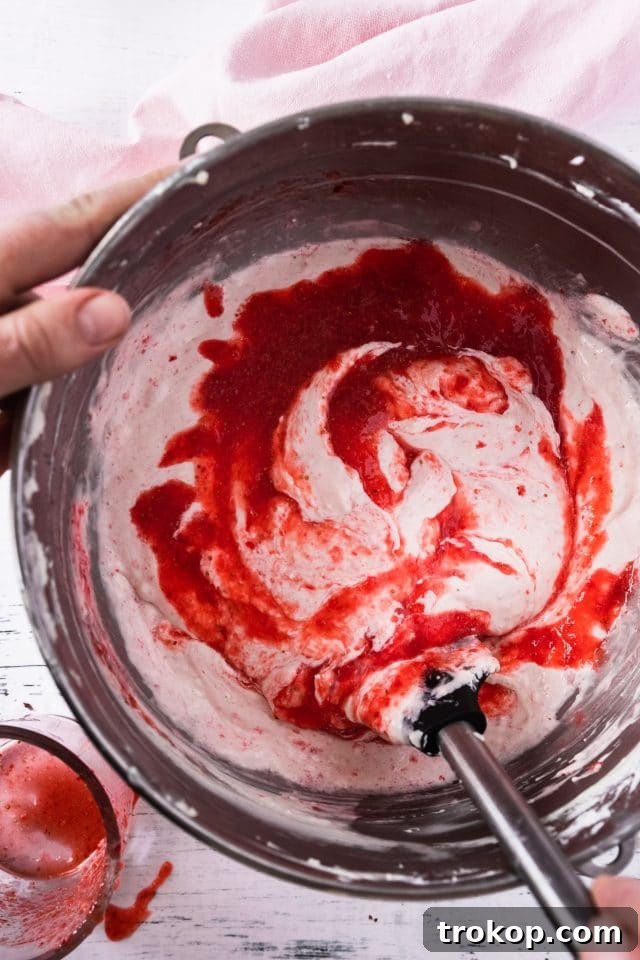
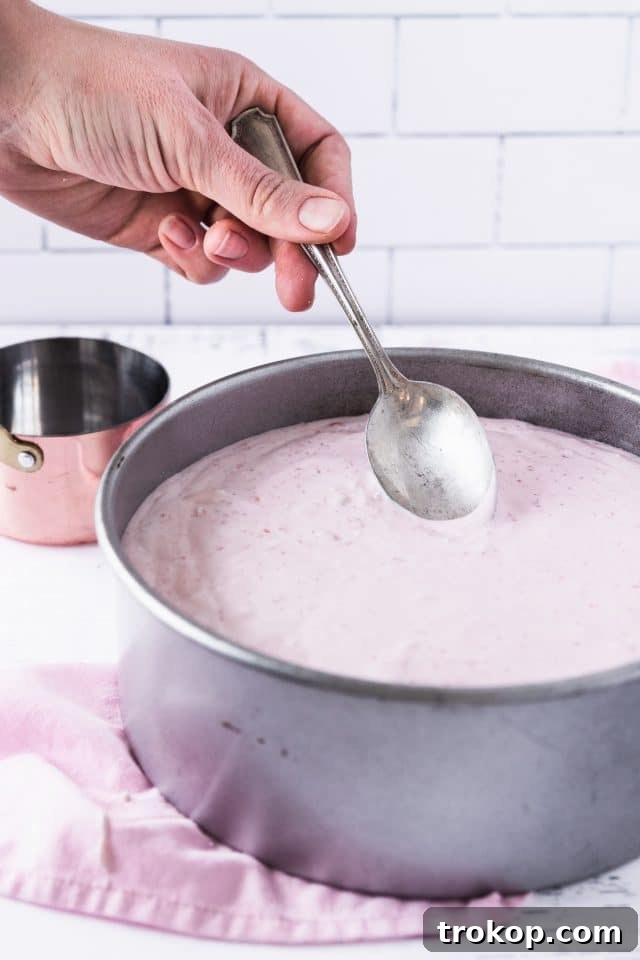
- Set aside about half a cup of this fresh strawberry puree for drizzling and swirling later. Pour the remaining 1.5 cups of puree into the cheesecake mixture. Gently stir it in, either by hand with a spatula or on the lowest speed of your mixer, until the strawberry puree is thoroughly combined and the cheesecake batter has a beautiful, consistent pink hue.
- Carefully pour the strawberry cheesecake mixture over the cooled almond flour crust in your prepared pan. Gently tap the pan on the counter a few times to release any trapped air bubbles.
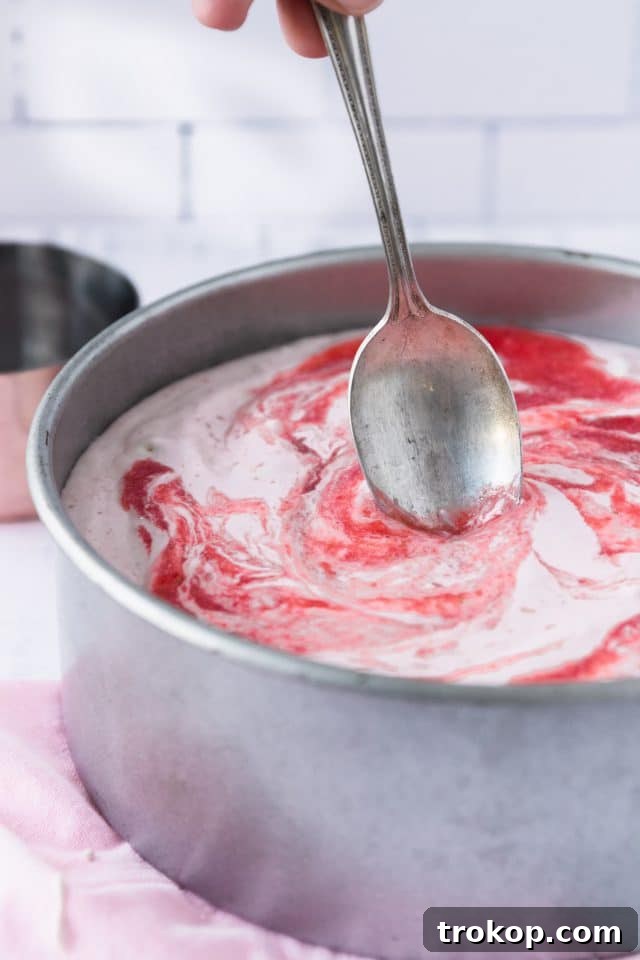
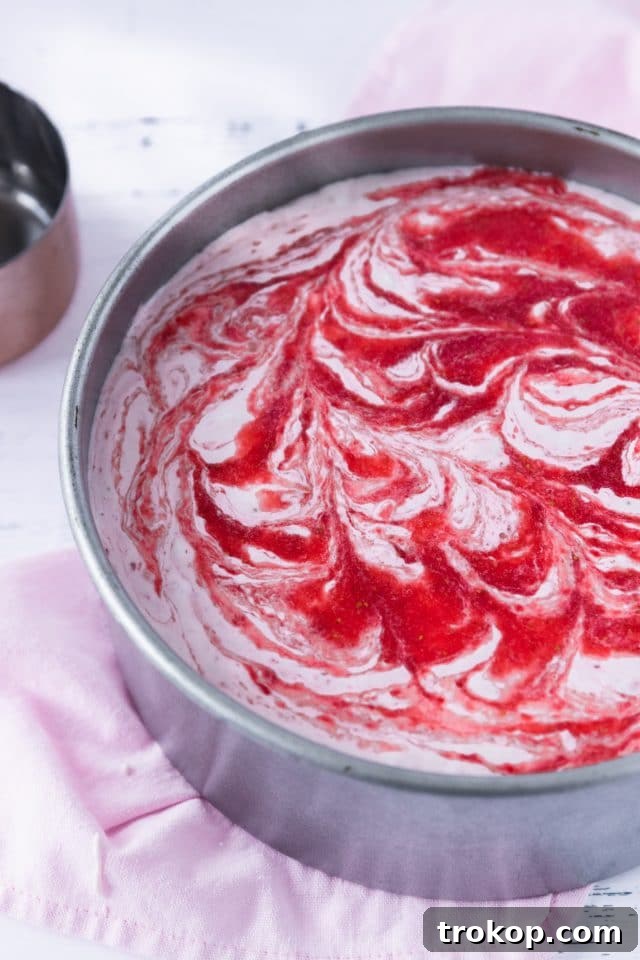
- Now, take the reserved half cup of strawberry puree. Drip it in lines or dots over the top of the cheesecake batter. Then, using the tip of a knife or a skewer, gently swirl the puree into the cheesecake to create an attractive marbled effect. Be careful not to over-swirl, as you want distinct streaks of strawberry.
- Prepare for a water bath, which helps bake the cheesecake evenly and prevents cracks. Tightly wrap the bottom and sides of your cake or springform pan with several layers of heavy-duty aluminum foil. Ensure the foil extends several inches up the sides of the pan to prevent any water from seeping into the cheesecake during baking.
- Place the foil-wrapped cheesecake pan into a larger baking or roasting dish.
- Carefully transfer the roasting dish with the cheesecake to the center rack of your preheated 350°F (175°C) oven. Once in the oven, pour a few cups of hot water into the larger baking dish until the water level reaches between one and two inches up the sides of the cheesecake pan. This creates a gentle, moist baking environment.
- Bake the strawberry cheesecake in the water bath for 50 minutes to one hour. The exact time may vary based on your oven and the pan size.
Cooling Your Cheesecake to Perfection:
- To determine if your cheesecake is done, gently shake the pan. The edges of the cheesecake should appear set and slightly pulled away from the sides of the pan. The center, however, should still have a slight, delicate jiggle, indicating it’s mostly firm but not overly stiff. The top surface should look dry, and it’s acceptable if there are a few very light browned spots, but avoid any signs of burning.
- Once baked, turn off the oven but leave the oven door slightly ajar. Allow the cheesecake to remain inside the cooling oven for approximately one hour. This gradual cooling process is crucial for preventing sudden temperature changes that can lead to unsightly cracks on the cheesecake’s surface.
- After the hour in the cooling oven, remove the cheesecake from the oven and the water bath. Let it sit at room temperature for another hour to continue cooling down slowly. This ensures a consistent temperature transition.
- Once it has cooled to room temperature, cover the strawberry cheesecake tightly with plastic wrap or aluminum foil and transfer it to the refrigerator. It must chill overnight, ideally for at least 6-8 hours, to fully set and solidify. Resist the temptation to cut into it too soon; proper chilling is essential for the cheesecake to develop its firm yet creamy texture and to slice cleanly. Patience truly pays off for the perfect cheesecake experience.
Decorating and Serving Your Keto Strawberry Cheesecake
Once your Keto Strawberry Cheesecake has perfectly chilled overnight, it’s ready for its grand unveiling! A beautifully decorated cheesecake not only looks appealing but also enhances the overall dining experience.
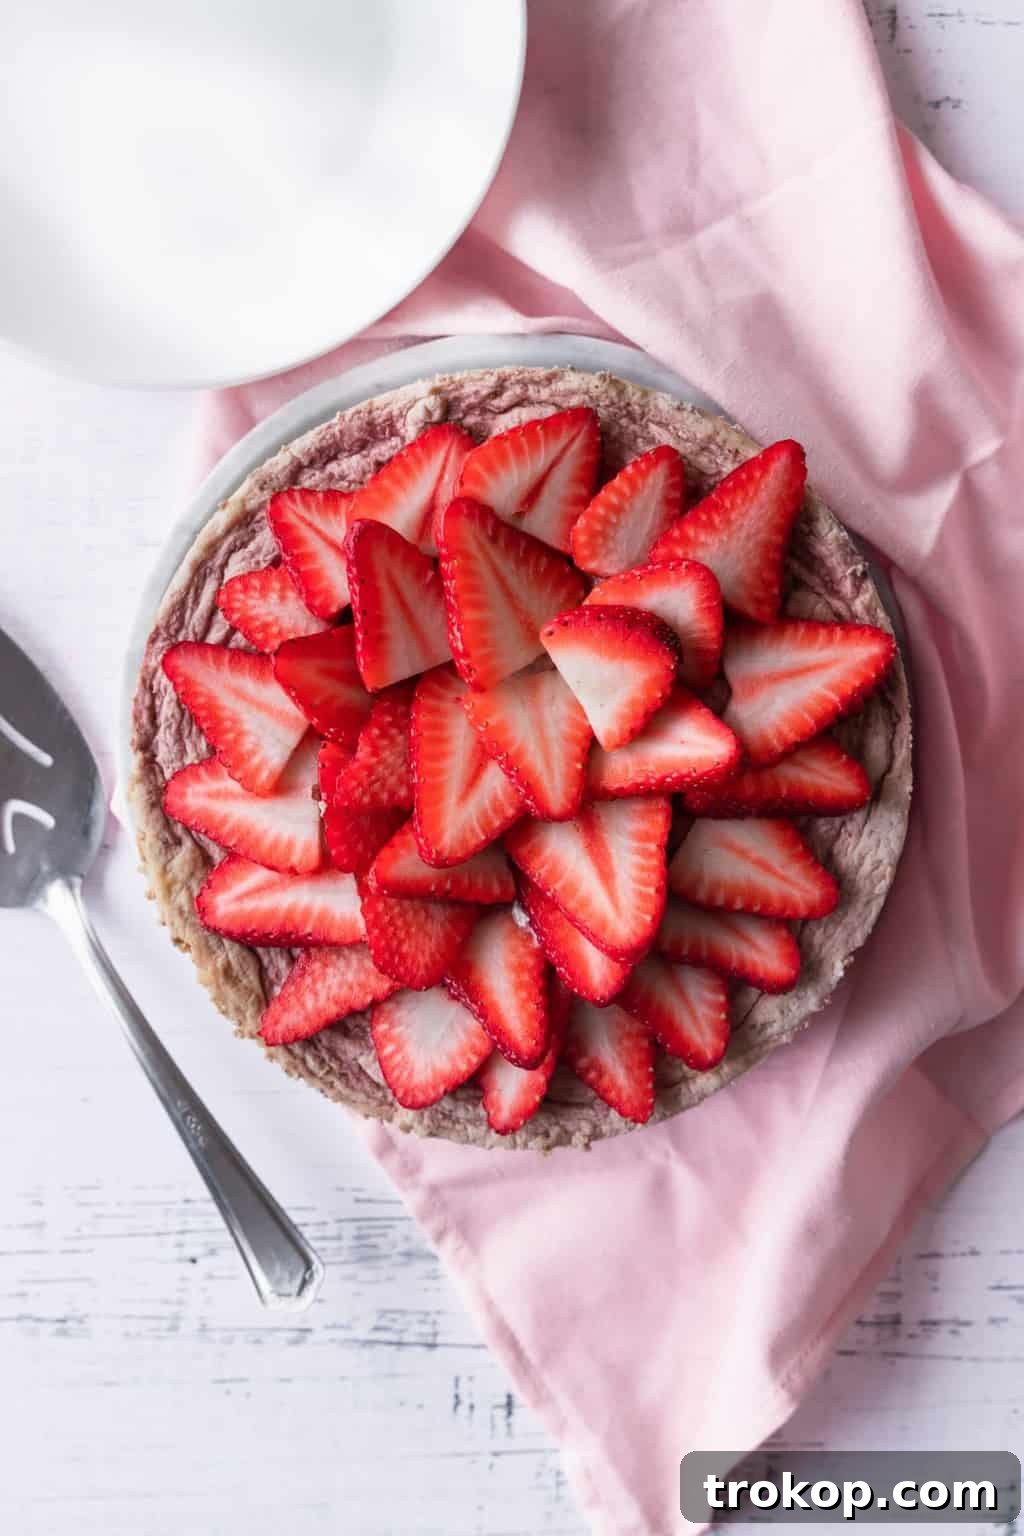
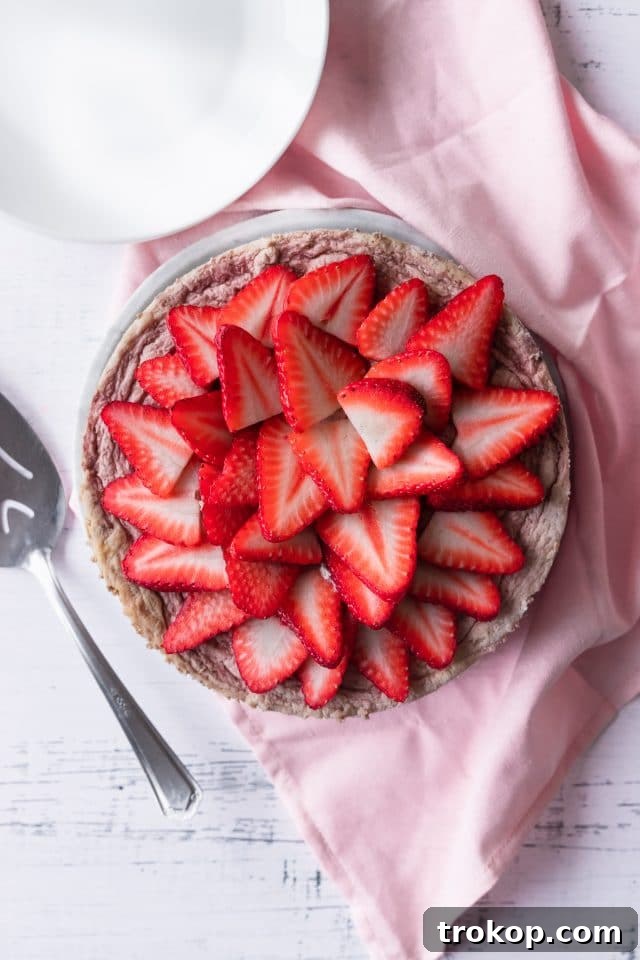
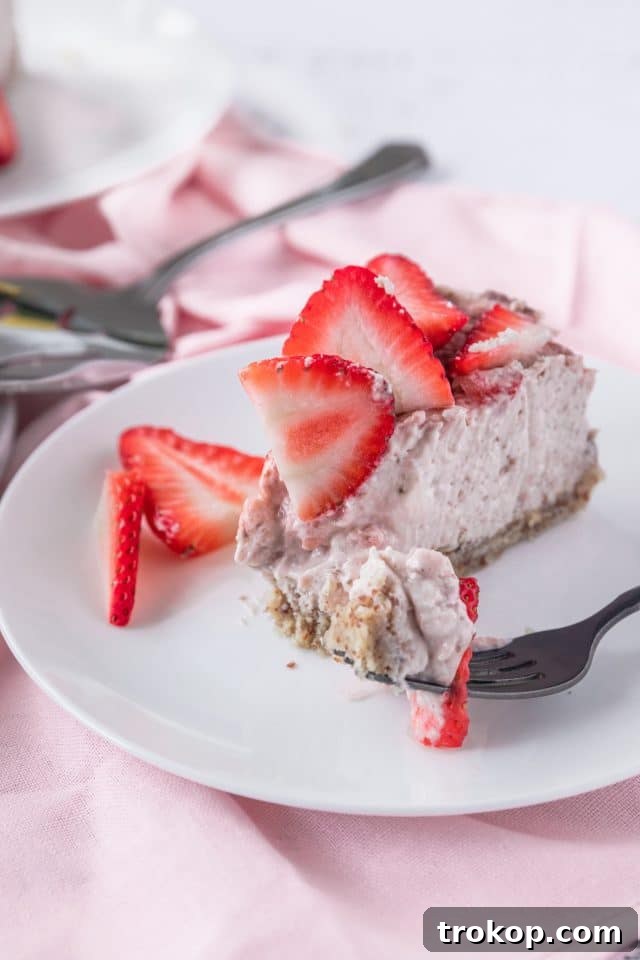
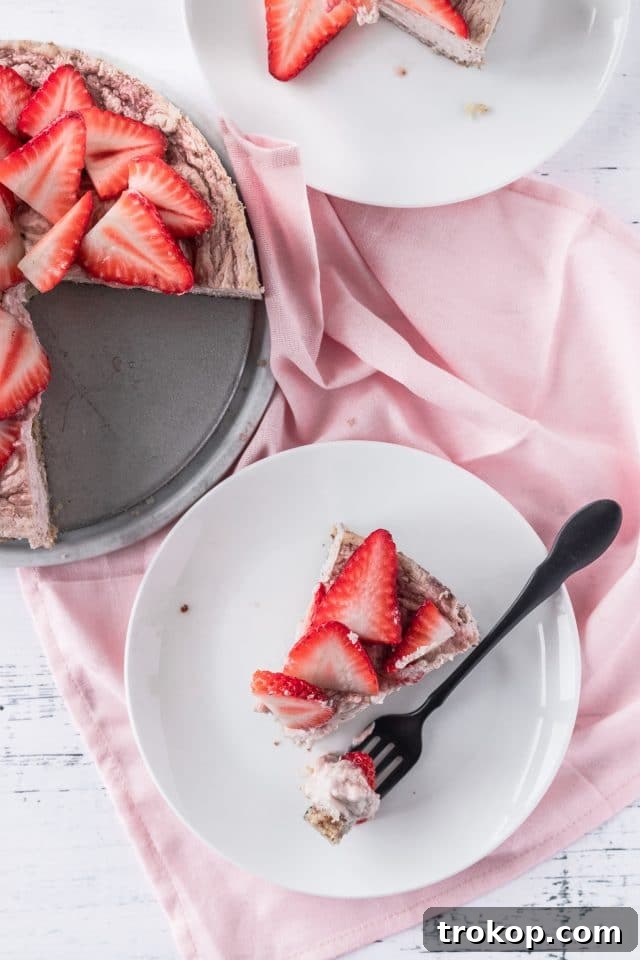
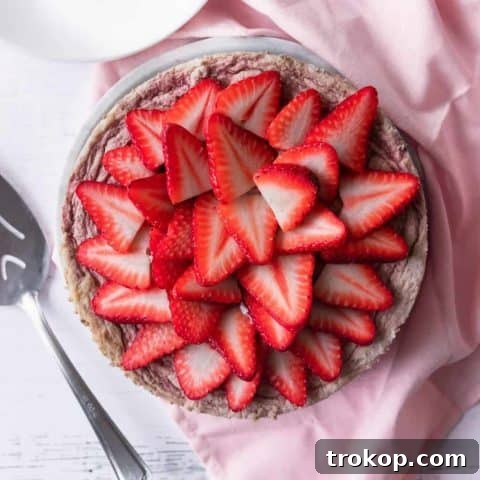
To prepare for serving, gently slice about a pound of fresh, ripe strawberries. Arrange these vibrant slices artfully over the top of the chilled cheesecake. You can create a simple, elegant layer, or get creative with patterns like concentric circles or a rustic mound in the center. The fresh strawberries add a burst of color, a delightful contrast in texture, and an extra layer of natural sweetness that complements the creamy filling.
When it comes to portioning, this cheesecake is quite rich and satisfying. You can typically slice it into about 12 to 16 generous servings, making it perfect for feeding a crowd or ensuring you have plenty of leftovers to enjoy throughout the week. A sharp, thin knife, wiped clean between each cut, will help you achieve neat, clean slices.
Always serve your cheesecake cold for the best texture and flavor. The cold temperature ensures the filling remains firm and luxurious. Any leftover slices should be immediately stored in the refrigerator. For food safety reasons, cheesecake should never be left at room temperature for extended periods. If you wish to store the remaining cheesecake in its original pan, simply cover the top securely with a sheet of aluminum foil or plastic wrap. Alternatively, you can transfer individual slices or larger portions to an airtight container. Properly stored, your keto strawberry cheesecake will remain delicious for several days, allowing you to savor this wonderful low-carb treat whenever you desire.
Expert Tips and Recipe Notes
Achieving a perfectly baked and beautiful cheesecake can sometimes feel like an art form. Here are some invaluable tips and notes to help you master this Keto Strawberry Cheesecake and avoid common pitfalls:
- One of the most common issues with cheesecakes is the appearance of large cracks on the top surface. While a cracked cheesecake is still undeniably delicious, it certainly detracts from its visual appeal. To significantly reduce the likelihood of cracks, it’s highly recommended to bake your cheesecake in a water bath. This method provides a moist, even heat that helps the cheesecake bake slowly and prevents the edges from setting too quickly and pulling away from the center. Equally important is to avoid any extreme or rapid temperature changes during the cooling process. This is precisely why the cheesecake should be left in the turned-off oven with the door ajar for an hour, followed by another hour at room temperature, before it is finally transferred to the refrigerator for chilling. Slow, gradual cooling is key to a smooth, crack-free top.
- This recipe is versatile enough to be made in either an 8-inch or a 9-inch springform pan. The choice of pan size will influence the height and baking time of your cheesecake. An 8-inch cheesecake will naturally be slightly taller and might require an additional few minutes of baking time compared to a 9-inch cheesecake, which will be flatter and may bake a bit faster. Always adjust your baking time slightly based on your pan size and oven’s performance.
- For effortless removal of your cheesecake from the pan, a springform pan is indispensable. If you don’t have one, a regular cake pan with a removable bottom can also work wonders. To remove the cheesecake from such a pan, place the entire pan on top of a flat, sturdy jar or a tall glass. Then, carefully push down the outer ring of the cake pan, allowing the cheesecake to lift cleanly off the base.
- Before attempting to remove your chilled cheesecake from the pan, take a moment to carefully run a thin, sharp knife around the entire edge of the cheesecake. This crucial step helps to release any parts of the cake that might have subtly adhered to the pan. If any portion remains stuck, it could tear the side of your cheesecake, leaving an unsightly hole, as you try to remove it.
- To give your cheesecake a professional, polished finish, use a straight-edged knife or an offset spatula. Once the cheesecake is out of the pan and before garnishing, gently smooth the sides. This technique helps to refine any imperfections and creates a clean, elegant presentation.
More Healthy & Delicious Recipes to Try
There’s immense satisfaction in enjoying delicious food without any guilt, especially when it aligns with your health and dietary goals. We’re committed to bringing you a variety of keto-friendly recipes that prove healthy eating can be incredibly flavorful and enjoyable. In addition to this delightful Keto Strawberry Cheesecake, we’ve been busy whipping up other fantastic low-carb creations that are equally tasty and satisfying.
Be sure to explore our collection of healthy recipes that cater to various dietary needs. From light and refreshing salads to comforting baked goods, there’s something for everyone looking to nourish their body without sacrificing taste. Dive into some of our other favorites from the archives and discover new ways to make healthy eating an exciting part of your lifestyle:
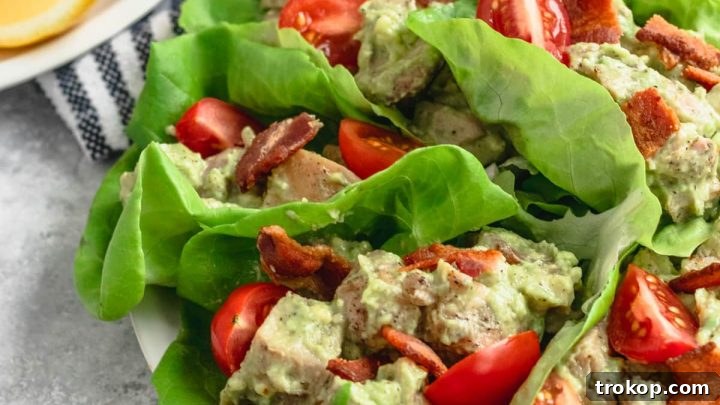
- Whole30 Avocado Salad Chicken Wrap: A creamy and flavorful wrap that’s perfect for a quick and healthy lunch.
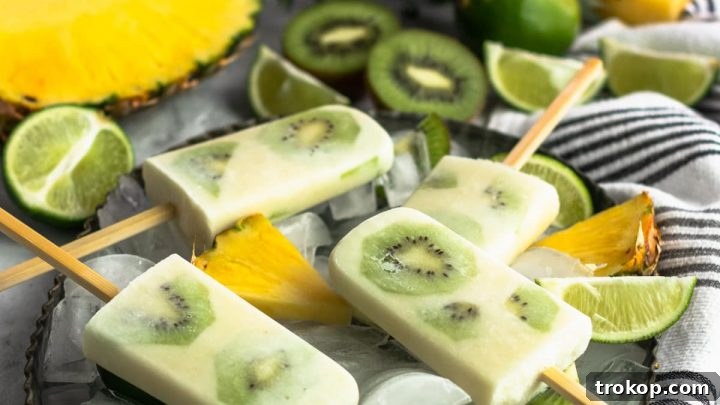
- Whole30 Tropical Paradise Popsicles: Refreshing and naturally sweet, these popsicles are a perfect treat for warm days.
- Baked Apple With Spiced Granola & Yogurt: A wholesome and comforting breakfast or dessert option.
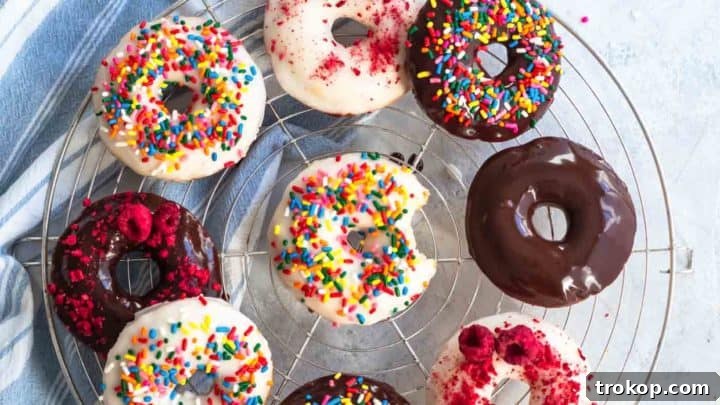
- Gluten Free Donuts: Indulge in these delicious baked donuts that are free from gluten.
- And don’t forget to check out our Low Carb Cheesecake, Keto Pizza, Cauliflower Pizza Dough, and Cloud Bread for more guilt-free culinary adventures!
Keto Strawberry Cheesecake Recipe
Print Recipe
Keto Strawberry Cheesecake Recipe
Equipment
-
Springform pan or a cake pan with a removable bottom
-
Hand or stand mixer
-
Rubber spatula
-
Blender or food processor
Ingredients
For the crust:
- 2 cup fine almond flour
- 3 tbsp erythritol or low-carb sweetener
- 5 tbsp melted butter
For the cheesecake filling:
- 24 oz full-fat cream cheese
- 1.5 cup erythritol or low-carb sweetener
- 3 large eggs
- 1 tbsp vanilla extract
- 1 tbsp fresh lemon juice
- 1 lb strawberries plus more for topping
Instructions
To make the crust:
-
Bring the cream cheese and eggs to room temperature. This is essential for a smooth filling.
-
Stir together 2 cups of almond flour, 3 tablespoons of erythritol, and 5 tablespoons of melted butter. The mixture should be crumbly and clumpy, but not overly wet.
-
Grease a 9” or 8” springform pan or a cake pan with a removable bottom. Then, press the almond flour crust mix evenly into the bottom of it.
-
Bake the crust at 350°F (175°C) for 10 minutes. Then, allow it to cool completely on a wire rack.
To make the cheesecake filling:
-
Using the paddle attachment on a stand mixer (or a hand mixer), beat the 24 ounces of full-fat cream cheese until it is smooth and creamy with no lumps.
-
Add in 1 cup of erythritol and beat it with the cream cheese for a couple of minutes until the mixture is thoroughly combined and fluffy. Scrape the sides of the bowl with a rubber spatula to ensure all ingredients are mixed.
-
With the mixer still running on low speed, add the 3 large eggs one at a time, mixing just until each is incorporated. Overmixing can lead to cracks. Add 1 tablespoon of vanilla extract and 1 tablespoon of fresh lemon juice with the last egg.
-
Place 1 pound of fresh strawberries (hulled) in a blender or food processor with 1/2 cup of erythritol. Blend until perfectly smooth, resembling a thin puree. This should yield about 2 cups total.
-
Set aside 1/2 cup of the strawberry puree. Pour the remaining puree into the cheesecake mixture and gently stir until thoroughly combined and the batter is uniformly pink.
-
Pour the strawberry cheesecake mixture evenly over the cooled almond crust in your prepared pan.
-
Drip the reserved half cup of strawberry puree in lines or dots over the top of the cheesecake. Use the tip of a spoon or a skewer to gently swirl the puree into the cheesecake, creating a beautiful marbled effect.
-
To prepare for a water bath, securely wrap the bottom of the cake or springform pan with several layers of heavy-duty aluminum foil. Ensure the foil extends several inches up the sides to prevent water from entering.
-
Place the foil-wrapped cheesecake pan into a larger baking or roasting dish.
-
Carefully place the dish with the cheesecake in it on the center rack of your oven, preheated to 350°F (175°C). Then, pour a few cups of hot water into the larger baking dish until there are between 1 and 2 inches of water up the side of the cheesecake pan.
-
Bake the strawberry cheesecake for 50 minutes to an hour. To check for doneness, gently shake the pan. The edges should be set and slightly pulled away, while the center still has a slight jiggle. The top should look dry, with perhaps a few light browned spots, but not burnt.
-
Turn off the oven and leave the door slightly open. Allow the cheesecake to cool slowly in the oven for about an hour. This gradual cooling helps prevent cracks.
-
Remove it from the oven after the hour and let it sit at room temperature for another hour. Then, cover it well with plastic wrap and refrigerate the strawberry cheesecake overnight (at least 6-8 hours). It won’t be completely set and firm until it has been thoroughly chilled, so resist cutting into it too soon for the best results!
Nutrition
Notes
- Serves 1 8” or 9” cheesecake, yielding 12-16 slices.

We absolutely love seeing your culinary creations! Don’t forget to share your delightful strawberry keto cheesecake with us on Instagram using the hashtag #sugarandclothloves. It brings us so much joy to see how you bring our recipes to life in your own kitchens! If you’re eager for more quick, healthy, and utterly delicious recipes, you can explore our full collection right here. And for those moments when you need a little something extra, we also have a fantastic selection of refreshing cocktails to accompany your treats!