Crafting Elegance on a Budget: Your Guide to DIY Gilded Marble Hexagon Serving Boards
Are you searching for sophisticated yet affordable ways to elevate your home entertaining? Look no further! This comprehensive guide will walk you through creating stunning DIY Gilded Marble Hexagon Serving Boards that are not only incredibly budget-friendly but also add a touch of timeless elegance to any gathering. Forget expensive boutique serveware; with a few simple materials and minimal effort, you can craft these beautiful pieces for less than $5 each, perfect for dinner parties, spring soirees, or simply enjoying a quiet moment with your favorite treats.
In the world of home decor, the allure of marble is undeniable. Its classic beauty, natural patterns, and luxurious feel make it a coveted material for everything from countertops to decorative accents. Combine this with the modern, geometric appeal of a hexagon, and you have a truly captivating design element. While store-bought marble items can often come with a hefty price tag, this brilliant DIY project harnesses the beauty of readily available marble tiles to create high-end serving boards without breaking the bank. And the best part? You have the creative freedom to add a glamorous gilded edge or keep them au natural, letting the inherent beauty of the marble shine through.
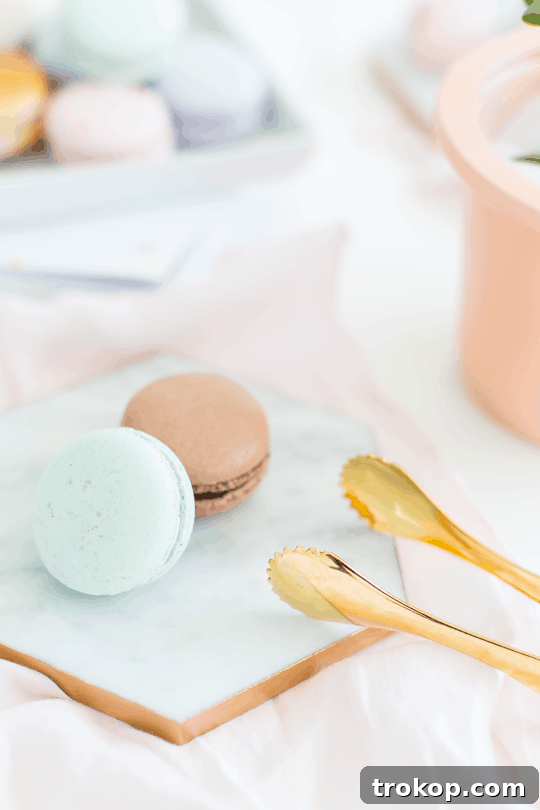
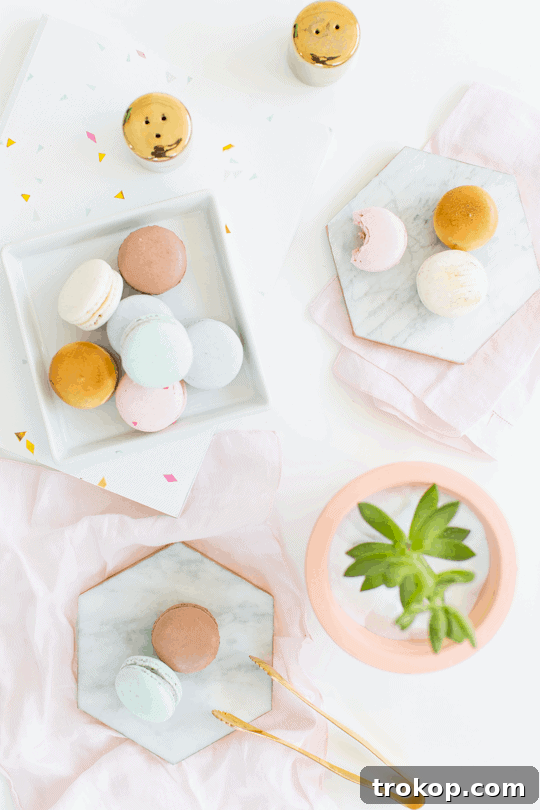
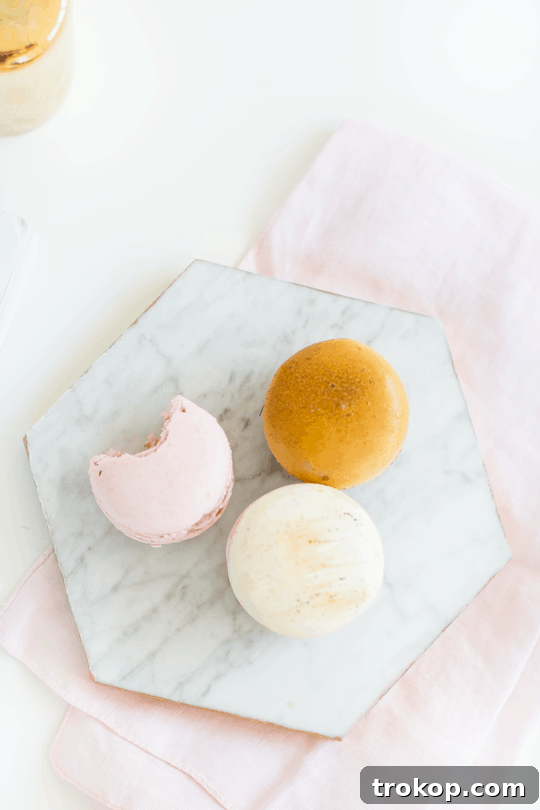
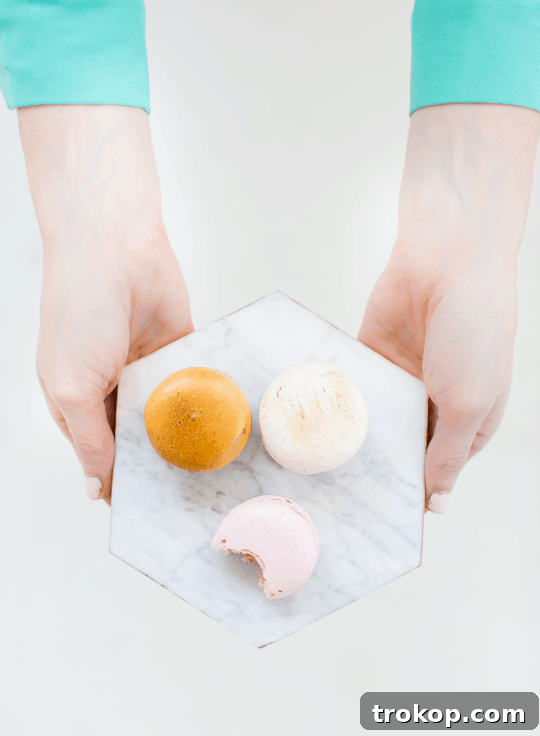
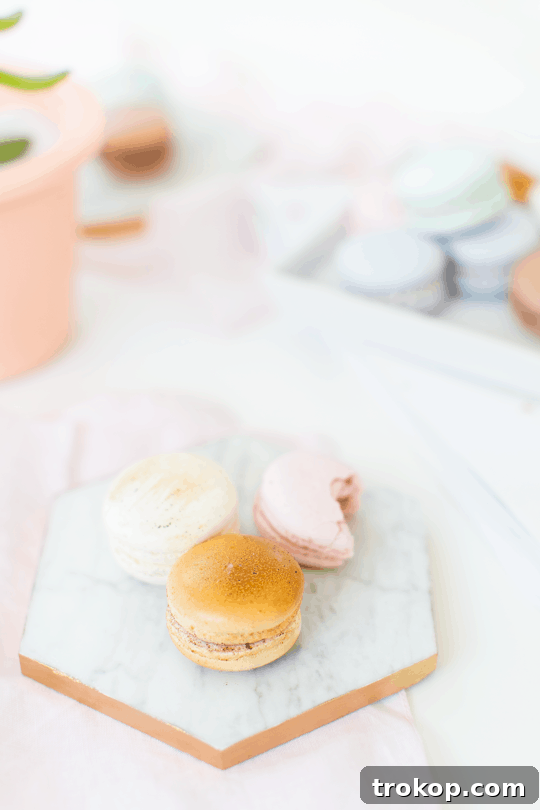
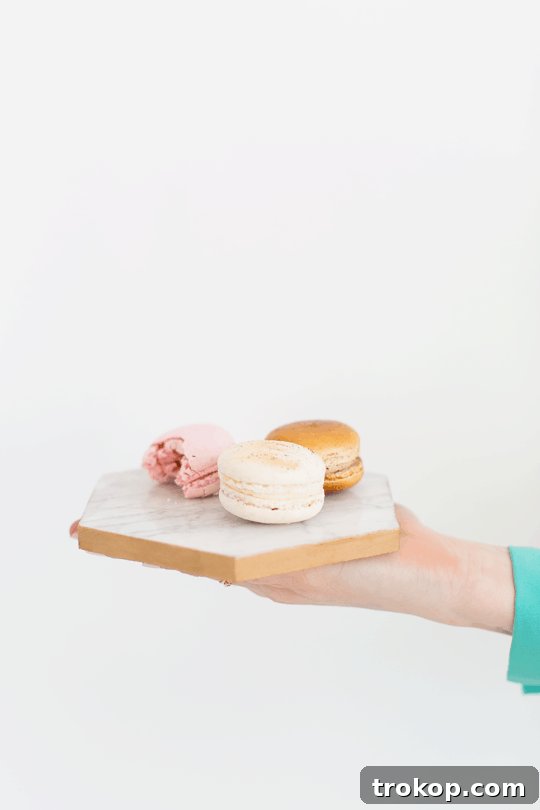
For those who love a good budget-friendly home decor project, this DIY is a dream come true. We’re talking about serving boards that rival their high-end counterparts in style and sophistication, yet cost a mere fraction of the price. The inspiration for these “gems” came from a desire to infuse the versatility of marble hexagon shapes into various home items, but for now, we’re focusing on simple yet impactful serveware. These boards are ideal for hosting memorable dinner parties, bridal showers, baby sprinkles, or even just adding a chic touch to your daily snack routine. Imagine serving delicate homemade macarons or beautifully decorated cupcakes on these personalized marble trays – they’re sure to be a conversation starter!
Beyond their primary function as elegant serving pieces, these versatile hexagon boards can double as unique place cards for your guests to keep as charming party favors. Envision each guest’s name delicately written or placed on a gilded marble tile, guiding them to their seat and leaving them with a beautiful keepsake. This project is incredibly quick to assemble, literally taking minutes, offering instant gratification for your creative efforts. Whether you choose to embrace the natural beauty of unaltered marble, go bold with vibrant pops of color, or add a luxurious golden edge, the tiles themselves cost less than $4, ensuring a winning project every time. You truly can’t go wrong with such an affordable and customizable DIY that brings so much style to your table.
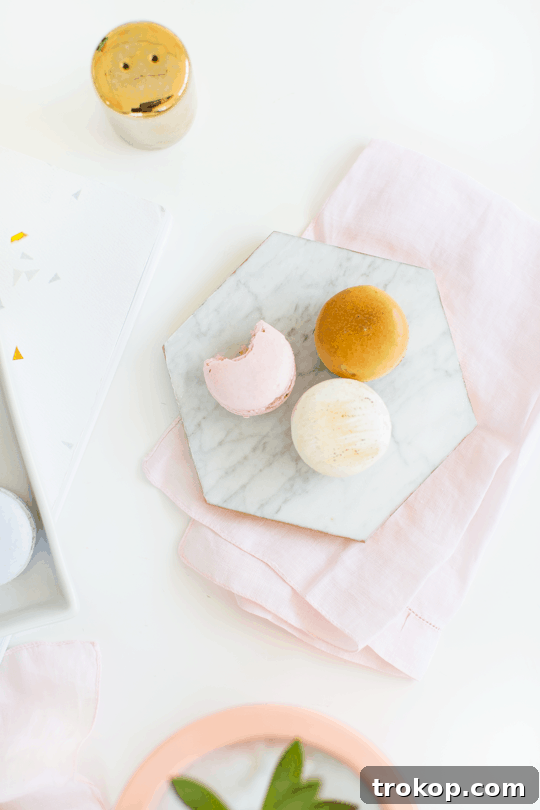
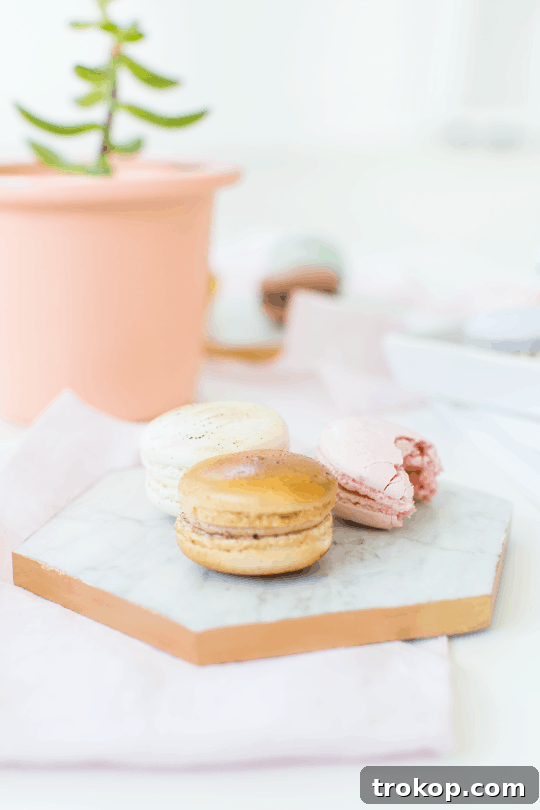
Table of Contents
Materials and Tools Needed To Make DIY Gilded Marble Hexagon Serving Boards
Gathering your supplies is the first exciting step towards creating your elegant serving boards. The beauty of this project lies in its simplicity and the affordability of the materials. You likely won’t need to visit specialty stores; most items can be found at your local hardware store, craft store, or even online with ease.
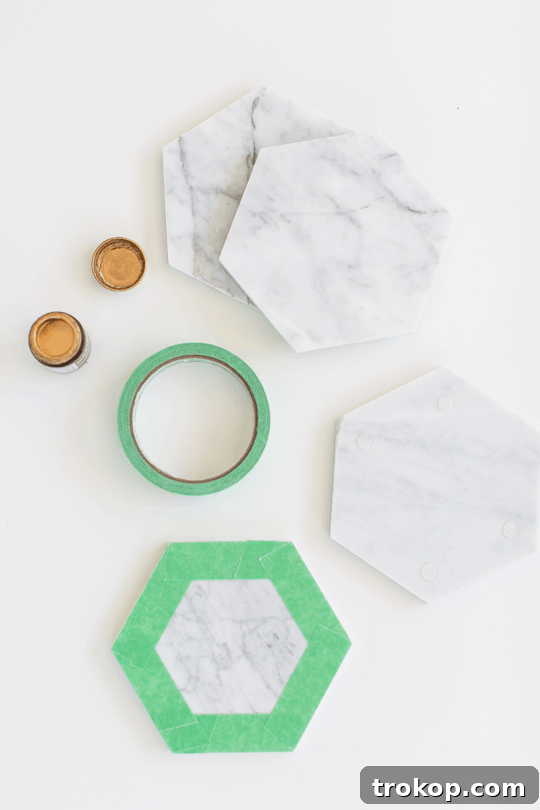
- Polished Hexagon Marble Tiles: The star of our show! These can often be found in the flooring or tiling section of hardware stores or home improvement centers. Look for individual tiles that are already polished on one side. The natural veining and unique characteristics of each tile will make your serving boards truly one-of-a-kind. Ensure they are clean and free of any grout or adhesive residue. Shop for hexagon marble tiles here.
- Clear Adhesive Bumpers: These small, discreet silicone or rubber bumpers are essential for protecting your surfaces and preventing your marble boards from sliding. They provide a slight lift, allowing air circulation and preventing scratches on your tabletops. Look for self-adhesive varieties for the easiest application. Find clear adhesive bumpers online.
- Liquid Gold Leaf (and a small brush with painter’s tape): This is optional, but highly recommended if you want to add that luxurious gilded touch to your boards. Liquid gold leaf provides a brilliant metallic finish that mimics genuine gold. A small, fine-tipped brush is ideal for precise application, and painter’s tape is crucial for achieving clean, crisp lines along the edges. You can also explore other metallic paints like silver or rose gold, or even vibrant acrylic colors if you prefer a different aesthetic. Purchase liquid gold leaf and brushes.
Before you begin, make sure your workspace is clean and well-ventilated, especially if you’re working with paints or adhesives. Lay down some newspaper or a drop cloth to protect your surfaces from any accidental spills or drips. Having all your materials organized and within reach will make the crafting process smooth and enjoyable.
How To Make DIY Gilded Marble Hexagon Serving Boards
Now that you have all your materials, let’s dive into the incredibly simple steps to transform these humble marble tiles into sophisticated serving boards. You’ll be amazed at how quickly you can achieve a high-end look!
Step 1: Prepare Your Marble Tiles
Before doing anything else, ensure your marble tiles are clean and dry. Gently wipe them down with a damp cloth to remove any dust or debris, then dry thoroughly with a lint-free towel. This ensures that the adhesive bumpers and any optional paint will adhere properly. Identify the polished, smooth side (this will be your serving surface) and the unpolished, rougher backside where you’ll apply the bumpers.
Step 2: Apply Adhesive Bumpers
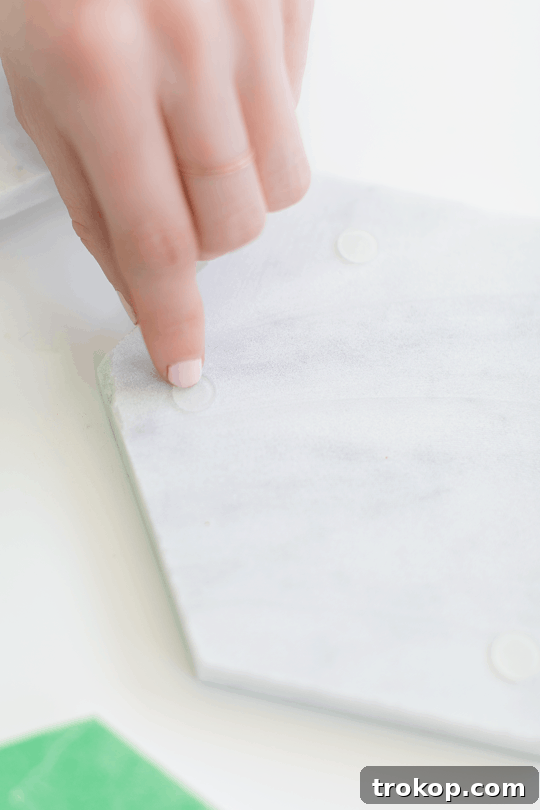
If you’re opting for the natural marble look, this is virtually your only step! Peel off the backing from your clear adhesive bumpers. Carefully stick one bumper onto each corner (or strategically placed points) on the *unpolished backside* of the marble tile. For hexagon tiles, placing them near the vertices works well to provide stable support. Press firmly for a few seconds to ensure a secure bond. These bumpers will prevent your boards from scratching delicate surfaces and provide a slight elevation for easy handling.
Step 3: Gilded Edges (Optional)
For those desiring a touch of glamour, now is the time to add your gilded edges. This step requires a bit more precision:
- Tape Off the Edges: Using painter’s tape, carefully apply it along the top polished side of the marble tile, right up to the edge where you want your gold leaf to begin. Press the tape down firmly to create a crisp, clean line and prevent any bleed-through. Take your time with this step, as neat taping is key to a professional finish.
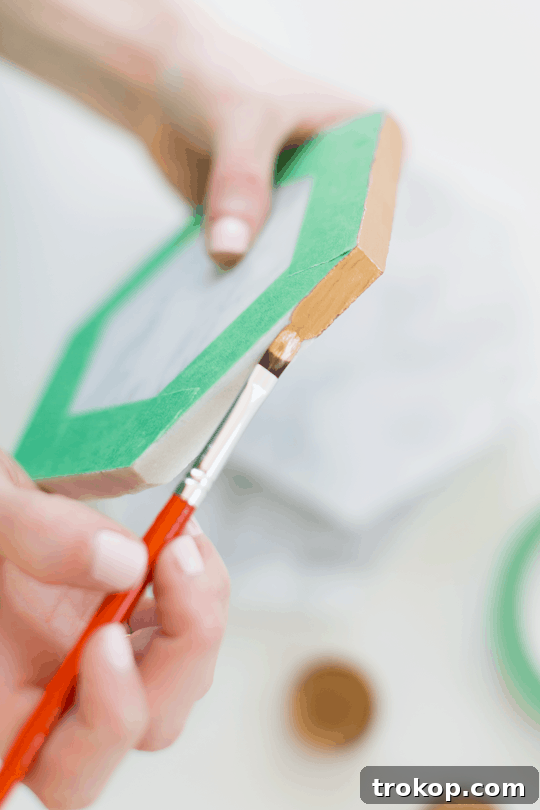
- Apply Liquid Gold Leaf: Shake your liquid gold leaf thoroughly according to the manufacturer’s instructions. Dip your small brush into the gold leaf, removing any excess. Apply thin, even coats to the exposed edges of the marble tile. It’s often better to apply multiple thin coats rather than one thick coat to achieve a smooth, even finish and prevent drips.
- Let Dry Completely: Allow the first coat to dry according to the product’s recommendations (usually a few minutes). Then apply a second coat if needed to achieve desired opacity and brilliance. Ensure the gold leaf is completely dry to the touch before proceeding.
Step 4: Remove Tape and Cure (if gilded)
Once the gold leaf is completely dry to the touch (refer to product instructions for full cure time, which might be longer than dry-to-touch), carefully and slowly peel off the painter’s tape. Peel it back at an angle, away from the painted edge, to ensure a clean break and prevent lifting of the gold leaf. Admire your perfectly gilded edges!
If you’ve applied paint or gold leaf, allow your boards to cure fully before using them for serving food. This can take anywhere from 24-72 hours, depending on the product, and will ensure durability and prevent chipping.
And there you have it – your exquisite DIY Gilded Marble Hexagon Serving Boards are ready to impress! Keep in mind that these elegant pieces are intended for hand washing only, regardless of whether you’ve gilded the edges or not. Be mindful of this for your post-party cleanup to-do list!
Creative Ways to Use and Style Your Boards
These versatile marble hexagon boards are much more than just simple serving dishes. Their inherent beauty and customizable edges open up a world of creative possibilities for entertaining and home decor. Here are some ideas to inspire you:
- Elegant Dessert Plates: As mentioned, they are perfectly sized for individual servings of delicate treats like homemade macarons, mini cheesecakes, or cupcakes. The cool marble surface helps keep desserts fresh, and the sophisticated presentation elevates any sweet indulgence.
- Chic Charcuterie & Cheese Boards: Arrange a selection of artisan cheeses, cured meats, fresh fruit, crackers, and olives on these individual boards for a sophisticated appetizer presentation. Guests can easily pick up their own curated selection.
- Stylish Place Cards & Party Favors: Use a food-safe marker to write guest names directly on the marble, or attach a small tag. After the event, guests can take their personalized marble tile home as a memorable and practical favor.
- Candle Holders: Place a pillar candle or a collection of tea lights on a board to create a beautiful centerpiece. The marble reflects the candlelight, adding a warm, inviting glow.
- Jewelry or Vanity Trays: Keep your favorite rings, earrings, or perfumes organized and beautifully displayed on your dresser or vanity.
- Decorative Coasters: While not ideal for hot beverages, they make exquisite coasters for cold drinks, adding a touch of luxury to your coffee table or nightstand.
- Plant Stands: Elevate small potted plants or succulents, protecting your surfaces and adding a stylish base to your greenery.
- Tiered Display: Combine boards of different sizes or stack them using small risers to create a multi-level display for desserts, appetizers, or decorative items.
These little boards truly are the cutest addition to any dinner party or special occasion. And for under $4 each, they represent an incredible investment, offering endless possibilities for reuse across multiple occasions and different decor schemes. Don’t be surprised if you find yourself wanting to make a whole set!
Care and Maintenance Tips
To ensure your beautiful DIY Gilded Marble Hexagon Serving Boards remain pristine for years to come, proper care is essential. Marble is a natural stone and, while durable, it requires a gentle touch.
- Hand Wash Only: This is the golden rule! Never put your marble boards in the dishwasher. The harsh detergents and high temperatures can etch the marble, dull the polish, and damage any gilded edges.
- Gentle Cleaning: After each use, wipe down the boards with a soft cloth dampened with warm water and a mild, pH-neutral soap (like dish soap). Avoid abrasive cleaners, scrub brushes, or harsh chemicals that can scratch or stain the marble.
- Immediate Cleanup: Marble is porous and can stain easily, especially with acidic liquids like lemon juice, wine, or vinegar, or oily foods. Wipe up spills immediately to prevent permanent marks.
- Avoid Extreme Temperatures: While marble is cool, sudden changes in temperature can cause thermal shock, leading to cracks. Avoid placing extremely hot items directly on the boards.
- Dry Thoroughly: After washing, dry the boards immediately with a clean, soft cloth to prevent water spots and mildew.
- Protect the Gilded Edges: If you’ve gilded your boards, be extra gentle around the painted edges during cleaning to prevent chipping or fading of the gold leaf.
Beyond Serving: Other DIY Ideas
The beauty of starting with a simple, elegant base like marble hexagon tiles is their incredible potential for future DIY projects. While we’ve focused on serving boards, these versatile tiles are perfect for inspiring further creative endeavors:
- Coasters: With just the bumpers, they make stylish, heavy-duty coasters. Consider adding a felt backing for extra protection.
- Wall Art/Backsplash Accents: If you’re feeling adventurous, these tiles can be incorporated into decorative wall panels or as unique accents in a kitchen or bathroom backsplash.
- Tiered Stands: Combine multiple tiles with small dowels or brass rods to create a chic tiered dessert stand.
- Jewelry Displays: Arrange them on a vanity to showcase jewelry, perfumes, or small decorative items.
- Desk Organizers: Use them as bases for pen holders, paperclip trays, or to simply add a touch of sophistication to your home office.
You’d be getting off a bit too easy if we didn’t milk these beautiful marble tiles for a few more home decor projects! So go ahead and buy yours now, and stay tuned for next week’s version of creative DIY with marble hexagons. The possibilities are truly endless when you start with such a versatile and elegant material.
Embrace your inner crafter and add a touch of luxurious, personalized style to your home without the luxury price tag. These DIY Gilded Marble Hexagon Serving Boards are a testament to how simple materials, a little creativity, and a dash of effort can result in genuinely stunning and functional pieces. Happy crafting!