
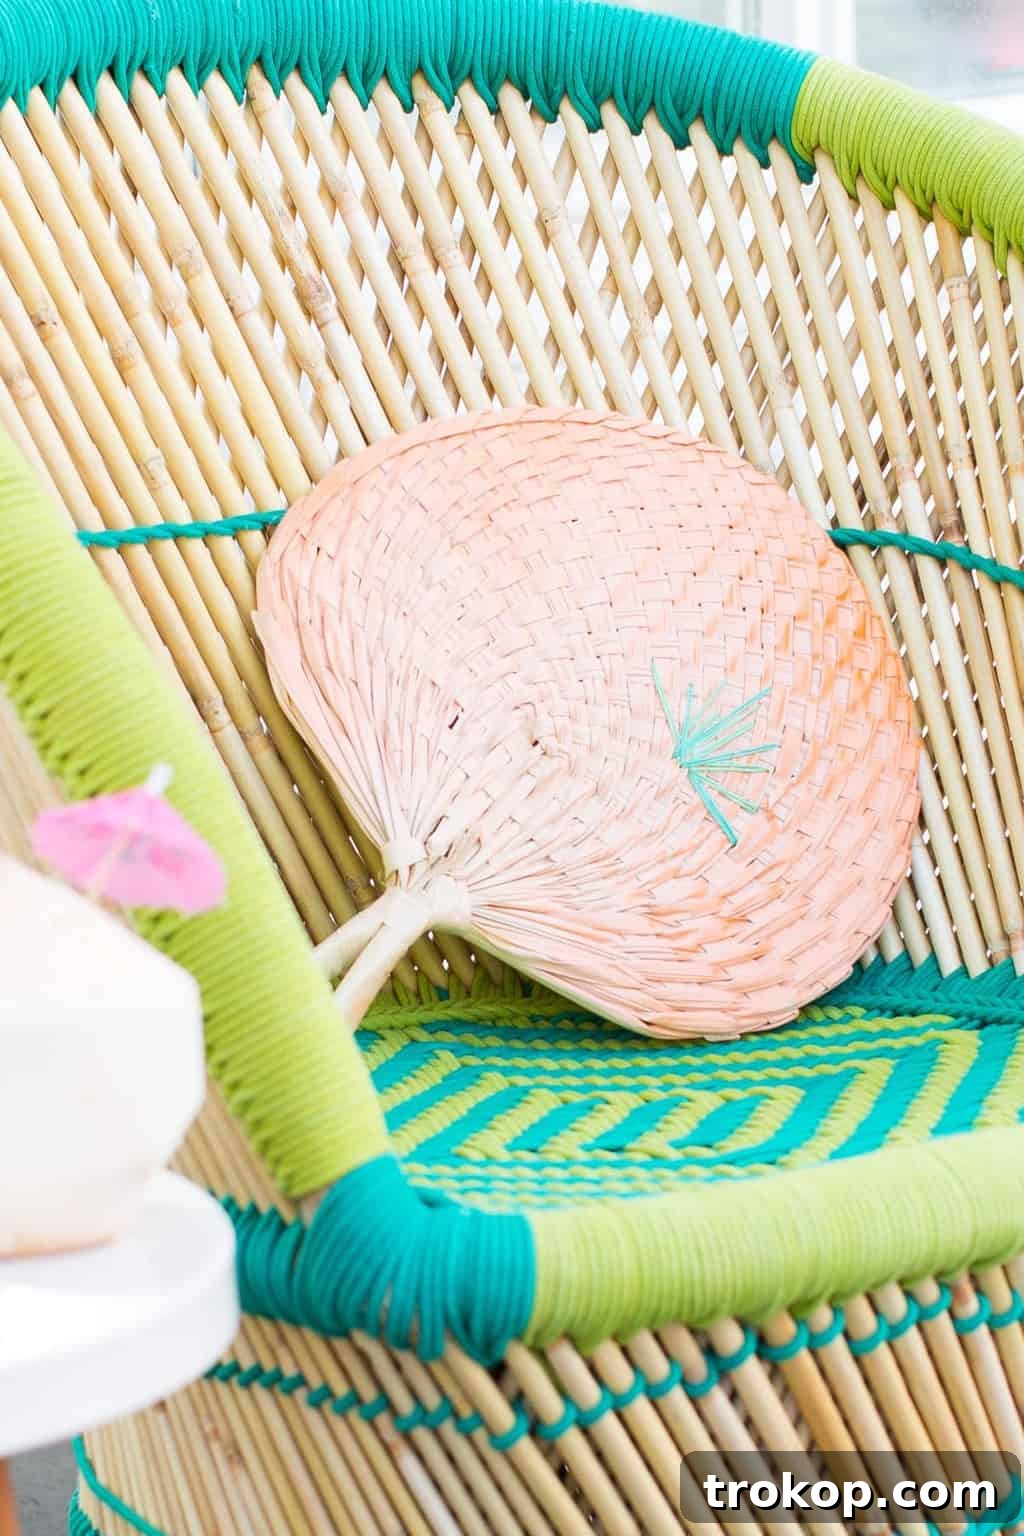
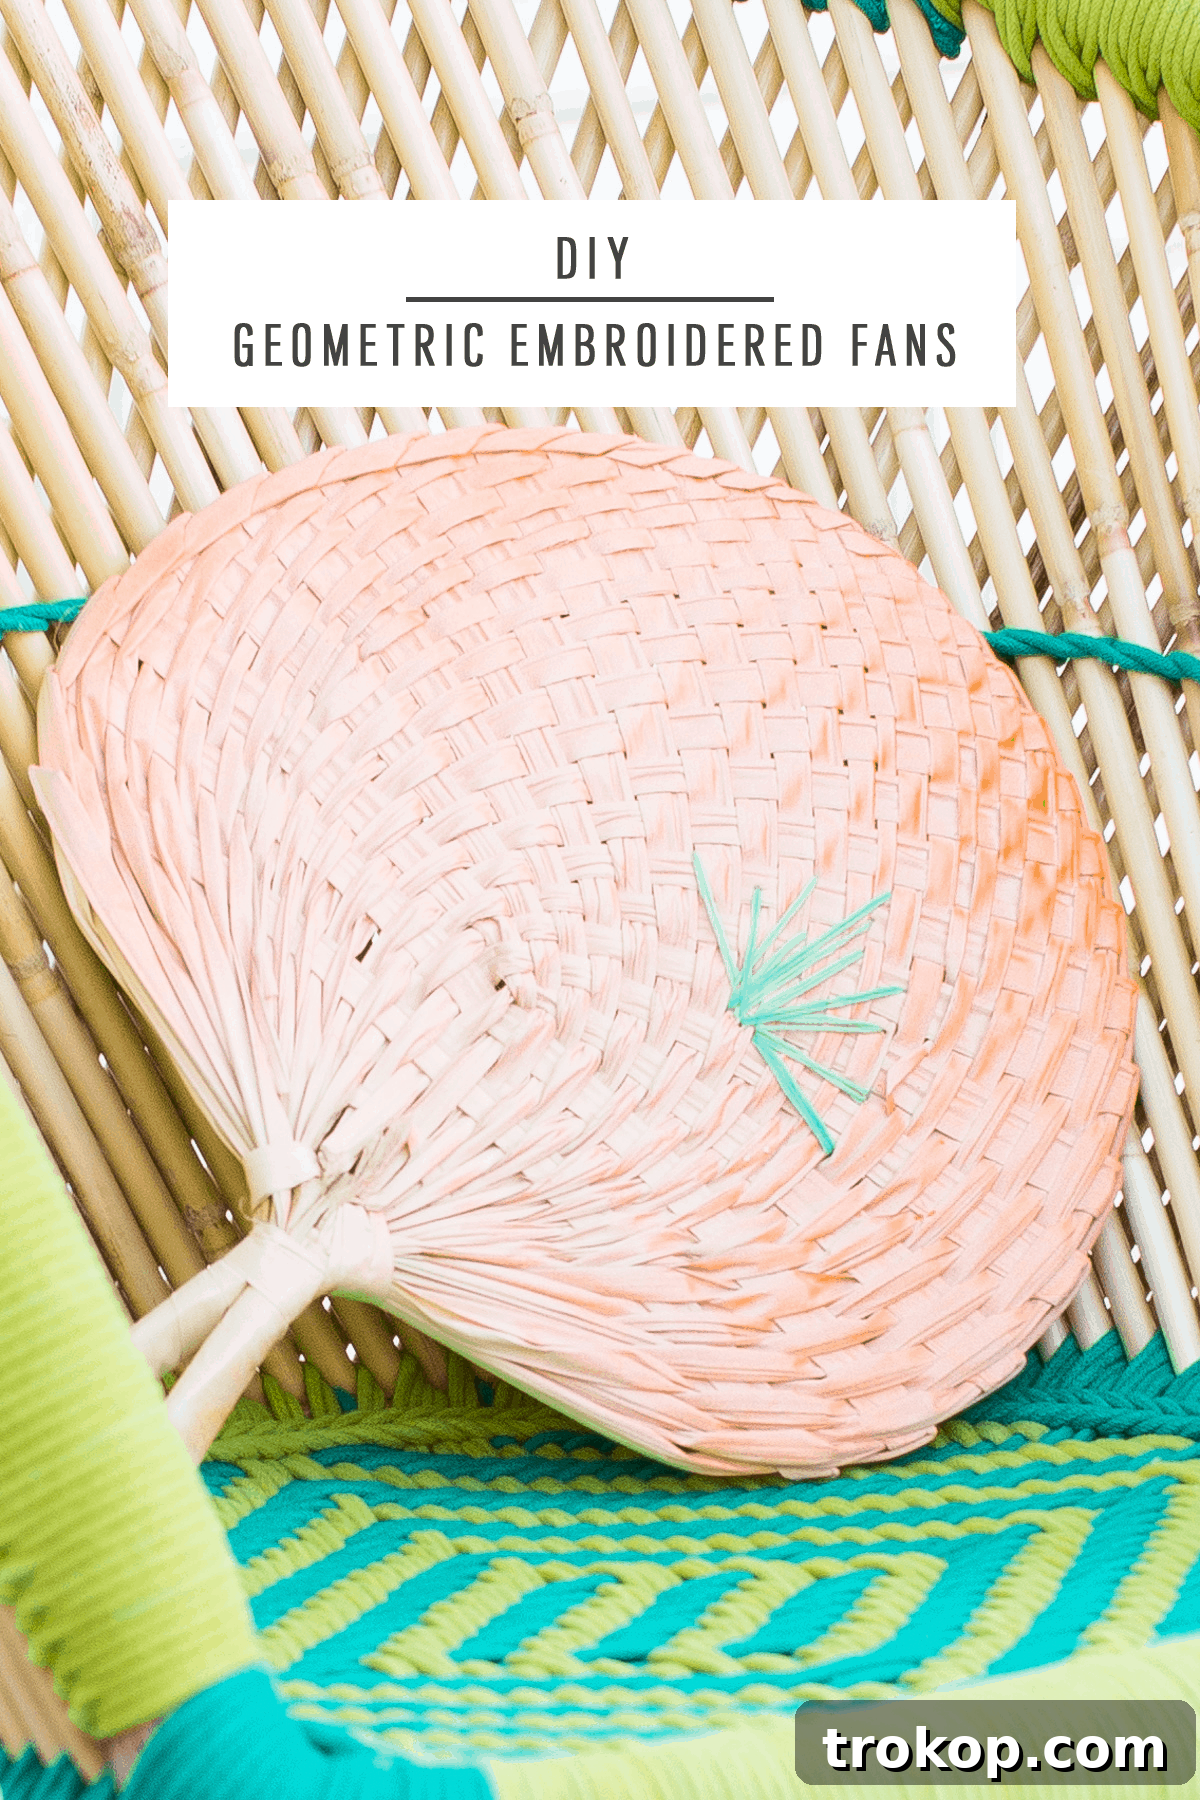
DIY Geometric Embroidered Fans: Your Ultimate Guide to Stylish Summer Cool
As the temperatures rise and the sun shines brighter, there’s a unique charm in embracing handmade elegance to beat the heat. Imagine a beautiful, personalized accessory that not only keeps you cool but also adds a touch of bohemian chic to your summer ensemble or party decor. This is exactly what our DIY Geometric Embroidered Fans offer – a delightful blend of functionality and style, crafted with love and creativity.
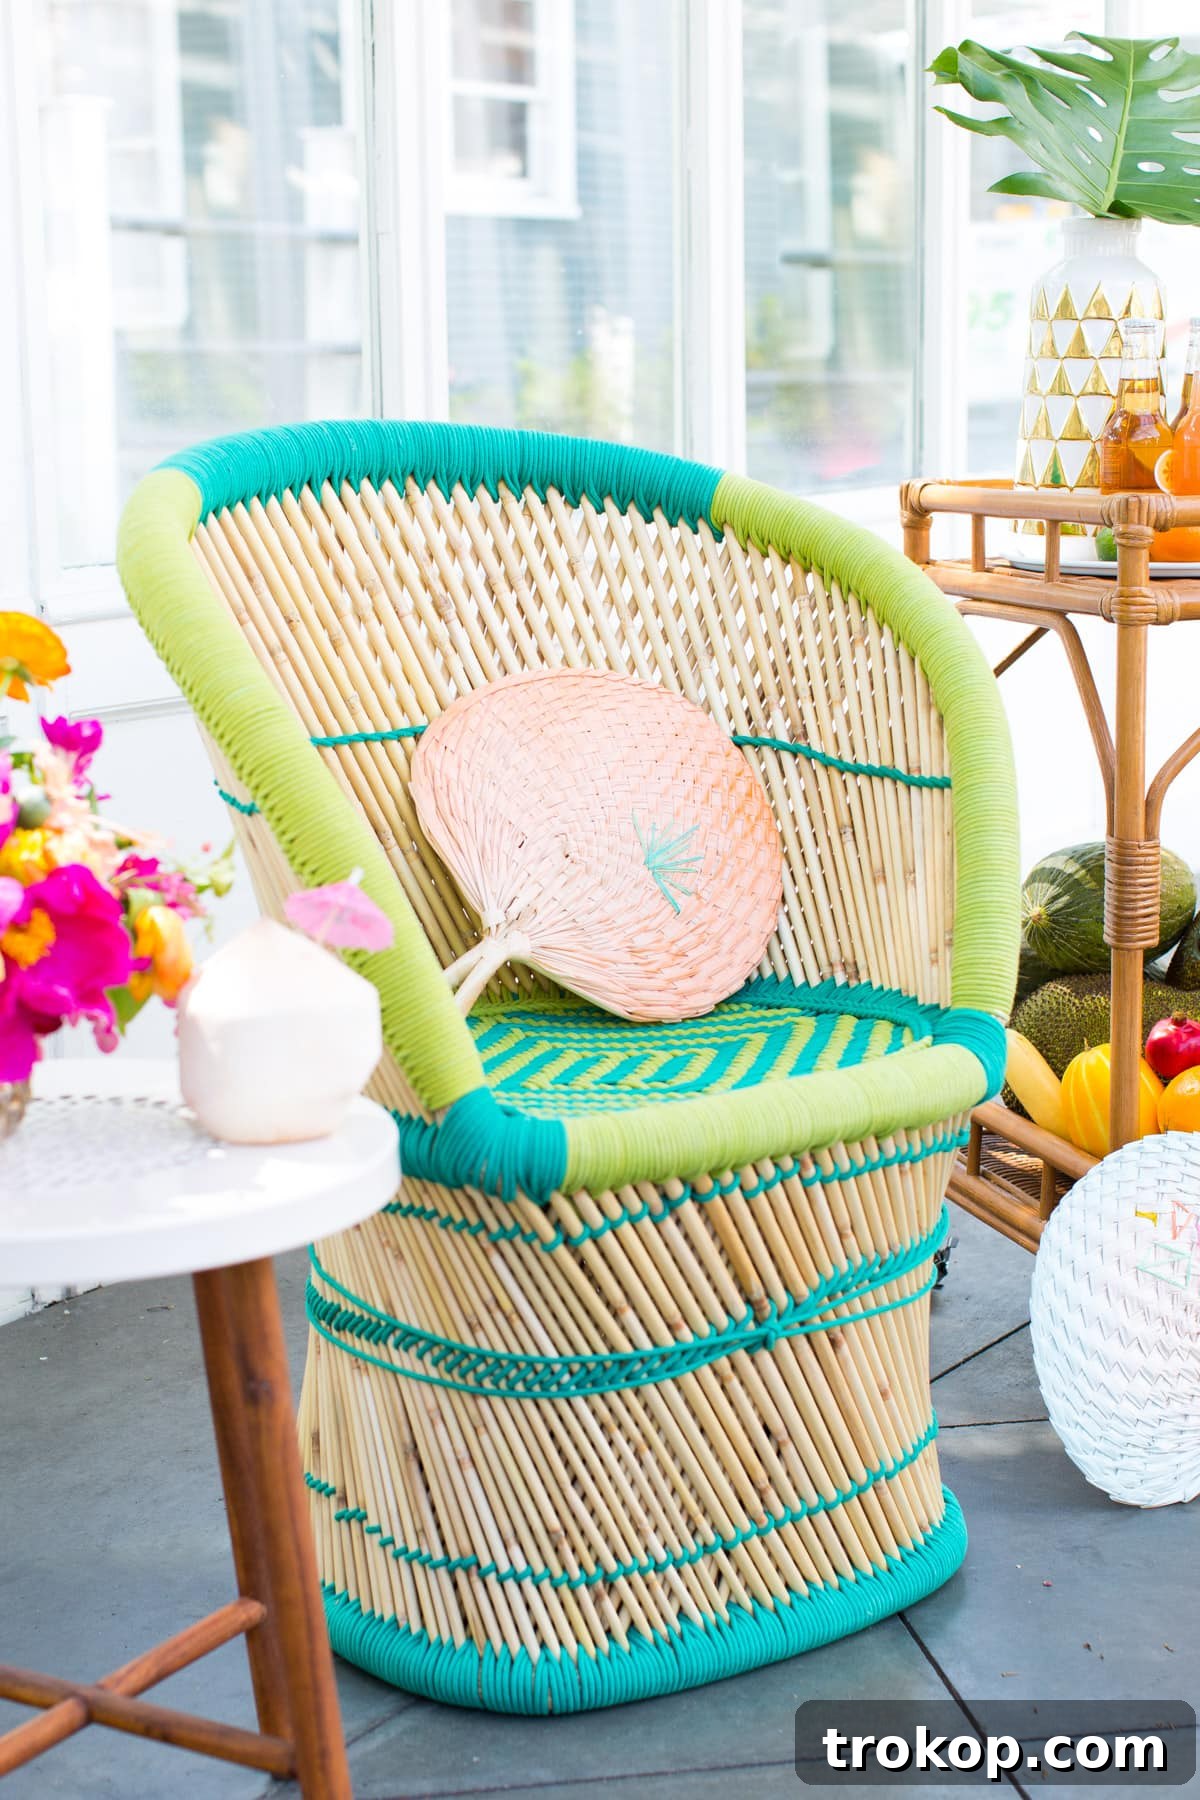
We’re thrilled to finally share this long-anticipated DIY project, perfect for adding a bespoke touch to any summer gathering or simply elevating your everyday style. Born from the desire to create unique details for a vibrant tropical garden party last summer, these fans are a testament to how simple materials can transform into something truly extraordinary. While they may have taken a little longer than planned to make their official debut, the wait, we promise, is absolutely worth it!
What makes this project truly special is its incredible simplicity and speed. You’ll only need three basic materials, two of which you likely already have on hand, and a mere five minutes of your time to create a stunning, one-of-a-kind accessory. Whether you’re a seasoned crafter or a complete beginner, this project is designed for everyone to enjoy and succeed at.
Why DIY Embroidered Fans? The Perfect Summer Accessory
In a world of mass-produced goods, there’s something incredibly satisfying about owning and using items that you’ve crafted with your own hands. DIY Geometric Embroidered Fans are more than just a way to cool down; they are a statement. Here’s why you’ll love making them:
- Personalized Style: Express your unique aesthetic by choosing colors and patterns that resonate with you.
- Eco-Friendly Alternative: Opt for natural materials and reduce reliance on energy-consuming electric fans.
- Quick & Easy: Perfect for last-minute party preparations or spontaneous craft sessions.
- Budget-Friendly: A cost-effective way to add flair without breaking the bank.
- Thoughtful Gifts: Handmade fans make charming and practical gifts for friends and family.
- Versatile Use: Ideal for beach trips, garden parties, weddings, festivals, or just lounging on the patio.
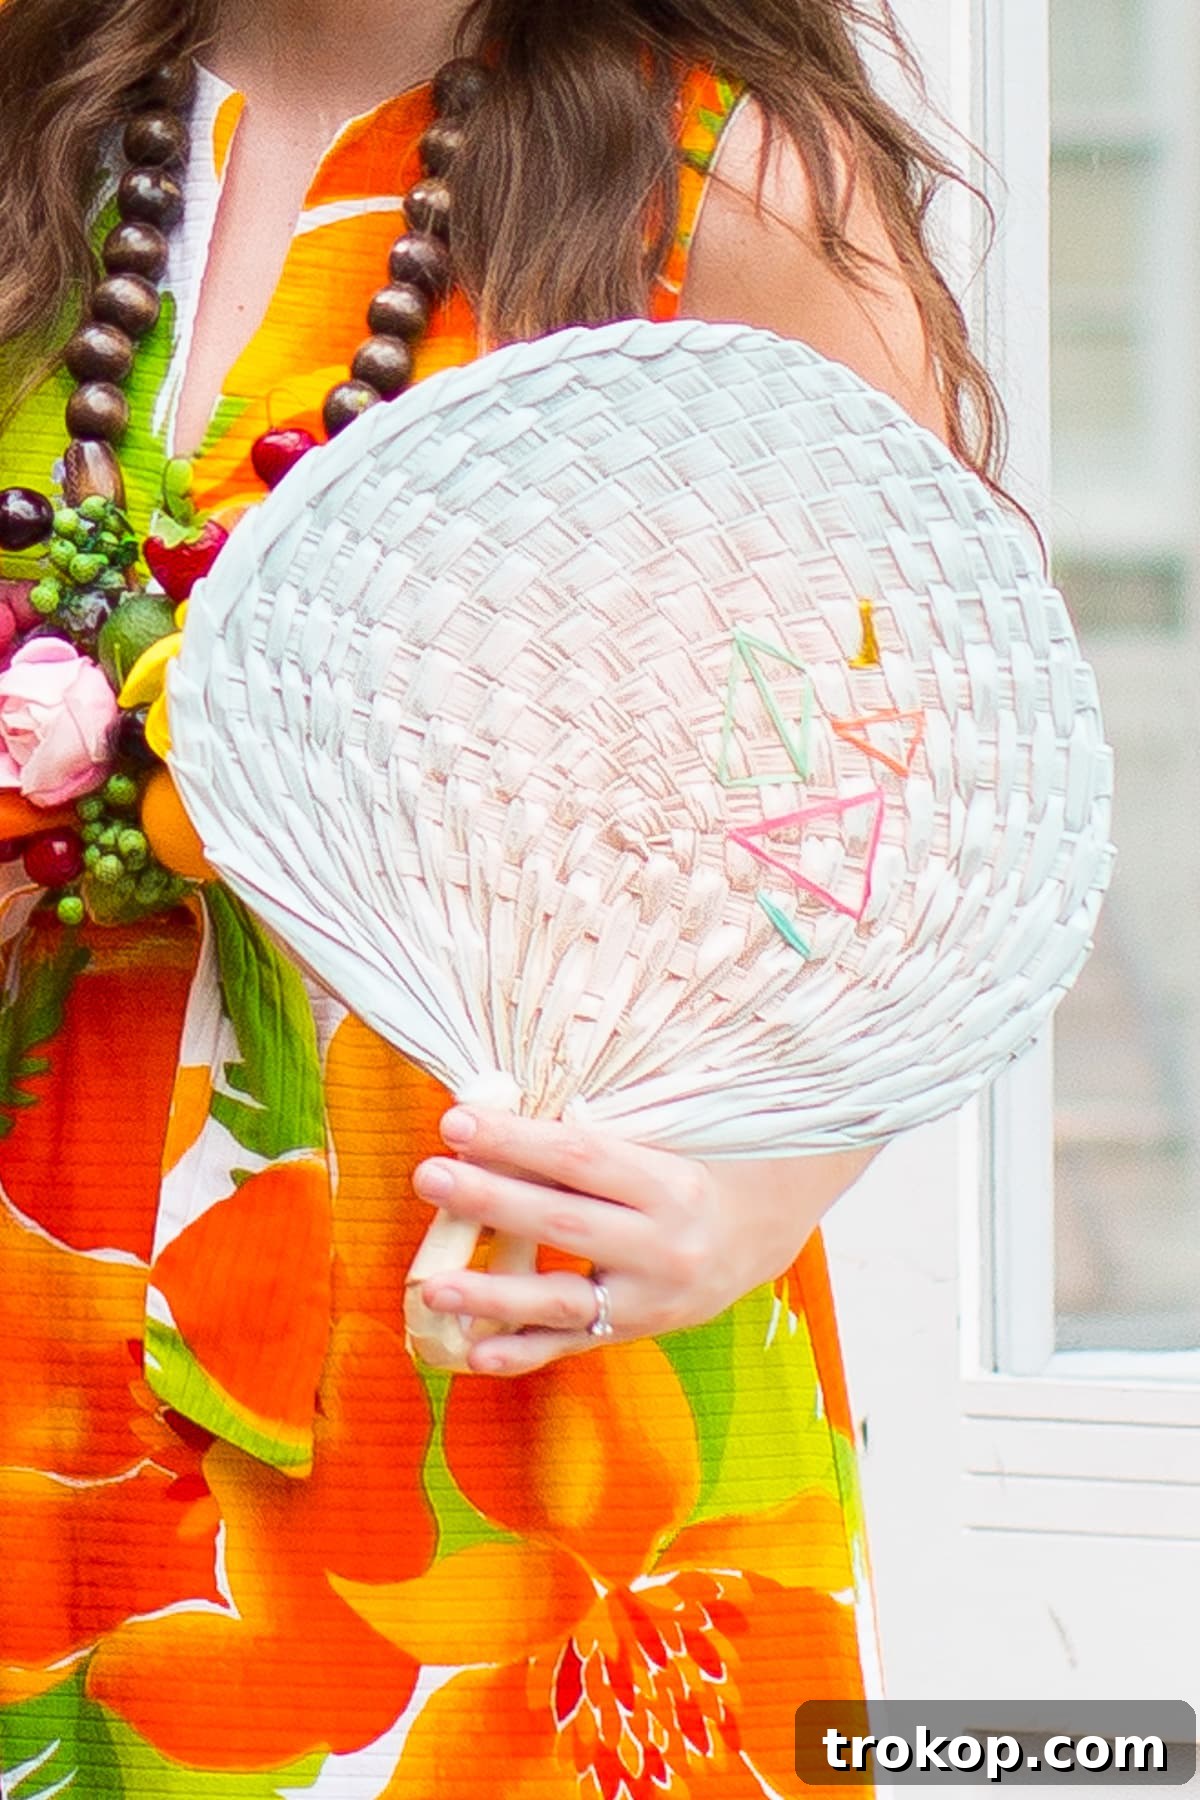
Table of Contents
- Materials Needed To Make DIY Geometric Embroidered Fans
- How To Make DIY Geometric Embroidered Fans
- Unleashing Your Creativity: Design Ideas and Variations
- Care Tips for Your Handmade Fans
- Beyond Cooling: Other Uses for Your Embroidered Fans
- Conclusion: Embrace the Art of Cooling
Materials Needed To Make DIY Geometric Embroidered Fans
One of the beauties of this DIY project is its minimal material requirement. Gather these three simple items, and you’ll be ready to start crafting:
- Embroidery Thread: Choose a selection of colors that complement your style or party theme. From vibrant neons to earthy tones or classic metallics, the thread is where your design truly comes alive. Consider using multiple strands for a bolder look or single strands for delicate details.
- Natural Fans: These are often made from bamboo, palm leaf, or straw. Look for fans with a somewhat open weave, as this will make it easier to pass your needle and thread through. Their natural texture provides a beautiful canvas for your geometric designs. You can find these at craft stores, online, or even in some dollar stores during summer months.
- Embroidery Needle: A sharp, sturdy needle is essential. Choose one with an eye large enough to accommodate your chosen embroidery thread. The size will depend on the thickness of your thread and the weave of your fan.

How To Make DIY Geometric Embroidered Fans: A Step-by-Step Guide
This is where the magic happens, and believe us, it’s as simple as it sounds. There are no complicated stitches or patterns to learn. The beauty lies in the free-form creation of geometric shapes.
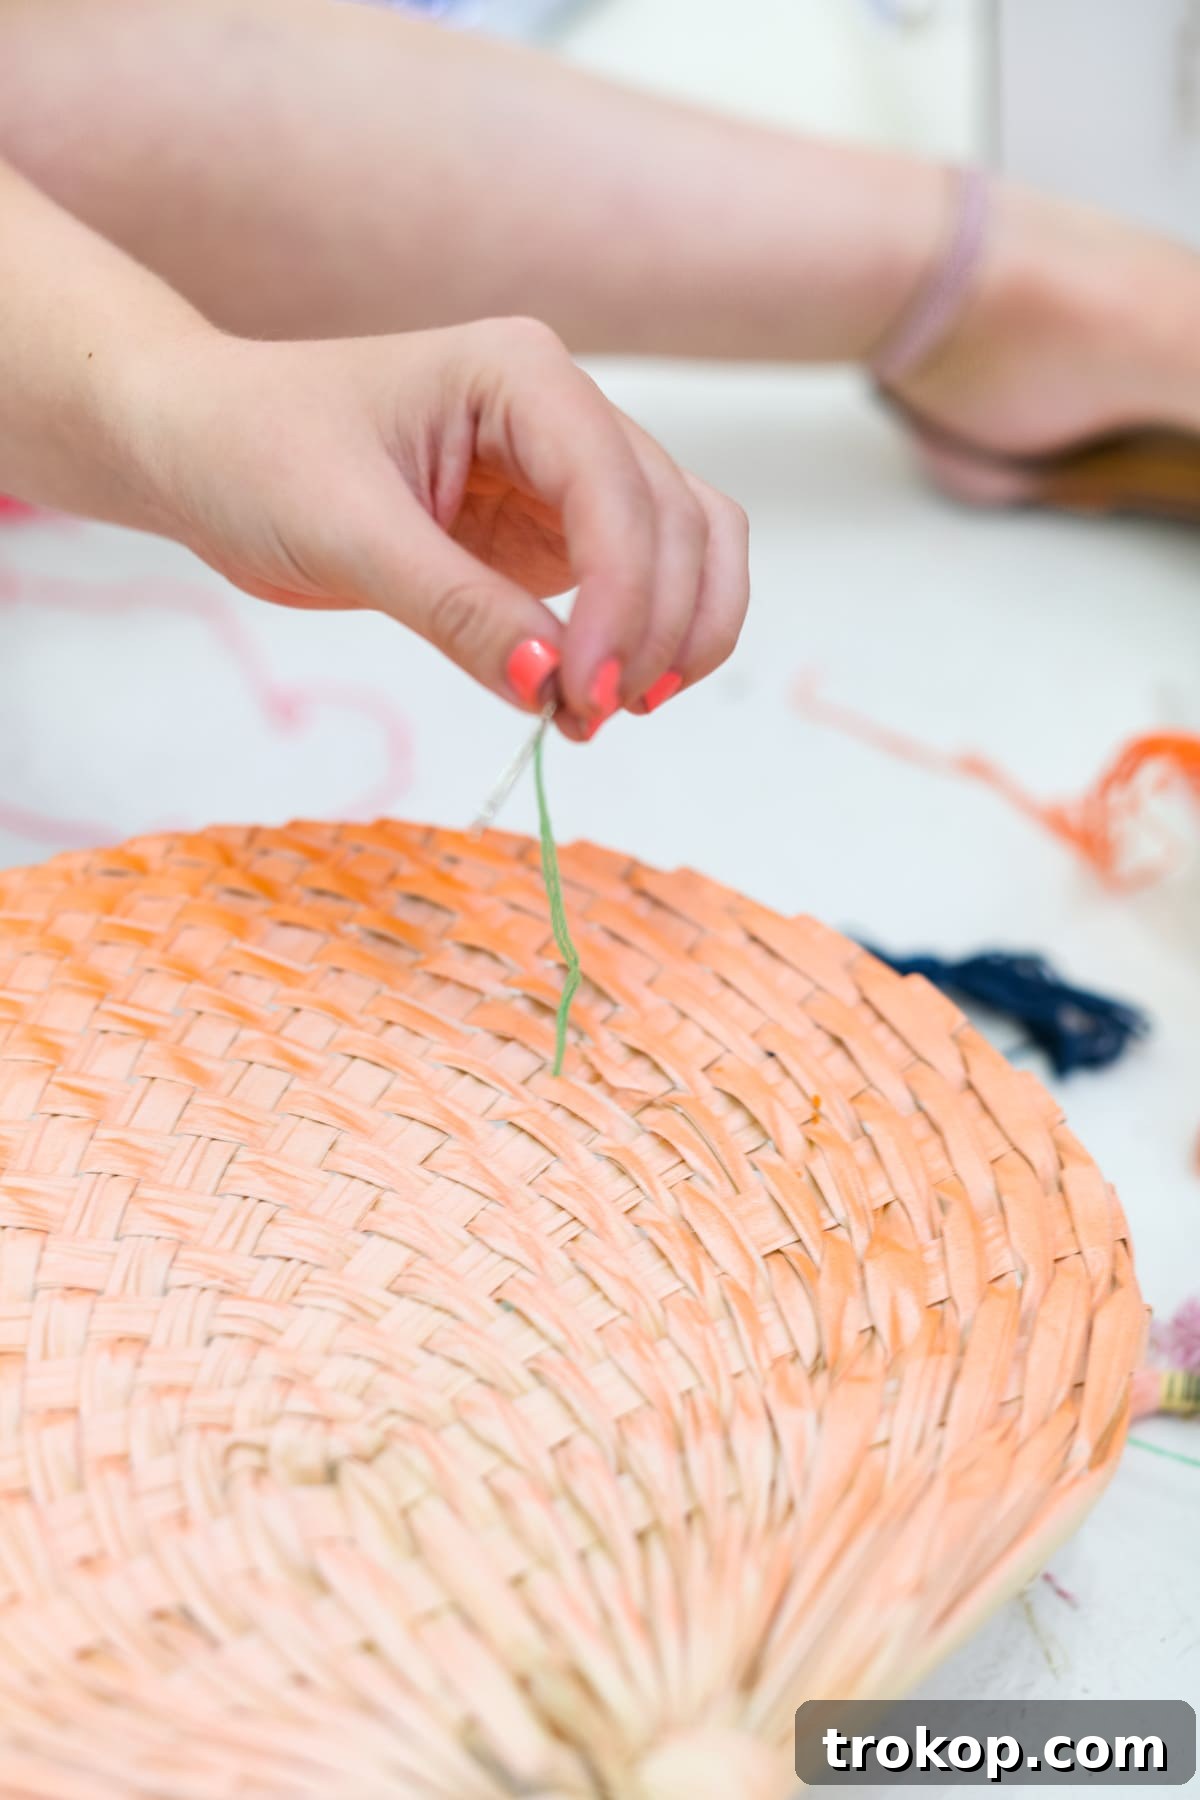
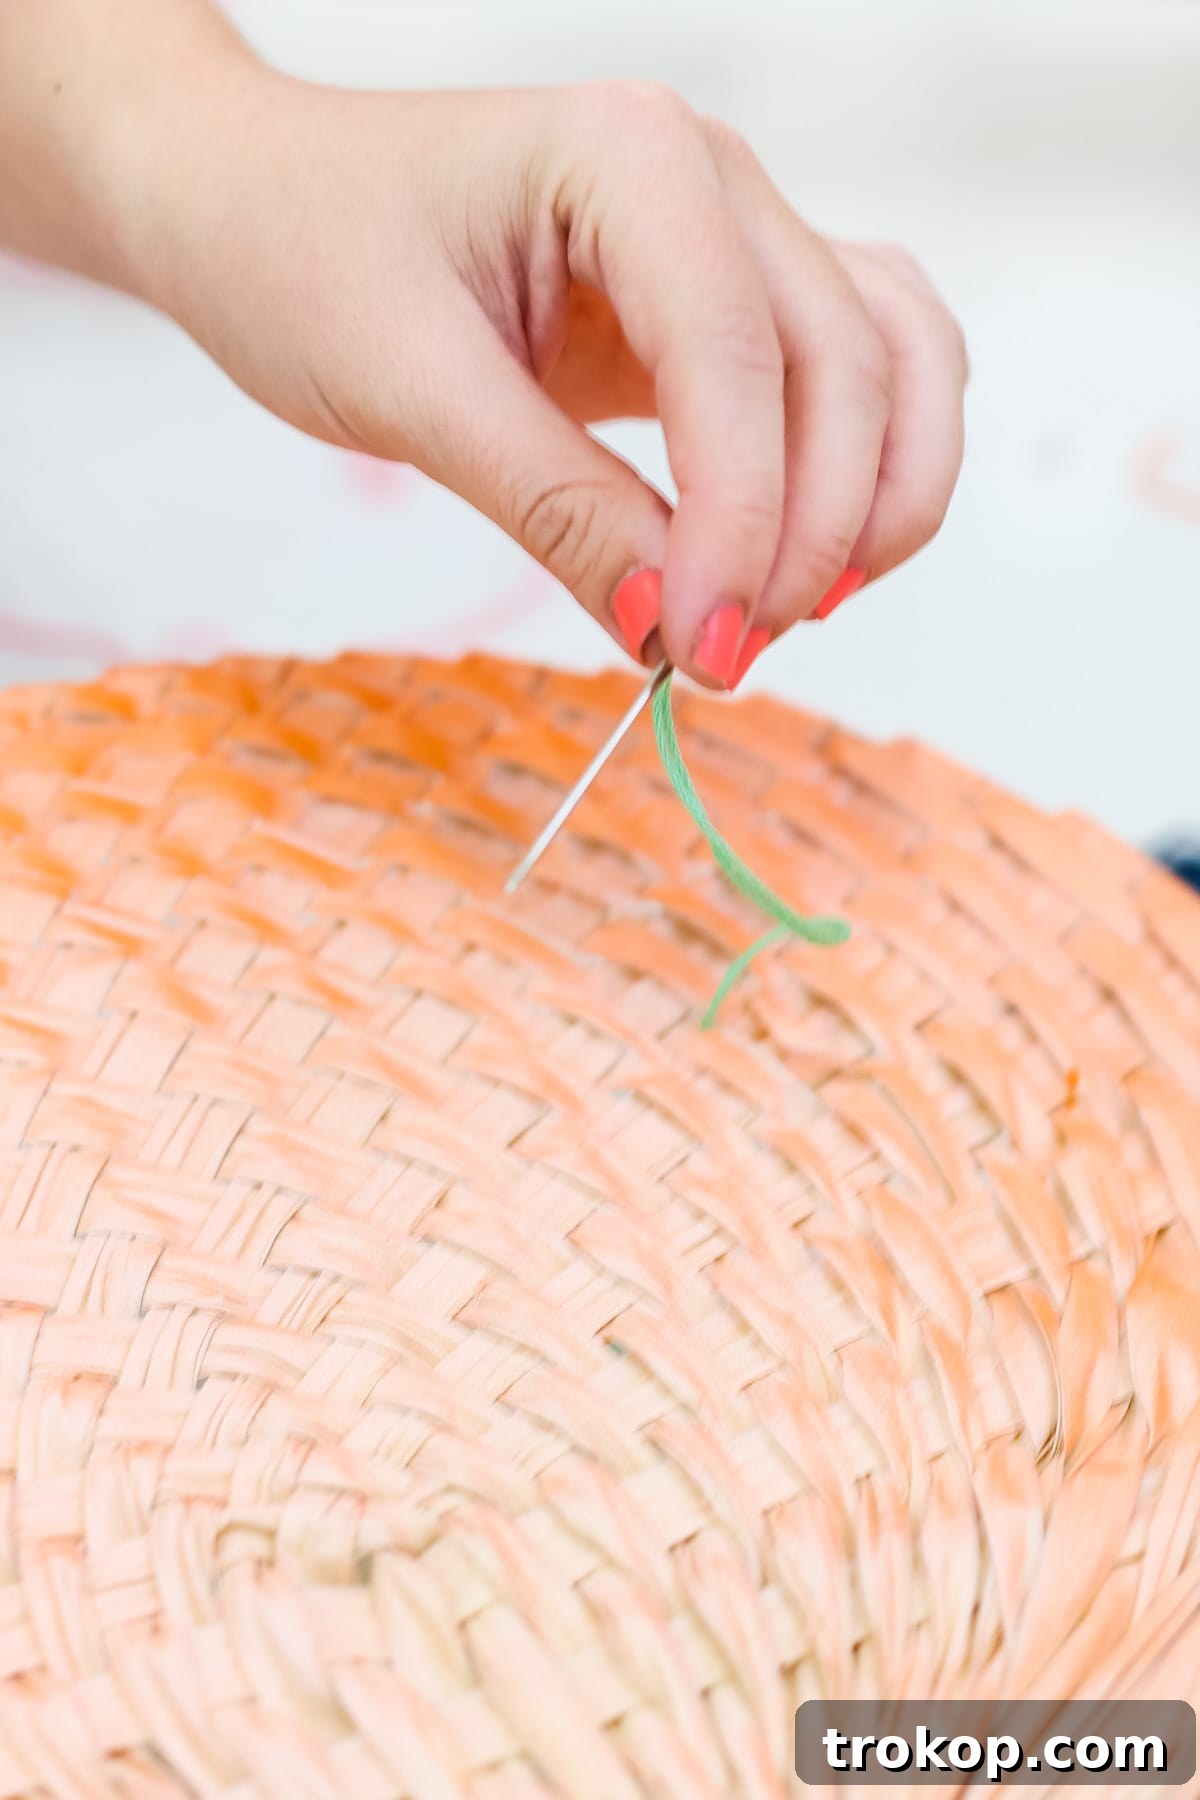
- Prepare Your Thread: Cut a manageable length of embroidery thread, typically an arm’s length (about 18-24 inches) to avoid tangles. Thread your needle. You can use a single strand for fine lines or multiple strands (2-6) for a thicker, more pronounced design. Knot the end of your thread a few times to create a secure stopper.
- Choose Your Starting Point: Select an area on your fan where you want your first stitch to begin. The natural weave of the fan serves as your grid, making it incredibly easy to create straight lines and symmetrical shapes.
- Begin Embroidering:
- For Lines: Push your needle from the back of the fan through to the front. Pull the thread until the knot catches on the back. Then, decide the length and direction of your line and push the needle back through the fan to the back. Repeat this process, creating parallel lines, intersecting lines, or radiating lines.
- For Squares, Hexagons, or Triangles: Use the same in-and-out stitching technique to outline your desired shapes. You can make solid shapes by filling them in with stitches, or create open outlines for a more minimalistic look.
- Experiment with Patterns: Don’t be afraid to experiment! Try zigzags, chevrons, diamond patterns, or abstract geometric designs. The imperfections are part of the charm of a handmade item. Let the texture and weave of the natural fan guide your needle.
- Secure Your Work: Once you’re happy with your design (or when your thread is running short), turn the fan over. Carefully weave the working thread through a few existing stitches on the back of the fan to secure it. Tie a small, tight knot and trim any excess thread. You can also dab a tiny bit of clear craft glue on the knot for extra security, though it’s usually not necessary.
- Repeat and Enjoy: Continue adding more designs, colors, and patterns to your fan until you achieve your desired look.
Unleashing Your Creativity: Design Ideas and Variations
While the basic technique is straightforward, the design possibilities are endless. Here are some ideas to spark your imagination:
- Minimalist Lines: Simple, clean parallel lines in a single color can create a surprisingly sophisticated and modern look.
- Color Blocking: Divide your fan into sections and embroider each section with a different colored thread, creating a striking color-blocked effect.
- Asymmetrical Art: Instead of perfect symmetry, embrace abstract geometric shapes that flow across the fan for an artistic, free-spirited vibe.
- Monochromatic Magic: Use various shades of the same color (e.g., light blue, medium blue, dark blue) for a subtle yet rich textured design.
- Bold Contrasts: Pair a vibrant thread color with the natural tone of the fan for maximum visual impact. Black or white thread on a natural fan can be incredibly striking.
- Adding Embellishments: For an extra touch of glamour, consider incorporating small beads, sequins, or even delicate tassels onto your embroidered fan. Secure them with a sturdy stitch.
- Personalized Initials: Discreetly embroider your initials or a small symbol onto a corner of the fan for a truly personal touch.

Care Tips for Your Handmade Fans
To ensure your beautifully embroidered fans last through many summers, here are a few simple care tips:
- Handle Gently: While sturdy, natural fans can be delicate. Avoid excessive bending or rough handling.
- Keep Dry: Moisture can damage the natural fibers and embroidery thread. Store your fans in a dry place and avoid prolonged exposure to rain or high humidity.
- Clean Carefully: If your fan gets dusty, gently wipe it with a dry, soft cloth or use a soft brush to remove debris. Avoid using wet cloths or harsh cleaners.
- Storage: When not in use, store your fans flat or hang them to prevent warping or creasing.
Beyond Cooling: Other Uses for Your Embroidered Fans
These exquisite fans aren’t just for keeping cool. Their aesthetic appeal makes them versatile decorative pieces:
- Wall Decor: Arrange several embroidered fans on a wall for a unique, bohemian-inspired art installation.
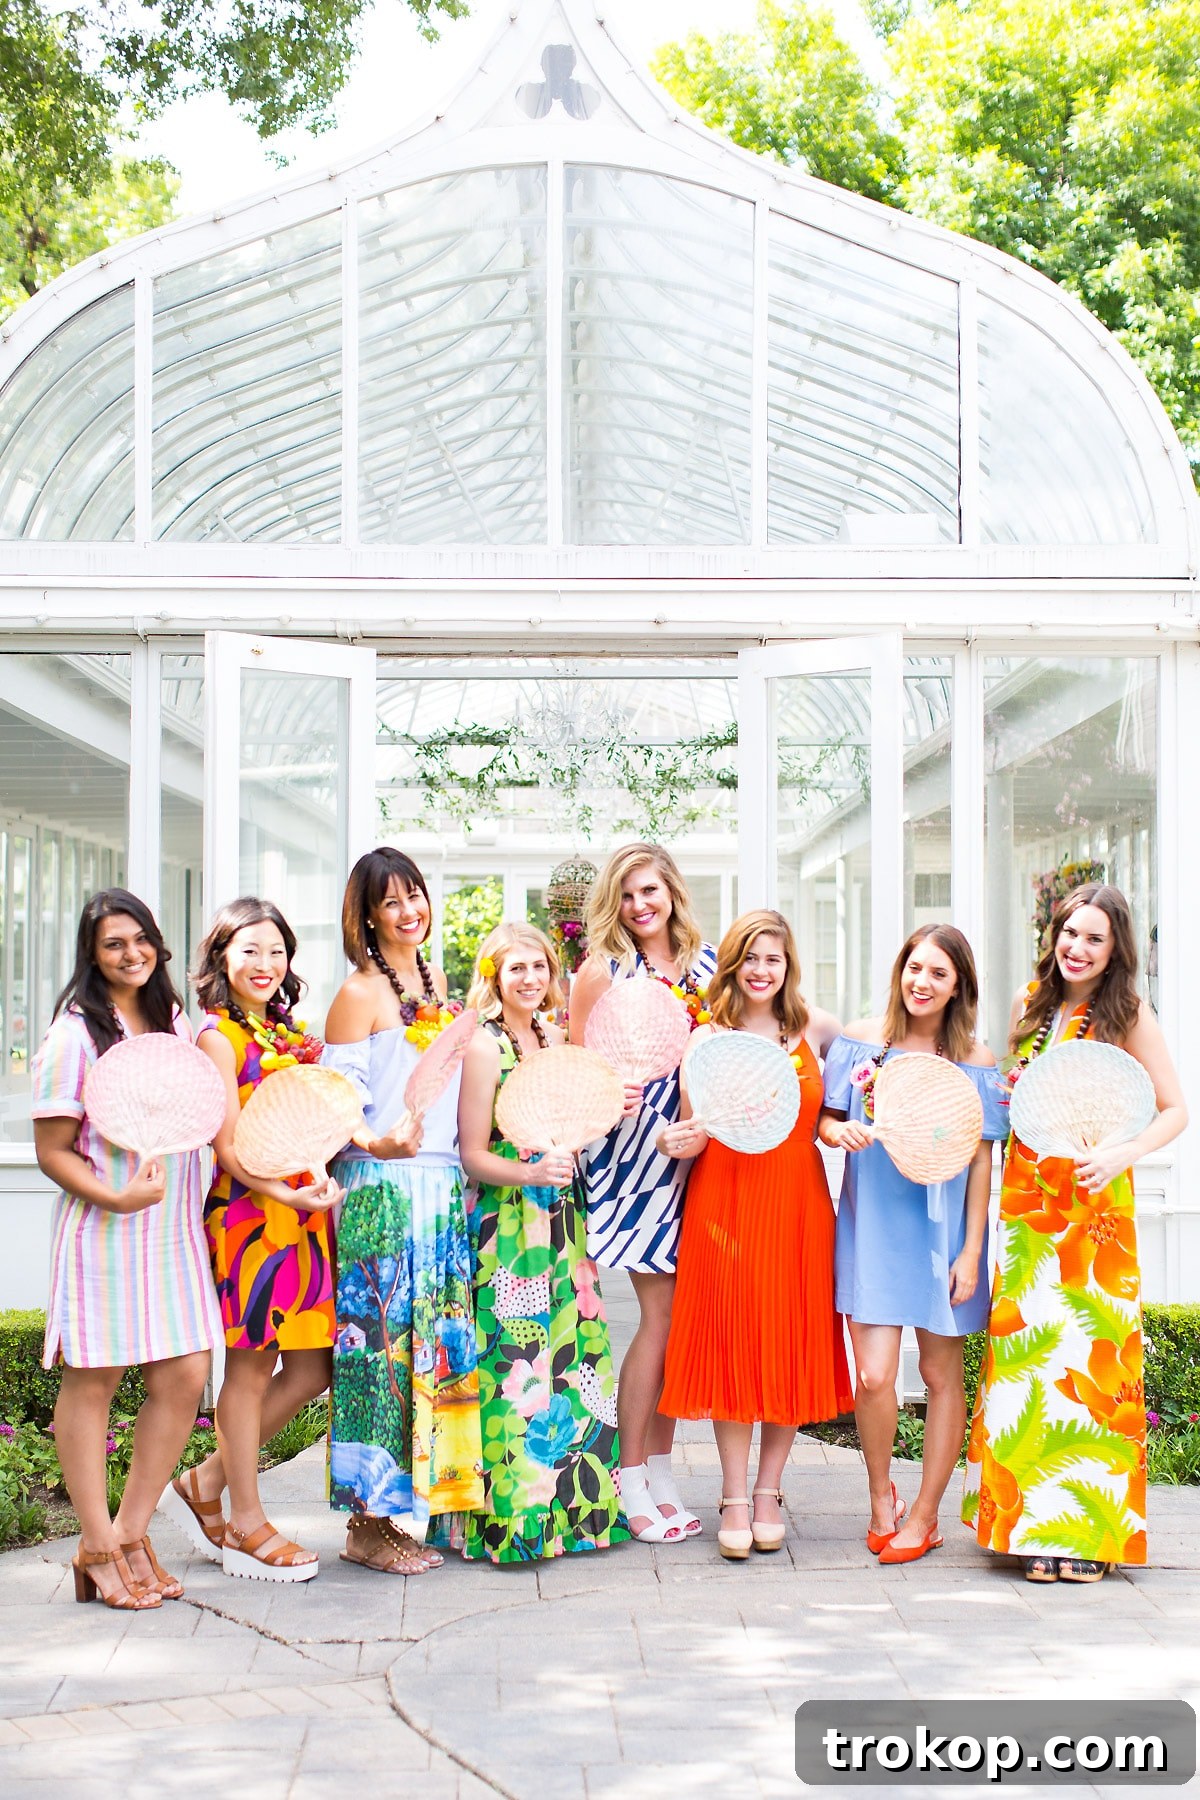
- Party Favors: Imagine guests taking home these charming, handmade fans as a memorable token from your summer party or wedding.
- Table Centerpieces: Incorporate them into your table settings for an added touch of elegance at outdoor dinners or brunches.
- Photography Props: Their photogenic quality makes them perfect for summer-themed photo shoots.
- Gift Embellishments: Use a small embroidered fan as a unique gift tag or an extra decorative element on a wrapped present.
Conclusion: Embrace the Art of Cooling
So, what do you think? Were these DIY Geometric Embroidered Fans worth the wait? We certainly believe so! They embody everything we love about crafting: creativity, simplicity, and the joy of making something beautiful and functional with your own hands. Now that you have all the inspiration and instructions, there’s no better time to gather your materials and embark on this delightful summer project.
Whether you’re planning a grand outdoor celebration or simply seeking a stylish way to stay comfortable on a warm day, these handmade fans are your perfect companion. Get ready to embrace the warmth of summer with your own personalized, geometrically embroidered fan – a true labor of love that will keep you cool and chic. Happy crafting!