
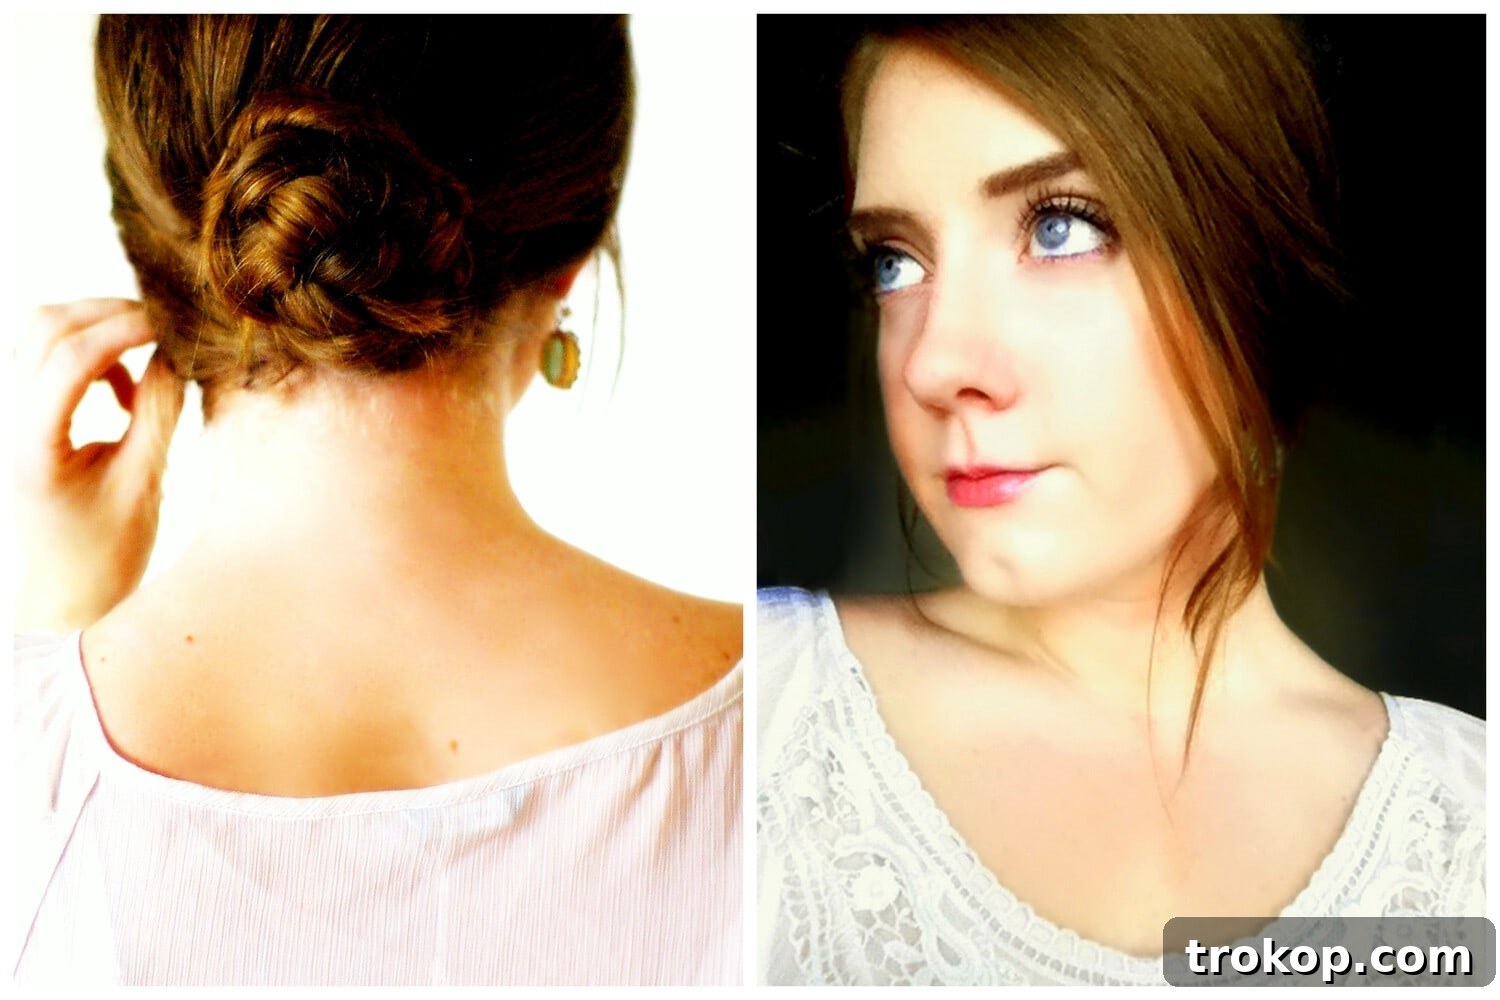
Unveil the ultimate secret to achieving a stunning, seemingly complex braided updo that’s surprisingly effortless. Whether you’re rushing out the door or preparing for a special occasion, this quick and chic hairstyle will become your go-to look, consistently drawing compliments and admiration.
In a world where busy schedules often dictate our choices, finding a hairstyle that is both beautiful and time-efficient can feel like a quest. As someone who frequently needs to keep her hair neatly tied up for professional settings, I’ve mastered the art of creating diverse and engaging updos that banish boredom and embrace practicality. This particular braided updo stands out as a true gem in my repertoire, offering unparalleled elegance with minimal fuss.
I can genuinely say that every single time I wear my hair in this style, I’m asked how I managed to create such an intricate look. My little secret, which I’m now thrilled to share, is just how incredibly simple it is. Forget spending hours in front of the mirror; this tutorial will walk you through each step, proving that effortless beauty is indeed achievable. Prepare to surprise yourself with a gorgeous style that looks like it took hours, but only demands minutes.
Table of Contents
The Versatility of Braided Updos for Every Occasion
A beautifully braided updo isn’t just a hairstyle; it’s a statement of comfort and elegance, perfectly suited for a myriad of occasions. Whether you’re facing a scorching summer day, needing a polished look for the office, or preparing for a sophisticated evening event, this updo provides a graceful solution. It’s incredibly practical for keeping your hair off your neck and shoulders, ensuring you stay cool and composed, especially when the temperatures rise or during active moments like running errands or enjoying a casual outing with friends.
Beyond its cooling benefits, a braided updo also acts as a protective style. By tucking away your ends and securing your hair, you reduce exposure to environmental stressors, minimizing breakage and frizz. This makes it an excellent choice for maintaining the health of your tresses, especially when combined with a good hair care routine. For those looking to preserve their hair’s integrity and vibrancy, exploring our comprehensive hair care tips can provide invaluable insights to keep your locks looking their best.
This style is remarkably adaptable. You can make it sleek and refined for a formal date night, or pull out a few face-framing pieces for a softer, more bohemian vibe, ideal for a relaxed brunch or a day at the beach. Its inherent flexibility allows you to customize the look to match your outfit, mood, and the specific demands of your day, solidifying its place as an indispensable hairstyle for anyone seeking both style and practicality.
Essential Tools for Your Easy Braided Updo
Creating this effortless braided updo requires just a few basic tools, most of which you likely already have on hand. Gather these items to ensure a smooth and successful styling process:
- Hairspray: A light to medium hold hairspray is crucial for taming flyaways, adding a touch of shine, and ensuring your updo stays perfectly in place throughout the day. Opt for a flexible formula that allows for natural movement without feeling stiff.
- Hair Bands (Elastic Ties): You’ll need at least one strong, snag-free hair band to secure your initial braid. Choose one that blends with your hair color for a seamless look, or a decorative one if you want it to be part of the style.
- Bobby Pins: A handful of bobby pins will be your best friend for anchoring the twisted braid and securing any loose strands. Having a good supply, preferably matching your hair color, is always a good idea, as hair length and texture can dictate how many you’ll need.
- Optional: Paddle Brush or Comb: To detangle your hair and ensure a smooth base before braiding.
- Optional: Texturizing Spray or Dry Shampoo: If your hair is too silky or clean, a little texturizing spray can add grip and volume, making it easier to braid and hold the style.
Step-by-Step Guide to Creating Your Braided Updo
This updo is celebrated for its simplicity and speed. Follow these three easy steps to achieve a stunning look in minutes:
Step 1 — Braid Your Hair into a Single Strand:
Begin by gathering all your hair at the nape of your neck, or slightly higher for a more prominent bun. Ensure it’s smoothly brushed to remove any tangles. Now, create a single, simple three-strand braid. The tightness of your braid will influence the final look; a looser braid creates a softer, more romantic bun, while a tighter braid results in a more structured, polished updo. Secure the end of your braid with a small hair elastic. For longer hair, you might want to consider a fishtail braid or a French braid starting from the crown for added intricacy, but a basic three-strand braid works perfectly for the “easy” factor.
Step 2 — Twist the Braid into a “Cinnamon Bun” Shape:
Once your braid is secure, gently take the entire braided strand and begin twisting it around the base where you first gathered your hair. Imagine coiling a cinnamon bun; you’re creating a circular shape with your braid. Keep the twist relatively flat against your head. As you twist, ensure that the coils are evenly distributed to create a balanced bun. This step determines the overall shape and size of your updo. If you desire a fuller bun, gently pull apart the sections of your braid before twisting to add volume.
Step 3 — Secure with Bobby Pins and Finish:
Once you’ve twisted the braid into your desired bun shape, take the end of the braid and tuck it neatly underneath the bun. Now, it’s time to secure your masterpiece. Use bobby pins to firmly anchor the bun to your head. Insert the pins vertically or horizontally, ensuring they catch both a piece of the bun and some hair from your scalp for maximum hold. For extra security, you can criss-cross two bobby pins at key points. Depending on the length and thickness of your hair, you may need anywhere from 3 to 10 bobby pins. Finish with a light mist of hairspray to set the style and tame any stray hairs, giving you a polished, long-lasting look.
Pro Tips and Variations for Your Braided Updo
To truly master your braided updo and adapt it to any situation, consider these expert tips and stylistic variations:
- For a Messy/Boho Look: Before securing with hairspray, gently tug at the loops of your braid and the edges of your bun. This creates a softer, more voluminous, and intentionally “undone” aesthetic that’s perfect for casual outings or a romantic vibe. Pull out a few small strands around your face for added softness.
- Adding Volume: If your hair is fine, try backcombing (teasing) the roots before braiding, especially at the crown, for extra lift. A volumizing mousse applied before blow-drying can also provide a great foundation.
- Different Braid Types: Experiment with a French braid or Dutch braid starting from the top or middle of your head before coiling. This adds another layer of detail and can elevate the sophistication of the updo.
- Accessorize: Elevate your updo with elegant hair accessories. A delicate hairpin, a decorative comb, fresh flowers, or a stylish headband can transform your look from simple to stunning, making it suitable for weddings or galas.
- Overnight Waves: For beautiful texture, try braiding your hair loosely the night before. In the morning, you’ll have natural waves that add volume and character to your updo.
- Securing Fine Hair: If your hair is very fine or slippery, use texturizing spray or dry shampoo at the roots and through the lengths before braiding. This provides grip and helps the bobby pins hold better.
- Preventing Flyaways: For a super sleek look, apply a small amount of hair serum or smoothing cream to your hands and gently smooth down any flyaways after styling.
- Placement Matters: The position of your bun can change the entire feel of the hairstyle. A high bun on the crown is playful and energetic, a mid-height bun is classic and elegant, and a low bun at the nape of the neck is sophisticated and formal.
Expand Your Hair Horizons: More Styles and Care
Looking for more ways to keep your hair fresh, stylish, and healthy? We’ve got you covered with a selection of our favorite hair-related articles and DIYs to inspire your next look or enhance your routine.
- 5 Easy Dirty Hair Hairstyles: Perfect for those in-between wash days!
- 8 Hair Care Tips You Probably Didn’t Know About: Unlock the secrets to healthier, shinier hair.
- How To Make DIY Floral Headpieces: Add a touch of natural beauty to any hairstyle.
- 11 Pretty and Creative Bow Holder DIY Ideas: Organize your hair accessories in style.
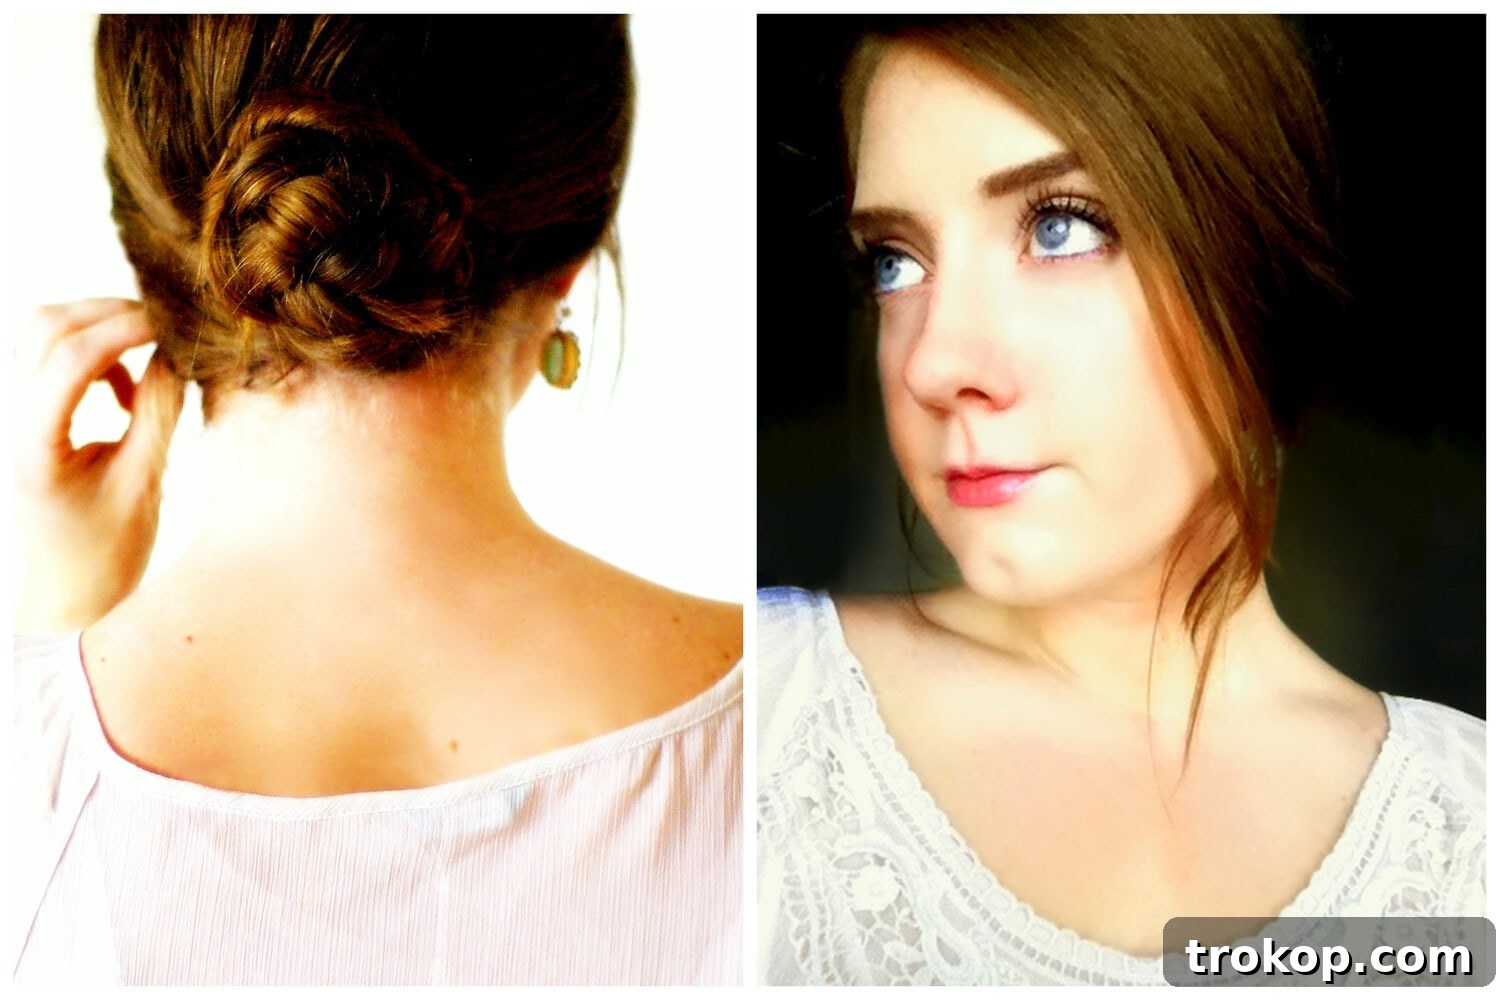
Your Go-To Guide: The Effortless Braided Updo Tutorial
10 minutes
10 minutes
DIY Hairstyle
Style & Beauty
Equipment
-
Bobby pins (plenty!)
-
Hair bands (elastic ties)
-
Optional: Hairbrush or comb
Materials
- Hairspray (light to medium hold)
- Optional: Texturizing spray or dry shampoo
Instructions
-
Prepare your hair: Start with clean, dry hair. For added grip, you can apply a small amount of dry shampoo or texturizing spray, especially if your hair is freshly washed and feels too silky. Brush your hair thoroughly to remove any knots or tangles.
-
Create a single braid: Gather all your hair into a ponytail at the nape of your neck, a mid-level position, or even slightly higher for a more classic bun. Secure it with a hair elastic. Then, divide the ponytail into three equal sections and braid them into a simple, classic three-strand braid. Secure the end of this braid with another small hair elastic. You can make the braid as tight or as loose as you prefer; a slightly looser braid tends to create a softer, more voluminous bun.
-
Twist and shape your bun: Take the entire braided strand and begin to twist it around the base of your original ponytail, coiling it tightly or loosely to form a bun. Think of it like rolling up a cinnamon bun. Keep the bun flat against your scalp, ensuring the twisted braid creates a neat, circular shape.
-
Secure the bun and finish: Once your bun is formed, tuck the end of the braid underneath the bun so it’s hidden from view. Use plenty of bobby pins to secure the bun firmly to your head. Insert bobby pins from the outside of the bun, pushing them into the base and towards the center, catching some hair from your scalp for a strong hold. For extra security, criss-cross bobby pins. Finish with a generous mist of hairspray to lock everything in place and smooth down any flyaways. For a softer look, gently pull a few small pieces of hair from around your face.
$5 – $15 (for basic supplies)
easy braided updo, quick updo, simple hair bun, elegant braid, DIY hairstyle
We absolutely love seeing your creativity! Be sure to share your beautiful hair hacks and updo creations with us on Instagram using the hashtag #sugarandclothloves. We can’t wait to see your stunning braided updos!
More Easy Beauty DIY’s
Essential Oil Candles – DIY Rosemary Grapefruit Candle
Homemade Reed Diffuser – Natural Ways To Make Your Home Smell Amazing!
DIY Concrete Vanity Mirror
DIY Patterned Matches Vanity Tray

DIY Sand Art Sugar Scrub
DIY Love Potion Bath Sets