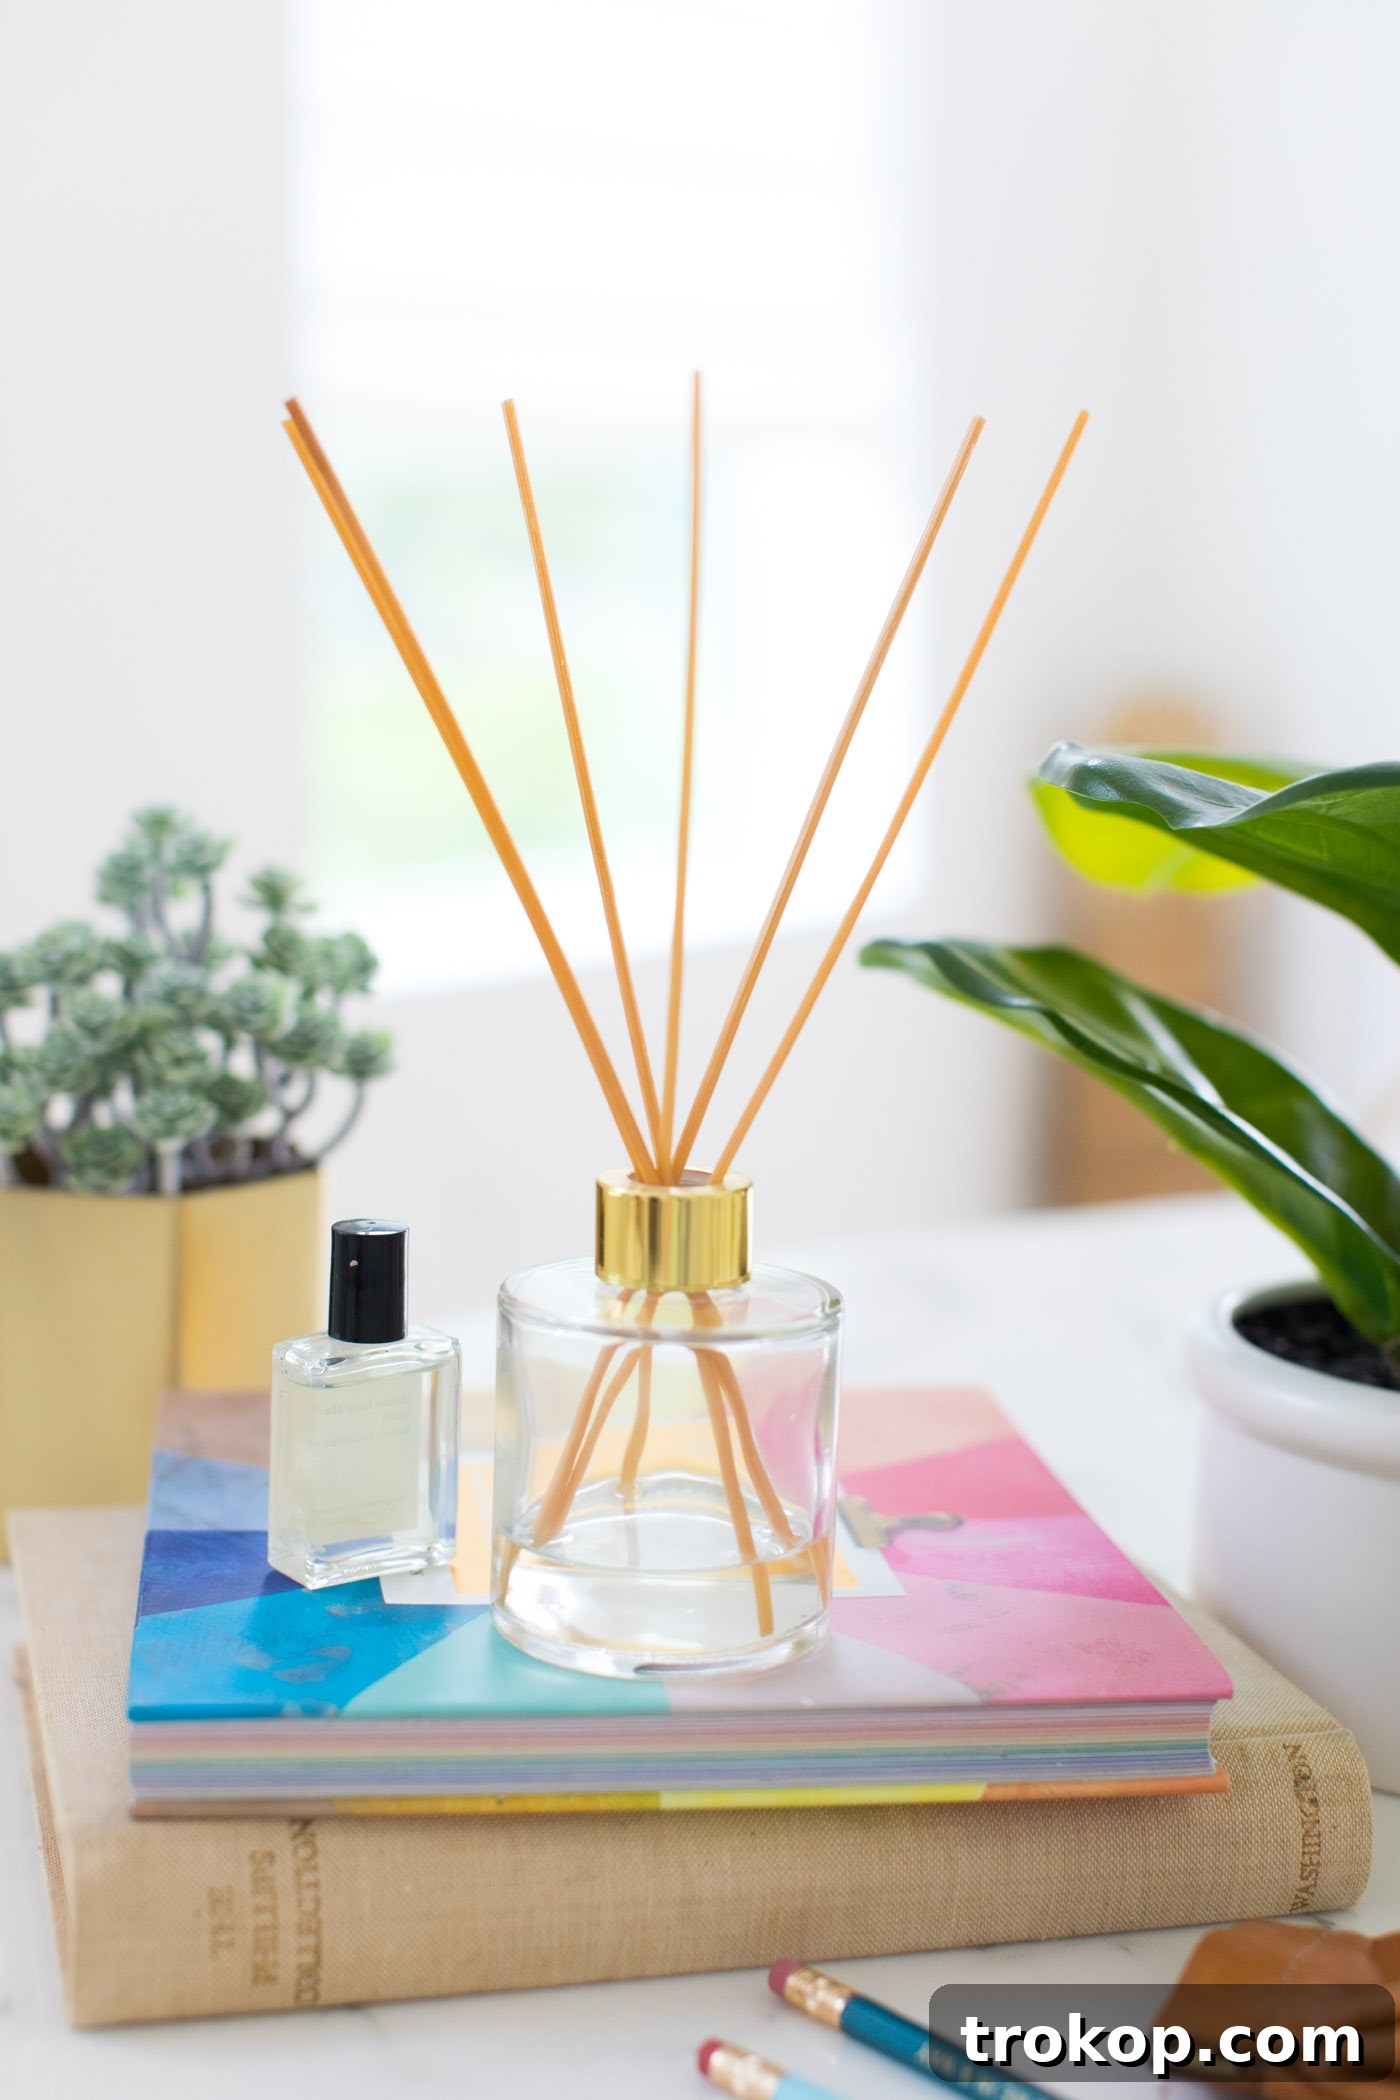
Transform your living space into a haven of natural freshness with this incredibly simple and budget-friendly DIY reed diffuser. In just 5 minutes, you can craft a custom home fragrance that not only elevates your ambiance but also uses everyday household items, making it the perfect weekend project to infuse your home with delightful scents.
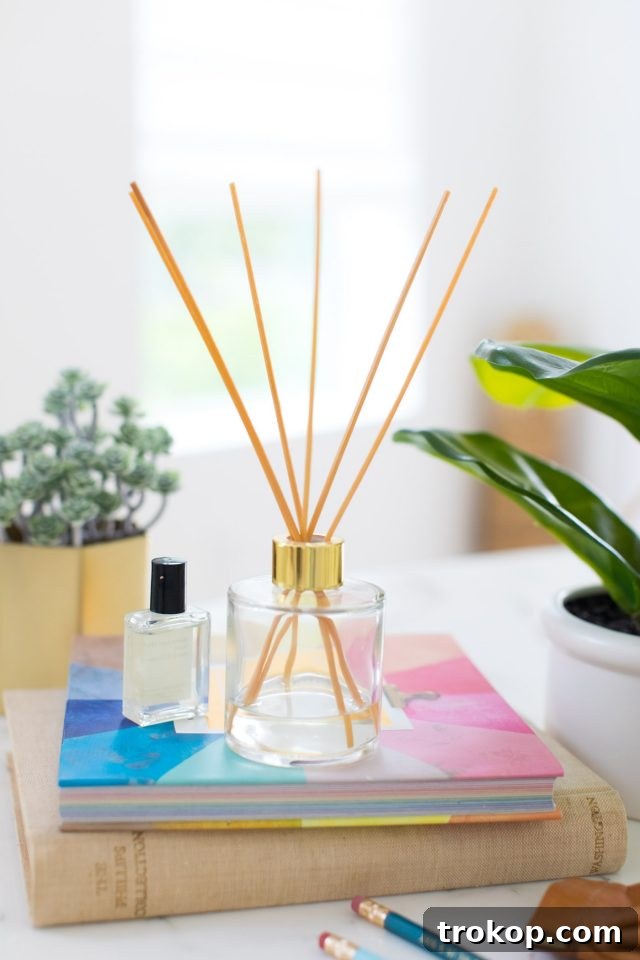
Aromatherapy has soared in popularity, becoming a beloved method for enhancing well-being and creating inviting spaces. The dual benefit of making your home smell wonderful and feel wonderfully cozy is simply irresistible. For many, the journey into natural home fragrances begins with a desire to move away from synthetic air fresheners and heavily perfumed products. We once found ourselves a little overzealous in our quest for a fragrant home, leading to a humorous (and slightly embarrassing) incident where a friend noted our cat seemed to smell distinctly like perfume! That was our cue to swiftly transition to essential oils and the world of natural, subtle scents.
Table of Contents
What is a Reed Diffuser and How Does It Work?
A reed diffuser is an elegant and effective way to continuously scent your home without the need for electricity or an open flame. It typically consists of a decorative glass bottle or container filled with a fragrant oil mixture. Into this mixture, long, slender reeds made from natural materials like rattan or bamboo are inserted. These reeds are specially designed to be porous, allowing them to absorb the essential oil blend from the bottle and draw it up their length through capillary action.
As the oil saturates the reeds, it slowly evaporates into the air, releasing a subtle, consistent fragrance throughout the room. This passive diffusion method makes reed diffusers ideal for maintaining a pleasant aroma for extended periods, often lasting for weeks or even months, depending on the diffuser’s size, the oil’s formulation, and the ambient conditions of your home. You have full control over the fragrance intensity; simply adjust the number of reeds in the bottle. Start with a few for a lighter scent, and add more for a stronger, more noticeable aroma.
While the market is flooded with various aromatherapy diffuser options, from electric models to candles, crafting your own DIY reed diffuser offers an unparalleled budget-friendly approach to natural home fragrancing. It’s a simple, customizable, and incredibly satisfying project that delivers continuous freshness with minimal effort.
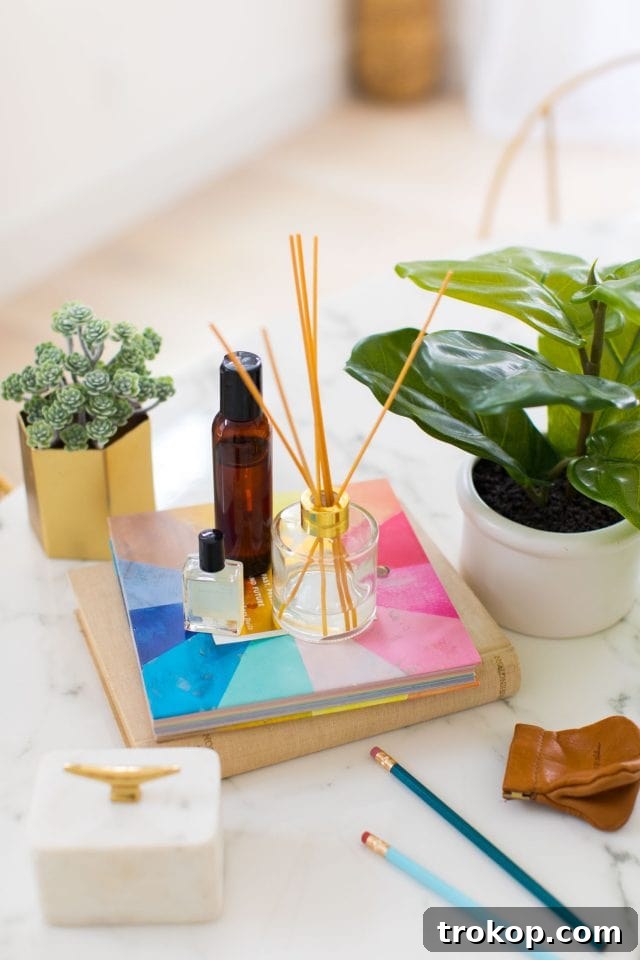
Exploring Essential Oil Diffuser Ideas & Options
When it comes to essential oil diffusion, consumers have a plethora of choices, each with unique advantages. One of the most popular and widely recognized options is the electronic diffuser, often referred to as an ultrasonic diffuser. These devices typically use ultrasonic vibrations to create a fine mist of water and essential oils, dispersing the fragrance into the air. Many models come equipped with appealing features such as cool mist settings, generous water capacity, LED lights for ambiance, a night light function, and automatic shut-off timers, allowing you to customize run times. You can even find versions with large water tanks designed to effectively scent larger rooms or open-plan areas.
We certainly appreciate our electronic diffusers for their immediate impact and diverse functionalities. Another advanced electronic option is the nebulizer diffuser. Ideal for those seeking pure essential oil diffusion without any dilution, a nebulizer requires no water tank. Instead, it atomizes pure essential oils into microscopic particles, releasing a highly concentrated aroma directly into the air. While often pricier, nebulizers are praised for their potency and therapeutic benefits.
However, amidst these high-tech alternatives, the simple reed diffuser stands out for its convenience and practicality, especially in smaller spaces. They are perfectly suited for areas where a plugged-in device might be inconvenient or unnecessary, such as bathrooms, entryways, or a dedicated home office. Unlike electronic diffusers, a DIY reed diffuser operates without electricity, making it an eco-friendly and silent choice. Furthermore, it offers a distinct advantage over many electronic models by providing a consistent scent that lasts significantly longer than the typical refill cycle of a water-based diffuser. What reed diffusers might lack in programmable settings or integrated lighting, they more than compensate for in ease of use and minimal maintenance. Simply flip the reeds every few days to refresh the scent and replenish the oil mixture as needed, and your space will remain beautifully fragranced.
It’s important to remember that regardless of the diffuser type you choose, essential oils will only spread effectively over a certain square footage. Consider the size of your room when deciding on the number of diffusers or the type of diffusing method to ensure optimal scent coverage.
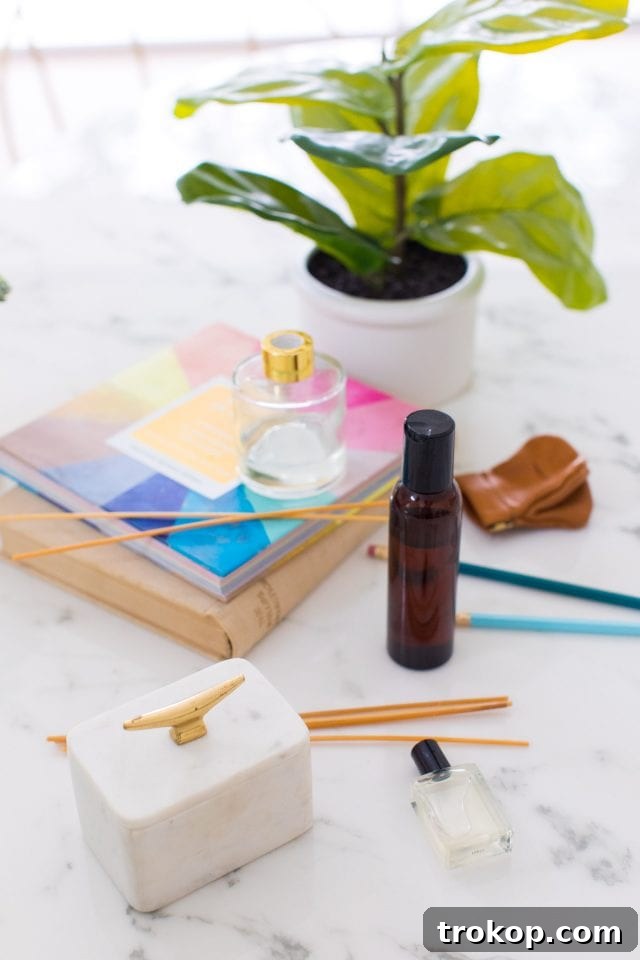
Materials to Make Your Own DIY Essential Oil Diffuser
Crafting your very own essential oil reed diffuser is surprisingly straightforward, requiring just a handful of readily available materials. The beauty of this DIY project lies in its flexibility, allowing you to customize both the aesthetic and the aroma to perfectly match your home and preferences.
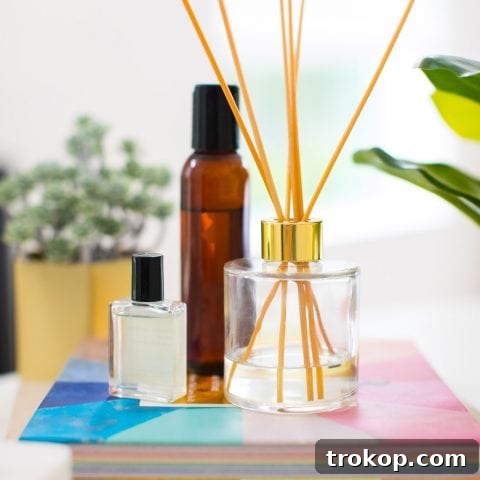
- Diffuser Bottle or Vase: This is the vessel that holds your fragrant oil mixture and serves as the visual anchor of your diffuser. You can choose anything from a minimalist clear glass bottle to an ornate ceramic vase, or even a repurposed decorative bottle. We opted for a chic clear and gold diffuser bottle, but feel free to explore options like wood grain, matte black, frosted glass, or any small vase that complements your decor. The key is to select a bottle with a narrow opening to minimize oil evaporation.
- Pure Liquid Carrier Oil: Essential for diluting the concentrated essential oils, a carrier oil allows the scent to travel up the reeds effectively and ensures a longer-lasting, more subtle diffusion. Fractionated coconut oil is an excellent choice as it’s lightweight, odorless, and doesn’t solidify. If you prefer, other fantastic alternatives include sweet almond oil, safflower oil, jojoba oil, grapeseed oil, or even plain baby oil. Ensure it’s a liquid oil at room temperature.
- Your Favorite Essential Oil Combinations: This is where the magic happens! Select high-quality essential oils to create your desired aroma. You can use single oils or pre-made blends tailored for specific moods or benefits. Always ensure your essential oils are pure and therapeutic grade for the best results and safety.
- Rattan Reeds for Diffuser Sticks: These are crucial for drawing the oil up and dispersing the scent. Unlike ordinary bamboo skewers, true rattan reeds are highly porous with tiny channels that facilitate efficient oil absorption and evaporation. The number of sticks you use directly impacts the strength of the scent – more sticks mean a stronger fragrance release.
- Funnel (Optional): A small funnel can be incredibly helpful if your chosen diffuser bottle has a narrow opening, preventing spills and making the pouring process much cleaner.
Step-by-Step: How to Make a DIY Reed Diffuser
Once you’ve gathered all your reed diffuser materials, you’ll be amazed at how quickly you can assemble your very own essential oil diffuser. This simple process takes mere moments, but remember that a little bit of knowledge about essential oil safety goes a long way!
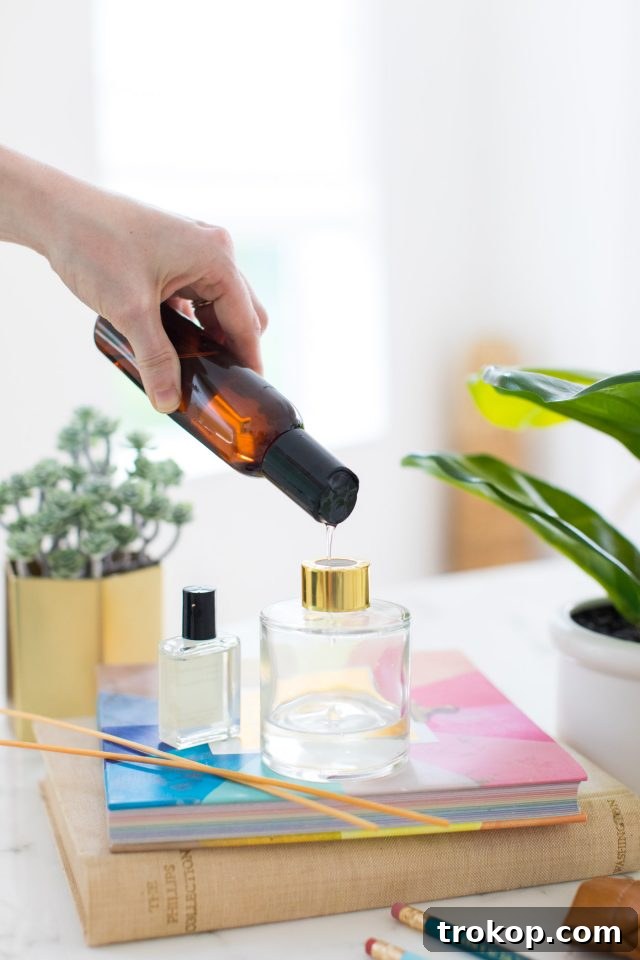
- Prepare Your Diffuser Base: Carefully fill your chosen diffuser vase with approximately 3 1/2 ounces (about 100-105 ml) of your liquid carrier oil, such as fractionated coconut oil. If your bottle has a narrow opening, a small funnel can prevent spills.
- Add Your Signature Scent: Next, add 3 to 5 drops of your preferred essential oil blend directly into the carrier oil in the vase. For a lighter fragrance, start with 3 drops. If you desire a stronger aroma, you can increase to 5 drops. Remember, essential oils are highly concentrated, so a little goes a long way.
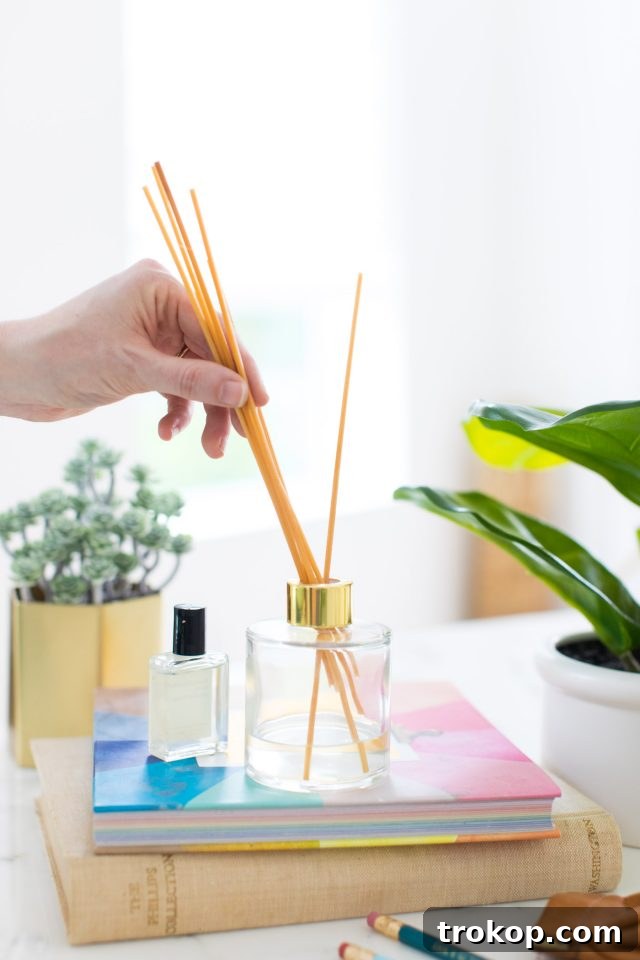
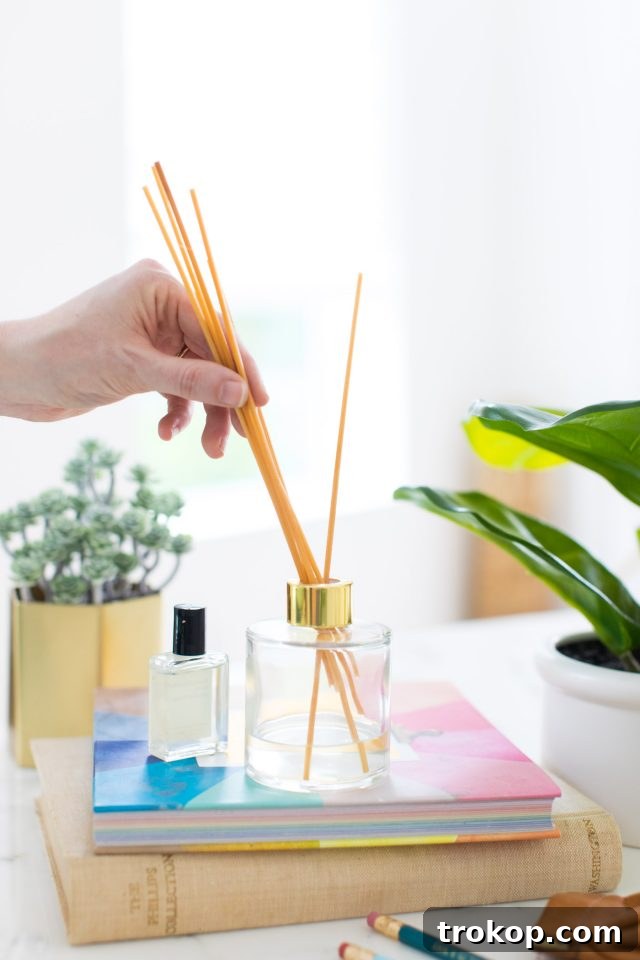
- Insert the Reeds: Finally, insert 5 to 7 of your rattan reeds into the vase. Ensure the bottom ends of the reeds are fully submerged in the oil mixture. The reeds will begin to absorb the oil and gradually release the fragrance into the air. Allow a few hours for the reeds to fully saturate and for the scent to begin diffusing effectively.
It’s crucial to exercise caution when adding essential oils, especially since a reed diffuser doesn’t have a timer like many electronic aromatherapy diffusers. You want to avoid adding an excessive amount of essential oil, which could lead to an overpowering scent or, more importantly, potential overexposure. Essential oils are potent chemical compounds, and it’s vital to ensure safe usage for yourself, your family, children, and pets. Before embarking on your DIY essential oil diffuser project, take the time to research potential toxic essential oils and their proper dilution ratios and usage guidelines. Always prioritize safety and enjoy the natural aromas responsibly.
What are the Benefits of an Essential Oil Diffuser?
Whether you opt for a DIY reed diffuser or any other aromatherapy method, incorporating essential oils into your home offers a spectrum of potential benefits that extend beyond simply making your space smell good. Essential oils interact with our olfactory system, which is directly connected to the limbic system of the brain, the area responsible for emotions, memory, and motivation.
Through this connection, diffusing essential oils can provide a subtle yet powerful boost to your mood and overall well-being. Many users report enhanced relaxation, a reduction in feelings of anxiety or stress, and an improved sense of calm. Certain oils are known for their purifying properties, potentially aiding in respiratory disinfection and helping to clear the air of unwanted odors. While scientific research into the full extent of essential oils’ effects on the human body and mind is ongoing and sometimes controversial, their ability to create an inviting and pleasant atmosphere is undeniable.
Beyond the potential therapeutic advantages, the practical benefits of an essential oil diffuser are clear. It provides a natural and customizable fragrance solution for your home, allowing you to avoid harsh synthetic chemicals often found in commercial air fresheners. You can tailor the aroma to any occasion, season, or personal preference by experimenting with countless essential oil combinations. Ultimately, regardless of the precise health benefits, the presence of an essential oil diffuser in a room undeniably creates a relaxing, comforting, and personalized aromatic experience that can significantly enhance your living environment.
Choosing the Perfect Essential Oil Combinations
The exciting world of essential oil blending offers endless possibilities for customizing your home’s aroma. Whether you’re aiming for relaxation, an energy boost, or a cozy atmosphere, there’s a combination for every need. Many essential oil brands also offer expertly pre-mixed blends specifically formulated for various purposes, such as “Sleepy Time,” “Immune Support,” or “Focus.” These pre-made blends are a great starting point if you’re new to essential oils.
However, the true joy often comes from experimenting and creating your own unique blends. Essential oils are broadly categorized by their aromatic notes: top notes (light, uplifting, fast-evaporating like citrus), middle notes (warm, floral, balancing like lavender), and base notes (rich, grounding, long-lasting like sandalwood or frankincense). A well-rounded blend often incorporates oils from each category.
Here are some of our favorite tried-and-true essential oil diffuser blends to inspire your DIY reed diffuser:
- Soothing Citrus Oil Blend: This bright yet calming blend is perfect for lifting spirits and easing tension. Combine 1 drop of calming Lavender, 1 drop of exotic Ylang-Ylang, and 1 drop of uplifting Wild Orange. The floral notes of ylang-ylang perfectly complement the citrus and herbaceous lavender.
- Sleep Oil Blend: Drift into peaceful slumber with this deeply relaxing combination. Blend 2 drops of soothing Bergamot (known for its calming properties) with 1 drop of earthy Patchouli. Patchouli adds a grounding depth that enhances the sedative effects of bergamot.
- Immunity Oil Blend: Give your home a purifying and invigorating boost, especially during seasonal changes. Mix 1 drop of cleansing Tea Tree, 1 drop of decongesting Eucalyptus, 1 drop of sweet and uplifting Sweet Orange, and 1 drop of grounding Frankincense. This blend is wonderfully refreshing and clarifying.
- Good Mood Oil Blend: Infuse your space with positivity and a sense of happiness. Combine 2 drops of classic Lavender for its balancing aroma and 2 drops of zesty Lemongrass for an energizing and refreshing kick. This blend is bright, clean, and incredibly uplifting.
These versatile essential oil combinations aren’t just for reed diffusers! You can easily adapt them when making your own homemade candles, adding a few drops to a warm bath, or even creating homemade sugar scrubs for a personalized aromatic experience.
Expert Tutorial Tips for Your Reed Diffuser
To maximize the effectiveness and longevity of your DIY reed diffuser, consider these expert tips that will help maintain a consistent and delightful home fragrance:
- Flip the Sticks Regularly: For a continuous and even scent diffusion, make it a habit to flip your rattan reeds every few days, perhaps once or twice a week. This action re-saturates the exposed dry ends of the reeds with fresh oil, boosting the fragrance release.
- Add More Oil as Needed: If you notice the scent starting to fade, it’s a clear sign that the essential oil mixture is depleting or the reeds are becoming less saturated. Simply add more essential oil drops to the carrier oil in the container to refresh the aroma. For best results, consider replacing your reeds every few months, as their pores can become clogged over time.
- Consider the Room Size and Airflow: The size of the room and its airflow significantly impact scent diffusion. A larger room or one with more ventilation (like an open window or frequent foot traffic) may require more reeds or a stronger concentration of essential oils to achieve the desired fragrance intensity. Conversely, a small bathroom might only need 3-4 reeds.
- Avoid Direct Sunlight and Heat Sources: Place your reed diffuser in a cool, shaded spot away from direct sunlight, heating vents, or radiators. Direct heat can cause the essential oils to evaporate much more quickly, shortening the lifespan of your diffuser and diminishing the scent’s longevity. A stable environment helps maintain a consistent diffusion rate.
- Place Strategically: Position your diffuser in a location where air currents can gently circulate the fragrance throughout the room. Entryways, living room side tables, or bathroom counters are often ideal spots.
- Clean Your Bottle Between Refills: When refilling your diffuser bottle, it’s a good practice to thoroughly clean it with warm soapy water and let it dry completely. This prevents any old oil residue from interfering with the fresh blend and ensures optimal performance.
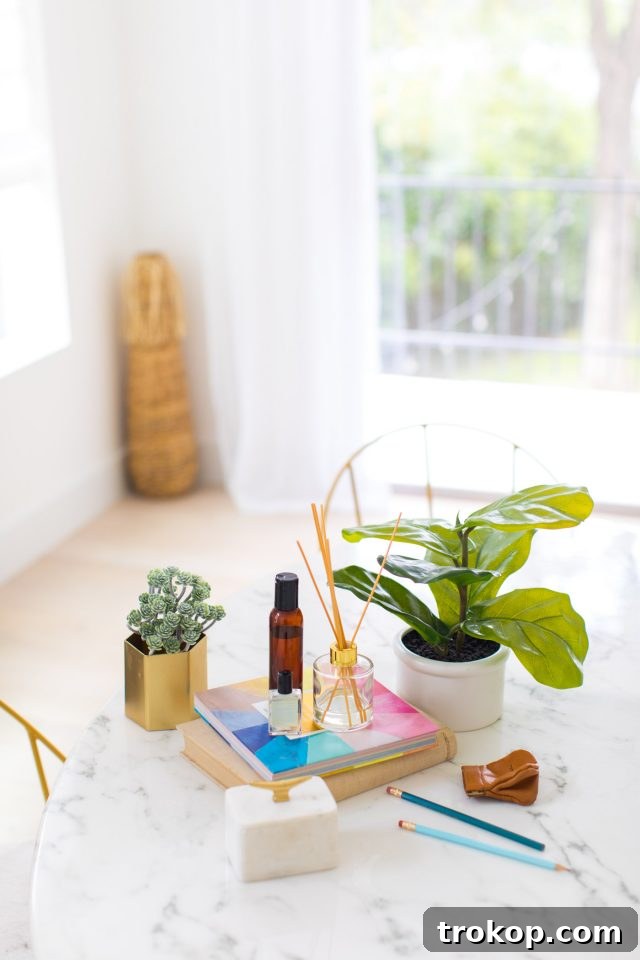
More DIY Candle and Aromatherapy Ideas
Once you experience the ease and satisfaction of creating your own essential oil diffuser, you’ll likely find yourself hooked on the world of DIY home fragrancing. The fact that you can craft these natural scent solutions for multiple rooms in your house for under $25 is an incredibly compelling reason to dive deeper! If you’re eager to explore more creative ways to infuse your home with delightful aromas and ambiance, here are some of our favorite candle and aromatherapy DIY ideas from our archives:
- How to make wax candles with rosemary and grapefruit
- DIY faux wood candle holder
- DIY copper candle holder
- Rainbow DIY taper candle holder
- Wooden taper candle holder
- DIY citronella candles
Below, you’ll find a complete, printable tutorial with detailed instructions for crafting a DIY reed diffuser for every room in your house, ensuring a naturally fresh and inviting atmosphere throughout your home.
DIY Reed Diffuser
Learn how to make your own DIY reed diffuser with this simple tutorial! Create custom scents to freshen up your home naturally, using just a few easy ingredients.
10 mins
DIY
Aromatherapy
Equipment
- Spoon for blending oils (optional)
Materials
- 1 diffuser bottle or vase
- 3 ½ oz pure liquid coconut carrier oil (or other preferred carrier oil)
- Rattan reeds for reed diffusing sticks
- Essential oil combinations of your choice
- Funnel (optional, for narrow openings)
Instructions
- Fill your diffuser vase with 3 1/2 ounces of liquid carrier oil, such as fractionated coconut oil.
- Add 3 to 5 drops of your favorite essential oil blend to the vase. Adjust amount based on desired scent strength and room size.
- Insert 5-7 of the rattan reeds into the vase, ensuring they are submerged in the oil. Allow a few hours for the reeds to absorb and begin diffusing the scent.
Notes
- Since there is no timer on a reed diffuser like traditional aromatherapy diffusers, exercise caution not to add too much essential oil and accidentally overpower the room.
- Essential oils are potent chemical compounds. Always ensure proper dilution and usage to avoid overexposing yourself, pets, children, or anyone else to too many oils.
- Before making your own essential oil diffuser at home, be sure to research potential toxic essential oils and proper usage guidelines for each specific oil.
- Flip the reeds regularly (every few days) to refresh the scent. Replace reeds every few months for optimal diffusion.
- Keep the diffuser away from direct sunlight and heat sources to prolong its lifespan and maintain scent integrity.
$20 or less
diy reed diffuser, essential oil diffuser, homemade diffuser, natural home fragrance