
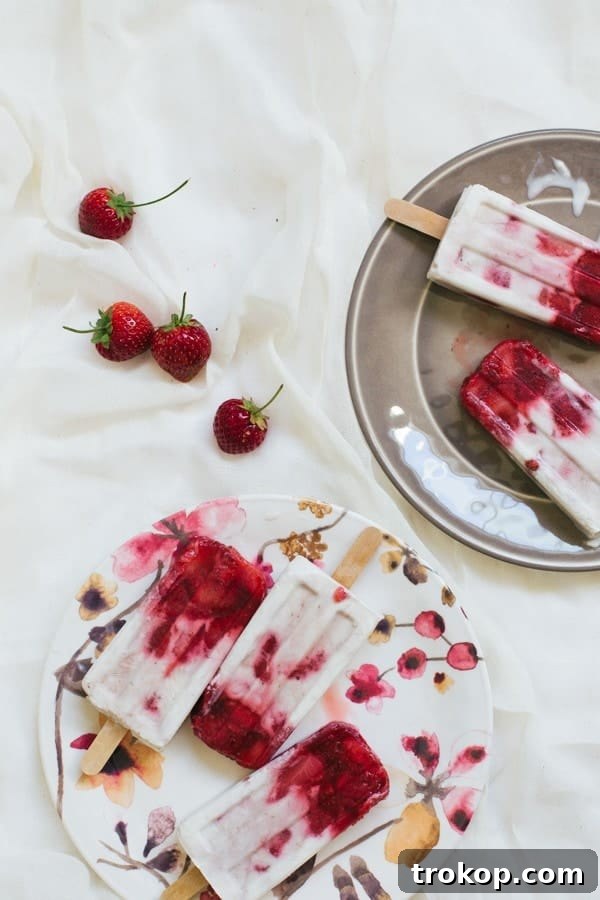
Sweet and simple Marbled Strawberry Coconut Popsicles, perfect for using up the leftover summer fruits and providing friends with tasty frozen treats!
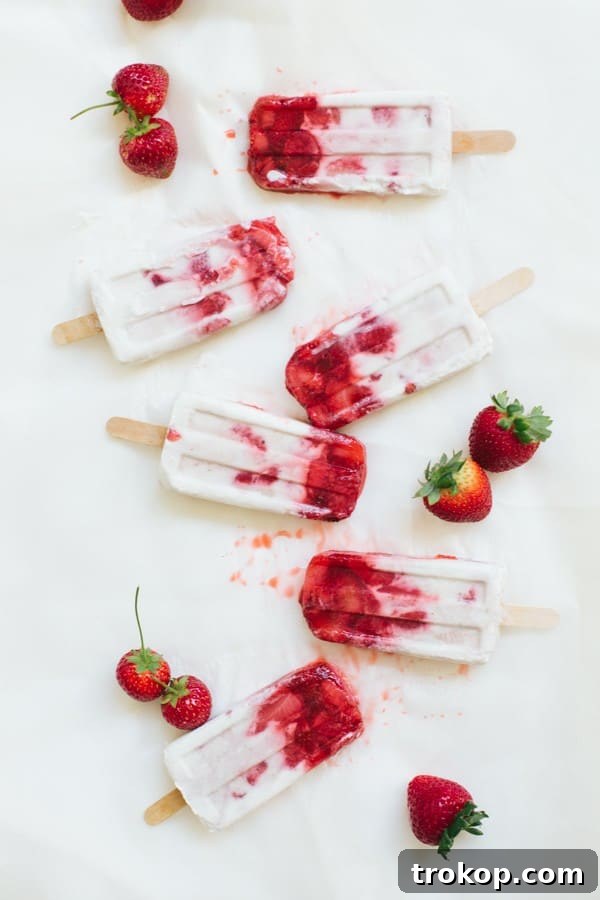
Indulge in Homemade Marbled Strawberry Coconut Popsicles: Your Perfect Summer Treat!
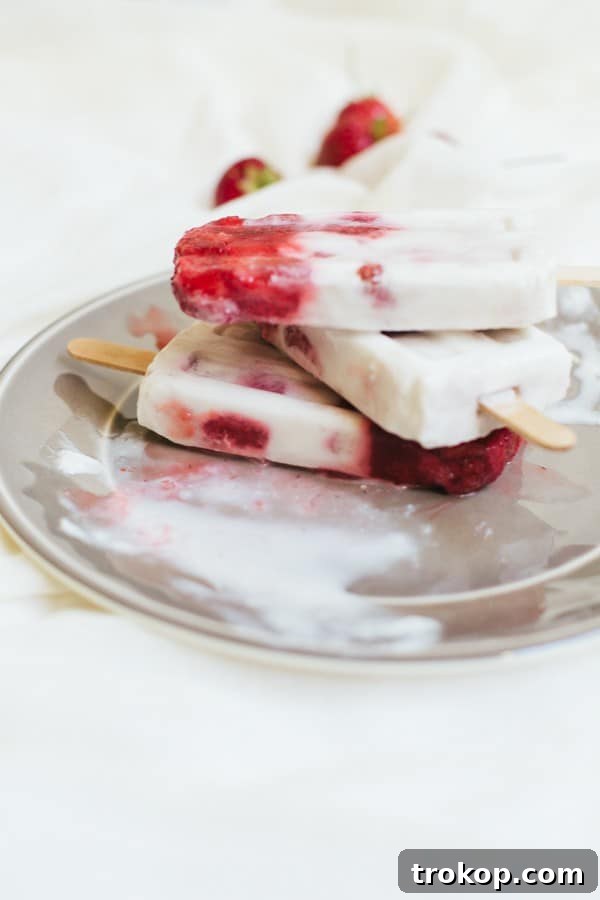
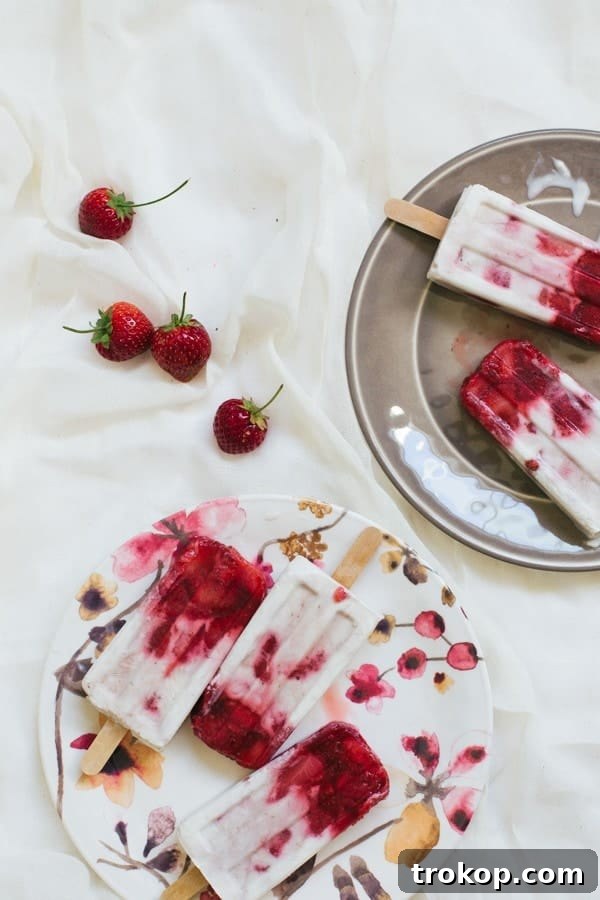
There’s nothing quite like the refreshing taste of a homemade popsicle on a hot summer day. And when it comes to combining delightful flavors with stunning visual appeal, our Marbled Strawberry Coconut Popsicles truly stand out. This recipe isn’t just about making a delicious frozen treat; it’s about celebrating fresh, seasonal ingredients and creating a moment of pure, simple joy. Imagine vibrant streaks of sweet strawberry swirled with creamy coconut, all in a convenient, easy-to-enjoy form.
My inspiration for these beauties recently came from an unexpected place. I was visiting a friend in the city and was absolutely amazed to discover a magnificent secret garden tucked away behind his apartment. It was a verdant oasis, brimming with nature’s bounty – lemon trees, apple bushes, fragrant rosemary, tangy sorrel, and, most exciting of all, the ripest, juiciest, sweetest strawberries you could ever hope to find, just begging to be picked. It was a true urban marvel, a testament to what a little dedication and green thumb can achieve, even in the heart of a bustling metropolis.
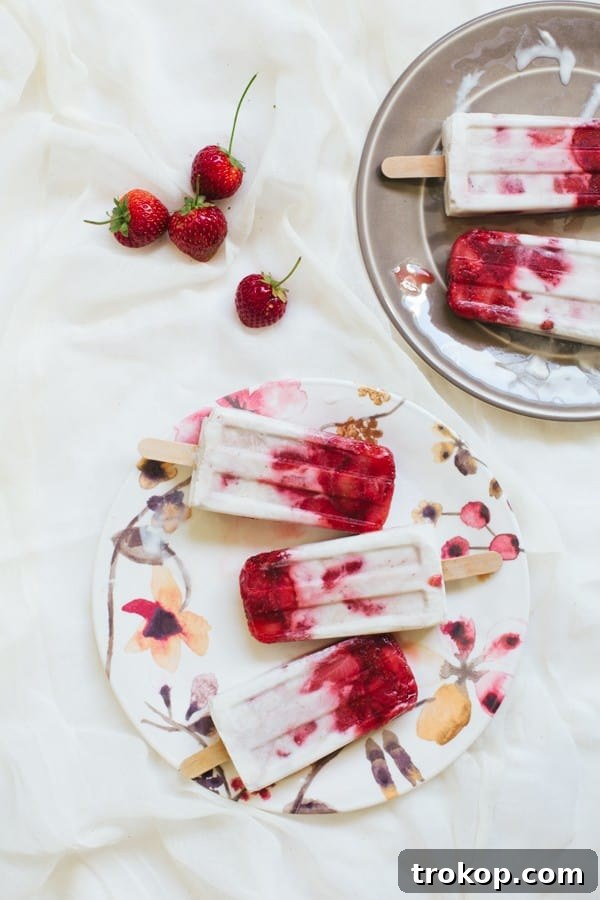
My friend, being the generous soul he is, graciously allowed me to “harvest” as many as I wanted. I returned home, my basket overflowing with these organic, sun-kissed treasures, their sweet aroma filling my kitchen. It was clear then and there that I had to transform them into something equally beautiful and utterly delicious. The idea for these Strawberry Coconut Popsicles quickly took root, a perfect way to capture the essence of those freshly picked berries.
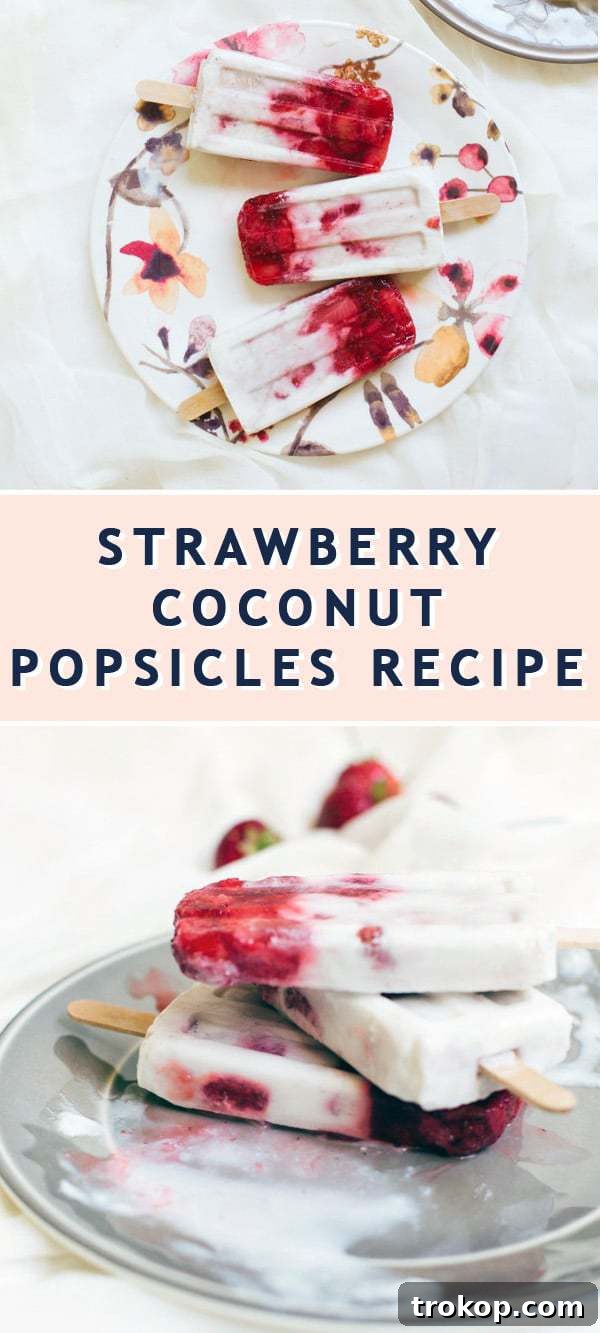
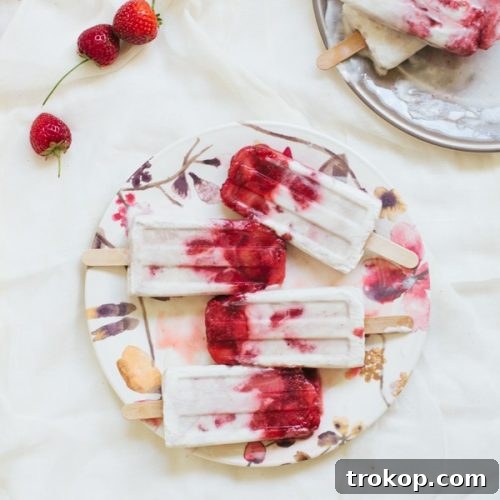
What makes these popsicles so special? For starters, they are incredibly beautiful, with their captivating marbled effect. They’re also wonderfully easy to make, requiring no fancy equipment like a blender or food processor – a simple saucepan is all you need. Beyond their ease and aesthetics, these popsicles cater to various dietary preferences, being completely vegan, dairy-free, and gluten-free. This means everyone can enjoy a taste of summer without worry. They are the ideal solution for those looking for refreshing, healthy-ish treats that are simple to prepare and even simpler to enjoy.
Table of Contents
Essential Ingredients for Marbled Strawberry Coconut Popsicles
Creating these delightful marbled popsicles requires a handful of simple, wholesome ingredients. Each component plays a crucial role in achieving the perfect balance of flavor and texture, ensuring a truly satisfying frozen treat experience.
- Fresh Sliced Strawberries: The star of our show! Opt for ripe, sweet strawberries to get the most vibrant flavor. If possible, choose organic berries for an even purer taste. Their natural sweetness and slight tartness create a wonderful contrast with the creamy coconut.
- Full-Fat Coconut Milk: This is the secret to our rich, creamy, and dairy-free popsicle base. Full-fat coconut milk provides the luscious texture typically associated with cream-based desserts, making these popsicles perfectly vegan and wonderfully indulgent. Ensure you use canned full-fat coconut milk, not the thinner beverage variety, for the best results.
- White Granulated Sugar: Used to sweeten both the strawberry and coconut mixtures. The amount can be adjusted to your personal taste. For those seeking alternative sweeteners or following a specific diet like paleo, pure maple syrup or agave nectar can be excellent substitutes, adding their own unique subtle notes to the flavor profile.
- Vanilla Extract: A touch of vanilla extract enhances the overall sweetness and adds a warm, comforting aroma to the coconut layer. It beautifully complements the tropical notes of the coconut and the brightness of the strawberries.
- Balsamic Vinegar: This might seem like an unusual addition, but a small amount of balsamic vinegar incredibly deepens and brightens the strawberry flavor without making it taste like vinegar. It acts as a flavor enhancer, bringing out the best in the berries and adding a sophisticated twist. Don’t skip this ingredient; it truly makes a difference!
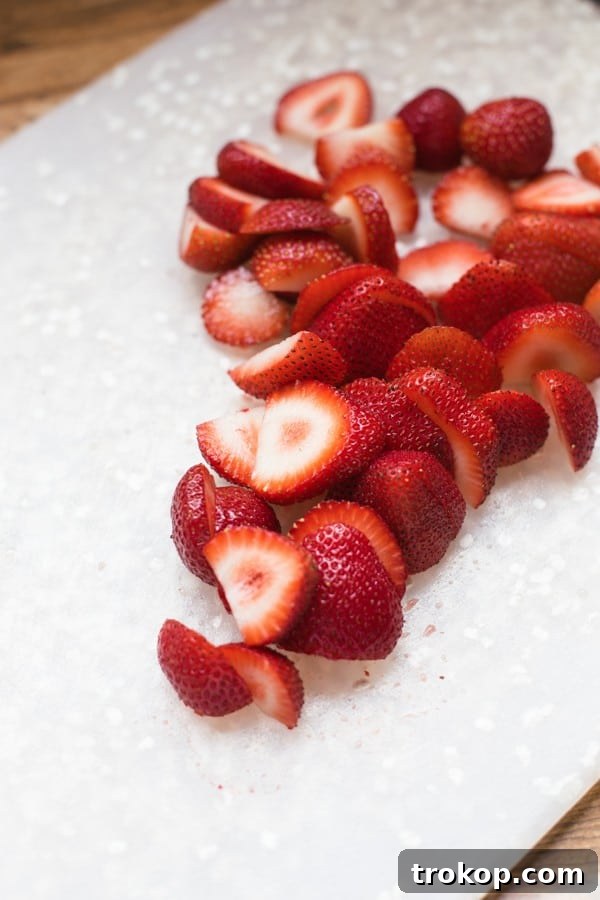
Can I Use Frozen Strawberries for This Recipe?
While fresh, ripe strawberries are always highly recommended for their vibrant flavor and natural sweetness, you absolutely can use frozen strawberries for this recipe, especially if fresh berries are out of season or hard to find. Frozen strawberries offer a convenient alternative, allowing you to enjoy these delightful popsicles year-round.
However, there are a couple of considerations when opting for frozen fruit. Frozen strawberries contain more water content than fresh ones and are already quite firm. This means they will generally take a bit longer to break down and heat into a smooth, thick sauce in your saucepan. You’ll need to allow extra time for the berries to thaw slightly as they heat and then to cook down sufficiently. Be patient, as the goal is to achieve a rich, syrupy consistency for the strawberry swirl, which contributes to the beautiful marbled effect.
Whether you choose fresh or frozen, a helpful tip is to slice your strawberries first. For fresh berries, this helps them cook down more quickly and evenly. For frozen berries, slicing them while still partially frozen can make them easier to handle and will certainly lessen the overall heating time required to create that luscious strawberry sauce. This small preparation step ensures a smoother process and a perfect base for your popsicles.
How to Make Marbled Strawberry Coconut Popsicles: A Simple Guide
Creating these beautifully marbled popsicles is a surprisingly straightforward process that yields impressive results. Follow these simple steps, and you’ll have a batch of refreshing, homemade treats ready for the freezer in no time.
Step 1: Prepare the Strawberry Mixture
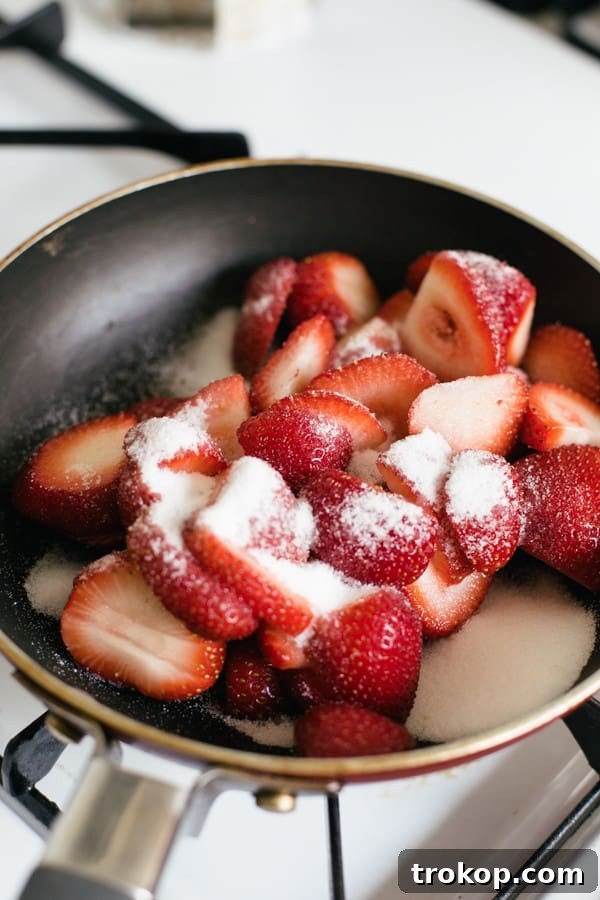
In a small saucepan, combine your fresh (or sliced frozen) strawberries, 2 tablespoons of granulated sugar, and the balsamic vinegar. The balsamic vinegar is key here – don’t worry, it won’t make your popsicles taste sour! Instead, it enhances the natural sweetness and brightens the flavor of the strawberries, adding a subtle depth that truly elevates the fruit.
Gently heat this strawberry mixture over low to medium heat. Stir occasionally, allowing the strawberries to soften, release their juices, and for the sugar to fully dissolve. Continue to simmer until the mixture thickens into a beautiful, glossy sauce. This usually takes about 5-8 minutes. For a smoother sauce, you can gently mash the strawberries with the back of a spoon as they cook, or even use an immersion blender directly in the pot, though it’s not strictly necessary for a delicious, slightly chunky texture. Once thickened to your liking, remove the saucepan from the heat and allow the strawberry sauce to cool completely. This cooling step is important to prevent the coconut layer from melting when combined.
Step 2: Prepare the Creamy Coconut Base
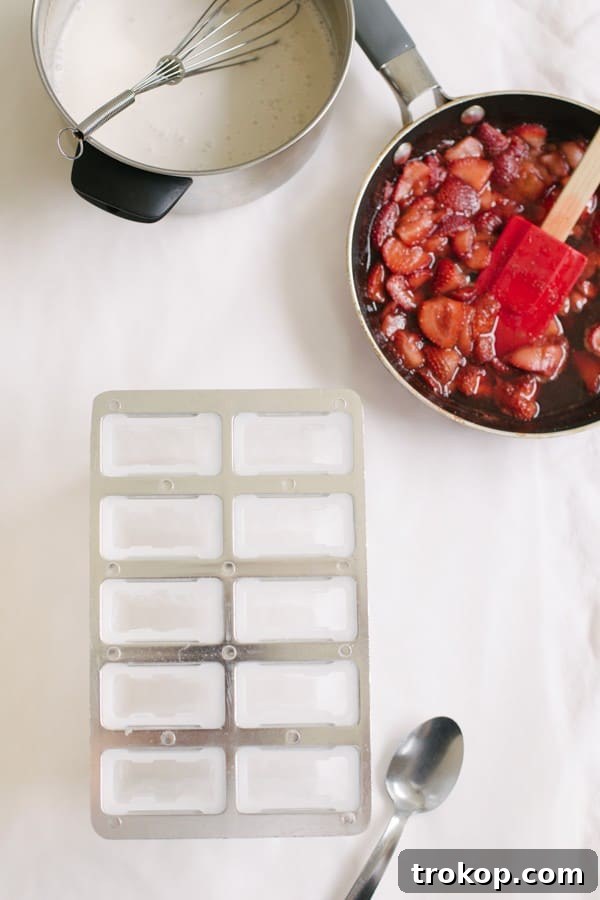
While your strawberry mixture is cooling, it’s time to prepare the creamy coconut layer. In a separate bowl or another small saucepan, combine the full-fat coconut milk, the remaining granulated sugar, and the vanilla extract. Give it a good whisk to ensure everything is well combined.
To help the sugar dissolve completely and achieve a perfectly smooth coconut base, gently warm this mixture. You can do this in a saucepan over low heat for about 2-3 minutes, stirring constantly until the sugar melts. Alternatively, for a quicker method, microwave the mixture in a microwave-safe bowl for about 30 seconds. The goal is just to warm it enough for the sugar to integrate, not to bring it to a boil. Once warmed, set it aside to cool slightly, making sure it’s not hot when you start layering.
Step 3: Layering for the Marbled Effect
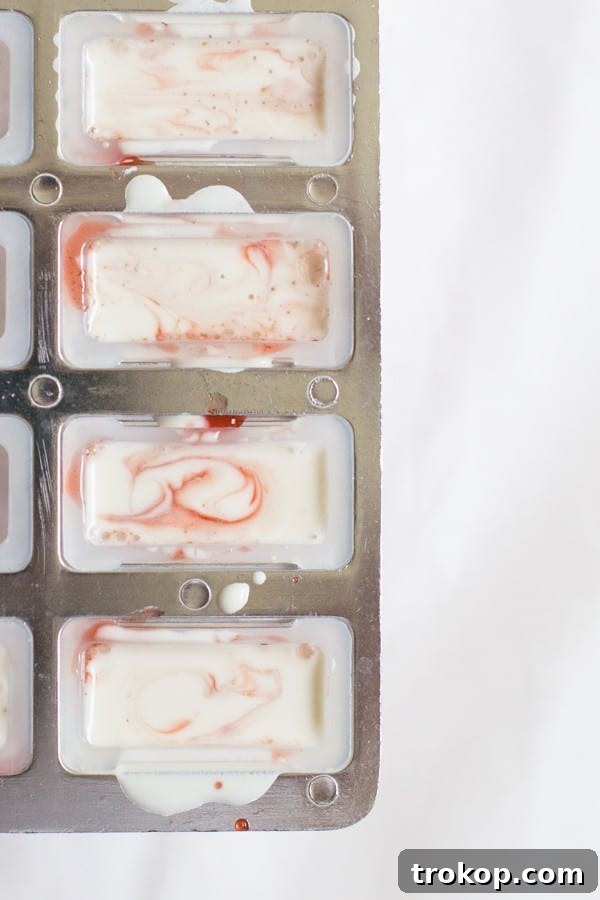
Now for the fun part – creating that beautiful marbled design! Once both the strawberry sauce and coconut mixture have cooled, you can begin layering them into your popsicle molds. Start by adding a small amount of the strawberry mixture to the bottom of each mold. Follow this with a layer of the coconut mixture. Continue to alternate the layers, building them up until each mold is nearly full, leaving a little space at the top for expansion during freezing.
For a truly marbled look, you can gently swirl the layers with a skewer or a thin knife after filling, but be careful not to overmix, as you want distinct layers of color. Insert your popsicle sticks into the center of each mold, ensuring they stand upright. The layered mixtures should be thick enough to hold the sticks in place.
Step 4: Freeze and Enjoy!
Carefully transfer your filled popsicle molds to the freezer. Allow them to freeze for approximately 4-6 hours, or until they are completely solid. Freezing time can vary depending on the size of your molds and the temperature of your freezer. To ensure they are perfectly frozen, it’s often best to leave them overnight, especially if you want them to be firm enough to resist melting too quickly on a hot day.
Once fully frozen, your exquisite marbled strawberry coconut popsicles are ready to be enjoyed! These delightful treats are not only incredibly delicious but also a feast for the eyes, making them perfect for sharing with friends and family, or simply savoring on your own.
How Long Do Homemade Popsicles Keep? & Unmolding Tips
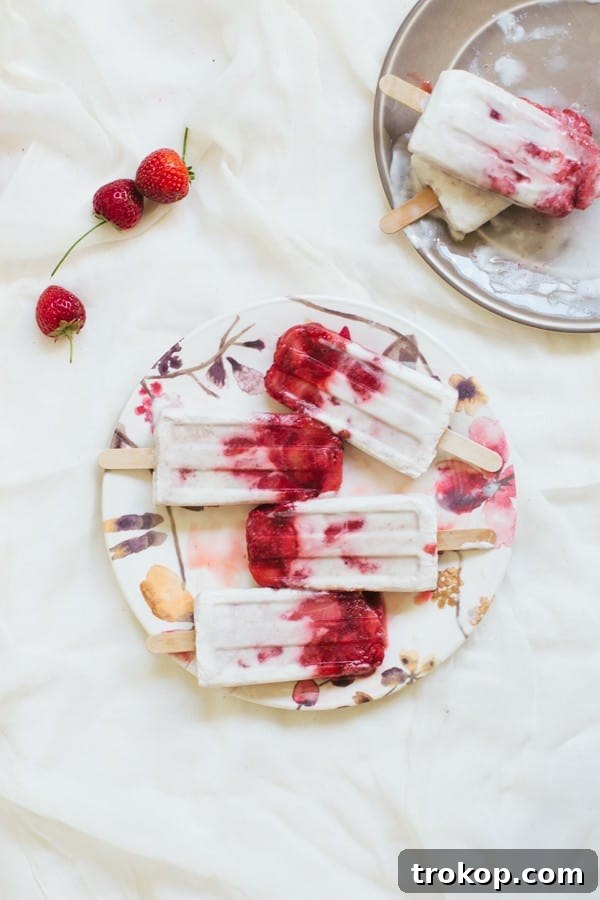
Homemade popsicles are a fantastic make-ahead treat, and with proper storage, they can last for quite a while in your freezer. Generally, these strawberry coconut popsicles will keep well for about 6-8 months in the freezer, provided they are stored at a consistent temperature. To maximize their shelf life and prevent freezer burn, it’s best to remove them from their molds once solid and wrap each popsicle individually in plastic wrap or parchment paper before placing them in an airtight freezer-safe bag or container.
Removing popsicles from their molds can sometimes be a bit tricky, especially if they are very well-frozen. Don’t force them out, as this can break the popsicle or the stick. A simple and effective trick to effortlessly release your popsicles is to run the bottom of the popsicle mold under warm or hot water for about 10 to 15 seconds. This brief exposure to warmth will slightly loosen the edges of the popsicle from the mold, allowing you to gently pull it out with ease. Be careful not to let the water get into the molds if you are using individual molds that are not connected. This quick trick ensures your beautifully crafted popsicles emerge perfectly intact and ready to enjoy.
Explore More Easy Popsicle Recipes To Try
If you’ve fallen in love with making homemade popsicles, you’re in luck! There’s a whole world of frozen delights waiting to be discovered. Popsicles are incredibly versatile, offering endless possibilities for flavor combinations and dietary adaptations. From fruity and refreshing to creamy and indulgent, making your own popsicles is a fun and rewarding activity for all ages. Dive into our archives and find your next favorite frozen treat:
- Whole30 Coconut Kiwi Popsicles: A vibrant, healthy option packed with tropical flavors.
- Peaches & Cream Popsicles: A classic flavor combination, reimagined as a frosty summer treat.
- Strawberry Poptails: For the adults, a playful boozy twist on your favorite fruit pops.
- DIY Gilded Gemstone Popsicles: Get creative with these visually stunning, edible art popsicles.
- Roasted Peach & Cherry Popsicles: Deep, caramelized fruit flavors for a sophisticated taste.
- Spiked Crushed Watermelon Popsicles: Another refreshing adult treat, perfect for summer gatherings.
Marbled Strawberry Coconut Popsicles Recipe
15
4
4 15
Desserts, Snack, Summer Treat
Vegan, Dairy-Free, Gluten-Free
Equipment
-
Small sauce pan (for strawberry mixture)
-
Another small saucepan or microwave-safe bowl (for coconut mixture)
-
Popsicle mold (standard or individual molds)
-
Popsicle sticks
Ingredients
- 2 ½ cups strawberries, sliced (fresh, ripe, or frozen and sliced)
- 1 can full-fat coconut milk (chilled overnight, if possible, for thicker cream)
- 4 tbsp granulated sugar (divided: 2 tbsp for strawberries, 2 tbsp for coconut, adjust to taste)
- 1 tsp vanilla extract
- ½ tbsp balsamic vinegar (enhances strawberry flavor, optional but recommended)
Instructions
-
Prepare Strawberry Mixture: In a small saucepan, combine the sliced strawberries, 2 tablespoons of sugar, and balsamic vinegar. Stir gently to combine.
-
Cook Strawberry Sauce: Heat the mixture over low to medium heat, stirring occasionally. Cook until the sugar dissolves, the strawberries soften, and the sauce thickens (this typically takes about 5-8 minutes). Remove from heat and let it cool completely.
-
Prepare Coconut Mixture: While the strawberry sauce cools, mix the coconut milk, the remaining 2 tablespoons of sugar, and vanilla extract together in a separate bowl or small saucepan.
-
Warm Coconut Mixture: Gently warm the coconut mixture to ensure the sugar fully melts. If using a microwave, heat for 30 seconds. If using a small saucepan, warm on low heat for 2-3 minutes, stirring constantly. Let it cool slightly before proceeding.
-
Layer Popsicles: Once both mixtures are cool, begin layering them into your popsicle molds. Start with a layer of the strawberry mixture, followed by a layer of the coconut mixture. Alternate layers until the mold is full. For a marbled effect, you can gently swirl with a thin skewer.
-
Insert Sticks & Freeze: Insert popsicle sticks into each mold. Transfer the molds to the freezer and freeze for approximately 4-6 hours, or until the popsicles are completely solid.
-
Enjoy: To unmold, briefly run the outside of the mold under warm water (10-15 seconds), then gently pull out the popsicles. Serve immediately and enjoy your delicious homemade treat!
Nutrition Information (per serving)
*Approximate values based on ingredients used. Individual results may vary.
Calories: 107kcal | Carbohydrates: 9g | Protein: 1g | Fat: 8g | Saturated Fat: 7g | Sodium: 6mg | Potassium: 139mg | Fiber: 1g | Sugar: 7g | Vitamin C: 22mg | Calcium: 13mg | Iron: 1mg

Share Your Sweet Creations!
We absolutely adore seeing your culinary adventures! Once you’ve whipped up a batch of these glorious Marbled Strawberry Coconut Popsicles, or any of our other delicious recipes, don’t forget to share your photos and experiences with us on Instagram. Be sure to use the hashtag #sugarandclothloves so we can admire your beautiful frozen treats and celebrate your kitchen successes! Your creativity inspires us, and we love to see how you bring our recipes to life.
If you’re constantly on the hunt for more quick, simple, and irresistibly delicious recipes, you’ve come to the right place. Our collection is brimming with a wide array of options, perfect for any occasion or craving. From delightful desserts to savory snacks, you can find them all right here, alongside some fantastic bites that are sure to become new household favorites. Happy cooking and happy freezing!
More Inspiring Popsicle Recipes
Easy Popsicles: Peaches and Cream Popsicle Recipe
Creamy and sweet, these peach popsicles are a delightful take on a classic dessert.
A Clever Popsicle Cocktail Recipe
Elevate your summer party with these inventive and refreshing popsicle cocktails.
DIY Gilded Gemstone Popsicles
Make a dazzling impression with these visually stunning, edible gemstone-inspired popsicles.
Roasted Peach and Cherry Popsicles Recipe
Experience deep, rich fruit flavors with these roasted peach and cherry infused popsicles.
Whole30 Tropical Paradise Popsicles Recipe
A guilt-free, Whole30 compliant treat bursting with tropical fruit goodness.
Spiked Crushed Watermelon Popsicles Recipe
Quench your thirst and delight your senses with these boozy watermelon popsicles.